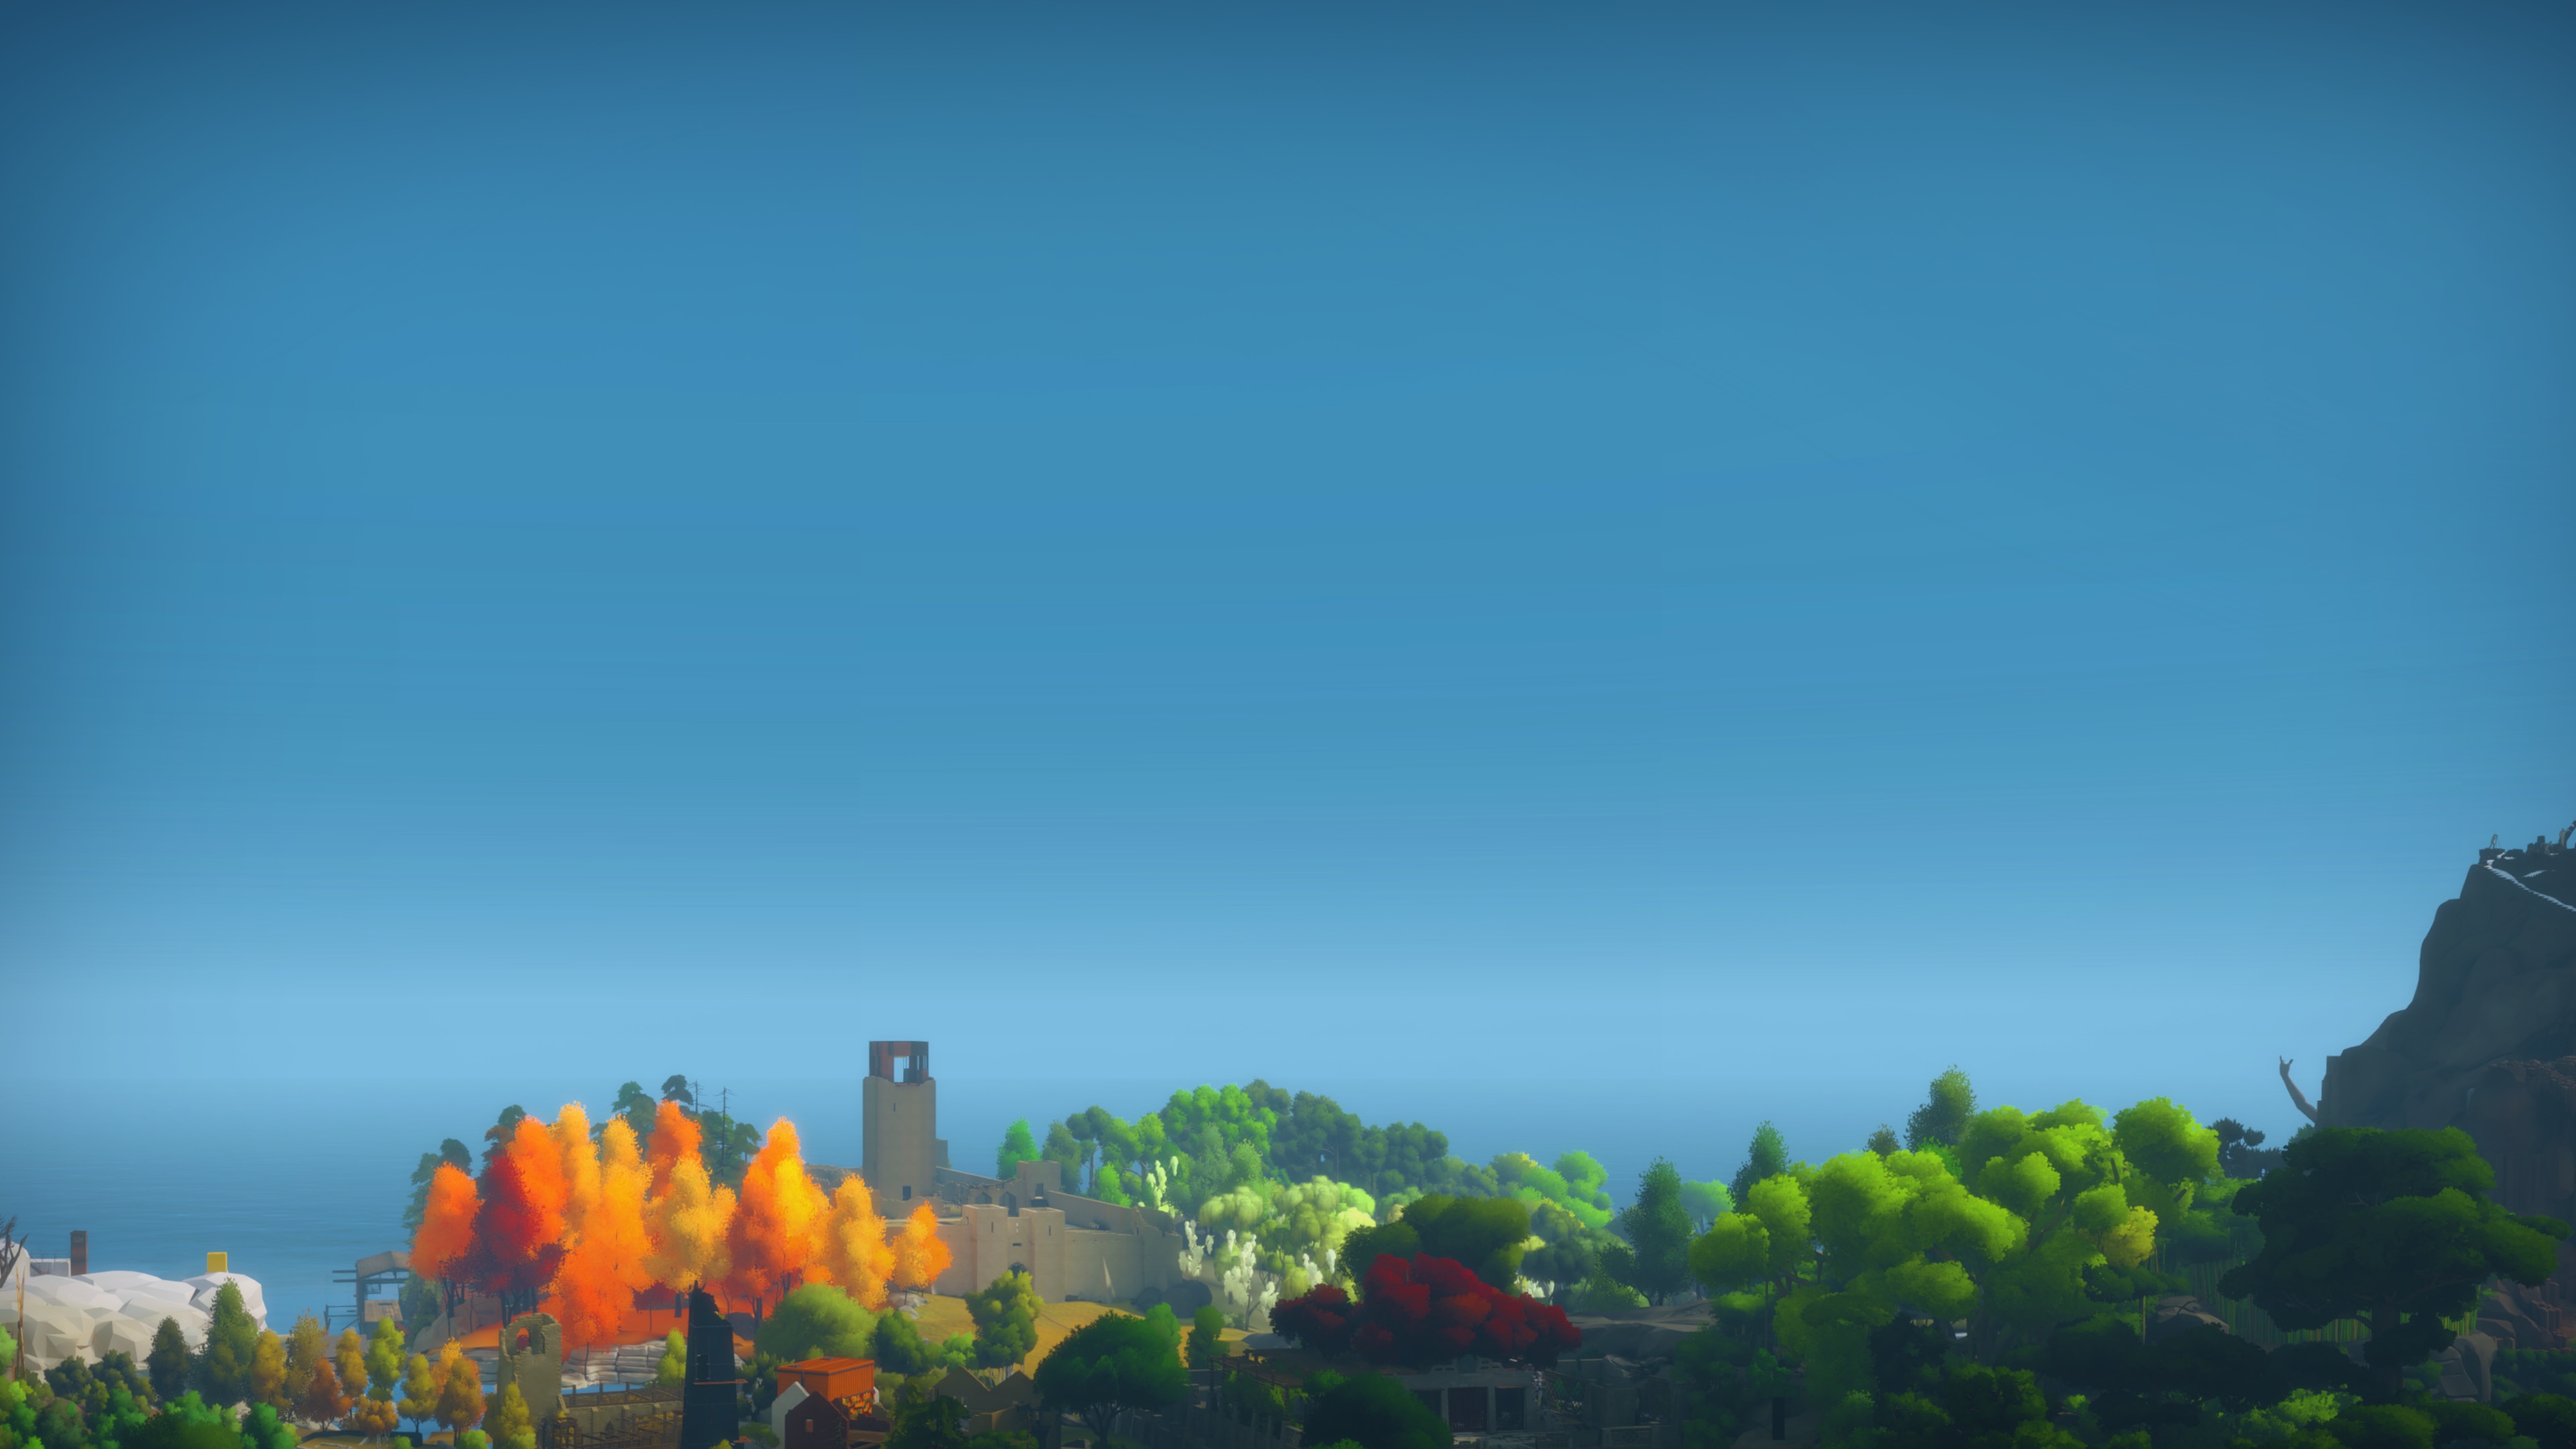
The Witness: Puzzle Mechanics Guide
Master puzzle-solving in The Witness with tips on line puzzles, environmental clues, symbol meanings, and hidden perspective tricks.
Getting started in The Witness can feel a bit like being handed a box of mysterious gadgets without an instruction manual. At first glance, its colorful island and tranquil atmosphere might invite you to wander, but it won’t be long before you’re met with its labyrinth of panels and symbols. Each puzzle builds not just on what you see, but also on the logic you pick up along the way—and it’s easy to find yourself stumped by a simple line when you’re not sure what the game expects. The mechanics here aren’t spelled out; piecing together the rules is a big part of the challenge. For anyone feeling stuck or just curious about how these puzzles actually work, breaking down the core systems and logic can make exploring the island a lot less bewildering—and a lot more satisfying.
Line Puzzles: The Heartbeat of The Witness
If there’s any single mechanic you’ll spend the most time with in The Witness, it’s tracing lines on panels. Nearly every challenge you face boils down to drawing a path from a circle (the “start”) to a rounded end (the “goal”), while following rules you often have to figure out for yourself. These line puzzles start off straightforward but quickly stack on twists, rules, and symbols that really mess with your assumptions.
Let’s break down how these work, what all the parts mean, and some handy strategies to help you get unstuck when things get tricky.
The Basics: How Line Panels Work
Every line puzzle features a rectangular grid. At one edge, you’ll spot a small circle—that’s where your path starts. The end is marked with a larger semicircle or rounded stub on another edge. Your job: drag the line with your cursor or analog stick from that start to the finish.
The line you draw can only travel along the marked paths (they look like grooves or wires between the “nodes” of the grid). You can’t skip spots or take shortcuts over blank spaces. Sometimes, the grid’s size changes, and some routes might look like dead ends or loops.
Mistakes? No sweat. You can back out and redraw as many times as you like.
Symbol Rules: What Those Icons Mean
After the first few puzzles, you’ll notice panels start tossing new symbols and colors into the grid. Each one hints at a rule you have to follow:
Black and White Squares
These are segregation puzzles. You must draw your line so that black squares are entirely on one side of your path and white squares are on the other. Mixing them up on the same side means your solution won’t work.
Colored Dots
Dots want to be "collected." You’re required to pass through (not just around) every dot in a puzzle to succeed. Miss one, and the panel resets.
Tetris (Tetromino) Shapes
These odd, blocky shapes mean your path’s line must carve out a region (invisible until you solve it) that matches the shape shown, within the space of the panel. You can even rotate these regions in your solution, but they need to fit perfectly inside the grid.
Stars
Stars care about matching color. Any cluster surrounded by your line has to contain only pairs of stars of the same color. If you leave one star solo or mix colors, the solution won’t count.
Hexagons
Hexagon symbols act like dots, but sometimes they have colors or extra shapes, combining rules from other symbol types. They can get surprisingly tricky when paired with other constraints.
Gaps and Broken Lines
Some lines on a panel might have small gaps. Your drawn path isn’t allowed to cross these sections, even if it looks tempting. Sometimes, holes might force you into certain routes or block off shortcuts.
Strategies for Tricky Puzzles
Line puzzles start out simple, but the game doesn’t explain anything once it ramps up the challenge. Here are some tips to keep frustration in check:
Take Time to Experiment
The game isn’t punishing about mistakes. If one approach isn’t working, try tracing a wild, “bad” route on purpose. Failing often teaches you what won’t work—and narrows down what might.
Work Backwards
If you’re stuck, start at the finish and trace possible paths back toward the starting point. Sometimes seeing the route in reverse helps you spot patterns or open paths you missed.
Pay Attention to the Environment
Occasionally, shadows, tree branches, or other parts of the island will offer hints about solving a panel’s layout or rules, especially for the more abstract puzzles.
Layer Up the Rules
When more than one symbol type appears on a panel, break the puzzle down by tackling one rule at a time. For example: first, make sure dots are all collectable, then check if your line also keeps squares separate.
Don’t Rush—Look for Patterns
If a grid seems impossible, look at previous panels in the same area. The Witness likes to teach by example—solved panels from earlier are clues to new ones.
Special Types: Environmental Line Puzzles
Beyond panels, some puzzles use the island itself. You’ll spot shapes or paths in the landscape that can be “solved” the same way as a normal line panel, using your own point of view as the starting point. These are usually hidden pretty well and add an extra layer of challenge.
Conclusion
Tracing lines on panels may look simple, but The Witness uses this mechanic to create hundreds of increasingly brain-bending challenges. Whether you’re untangling symbol rules or testing strange paths, every panel slowly improves your ability to see logic—and to spot the clues the game leaves for you. Don’t be afraid to clear your head, test hypotheses, and look at puzzles from every angle. Each line is another lesson, and every solution brings you one step closer to mastering the island’s logic.
Environmental Puzzles: When the World Becomes the Puzzle
Not every riddle in The Witness sits conveniently on a panel. Around the island, environmental puzzles turn your entire surroundings into the trick. Spotting and solving these is one of the game’s most satisfying moments—they’re hidden in plain sight, and they ask you to use your camera and brain the same way you do on line panels.
What Are Environmental Puzzles?
Environmental puzzles in The Witness are hidden line puzzles formed by objects, shadows, tree branches, or even gaps in a fence—anything that, when looked at from the right spot, lines up to create a familiar "start-to-end" path shape. Instead of drawing a line, you line up your viewpoint so the world itself looks like one giant puzzle panel. When you lock onto the right spot, a faint circle appears, letting you trace the path the same way you would on a real panel.
Think of it like connecting-the-dots with your eyes: You’re always looking for that glowing circle that means you’ve stumbled on something special.
How to Spot Environmental Puzzles
Finding these takes more than just good puzzle skills—it tests your observation. Here’s how to get started:
- Look for weirdly perfect circles. You might see the sun peeking through leaves, manhole covers, or even colored glass windows. If it looks like the “start” of a line puzzle panel, it probably is.
- Notice distinct lines. Long shadows, railings, cracks on the ground, or the shape of a river might form a straight or winding path that could be traceable if viewed from just the right spot.
- Check for outlines and color contrasts. Some puzzles blend into the scenery and only pop if the lighting’s right or if your position lines them up just so.
- Listen for audio cues. Occasionally, you’ll hear a distinctive “ping” sound when you pass by a hidden environmental puzzle. Trust your ears.
How to Solve Environmental Puzzles
Solving an environmental puzzle is a lot like framing a selfie—except you’re not in the shot. Here’s how it usually works:
- Move your character so that the end points of a possible path (the start and goal) line up as a perfect circuit or winding trail in your field of view.
- Watch for the puzzle interface to kick in. A white circle will appear at the start spot, signaling you can now interact.
- Trace the path using your controls, just like on a normal puzzle, following the environmental curve or outline until you hit the endpoint.
Sometimes the “solution” you’re tracing will snake along boat masts, flowers, or even clouds. If the game lets you trace, you’ve pieced together the puzzle.
Why Environmental Puzzles Matter
At first, it seems like these are just neat easter eggs. But the deeper you get into The Witness, the more you’ll see how environmental puzzles connect to the game’s big picture. Here’s why they’re a big deal:
- Reinforcing themes. The game nudges you to pay attention to your surroundings, not just crank through panels. Environmental puzzles reward being present, observant, and thinking outside the usual grid.
- Triggering secrets. Many of the game’s hidden areas, song fragments, and secret endings are tied to solving environmental puzzles. If you want to see everything the island offers, you’ll need to track these down.
- Teaching new rules. Some panel puzzles use visual cues inspired by the surrounding area—understanding the language of environmental puzzles often unlocks mental shortcuts for the tougher grid-based types.
Examples: Where to Find Environmental Puzzles
Without spoiling all the fun, here are a few classic spots where environmental puzzles love to hide:
- The Orchard: Tree branches overhead frame arcs and curves, especially when fruit or leaves help outline a path.
- The Marsh: Pink reeds and reflections in the water create lines you can use if you stand in just the right place.
- The Keep: Fences and castle walls cast stark shadows, which sometimes echo the shape of classic line puzzles.
- The Jungle: Hanging vines and streams occasionally blend to spell out a familiar curved maze, visible only from a certain rock or corner.
- The Mountain: Massive structures and even skylines at sunset can come together as a path you never suspected.
Tips for Tracking Them Down
- Be patient with your camera. Move slowly, adjust your angle a little at a time, and see how snapping to a slightly different spot can reveal things you missed.
- Backtrack and revisit. Sometimes a puzzle only becomes visible after you solve something else that changes the light or unlocks a new area.
- Remember the panels. The kinds of paths you see in panel puzzles often match the environmental ones nearby. If a panel puzzle had a zig-zag pattern, scan the scenery for something similar.
- Trust your instincts. If something feels like it should be a puzzle, it probably is! The game loves rewarding curiosity.
When Environmental Puzzles Get Tricky
Not every hidden pathway will jump out, and some blend right in with background noise or architectural clutter. Occasionally, puzzles even require you to trigger a mechanism or stand at a certain time of day for everything to line up. If you’re stuck, take a break and return with fresh eyes. Sometimes just circling around an area or looking at a familiar spot in a new way cracks the case.
Wrapping Up: You vs. the Island
Environmental puzzles in The Witness turn the whole world into a puzzle book, challenging your pattern-spotting skills and giving you reasons to keep your head up—even when you’re scratching it. These aren’t just for bonus points; they’re a core part of how the island tells its story and teaches you how to look at things differently. If you’re feeling stuck, remember: sometimes the answer isn’t on a panel. It might be waiting for you, painted in shadows, branches, or sky—if you know where, and how, to look.
Perspective Tricks
The Witness isn’t just challenging you with what’s directly in front of you—it messes with how you look at everything. A lot of the game’s wildest moments come from puzzles that rely on perspective tricks. These puzzles make you rethink how space, distance, and your own viewpoint can become tools for solving problems. Let’s break down how these work.
What Are Perspective Tricks?
Perspective tricks are puzzles or parts of puzzles that only make sense when you stand in a very specific spot or look from a certain angle. In The Witness, this style shows up all over the island, blending real-world objects and your camera angle to create unexpected puzzle paths.
Sometimes, a twisted tree branch might seem meaningless—until you stand on a certain stump and realize it lines up perfectly with markings on the wall behind it. Shadows, reflections, ruined structures, even just a weirdly placed collection of rocks—anything can become a path you can only see from the right vantage point.
How Do Perspective Puzzles Work?
These puzzles aren’t only about moving your character—they’re about lining up elements that don’t connect from other viewpoints. You’ll often have to scope out the area, then slowly move around, paying attention to how lines or shapes change as you circle or step aside.
Here’s how to figure them out:
- Scan the environment. Is there something that looks almost right, but not quite? It could be a half-finished circle, a broken line, or objects that line up if you stand somewhere else.
- Keep moving. Don’t just look from where you first spot something odd. Walk forward, backward, and side to side to see how the shapes shift.
- Watch for color or texture changes. Different colors or shadows can “complete” a puzzle you hadn’t realized was missing a piece.
- Play with height. Sometimes the missing connection only appears if you crouch, climb, or stand on a higher ledge.
Famous Perspective Tricks in The Witness
Here are some memorable types of perspective puzzles you’ll encounter:
The Broken Bridge
In some places, pieces of a path (like a walkway or railing) look split apart. But from one particular spot, those pieces visually snap together and create an outline you can trace with your cursor, starting and finishing at spots that never looked connected until now.
The Colored Glass Windows
Light streaming through colored glass might cast patterns on the floor or walls. Shift your perspective until the colored shapes combine into a panel puzzle—then trace the path with your controls.
Shadows and Sunlight
A fence’s shadow, a crack on the pavement, and a beam of sunlight might all look unrelated until, from one angle, their lines join up. When everything aligns just right, the solution pops into view.
Sculptures and Debris
Art pieces or piles of junk sometimes don’t mean much until you step in line with part of the environment and see their outlines join to make a hidden shape or path.
Pro Tips for Perspective Puzzles
- Stay curious. Areas with lots of objects (sticks, stones, random junk) are good candidates for perspective puzzles.
- Zoom in and out. Some puzzles only make sense from far away, while others need you almost nose-to-nose with the wall.
- Check behind you. Occasionally, the answer is when you turn around—puzzles can wrap around you, literally.
- Experiment with the environment. Some puzzles require sliding panels or changing something in the space to get the lines to sync up.
Why Do Perspective Tricks Matter?
These aren’t just puzzles thrown in for variety—they’re teaching you a bigger lesson. The Witness wants you to realize that your way of seeing things matters as much as your puzzle-solving skills do. It’s training you to look for alternate views, to question obvious answers, and to appreciate that the world (even a digital one) has more layers than you’d guess.
They’re also some of the most satisfying puzzles—finally lining up that last jagged piece and seeing a whole new path emerge never gets old.
Challenge Mode: Layered Perspective Puzzles
Near the late game, you’ll face combos of perspective tricks stacked with color, reflection, and sound clues. Sometimes you’ll need to solve a traditional panel puzzle while lining up shadows or solving from a window halfway across the map.
When things get complicated:
- Work step by step. Each new element is a layer, not a smokescreen.
- Take notes, screenshots, or even snap a photo with your phone—it can help tie together bits you keep forgetting.
- Walk away and come back. Perspective puzzles often “click” with a clear head.
Final Thoughts
Perspective tricks in The Witness show off just how playful and creative the game’s world can be. Always pay attention to your surroundings—sometimes the solution isn’t about thinking harder, but changing how and where you look. If you’re feeling stumped, shift your point of view. The answer might already be in front of you—just waiting for you to see it from a new angle.
Audio and Visual Clues
The Witness isn’t just about tracing lines on flat screens. The world is packed with subtle details. Sounds and sights around you act as cues, hints, and sometimes even direct puzzle solutions. Let’s break down how audio and visual clues work on the island—and how to use them to get past some of the game’s trickiest moments.
What Are Audio Clues?
In a game mostly about visuals, audio seems like it’d be on the backburner. Not here. Certain sections use sound as a key — from birdsong to beeps, chimes, or environmental noises that line up with panel puzzles.
- Sound-Based Panels: You’ll recognize these by patterns with no obvious visual solution, often paired with speakers or music notes in the area.
- Environmental Noises: Sometimes wind, water, or an animal call serves as a timing cue or rhythm you must match on the panel.
For example, you may find a panel with branching paths, and nearby, a subtle melody plays. Listen closely: the pitch may rise and fall. Your goal? Trace a path that “follows” those pitches — like drawing sheet music, up for a high note, down for a low one.
Tips for Solving Sound Puzzles
- Wear headphones if possible. Directionality can sometimes help.
- Replay the sound. Usually, moving away and coming back, or pressing a switch, re-triggers the sequence.
- Hum along. Matching your vocal “ups” and “downs” helps you remember the pattern.
- Check the environment. Sometimes, clues appear as both a sound and a sight (like a bird chirping, then flying off in the direction the puzzle solution takes).
Visual Cues Everywhere
Visual hints are everywhere—not just on panels. The entire island is set up to nudge your eye towards solutions.
Types of Visual Clues
- Shadows and Light: A shadow cast on a puzzle grid might show the correct path, or highlight the spots you don’t want to touch.
- Color Coding: Panels use preserved colors from the world—a yellow fruit on a tree, stained glass, or pools of glowing liquid can tie into which lines to use or avoid.
- Symbols and Markings: Look for scratches, paint, or repeated symbols. If a panel has squares marked with dots or T-shapes, look around for a matching shape or object nearby.
- Reflections and Mirroring: Sometimes, a puzzle sits beside water or behind glass. Check the reflected image—a path might be visible only in the reflection.
- Wear and Tear: Faded lines, worn patches, or even missing chunks of puzzle frames might hint at the correct — or forbidden — routes.
Contextual Visual Nudges
Panels might be angled so you can only see the full board from a certain spot. Statues, signs, and even nearby architecture often double as solution guides, suggesting the orientation or order the puzzle wants.
Audio Meets Visual: The Crossover Clues
There are moments where aural and visual clues work together. A panel might light up in sync with a musical note, or a color sequence blinks along with a rhythm. Pay attention to both senses, especially in the more advanced puzzle clusters.
Examples
- In the orchard, some puzzles use the color of fruit on trees and the sound of wind blowing through their branches. Together, they reveal which branches are “alive” for your line and which are dead ends.
- In a cave, you might see a pattern of blinking lights, with each flash pairing with a beep. The combination gives you both order and direction for your next move.
How to Spot Hidden Clues
Don’t rush. Walk slowly around new areas. If a panel seems unsolvable, back up and see what’s in the room. Sound puzzles sometimes quietly play in the background; visual clues can be hidden just out of direct sight.
- Look for oddities: Does a path seem too easy? Is a panel lit differently? Are there markings in the dust, or something shiny off to the side?
- Pause and listen: The forest is quieter than the greenhouse for a reason. Listen for anything that repeats or stands out from the ambient noise.
- Compare similar puzzles: If two panels look almost identical but have one difference, dig into what’s nearby—they’re probably hinting at where to pay attention.
Common Pitfalls and Fixes
It’s easy to get stuck if you misinterpret a clue or miss something obvious. Here’s what usually trips players up:
- Ignoring sound. If you’re tuned out, you might miss a tempo or rhythm entirely.
- Relying on brute force. Some clues are barely visible, but always present. Don’t just guess—check your surroundings.
- Getting stuck on one sense. If you’ve stared forever at a panel with no luck, close your eyes and listen instead.
- Forgetting about outside-the-panel hints. Clues often wrap around the main puzzle frame or even stretch out into the landscape.
Pro Tips for Audio and Visual Clues
- When stumped, use process of elimination. Sometimes, you just need to try every path that matches what you think you heard or saw.
- Use screenshots or draw diagrams. Keeping track of patterns or sounds can keep your memory fresh, especially in bigger, multi-panel sections with similar clues.
- Don’t overthink it: The answer is usually tied tightly to what’s unique in your current spot. If a puzzle makes you feel stuck, backtrack and survey the room—there’s likely something you missed.
- Don’t be afraid to experiment! Some solutions only become clear after a couple of failed attempts.
Wrapping Up
Audio and visual clues add extra layers of cleverness and mystery to The Witness. Learning to tune your eyes and ears for hints is half the fun—and sometimes the key to moving forward. Next time you’re at a dead end, slow down, watch patterns, and listen for that one sound you might have missed. Chances are, the world is already offering the nudge you need.
Symbol Interpretation
Every puzzle panel in The Witness shares a similar format: a grid of squares filled with unique symbols. These little icons aren’t just decoration—they define the exact rules for solving that panel. Figuring out what each symbol means is the core challenge and the gateway to the deeper logic of the game.
Recognizing Core Symbol Types
From the moment you exit the opening chamber, you’ll notice repeating shapes on many boards—dots, squares, triangles, stars, Tetris blocks, and more. Each type adds a rule to your path drawing. Let’s break down the most common symbols:
1. Dots and Lines
- Dots: Usually placed on intersections or within squares. The typical rule: your traced line must pass through (or sometimes avoid) all the dots.
- Lines: Some squares include lines, signaling that your solution must cause the line you draw to follow or overlap those specific shapes on the panel.
2. Squares and Colors
- Colored Squares: Each color often relates to something in the area or to separation. Panels with black and white (or other color combinations) usually challenge you to keep colors grouped apart. If a panel features black and white squares, the rule is: your solution needs to split the black and white tiles into distinct regions.
- Multi-Colored Squares: Puzzles get trickier as more colors are added. To solve, draw a barrier so that no two colors share the same enclosed section.
3. Polyominoes and Tetris Blocks
- Polyomino Shapes: Blocks shaped like Tetris pieces (called “polyominoes”) require you to enclose a space on the grid whose outline matches those shapes. If there’s an L-shape polyomino, you need a matching L-shaped space somewhere along your route.
- Multiple Polyominoes: When several are on the same board, your solution must fit all of their outlines together within the borders you draw. Sometimes pieces can overlap; sometimes they can’t—watch for slight changes in panel rules.
4. Stars and Hexes
- Stars (sometimes called suns): The rule: each blocked-off region must contain exactly two matching stars—no more, no less. If you spot a red star and a yellow star, you need to make sure all the red stars are paired with reds and yellows with yellows in separate enclosures.
- Hexagons: Panels with hex shapes typically want you to pass through each hex at least once. Sometimes, there’s a color twist—yellow hexes for yellow lines, etc.
5. Triangles and Dots Inside Squares
- Triangles: These mark squares that must touch a certain number of edges. A triangle with a “2” wants your solution to pass along two sides of that square. If you miss, the panel won’t unlock.
- Dots Inside Squares: These typically ask your traced path to hit or go through them—missing even one usually means starting over.
Interpreting Combinations of Symbols
Panels often use two or more symbol types at once. In these situations, every rule must be followed at the same time. For example, a panel might have both colored squares and polyominoes, so you need to separate the colors and enclose spaces that fit the required block shapes. The trick is to identify all the rules before drawing your line.
Learning from the Environment
Symbols are introduced gradually, usually starting with a line of easy panels right outside where a new symbol appears. The first panel will present the rule with a clear, simple example, letting you figure it out without words or tutorials. As you progress, puzzles get more complex. If you’re stumped, look for an earlier, easier version with the same symbols somewhere nearby.
Often, the scenery around the puzzle hints at the meaning of new symbols. For example, colored fruit in a tree could relate to the color-separation rule, or stone tiles on the ground may mirror the arrangement of squares on your current board.
Interpretation Tips
- Take notes: Sometimes, drawing a quick sketch of the symbols on a piece of paper makes the rule more obvious.
- Practice variations: If you can't crack a tough board, try similar puzzles elsewhere on the island—often, the concept you're missing is taught in a simpler form nearby.
- Look for feedback: Panels usually give gentle hints. A correct segment lights up as you draw, while incorrect moves may force your line to reset or buzz.
Advanced Symbol Tricks
Later sections pair up symbols, stack rules, or introduce new twists:
- Negative Polyominoes: Some Tetris shapes appear as outlines instead of filled-in blocks. They mean you must not include that shape in any enclosed space.
- Ambiguous or Disguised Shapes: Some areas use faded or partially hidden symbols to make direct interpretation harder.
- Invisible Symbols: Rare boards have a rule but no visible icon; you need to apply what you’ve learned from earlier panels.
Mindset While Decoding Symbols
Approach each new board with fresh eyes. The game is about pattern recognition and logical testing—if a path doesn’t work, think about which rule you broke. Forget brute-forcing; carefully analyzing each symbol saves time and reduces frustration.
Remember, every panel is solvable with clues right in front of you. If you keep getting stuck, step back and ask, “What rules could these symbols be teaching me?” Let the puzzles train your logic muscle bit by bit.
Final Thoughts on Symbol Interpretation
Understanding symbol language is The Witness at its most satisfying. Every aha-moment comes from cracking the code behind a weird shape or a color split. The more you practice, the faster you’ll see the logic behind even the trickiest boards. Keep a sharp eye, trust your memory, and don’t hesitate to experiment—cracking the meaning behind these little icons is the heart of your journey through the island.