Subnautica: Ultimate Base Building Guide
Master base building in Subnautica with expert tips on location, resources, power, layouts, and seamless vehicle docking.
Building a base in Subnautica isn’t just about carving out a home beneath the waves—it’s one of the most rewarding and creatively open parts of surviving on Planet 4546B. Whether you’re looking to craft a cozy haven safe from stalkers or engineer a sprawling underwater research station, there’s a lot that goes into planning and constructing something that’s both practical and visually impressive. Balancing oxygen, power, location, and expansion can get tricky, especially when new blueprints and upgrades start piling in. Having a good handle on the basics—and a few advanced tricks—can make your journey smoother and leave you with a base that serves all your needs, from farming food to storing rare resources and docking vehicles.
Location Selection
Picking the right spot for your first—or favorite—base in Subnautica isn't just about what looks cool under the sea. A good base location will save you headaches, resources, and time as you progress. There’s a lot to think about: resource availability, depth, proximity to biomes and story points, risk of predators, even how gorgeous the view is when you peek out the window. Let’s break down what goes into smart base placement, and look at top locations to help you settle in comfortably on 4546B.
What Makes a Good Base Location?
Before anchoring your Habitat Builder anywhere, consider these factors:
- Resource Proximity: Is the area rich in early-game necessities like titanium and quartz? Later, will you need coral, magnetite, or lithium nearby?
- Safety: Are there aggressive creatures lurking close, or is this zone relatively peaceful? The right spot will minimize attacks and keep repairs to a minimum.
- Access to Landmarks: How far is it from crash sites, caves, the Aurora, or alien facilities? Locations near high-traffic routes lower the grind for upgrades and blueprints.
- Depth: Going deeper offers access to rarer materials and unlocks module depth upgrades. Too shallow, and you’ll be running out of room as you build downward.
- Sunlight: Solar power is super helpful at first, but some biomes are too deep or dark. Consider the power supply options for your chosen place.
- Buildable Terrain: Flat areas make building easier. Slopes and sharp rocks mean awkward hallways and wasted space.
Favorite Biomes for Base Building
Let’s run through the most popular biomes and hot spots, with pros and cons for each:
Safe Shallows
- Pros: Pretty much the best starter area. Calm waters, minimal threats, and plenty of early-game resources.
- Cons: Limited depth for expansion, so you’ll need satellite outposts as you go deeper. Long treks to late-game materials.
- Ideal For: New players, early game, setting up solar-powered operations and a cozy first home.
Grassy Plateaus
- Pros: Gorgeous red grass, easy access to silver, sandstone, and certain mid-game flora and fauna. Good depth (~90m) for initial base upgrades.
- Cons: Occasional sand shark and stalker threats. Sunlight fades beyond 100m, so you might need bioreactors soon.
- Ideal For: Early to mid-game, farms, proximity to the Aurora, and convenience to the Sparse Reef.
Kelp Forest
- Pros: Lush resources for wiring kits, creepvine, and clusters. Lots of fish and salvage for upgrades.
- Cons: Stalkers are annoying early on and enjoy nibbling on your base. Can be visually cluttered.
- Ideal For: Fast access to crafting resources, mobile outpost, not long-term headquarters.
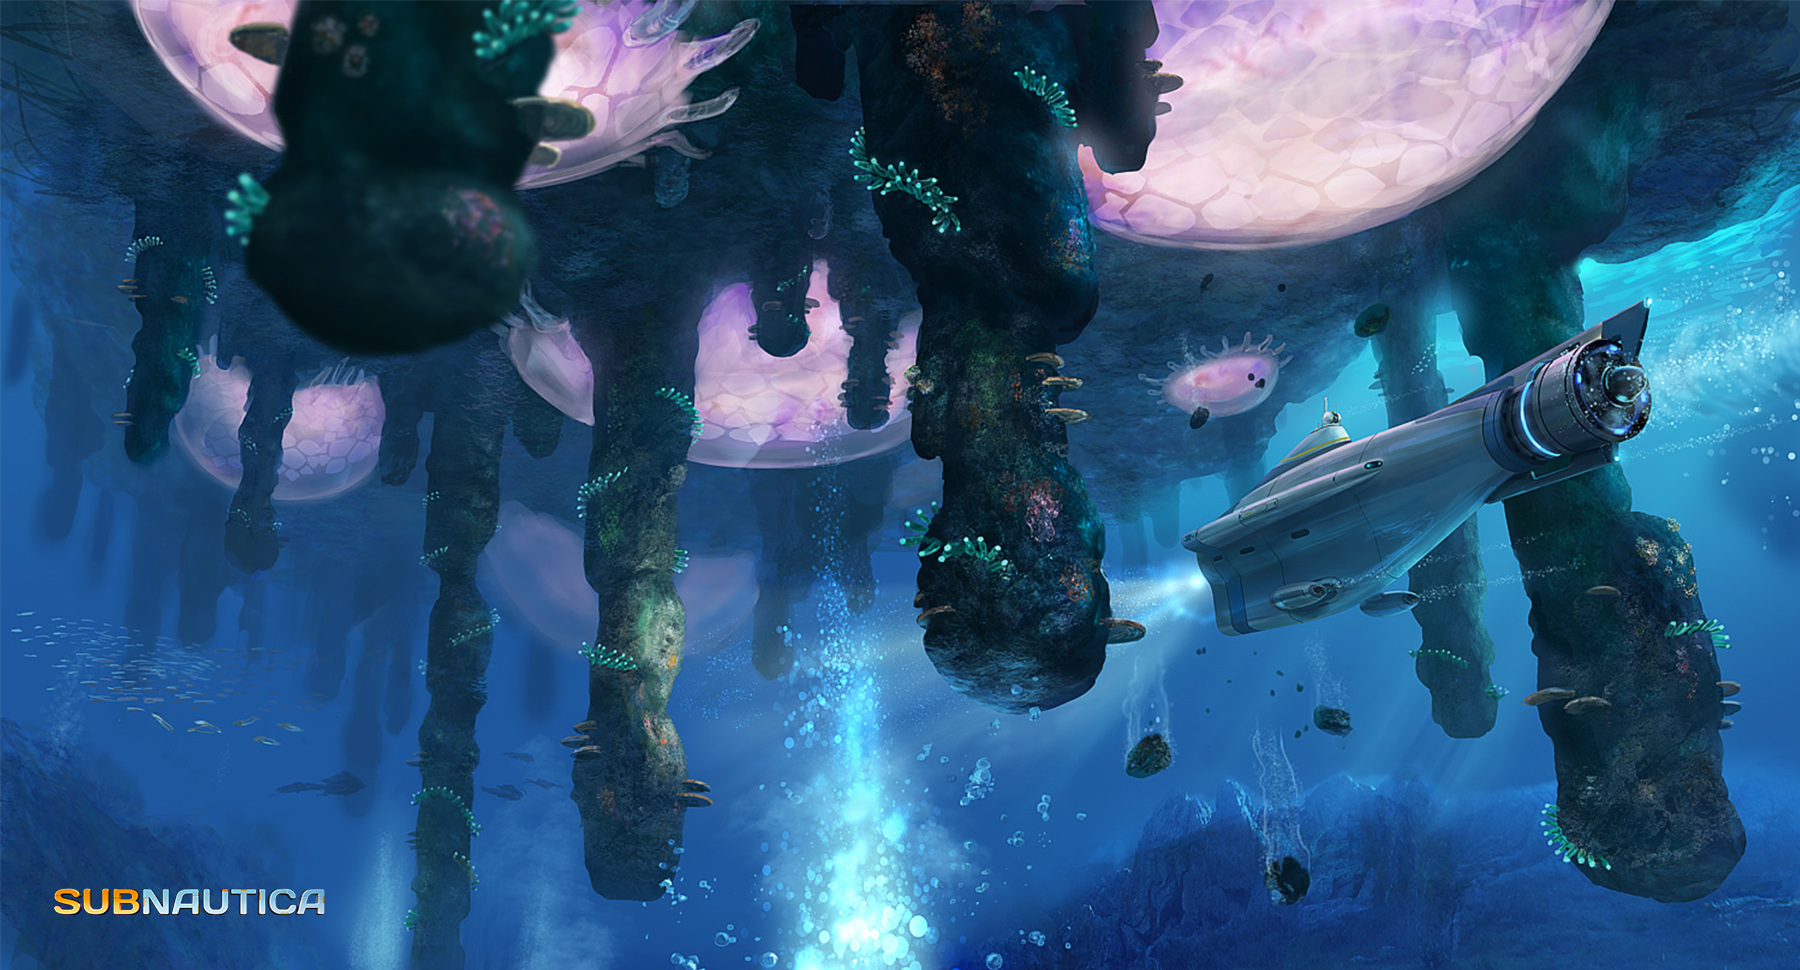
Jellyshroom Cave
- Pros: Mid-game gold mine for magnetite, lithium, and mushrooms for power. Deep enough to avoid surface predators.
- Cons: Dangerous crab snakes, low light. Solar energy is out—plan for bioreactor or nuclear power instead.
- Ideal For: Resource outpost, mid-game upgrades, not day-to-day survival.
Lost River or Deep Grand Reef
- Pros: Advanced materials close by—nickel, rubies, and access to the endgame. Secluded, with fewer casual threats.
- Cons: Harder to establish early, limited sunlight, and some fierce leviathans nearby.
- Ideal For: Late-game tech labs, resource storage, quick access to alien bases.
Floating Island or Mountain Island
- Pros: Land base building! No aquatic threats, grows crops easily, loads of lithium, and scenic views.
- Cons: Tedious to fetch water and most underwater resources. Not suitable for a main home but works great for a farming outpost.
- Ideal For: Greenhouse, multipurpose resource hub, a break from underwater life.
Strategic Multi-Base Approach
No single spot covers every need. If you try to expand one starter base into a catch-all HQ, you’ll end up making long, tedious trips across biomes. For smooth sailing, combine a main base near the Safe Shallows or Grassy Plateaus with smaller outposts closer to the Jellyshroom Cave, Lost River, and islands. Use these satellite bases just for storage, scanning, and vehicle docking—this way, you don’t risk everything if one base is wiped or you run out of power.
Power Considerations by Location
Your energy supply depends on depth and sunlight:
- Shallow (0–100m): Solar panels are easy, cheap, and reliable.
- Mid-depth (100–300m): Solar is hit-or-miss. Switch to bioreactors (using fish or plants) or thermal vents for constant power.
- Deep (300+m): Go with thermal plants if you’re close to geothermal vents, or nuclear power for long-term operations.
Battery charging stations and power cell chargers are critical for vehicle bases, especially in the deeper zones.
Avoiding Common Mistakes
- Don’t settle too deep too soon—you won’t have enough upgrades for your Seamoth or Prawn Suit.
- Always scout for predators at different times of the day.
- Don't skimp on power—running out mid-crafting puts you in a bad spot.
- Scope out exits and entrances—easy access for your Seamoth or Cyclops saves time and oxygen.
Conclusion
In summary, where you decide to put your base will affect every part of your adventure. There’s no one perfect location, but thinking ahead will help as you set up, survive, and thrive. Start safe, expand wisely, and let your creativity shape the undersea architecture of Planet 4546B. The ocean's not going to make it easy, but a well-placed base means you can handle whatever waits in the deep.
Resource Management
Managing resources in Subnautica is key for thriving, not just surviving. Every stage of the game pushes you to gather, store, and use materials thoughtfully. Waste too much time hunting down a single chunk of quartz and you slow down progress; ignore your supply of essentials and you might end up stranded right when a Reaper Leviathan prowls nearby. Here’s how to keep your stash stocked, your lockers organized, and your sanity intact.
Stockpiling the Essentials
Certain resources become bottlenecks quickly. At the top of the must-have list: titanium, quartz, copper, and batteries. Titanium rides shotgun in every bulk locker because almost every structure and tool needs a lot of it, from ladders and corridors to Seaglides and mobile vehicle bays. Harvest scrap metal, salvage, and titanium outcrops in bulk and stash them at your main base.
Quartz runs out much faster than you’d expect—glass for windows, enamel, and storage requires a constant supply, so snag every node you spot while making trips for other supplies. Copper gets eaten up by batteries and electronics, making it another potential pinch point during equipment upgrades.
As you move deeper, essentials like lithium (for ultra-strong Plasteel alloys), rubies, and magnetite step up as core crafting ingredients. Always set aside extra locker space for late-game finds even if you aren’t using them right away; otherwise, you’ll regret having to backtrack through risky zones to refill a missed element.
Efficient Storage Solutions
Organization sounds boring, but in Subnautica’s pressure-cooker gameplay, digging through six different lockers searching for silver is its own kind of horror. Create “smart” lockers: label by resource type (Metals, Electronics, Advanced Materials) or by project (Scanner Room Upgrades, Cyclops Parts). Color code or stack vertically for fast visual sweeps.
As your base expands, keep a stash of emergency food, water, and medical kits close to entrance hatches, not buried three corridors away. Outposts in high-risk biomes should have their own backups of critical tech, in case you run low during deep-sea expeditions.
Farming: Fish, Food, and Fuel
Crops and alien creatures help your base run smoothly. Bulbo Trees and Marblemelons, grown in planters, offer steady hydration and calories. An interior grow bed near your kitchen keeps trips for food and drink minimal. Fish like Bladderfish (for water) and Reginalds (for food power) multiply quickly in Alien Containment tanks, providing a renewable source you can tap anytime.
Bioreactors eat up organic matter to generate power—so an on-site tank of fish or beds of fast-growing vegetables can feed your grid, especially beyond solar’s reach. Cycling excess crops into fuel gives you an energy safety net where sunlight can’t follow.
Resource Runs and Risk Management
Efficiency often means grabbing multiple types of resources at once rather than focusing on one item. Plan routes that swing by crash sites for metal salvage, through Safe Shallows for quartz, and skirt the Grassy Plateaus for sandstone all in a single run. An upgraded Seaglide or Seamoth lets you extend your range and make heavier hauls safely.
The risk factor creeps up the deeper you go. Don’t gamble with rare material runs unless you’ve got everything you need: spare batteries, full O2 tanks, and a route back in case things go sideways. When you start hitting resource veins in tough spots (like the Blood Kelp Zone or the Lost River), bring enough storage capacity or even set up a temp outpost for unloading loot.
Automation and Upgrades
The Scanner Room can feel like cheating in the best way. Once you have it, use its HUD Chip and Camera Drones to pinpoint resource nodes in a wide area. This saves time wandering aimlessly and keeps trips more efficient. Upgrade the Scanner Room’s range as your base location requires, but beware—adding too many cameras and sensors can quickly eat up base power.
Use a Vehicle Upgrade Console to add storage modules to the Seamoth or Prawn Suit. This lets you haul loads of ore, salvage, and rare materials back in one journey rather than ten.
Know When to Trade and Where to Skimp
Grab everything early, but get picky late-game. Don’t bother hoarding titanium scrap once your essential builds are done—prioritize storage space for rarities like ion cubes, kyanite, and aerogel ingredients. Similarly, don’t fill lockers with organic matter if your bioreactor is already topped up; seeds and eggs can be replanted or released to save space.
If you’re short on something rare (like stalker teeth for emanel glass), try manipulating stalker behavior—drop piles of metal salvage in a Kelp Forest and watch them chew. Farm aggressively when you encounter rare outcrops, but don’t hoard so much you’re tripping over unnecessary extras.
Tips for Smarter Resource Management
- Craft beacons and leave one at each unique resource hotspot for return visits.
- Ditch non-essential junk—old scanners, spare pipes—rather than let them clog your inventory.
- Build larger storage lockers in late-game bases for less micromanaging.
- Use the Fabricator at outposts to turn raw resources into stackable bars, glass, or advanced materials for more efficient storage.
Wrapping Up
Staying ahead in Subnautica depends on keeping your resources balanced, your inventory streamlined, and your bases strategically stocked. A little planning now means you’ll spend less time scrambling for scraps and more time upgrading, upgrading, and tackling the ocean’s toughest challenges. Get organized, plan your runs, and stash your haul like a savvy survivor—the ocean rewards those who prep.
Power Generation
Staying powered up isn’t just about convenience—your base literally shuts down without enough juice. Everything from basic oxygen production to advanced water filtration depends on a steady supply of energy. Here’s a rundown on how to keep your base humming no matter where you decide to set up shop.
Solar Panels: Early, Easy, and Essential
How They Work
Solar Panels convert sunlight into energy during the day, storing it in your base’s internal batteries. They’re simple to craft with titanium and quartz, making them your best friend in the early game.
Best Use
- Place them on top of your first base in the Safe Shallows or similarly shallow areas.
- Panels work best within 20 meters of the surface. Deeper bases are out of luck—power drops off fast the lower you go.
- Spread out several panels rather than stacking, as surface area is what matters.
- Power generation halts at night or during storms, so plan accordingly.
Tips
- Build a small “charging outpost” with solar panels and a battery charger for daytime pit stops further from home.
- Stack extra panels rather than relying on just a couple. They’re cheap, and redundancy keeps the lights on.
Bioreactor: Mid-Game Muscle
How It Works
The Bioreactor eats organic items (like fish, plants, or seeds) and spits out a steady stream of power. It fits inside your Multipurpose Room and acts as the backbone for bases too deep for solar.
Best Use
- Bases at mid-depths (especially near resource-rich areas) really shine with this setup.
- Toss in Bulbo Tree samples, Marblemelons, or a stack of quick-breeding fish from your Alien Containment—these offer the biggest/quickest energy boost.
- Bioreactors keep producing power day and night, as long as you feed them.
Tips
- Add an indoor growbed right next to your Bioreactor. Instant refueling.
- Regularly clean out uneaten plant matter so you’re not wasting biomass space.
- Rotate different foods (fish, seeds, fruit) to avoid draining a single supply chain.
Thermal Plant: The Hot Solution for the Deep
How It Works
Thermal Plants generate power from ambient heat sources—think underwater steam vents and lava zones. Lay a plant next to the heat source, then run Power Transmitters to your main base up to 100 meters away.
Best Use
- Deep or mid-game bases near Geothermal Vents, specifically the Jellyshroom Cave, Blood Kelp Zone, or Inactive Lava Zone.
- Thermal generators don’t need upkeep or fuel, so they’re ideal for “fire and forget” energy needs.
Tips
- Position plants as close to the hottest vent as possible for max output. Cooler zones produce less energy.
- Power Transmitters extend the reach—connect as many as it takes.
- Consider building small power sub-stations in extremely hostile biomes, linking them underground with transmitters.
Nuclear Reactor: Late Game Titan
How It Works
Nuclear Reactors run on Reactor Rods (made from Lead, Titanium, and Uraninite Crystals). They provide a high-output, hands-off solution for large sea bases with energy-hungry equipment.
Best Use
- Late game structures loaded with Water Filtration Machines, Alien Containment, and extensive lighting/defenses.
- Each Reactor Rod lasts a long time but will eventually be spent and need replacing. Always pack extras if venturing to hard-to-reach outposts.
Tips
- Store spent rods in a locker—don’t just drop them, as that leaves radioactive waste behind.
- Keep a Fabricator stocked with rod materials for quick renewal.
- Use alongside secondary power sources (thermal, bioreactor) for backup.
Power Cells, Batteries, and Charging
Power Cells
Mobile vehicles (Seamoth, Cyclops, Prawn Suit) run on power cells. You’ll want a Power Cell Charger in your base for swapping out depleted ones, especially during long expeditions.
Battery Chargers
Essential for tools and handheld gear. Set up stations at every major outpost so you’re never left stranded with a dead Seaglide or Scanner.
Pro Tips
- Keep a few extra batteries or a spare Power Cell handy for emergencies.
- Use solar outposts with chargers stationed strategically on popular travel routes.
Managing Your Grid
Stacking Power Sources
Most players run a hybrid grid. Solar for the basics, bioreactor or thermal for reliability, and nuclear for serious output. Mix and match; as your base gets bigger, your needs will change.
Power Management
- Keep an eye on total consumption versus production in the habitat builder’s “Power” readout.
- Shut down non-essential gear (like Water Filtration Machines) if you’re running low.
- Use circuit breaker panels to kill power to certain rooms during blackouts.
Expansion Notes
- Plan ahead when building new wings—each additional appliance drains more energy.
- If your lights start flickering or oxygen feels sketchy, check power first.
Wrapping Up Power Generation
A self-sustaining base depends on the right kind of power for the location and your needs. Early on, stack solar panels, but when you push deep, swap in bioreactors, thermal plants, or nuclear reactors. Balance your grid, watch your usage, and stash spare rod or biomass ingredients. Keep chargers handy and split your power sources to avoid blackouts. With the energy problem handled, everything else in Subnautica feels way less stressful—you’ll have hot food, safe air, and charged gear even when the sun goes down.
Base Layout Guide
Creating a smart, functional base layout in Subnautica turns your underwater shelter from a cramped panic room into a home base that’s actually nice to return to. It isn’t just about looking good, though—smart layouts save you from endless back-and-forth, cut down on wasted power, and help you avoid leaks or implosions when the pressure rises. Here’s how to put together base designs that work on any playstyle, whether you’re a first-timer or crafting a sprawling underwater compound.
Picking Your Location Wisely
Before you even place that first foundation, think about where you’re building. The spot you choose decides a lot about how you lay things out and which modules make sense.
Things to Consider
- Proximity to Resources: Make sure you’re close to useful stuff like limestone, salt, fish, or rare minerals. The less time you spend swimming to gather basics, the better.
- Biomes: Safer biomes (like Safe Shallows or Grassy Plateaus) are best for early starting areas. Deep biomes, vents, and scary places work for outposts—you can always build extra bases as you progress.
- Power Options: Solar panels only work near the surface; thermal plants need vents; nuclear works anywhere but late-game.
Planning the Core Modules
Every base should have a few essential components for survival and convenience. Lay these out so you don’t crowd yourself or spend time retracing your fins.
Base Core
- Multipurpose Room: This is your main living area—big, roomy, and an easy docking point for expansion.
- Hatch: Always put it somewhere accessible but not in the way. Double up in big bases for multiple entry points.
- Scanner Room: Attach it close to the front or side so you don’t lose your bearings.
- Moonpool (if available): Place this slightly off-center for vehicle access. Think about driving your Seamoth or Prawn Suit straight in instead of looping around.
- Bulkhead Doors: Place between key sections or at chokepoints. They help reinforce your base and keep out water if a breach happens.
Organizing Your Space
You get way more done when your equipment and storage are set up for easy access. Group things by function and purpose, not just aesthetics.
Living Quarters
- Add beds, fabricators, radio, medkit fabricator, and lockers for personal gear.
- Keep this close to your entrance or central room—you’ll be back here a lot.
Storage and Fabrication
- Place lockers, wall-lockers, and your primary fabricator together.
- Label lockers for different items (minerals, organic matter, tools).
- Build a battery charger and power cell charger near the fabricator for one-stop crafting.
Bioreactor/Growbed Farms
- If you’ve got a bioreactor, put a room with an indoor growbed or aquarium next door.
- This way, refueling is just a quick hop rather than a slog across your whole base.
Water Filtration Room
- These machines hog power and take a while to pump out water and salt. Put them away from your entrance—they’re noisy and you don’t need constant access.
Scanner Room and Upgrades
- Attach this to a base branch, not the main corridor, since it takes up a chunk of space and can get crowded with upgrades.
Observation/Glass Tunnels
- Glass corridors are perfect for biomes with great views (like the Kelp Forest edge or Blood Kelp Zone).
- Don’t overdo it—lots of glass weakens hull strength unless you add reinforcements.
Expanding Without Losing Your Mind
As your needs grow, it’s tempting to bolt on rooms randomly. You’ll thank yourself for a little structure.
Main Corridor Layout
Start with a core room (Multipurpose Room), then add corridors branching out to:
- Crafting & Storage Wing
- Utilities & Power Generation
- Docking/Moonpool Section
- Living Quarters/Medbay Area
This keeps each area focused, cuts down travel time, and looks cleaner. T-junctions, X-junctions, and vertical connectors add flexibility.
Vertical vs. Horizontal Growth
- Vertical Growth: Good in tight spaces or when you hit the terrain limit. Ladders connect floors but space can feel cramped.
- Horizontal Growth: Feels more open but costs more structural integrity. Use foundations and reinforcements with each new ring of rooms.
Outposts and Satellites
Instead of stretching one mega-base everywhere, try building outposts near useful biomes or mining hotspots.
- Go minimal: one room, a hatch, power supply, lockers, and maybe a scanner or fabricator.
- Connect them in your head with beacons or a Cyclops path.
Balancing Aesthetics and Function
A cool base is great, but don’t let style get in the way of survival.
- Use windows and glass domes sparingly—they look awesome but drop hull integrity.
- Reinforce with Lithium and hull plates around pressure points, especially below 100 meters depth.
- Exterior Growbeds and planters lighten up the look and provide handy food.
- Interior decor (posters, plushies, plants) actually make a difference—it feels less like a panic shelter, more like a real home.
Key Base Layout Tips
- Always leave enough space between modules for upgrades later.
- If a section of base feels useless, repurpose it for growing food, storing backup supplies, or as a secondary entrance.
- Run corridors along the sea floor. Floating/cantilevered sections can crash from added load or leaks.
- Regularly check hull strength in the Habitat Builder UI—red numbers mean you’re getting close to collapse.
Wrapping Up Base Layouts
A solid layout in Subnautica turns daily routines into smooth sailing. Think ahead about expansions, lump similar functions together, and don’t stress making everything perfect right away. It’s fine to rebuild or shift things as you get better blueprints or a bigger vision for your undersea headquarters. A smartly planned base means more time getting things done—and less time patching leaks or trying to find your locker full of quartz.
Vehicle Docking
Getting around Subnautica’s ocean is faster, safer, and a whole lot cooler once you start using vehicles. But handling your Seamoth or Prawn Suit isn’t just about cruising from point A to B—it’s about having a spot to refuel, repair, and store them. Docking them right saves you tons of hassle and keeps your rides lasting longer. Here’s everything you need to know about docking your vehicles and squeezing the most utility out of your garage under the sea.
The Moonpool: Your Primary Dock
Once you get the Moonpool blueprint (usually found in the Aurora or wreck fragments), you unlock the best way to dock vehicles at your base. The Moonpool is specifically designed for the Seamoth and Prawn Suit—not the Cyclops, but we’ll get to that in a minute.
Moonpool Features
- Vehicle Storage: Drive your Seamoth or Prawn Suit right up under the Moonpool and it auto-lifts your ride into the safe, dry interior.
- Built-in Charger: As soon as you dock, the Moonpool begins recharging your vehicle’s power cell, using your base’s own energy.
- Repair Functions: Docked vehicles slowly repair themselves, which spares you from wandering around with a repair tool after every fish attack.
- Modification Station: Attach the Vehicle Upgrade Console to the wall of your Moonpool. This lets you install upgrades, name, and re-color your Seamoth or Prawn Suit right inside the safety of your base.
Moonpool Placement Tips
- Make sure you have open water underneath your Moonpool—no rocks or plant life blocking the way. Vehicles need a clear path up into the dock.
- An easy access route is best. Don’t tuck your Moonpool behind a maze of corridors or tight turns.
- If you tend to collect several vehicles, consider building two Moonpools for convenience.
Cyclops Docks: Options and Limitations
The Cyclops is your mobile base, but it doesn’t fit into the Moonpool. There’s no official Cyclops dock you can build. Here’s what you need to know about using and supporting your Cyclops:
How the Cyclops Handles Docking
- The only “docking” the Cyclops does is with the player, not the base. Swim inside using the rear hatch.
- You can dock your Seamoth or Prawn Suit inside the Cyclops’ lower bay if you have them with you. The Cyclops charges and repairs your docked sub (if it has power cells), similar to the Moonpool.
- To transfer from base to Cyclops: Exit your base, swim or ride over to the Cyclops, and dock in there as needed. No seamless tunnel or direct bay connection.
Cyclops Parking Tricks
- Try parking your Cyclops close to your base entrance, especially if you use it as your main outpost.
- Set a beacon if you move your Cyclops around to keep track of its location.
Best Practices for Vehicle Docking
Keeping it Simple
Whenever possible, design your base to put the Moonpool in direct line with where you expect to return from expeditions. This way you can glide straight in without awkward maneuvers. Remember you might be escaping Reapers or low on power, so the faster the dock, the safer you are.
Power Management
The Moonpool draws decent power when charging vehicles, so watch your base’s energy reserves. If you’re doing a lot of long trips, consider backing up your main base with extra solar, thermal, or nuclear power to keep the chargers running without blackout.
Upgrade Workflow
The Moonpool and Vehicle Upgrade Console are a package deal—you can’t install upgrades or change colors without the console. Keep your Mod Station nearby so you can craft new modules and plug them into your submersible in the same trip.
Multiple Vehicles
With only one Moonpool, it’s whoever docks first. If you own both a Seamoth and Prawn Suit, or have loaner vehicles parked from outposts, build an extra Moonpool section so you’re not constantly swapping rides in and out. You can always link them with corridors for easy access.
No-Moonpool Solutions
If you’re not ready for a Moonpool (maybe you just started, or blueprints are missing), you have to exit your vehicle outside and swim in:
- Always park somewhere safe and visible.
- Try to leave your Seamoth with headlights facing the base so it’s easy to spot at night.
- Use beacons to mark where you left vehicles in deep or unfamiliar territory.
Docking Safety and Security
Nothing ruins your morning quite like finding your ride chewed up by a Stalker or exploded by a Warper while you’re brewing coffee. Think about outside threats:
- Place your Moonpool at least a little above the local terrain, not right in front of aggressive fauna spawn areas.
- Don’t block your own exits! Vehicle collision detection in Subnautica is mostly forgiving, but a poorly docked Prawn Suit or Seamoth can glitch if wedged into weird geometry.
Summary: Smooth Rides, Safe Docks
Parking your vehicles the right way cuts down on routine headaches and keeps you ready for whatever the ocean throws at you. Get that Moonpool up as soon as you can, mind your Cyclops parking, and plan your base so docking fits your daily habits. A little thought into your docking setup gives you more time for the good stuff—scanning, gathering, and falling in love with your ocean backyard.