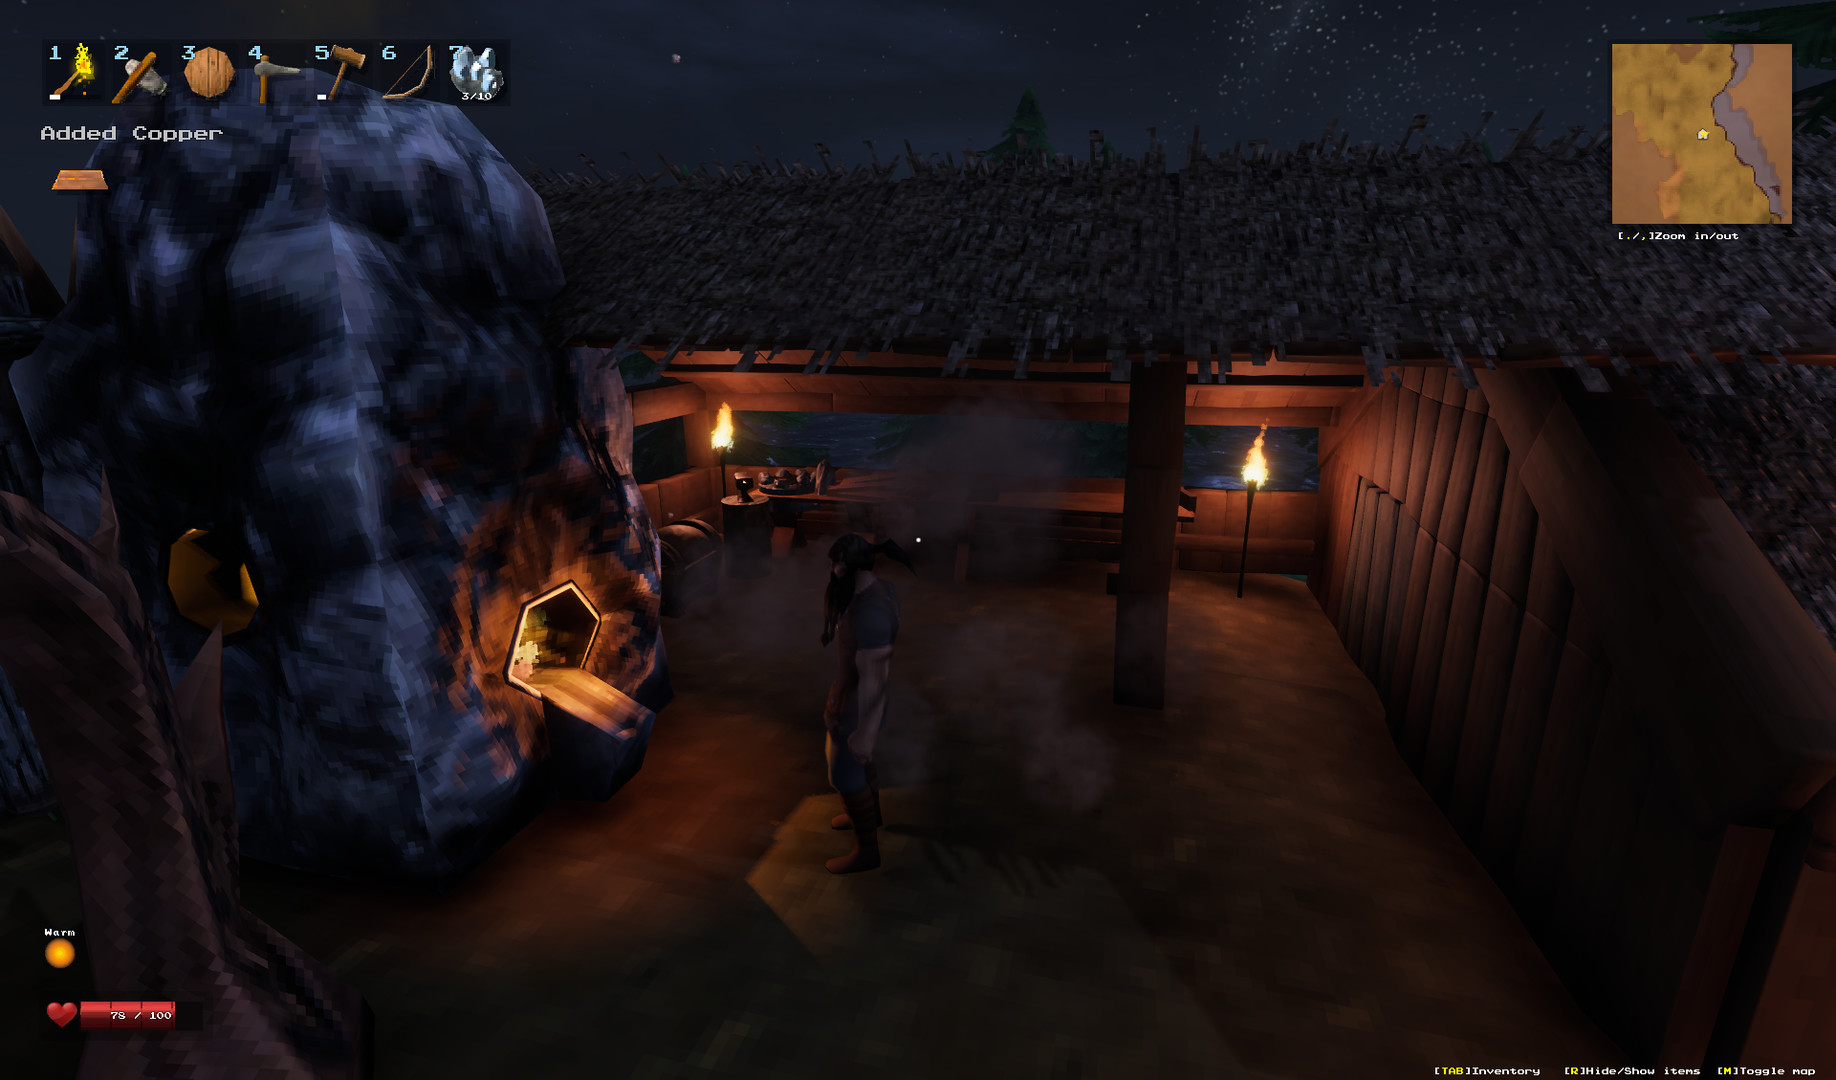
Valheim Base Building Guide
Discover tips for building the perfect base in Valheim, from prime locations and defense designs to storage solutions and raid fortifications.
Welcome to our comprehensive Valheim Base Building Guide, where you'll unlock the secrets to crafting the ultimate Viking haven! Whether you're a seasoned warrior or a new adventurer, building a formidable base is crucial to your survival in this enchanting yet perilous world. Discover how to choose ideal base locations that maximize resources and safety. Learn the art of designing defensible structures to withstand even the most fearsome raids. Master efficient storage solutions to keep your treasures organized and accessible. Dive into fortification strategies that leave enemies trembling in their wake. Plus, keep your base in peak condition with our tips on maintenance and upgrades. Get ready to transform your settlement into a stronghold that commands respect and fear! Valheim offers a wonderfully diverse landscape where players can build the ultimate Viking stronghold. Choosing the right spot for your base is vital for survival and growth in this epic world. Let's look at key factors to consider when deciding where to build your home-away-from-home in Valheim.
Proximity to Resources
Wood and Stone
Having a base near abundant resources like wood and stone saves time and energy. Dense forests provide plenty of trees, while rocky areas are perfect for gathering stone. This will help ensure you are well-stocked for building and crafting, allowing you to make quick expansions or repairs without long treks.
Metals and Ores
Consider placing your settlement close to mining sites rich in copper, tin, and later, iron. Not only will this boost your technological progress, but it reduces the hassle of transporting heavy ores long distances. The Black Forest and Swamp biomes are particularly resource-rich and should be considered for their wealth in metals.
Terrain and Layout
Flat Ground
Seek out flat or gently sloping terrain. Building on level ground makes construction easier and gives your base a clean look. The hills and cliffs may be visually impressive, but they can complicate building efforts and lead to structural challenges.
Natural Defenses
Strategically placing your base near natural defenses such as cliffs, water, or mountains can give you an upper hand against hostile creatures. These surroundings serve as natural barriers, limiting entry points and simplifying base defense. For instance, a coastal location can be breathtaking and defensible, but also be mindful of potential flooding.
Accessibility
Distance from Enemies
While it's tempting to settle near exciting locations like villages or dungeons, consider the threats they pose. Settling too close can result in frequent enemy raids. A reasonable distance ensures safety without isolating you from engaging adventures.
Close to Safe Zones
Having a hideout near a safe area, such as the meadows, provides a refuge when things get dangerous. This is also a peaceful spot where you can rest and regenerate while planning your next moves.
Climate Considerations
Weather Impact
Each biome has its unique climate and weather patterns, which can affect your base. The Meadows offer a mild environment, suitable for starters, while The Mountains bring freezing temperatures requiring warm gear and prolonged preparation. Assess your readiness to deal with these conditions when choosing your location.
Daylight and Seasons
Ensure your base is positioned to make use of daylight effectively. This isn’t just for aesthetic pleasure; it influences your ability to see threats coming or resources around you. Also, consider how seasons may alter your surroundings and plan accordingly.
Future Expansion
Room to Grow
Space for expansion is as important as the base's initial setup. Envision your settlement’s future growth. Determine if there is enough room for additional structures like a dock for ships, farms to feed your crew, or an arena to practice combat.
Connectivity and Travel
Consider how your base will connect to other locations. Pathways, roads, and even waterways can transform your base into a bustling community hub. Easy connections to portals or transport routes can save time and resources as your territory expands.
Choosing the ideal base location requires balancing multiple elements such as resource access, natural defenses, climate, and potential for expansion. With these considerations, you can create a formidable stronghold to support your Viking endeavors. Happy building! Building a sturdy base in Valheim is not just about aesthetics; it's about survival. A well-designed base can fend off mobs, withstand harsh weather, and keep your valuables safe. Crafting these structures requires creativity and strategy. Those new to the game or seasoned warriors who want to refine their existing strongholds will benefit from these insights.
Understanding the Basics of Defense
Location, Location, Location
Choosing the right spot for your base is the first step. Proximity to resources like wood or stone is key, but don’t forget about natural defenses. Locate your base near natural barriers such as water bodies or mountains that can act as added protection against incoming threats. Avoid open plains where enemies can advance from any direction.
Elevate Your Structures
Building your base on raised terrain makes it tougher for enemies to reach you. Use the game's terraforming capabilities to your advantage. High ground not only provides a better vantage point but also gives you warning of approaching danger. Elevated platforms can serve as excellent lookout posts.
Essential Defense Features
Walls and Gates
Walls are your first line of defense. Opt for stronger materials as you progress, starting from wood and moving to stone. Craft gates at strategic points for easy access and a robust defense mechanism. Twenty-six-degree beams can be used to add extra strength to your walls. Adding spike traps around your perimeter can deter or even eliminate smaller mobs before they get too close.
Moats and Bridges
Adding a moat around your base offers an extra layer of security. Digging trenches will slow down and occasionally drown aggressors. If you opt for bridges, use retractable designs to cut off access when needed. While they may take time to construct, moats are invaluable against persistent enemies.
Strategic Defense Enhancements
Tower Turrets
Don’t underestimate the power of height in defense. Set up tower turrets with archer positions at strategic points around your base. From here, you can rain arrows down on enemies, keeping them at bay and protecting your perimeter without risking close combat.
Reinforcement Upgrades
Upgrading your walls and floors with iron and stone can substantially fortify your defenses. This not only improves durability but also discourages stronger foes from attacking these barriers. Double-layer your walls wherever feasible for enhanced strength.
Inner Sanctum Planning
Keep a secure core within your base. Here, store critical resources and items. Use reinforced doors and separate entry points to challenge any attackers who breach outer defenses. This area should also contain emergency supplies to withstand prolonged sieges.
Defensive Maintenance and Planning
Regular Repairs
Weather and attacks can wear down your defenses over time. Regularly cycle through your base using your hammer to inspect and repair your infrastructure. This keeps your fortifications at their full potential resilience and can help prevent breaches in the event of an attack.
Tactical Retreat Points
Design your base with multiple fallback positions. Create secondary forts nearby to allow for strategic retreats when necessary. These can be stocked with basic supplies and provide shelter in case your primary defenses are overwhelmed.
By taking the time to carefully plan and build your defensible structures, you make your stay in Valheim not only safer but also more engaging. Keep these strategies in mind to turn your humble beginnings into an impregnable fortress. Welcome to Valheim, an enthralling world where survival, exploration, and crafting come together in a captivating experience. One of the secrets to mastering this game lies in effective organization, specifically in the area of managing your inventory and resources. In this section, we'll cover efficient storage solutions to help you keep everything neat and accessible.
Keeping It Simple with Chests
Early in the game, the humble chest is your best friend. Chests can be crafted using wood and are essential for neatly storing your items. Place them strategically around your base for easy access. Start by dedicating each chest to a specific category such as tools, crafting materials, and food to streamline your resource management.
Steps to Craft and Place Chests
- Gather Materials: You need 10 pieces of wood for each chest.
- Build: Access the build menu using a hammer and navigate to furniture.
- Placement: While in build mode, find an appropriate spot with enough room to open and access them smoothly.
Lining up chests side by side is an effective way to use space efficiently while keeping your inventory organized. Try not to stack too many, as it might become overwhelming.
Upgrading to Reinforced Chests
As you progress, upgrading to reinforced chests is a wise move. These provide more storage slots and make it easier to manage higher volumes of items, crucial when your base really starts humming with activity.
Crafting Reinforced Chests
To build reinforced chests:
- Materials Required: You'll need fine wood and iron for construction.
- Utilize Resources: The additional investments pay off with expanded storage and enhanced durability.
Consider replacing basic chests with reinforced ones in your most frequently accessed areas to save time.
Labeling: An Underrated Strategy
Labeling each chest isn't just for aesthetics--it's invaluable for staying organized, especially when resources pile up. Use signs to mark what's inside each, so you don't have to rummage through all your chests every time you need something.
How to Make Useable Signs
- Material: Signs require wood and coal.
- Building: Attach them to the surface above or beside your chests.
- Inscribing: Write short labels describing the contents. Keep it simple, like “Food” or “Weapons.”
Keep consistency in your labeling system as your base grows.
Employing Item Stands
For items you use or admire often, item stands are exceptionally useful. They allow you to display equipment, weapons, or trophies. Not only does this keep important items within easy reach, but it also adds a personal touch to your base.
Setting Up Item Stands
- Building: Use a little wood and nails.
- Placement: Choose spots near workbenches or armor stands for utility.
- Showcase: Display items that you'd grab often or that you are particularly proud of.
Thematic displays can also make your base feel more cohesive.
Organizing Work Areas
Finally, think about the layout of your entire work area. Situate storage chests near corresponding crafting stations. This thoughtful practice reduces back-and-forth and makes crafting sessions smoother and more enjoyable.
Optimal Work Area Layout
- Clustering: Assemble chests close to smelters or kilns for metal-related tasks, and do the same with other resource points.
- Paths and Accessibility: Ensure paths are unobstructed to maintain a flow through your base.
With careful planning and these efficient storage solutions, you'll find that managing your resources in Valheim becomes second nature. Happy organizing!
This guide section enhances your journey through Valheim by giving you practical storage strategies to optimize your efforts in the game. Remember, a well-organized base not only saves you time but also enhances your ability to respond to the challenges of the environment efficiently. Keep it neat, and enjoy every minute in this Norse world. Once you’ve found your footing in Valheim and started gathering precious resources, your cozy homestead inevitably attracts unwanted attention from tricky greydwarfs and other mischievous creatures. In this section, we'll dive into crafting a formidable defense that can help keep pesky invaders at bay. Let’s shield your realm from marauders with some simple yet effective fortification tips.
Choosing the Right Location
Evaluate Your Surroundings
Before hammering away at your sturdy walls, take a closer look at your environment. A strategic position can be your first line of defense. Consider settling your base near water for a natural barrier, or atop a hill where you can easily spot oncoming enemies. The terrain can either work to your advantage or make life unnecessarily difficult.
Distance from Spawns
Stray too close to enemy spawn points, and you’re just inviting trouble. Keep a healthy distance from areas teeming with enemies to minimize frequent attacks. This doesn’t mean you have to isolate yourself completely, just enough to have a buffer time to mount an effective defense.
Building Defensive Structures
Solid Wood Walls
Begin with robust wood walls, your fundamental guard against aggressors. Double up on walls for extra security--two layers can be a lifesaver when creatures start pounding away. Don't skimp on resources when building these; they’ll safeguard everything you've worked for.
Moats and Trenches
Time to play digger! A well-placed moat or trench can thwart advancing foes. Creatures aren’t exactly experts in construction and can find themselves stumped by a cleverly crafted ditch. Make sure it’s deep and wide enough to slow them down and give you the upper hand.
Spike Barriers
Enhance your defenses by constructing spiked barriers around your perimeter. These not only add an extra layer of protection but can also inflict damage on those daring enough to approach. Position them strategically and watch as they pay dividends in battles.
Watchtowers and Archery
Elevated Viewpoints
Build watchtowers for a tactical advantage. These elevated platforms allow you to scout the horizon and see incoming threats before they become problems. Place torches to illuminate your observation point even during the game’s darkest nights.
Take Aim with Bows
With a trusty bow in hand, you can dispatch foes from a distance. Practice makes perfect--hone your archery skills to take out threats efficiently. Get cozy in your tower and rain arrows upon the battlefield below. It’s not just about safety, but also keeping the enemy at bay.
Reinforced Doors and Entrances
The Mighty Gate
Every fortress needs a solid gate. Reinforced doors provide both access and security--the thicker, the better. Equip yourself with a sturdy one and make sure it swings shut behind you. An open door is an open invitation.
Consider Secret Exits
Having a few unexpected exits can be a clever strategy should the situation get too hairy. These can provide alternate routes to escape or flank surprisingly aggressive enemies. Keep your enemies guessing while you hold all the aces.
Lighting and Visibility
Illuminate Your Territory
Lighting isn’t just for aesthetics--it’s crucial for survival. Place torches and bonfires around your base to keep it well-lit. This not only helps in spotting foes from afar but also prevents them from sneaking up under the cloak of night.
Foe Detection
The better you see your adversaries, the better you can prepare to head them off. Lighting aids vision but also make sure to continuously monitor your surroundings for suspicious activity. Make this a regular part of your defensive routine.
By structuring your base with these defense mechanisms, you’ll give yourself the best chance at a peaceful night’s rest without unwelcome disturbances. Crafting a fortress, armed with barriers and bowmen, ensures your villa remains resilient through each random raid that Valheim throws at you. Build smart, and stay vigilant! Valheim, the Viking survival game, is as much about building a home as it is about surviving the various threats of its world. A sturdy base isn't just a luxury; it's a vital part of ensuring your character’s survival and progress. Let's navigate through the essentials of maintaining and upgrading your Viking outpost.
Keeping Your Base in Peak Condition
While constructing your fortress, keeping it in good shape is key to withstanding the land’s challenges.
Repairs
Regular maintenance is critical. Your tools for this are the hammer and the workbench.
- Workbenches: Place these strategic points within your base's vicinity. Each bench covers a specific range, so ensure overlap to simplify the repair process.
- Using the Hammer: Equip the hammer and right-click to access the build menu. Choose the repair option. It costs no resources to repair, but it must be done near a workbench.
Durability
Understanding item durability can save headaches.
- Weather Effects: Builds not protected by a roof lose durability faster. Ensure all vital elements are under cover to slow wear and tear.
- Fire Hazards: Campfires and torches add invaluable light but can harm structures. Give these heat sources ample space to prevent accidental damage.
Upgrading Your Base
Once your basic base is secure, consider enhancements that will significantly uplift your survival game.
Workbench Upgrades
Leveling up your workbench is central to unlocking building upgrades.
- Crafting Stations: Basics like the chopping block and tanning rack need to be within the workbench's bubble to enhance its level.
- Material Gathering: Advanced workbench levels require resources from diverse biomes. Always be on the lookout for required materials during your adventures.
Wall and Roof Upgrades
While a simple palisade fence suffices early on, stone walls and proper roofing materials provide added defense.
- Stonecutting: Once you get your hands on iron, build the stonecutter to construct robust stone walls.
- Roofing: Steep roofs (45 degrees) provide better rainfall resistance, particularly when coupled with high-quality materials like core wood.
Interior Improvements
Don’t overlook the internal quality of life enhancements that can be made.
- Comfort Rating: This increases the Rested Buff duration. Chairs, rugs, and banners add comfort points when placed correctly.
- Storage Solutions: As resources mount, so does the need for organization. Large chests offer better storage capacity and help in maintaining an orderly base.
Structural Integrity
A structural collapse is every builder’s nightmare.
Building Stability
- Support System: Use beams effectively. Core wood beams provide superior support, helping you build taller and more complex structures.
- Color Coding: Pay attention to the color of building elements when placing. Blue elements signify grounded support, while red shows imminent failure if not reinforced.
Final Touches
Crafting an efficient base in Valheim demands ingenuity, resourcefulness, and ongoing attention. With these guidelines, your Viking abode will serve not just as shelter but a stronghold, ready for whatever the wilds throw at you. Aim for a balance between function and style, and you'll find pride in every crafted stone and plank.
Happy building, Viking.