Darkest Dungeon Hero and Dungeon Management Guide
Master Darkest Dungeon with our guide: top hero tiers, best party builds, stress tips, curio choices, and smart provisioning.
Managing a party in Darkest Dungeon isn’t just about picking the toughest heroes and sending them into the unknown. The game is every bit as much about keeping your team alive—and sane—as it is about fending off monsters in torchlit corridors. Stress, quirks, disease, and dwindling resources can turn even the most promising expedition into a disaster if you’re not careful. Finding ways to balance risk and reward, juggle the needs of your roster, and make the most of each run is where much of the game’s tension and strategy comes from. For many, it’s those hard choices in between battles—deciding who to treat, what to upgrade, and when to cut your losses—that define the Darkest Dungeon experience.
Hero Tier List
Choosing the right heroes is where every Darkest Dungeon campaign starts to feel personal. While every class can work in the right hands, some consistently pull more weight across the toughest challenges. This tier list breaks down how well each hero stacks up, factoring in flexibility, stress management, and survivability. Keep in mind that “best” can shift based on your strategy, what dungeons you’re tackling, and even which DLCs you’ve installed.
S-Tier: Reliable Powerhouses
These classes almost always shine, no matter the dungeon or boss fight. Their kits are stacked with strong skills, great utility, or serious damage
Vestal
Healers are rare, and the Vestal’s straightforward, reliable healing skills make her the backbone of most parties. She can handle stress healing (with the right trinkets), heal for big chunks (Divine Grace), or stabilize everyone with a group heal (Divine Comfort). Even if healing isn’t always flashy, having a Vestal in your party means your team lives longer, period.
Houndmaster
Jack-of-all-trades with stress healing, bleed, guard, and targeting capability. Hound’s Harry is one of the best multi-target bleed attacks, especially early. He excels at controlling fights, plus his stress recovery (Cry Havoc) is invaluable in longer dungeons. His ability to mark and guard other heroes makes him one of the most flexible picks.
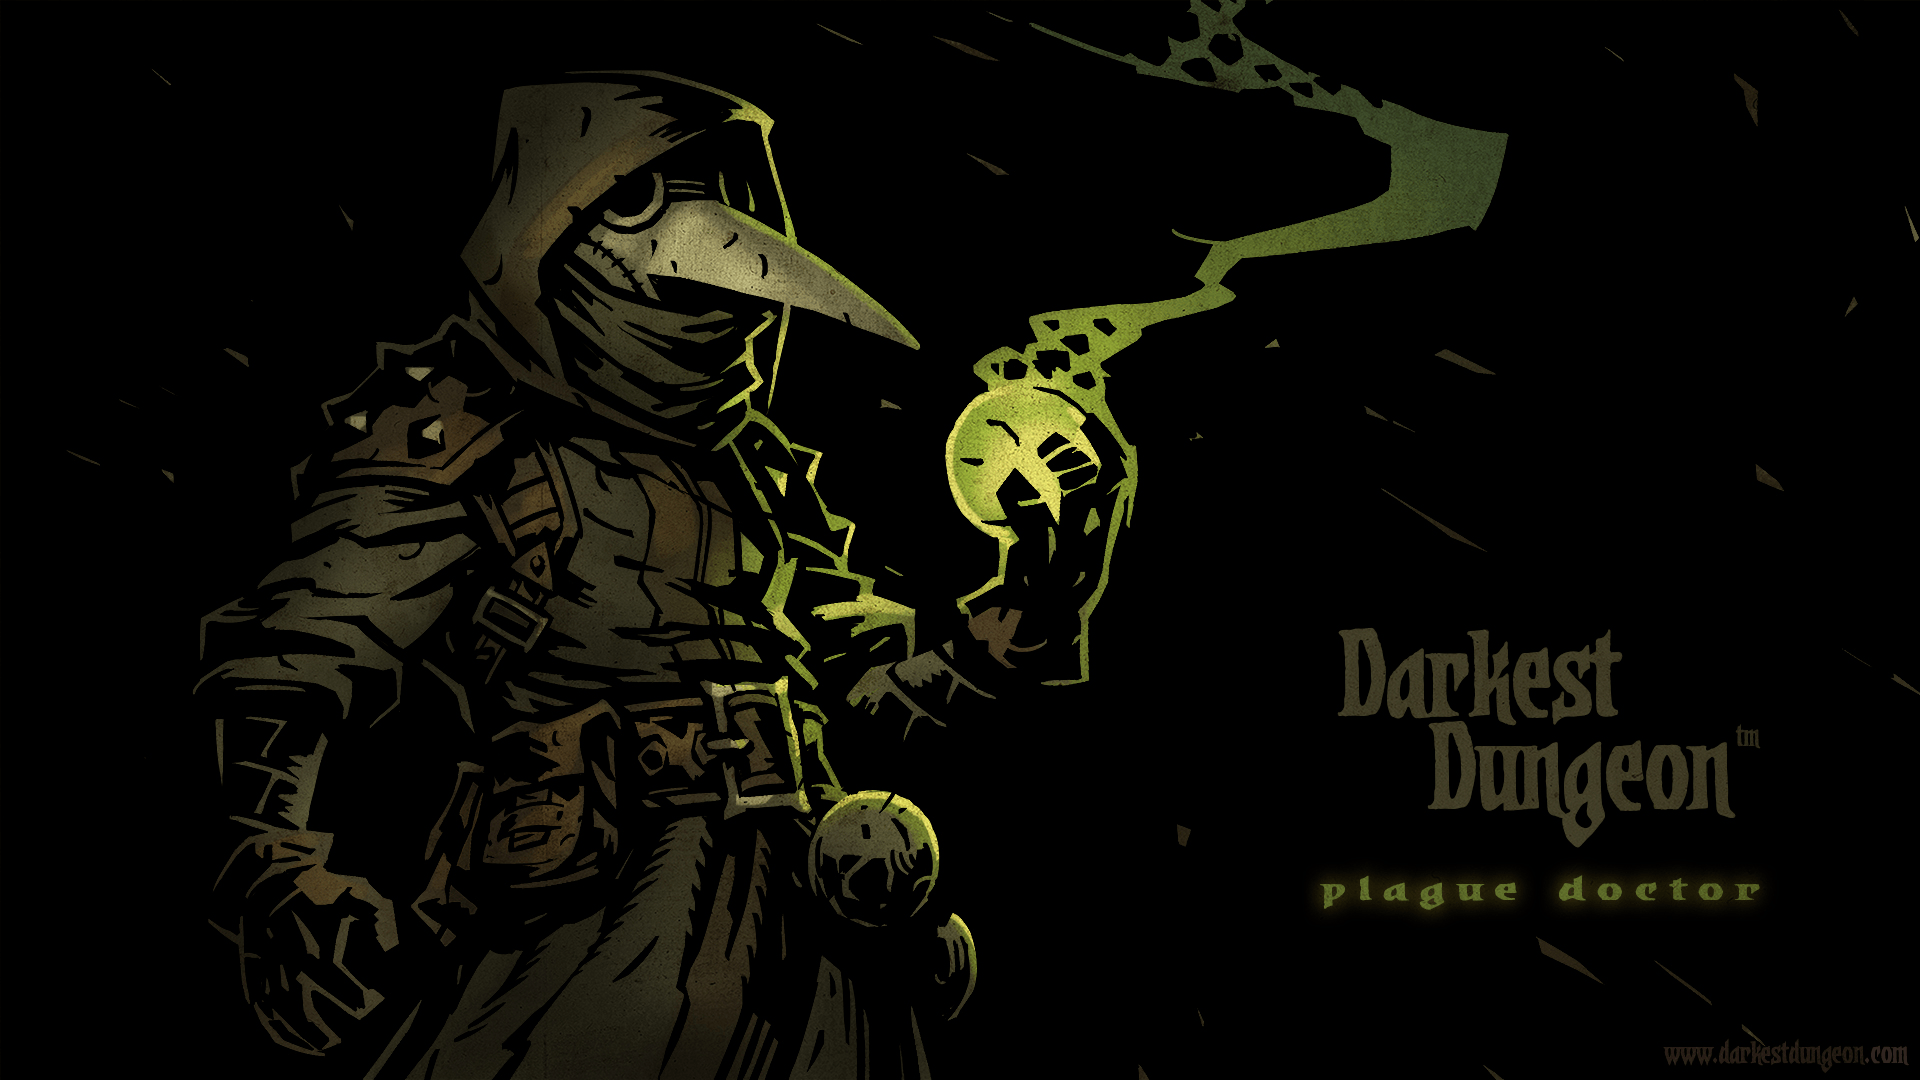
Plague Doctor
Blight is devastating against many enemies, especially in the back rows, and Plague Grenade can wreck cultists and monsters weak to DOTs. Stun (Blinding Gas) gives her great crowd control, and the ability to cure both blight and bleed or even remove diseases (Battlefield Medicine) keeps your party in top shape.
A-Tier: High Value, Just a Little Niche
These classes bring a lot to the table but may require specific party setups, knowledge, or a bit more care
Hellion
She brings big melee hits (Iron Swan, If It Bleeds) and self-sustain with healing and debuff removal (Adrenaline Rush). Her Bleed skills mean she tears up most enemies. She does suffer from self-inflicted stress and debuffs but balances it out with raw stopping power.
Jester
No hero drops stress faster. Solo can target and shuffle, Dirk Stab lets him move around, and inspiring Tune is unmatched for stress healing. He’s perfect for longer dungeons, but he does less direct damage than other classes and takes a little setup for best results.
Man-at-Arms
Tanks hits, buffs allies’ speed and dodge, and can Guard and stun from anywhere in the front. Rampart offers knockback and stun in one skill. He’s not flashy but is very solid and can keep squishier teammates alive.
Occultist
Insane single-target healing potential with a risk of bleeding, good damage versus Eldritch, can debuff or pull targets to mess up enemy formations. He’s a bit of a gamble, but the high ceiling on his abilities makes him strong in the right hands.
B-Tier: More Situational
Still good picks, but their usefulness depends on enemy types, dungeon layouts, or specific bosses
Grave Robber
High dodge, ranged attacks, and blight make her slippery and deadly against certain foes. She can both move around and attack from almost any position with Pick to the Face and Lunge. She’s fun for advanced players who like mobility, but her lower HP and reliance on certain skills can backfire if you don’t plan around her.
Highwayman
Solid all-rounder who can dish out great damage, especially with Riposte builds (Duelist’s Advance). He’s a little fragile, and his front-row utility isn’t always the best, but he’s versatile and fun—especially in the early game.
Leper
Brings massive front-row damage but is held back by low accuracy and limited range. He needs teammates to offset his weak points (accuracy buffs, healing), but in the right setup, he erases big threats fast.
Crusader
Classic tank with a bit of healing and stress relief, excels against undead. He doesn’t offer much from the back rows and his damage falls off by late game, but he’s reliable and sturdy, especially early on.
Antiquarian
Strictly for gold runs. She weakens fights but increases your loot haul. If you’re short on cash, take her, but don’t expect much power in combat.
C-Tier: Limited or Specialized Use
These heroes are best in specific situations and rarely optimal otherwise, but don’t count them out entirely
Arbalest
Strong ranged single-target damage and support, especially with Mark parties. Bandage healing and accuracy buffs can help certain strategies, but she’s a bit inflexible and mobility can be a problem.
Bounty Hunter
Fantastic in parties that rely on Mark skills. He can stun and knockback, but if you don’t build around him, he’s a little underwhelming compared to other classes.
Abomination
Can shuffle between powerful beast abilities and human skills, self-sustain and stress heal, but brings stress to the whole party and can’t team up with religious heroes (Vestal, Crusader). He’s tricky to handle but can decimate the right enemy ranks if you work around his quirks.
DLC and Shieldbreaker
Flagellant (Crimson Court DLC)
Outstanding in harder dungeons, especially against DOT enemies. He hits hard, self-heals, and can survive heavy damage. High learning curve but huge payout if you play to his strengths.
Shieldbreaker
Mobile with high armor-piercing moves and good defensive skills. She’s strong against heavily armored foes, but her Nightmares can add unpredictability to expeditions.
Conclusion: Build to Your Strengths
There’s no “one size fits all” in Darkest Dungeon. The top-tier picks generally provide broader usefulness or cover difficult roles, but clever roster management and understanding each class’s strengths are what win campaigns. Try different teams, see what clicks, and always adapt to what the dungeon throws your way.
Party Composition
Building a successful party in Darkest Dungeon runs deeper than simply picking the strongest heroes. Each dungeon throwdown tests your planning as much as your ability to pull off a clutch heal or lucky crit. Creating a functional team means thinking about more than just raw power—you’ve got to juggle position, skill synergies, resistances, enemy types, and overall survivability.
Here’s how to assemble a squad that actually leaves the dungeon walking.
Party Roles: The Backbone of Every Team
Every effective lineup covers a few essentials. Ask yourself these questions for every run:
- How am I dealing most of my damage? (Bleed, Blight, Burst, Mark, etc.)
- Is someone handling healing?
- Who’s tackling stress?
- Can I hit both front-line brutes and back-row stress casters?
- How do I survive a bad round—guard, stun, or disrupt?
A balanced crew usually looks like this (though some heroes can flex into multiple roles):
- Frontliner: Soaks hits or anchors your position (Crusader, Man-at-Arms, Leper, Hellion).
- Damage Dealer: Piles on the punishment, usually in rank 2 or 3 (Hellion, Highwayman, Bounty Hunter, Plague Doctor).
- Support: Drops buffs, heals HP or stress, and manages DOTs or disasters (Vestal, Jester, Occultist, Houndmaster).
- Backliner: Deals with tricky enemies hiding in rank 3 or 4, or supplies utility and range (Plague Doctor, Grave Robber, Arbalest).
The Importance of Positioning
Each hero’s moves only work from certain ranks, and they often have sweet spots in party order. For example:
- Hellion needs to start up front to get her best attacks.
- Highwayman can be trouble if shuffled to the back row unless he’s packing Duelist’s Advance.
- Vestal works best from slot 3 or 4, where she’s safe and can heal.
A classic beginner-friendly arrangement might be:
Crusader (1) | Highwayman (2) | Plague Doctor ( ) | Vestal (4)
But don’t be afraid to shake it up. Some teams thrive on weird orders, especially if you bring heroes who can move around or are immune to being shuffled.
Skill Coverage: Can You Answer the Dungeon’s Problems?
Bring at least one way to hit each enemy type or situation:
- Blight/Bleed: Needed for different regions (Blight tears up Ruins, Bleed is great in Weald).
- Stuns/Disrupts: Useful to keep nasty enemies (like Cultist Priests or Brigand Fusiliers) from ruining your day.
- Removal: Some heroes can clear marks, blight, or bleed—not always vital, but a lifesaver against bosses that stack damage-over-time.
- Stress Healing: Most runs can get by, but longer expeditions really punish unprepared teams.
Synergy and Team Strategies
Great teams do more than just fill boxes—they work together.
Mark Parties
Classes like Bounty Hunter, Houndmaster, Arbalest, and Occultist have skills that mark an enemy, then follow up with massive bonus damage to marked targets. Mark parties turn tough fights into target practice but can struggle when marks are resisted or enemies move around.
Sample Mark Team:
Bounty Hunter | Houndmaster | Occultist | Arbalest
Damage-over-Time (DOT) Squads
Plague Doctor, Grave Robber, Houndmaster, and Flagellant all pile on bleed and blight. These teams shine against meaty bosses or armored foes who laugh at regular hits. The trick? Stay alive long enough for poison and bleeding to chew through enemy health bars.
Stress Recovery Teams
Some dungeons hit your stress bar way harder than your HP. Jester (for stress healing) plus Houndmaster or Crusader makes longer runs—especially in Cove or Ruins—a lot less punishing.
Shuffle/Movement-Manipulation Teams
Certain heroes (like Jester, Grave Robber, Highwayman) have attacks that move themselves or enemies around. This control disrupts enemy teams—no Fusilier means no blanket fire, and slime monsters in the back can’t eat your face with melee attacks.
Weaknesses to Watch Out For
Specialized teams have glaring weaknesses:
- All Melee: Can get crushed by back-row stress dealers or shufflers.
- All Ranged: Struggle against bosses who move to the front to avoid gunfire.
- No Healer: Risk wiping out from a single bad round—maybe skip unless you’re feeling bold or doing a gold run with an Antiquarian.
Always scan your team before heading out. If you’re relying on a combo to work, double-check your skills, trinkets, and quirks so nobody comes up short mid-fight.
Adapting Party Composition to Dungeon Types
Every dungeon’s got its quirks. Here’s a cheat sheet:
- Ruins: Undead resist bleed. Bring blight, stuns, and holy damage (Crusader, Plague Doctor).
- Weald: Foes bleed, and plants can’t bleed. DOT hurts beasts. Bring antidotes for blights.
- Cove: Loads of protection. Bring armor-piercing (Shieldbreaker), bleed, and stress healers.
- Warrens: Pigs bleed well. Watch out for diseases. Stun and stress management are huge.
Swap party members around depending on your target—your A+ team in the Ruins falls flat in the Cove without the right tweaks.
Bonus: Flagellant and Shieldbreaker Teams
Both Flagellant and Shieldbreaker tweak party comp rules. Flagellant is strongest when played on the edge of death and supports teams where healing is scarce. Shieldbreaker sometimes drags your team into her Nightmare battles, so anti-stress and burst damage help avoid disaster mid-run.
Wrapping Up: Mix, Match, and Survive
Building a party in Darkest Dungeon is like packing for a hellish road trip. You want balance, answers to unexpected problems, and backup plans when things go sideways. Try different combos, pay attention to your group’s weaknesses, and never feel bad about bailing out if a run goes sour. The right composition won’t guarantee victory, but it’ll make every run a lot less painful.
Stress Management
Darkest Dungeon’s stress mechanic keeps things tense, even when your health bars look fine. Unlike HP, stress creeps up with almost every step: traps, crits (yours or the enemy’s), nighttime ambushes, nasty enemy abilities, hunger, and even walking in the dark—all of these can hit your heroes’ nerves. Racking up too much stress can wreck a promising run just as surely as a boss fight. Here’s how to keep your heroes’ minds intact while venturing through terror-filled corridors.
How Stress Works
Every hero has a stress meter. At 0, they’re calm. At 100, they suffer a Crisis Check or “Affliction Test.” This usually gives them a negative Affliction—paranoia, fear, selfishness—turning an already bad run worse. If a hero’s stress hits 200, they suffer a heart attack, immediately dropping to zero HP and risking death.
Stress sources you’ll see most often:
- Enemy attacks that target stress (Cultist Acolytes’ “Stressful Incantation”)
- Critical hits and deaths, which skyrocket team stress
- Traps, hunger tile events, or bookshelves gone wrong
- Darkness—the lower your torch, the more stress you’ll pick up
So it’s never just about HP. If your stress spirals out of control, expect panics, bad turns, and sometimes a total party wipe.
Reducing Stress During Expeditions
Combat isn’t the only danger; stress can be even more deadly over a long haul. Here are your main tools to bring stress down before it piles up:
Skills for Stress Healing
Some heroes come with skills that directly lower stress:
- Jester is the MVP of stress reduction. His “Inspiring Tune” can remove stress from one hero each round. This alone justifies his spot on tough, longer runs.
- Houndmaster’s “Cry Havoc” rolls the dice for a small stress heal across the team. It can feel inconsistent but adds up in longer missions.
- Crusader’s “Inspiring Cry” offers minor personal stress relief with a small heal, though he generally performs better up front.
Camping Abilities
For longer dungeons (Medium and Long missions), camping becomes your main stress relief tool.
- Many heroes have camping skills dedicated to stress recovery: Jester’s “Turn Back Time,” Hellion’s “Battle Trance,” and Houndmaster’s “Therapy Dog” stand out.
- Sanctuary skills, like those from Vestal or Abomination, prevent deaths or nighttime ambushes—helpful for stress-prone teams.
- Always check each hero’s camping skillset; combining a few stress-reducing options goes a long way. Don’t wait until everyone’s breaking down to use camp—proactive stress management is cheaper than patching up after a crisis.
Trinkets
Plenty of trinkets boost stress resistance or reduce how much stress your heroes take from events and attacks. On high-difficulty expeditions or with heroes susceptible to stress, these trinkets can keep your resolve tests at bay.
- Examples: “Book of Sanity,” “Talisman of the Flame” (for specific bosses), or minor common trinkets with -stress mods
Light Management
The torch bar plays a direct role. A high light level (76-100) reduces stress across the board, while venturing in the dark (0-25) dramatically increases the amount gained.
- Keep an eye on your torch supply. Bring extra torches for teams weak to stress.
- Some trinkets or quirks give bonuses for low or high light, but it’s rarely worth the heavy stress gains for new or unprepared parties.
Smart Map and Battle Choices
- Disarm traps with heroes skilled in it (usually Scouting heroes – Highwayman, Grave Robber, Houndmaster) to avoid stress.
- Use scouting buffs and items—reducing the chance of a surprise trap or battle.
- Always try to finish fights with stress-heal skills. If the last enemy is shuffling around and mostly harmless, get your party’s stress under control before ending the round.
Avoiding Stress Buildup
Preventing stress is as important as healing it. These strategies cut down on nasty surprises:
Target Stress Dealers First
Certain enemies (like Acolytes and Madmen) exist just to ruin your mood from the back row. Make them top priority—bring someone who can reach the back and take them out fast.
Always Bring Food & Antivenom
Running out of food triggers party-wide stress spikes. Antivenom helps avoid longer-term DOTs, which often pair with stress attacks in Weald or Cove.
Avoid Opening Everything
Curios (those interactable objects you see in hallways) can offer rewards, but many ramp up stress, cause disease, or inflict nasty quirks if you poke them with the wrong items. Get familiar with the best item-for-curio combos, or stick to just the safe ones until you know what’s what.
Don’t Overstay
If your team looks frazzled—two heroes near 100 stress, no food, main healer nearly out of HP—cut your losses and bail. Better to escape than see everyone lose their mind. Yes, you take some stress for retreating, but it’s less painful than watching everyone panic and die.
Stress Recovery in Town
When survivors come home ragged, final stress recovery happens in Hamlet:
- Taverns and Abbey: Heroes can visit to drop their stress through drinking, prayer, or meditation. Some heroes have restrictions (“I only gamble”)—watch out. Don’t ignore heroes who finish a run high on stress, as they risk negative quirks or even disappearing if ignored for too long.
- Higher-level buildings (upgrades) cut stress amounts faster or cheaper—worth investing in early.
Removing Afflictions
Heroes who reached 100 stress (and gained an Affliction) only recover by getting their stress back below 50. If you ignore them, they might refuse to work, gain worse quirks, or even leave your roster.
Lock In Good Quirks
While not strictly stress management, locking in stress-resistant quirks (like “Unyielding” or “Stress Faster”) in the Sanitarium can save you headaches on future expeditions.
Quirks, Diseases, and Stress
Heroes pick up quirks and diseases in every dungeon, some of which increase stress gains or lower stress resistance. “Fearful,” “Anemic,” or “Tuckered Out” can all lead to breakdowns at bad moments. Use the Sanitarium to remove these quirks or avoid taking these heroes on difficult runs.
Quick Stress Management Tips
- Prioritize stress healers on long runs
- Upgrade stress recovery buildings early
- Keep torch high for most fights
- Kill enemy stress dealers immediately
- Don’t gamble with curio interactions
- End tough expeditions before piling on more trouble
Conclusion: Keep Your Mind in Check
Stress danger lurks in almost every hallway and fight in Darkest Dungeon. Managing it is about knowing when to heal, when to push on, and when to cut your losses. Build balanced teams, pack stress recovery, and don’t let your torch go out. Take care of your heroes’ minds, and they’ll have a fighting chance against everything else the game throws at them.
Curio Interactions
Curios are the oddities you’ll run into while moving through dungeons—a cluttered sack, decaying altar, peculiar shrine, even bodies or piles of bones. These can help or hinder your run. Some offer loot, buffs, or healing. Others bring stress, curses, or even disease if handled poorly. Learning to deal with curios is a key Darkest Dungeon skill. Let’s walk through how curios work, smart interaction choices, and the best ways to stay ahead of nasty surprises.
What Is a Curio?
Curios are the interactive objects you spot between fights, found in both hallways and rooms. They’re easy to recognize due to their unique art. Most can be inspected or used by any hero, usually with or without an item. The outcome depends on which curio you’re facing and (sometimes) which item you offer.
Every region has its own set of curios:
- Ruins: Sarcophagus, Holy Fountain, Altar of Light
- Warrens: Pile of Bones, Dinner Cart, Eldritch Altar
- Weald: Eerie Spiderweb, Shambler’s Altar, Beast Carcass
- Cove: Fish Idol, Barnacle-Crusted Chest, Giant Oyster
Curios can be a gamble. Some trigger instant rewards with no risk, others punish you unless the right item is used. The more you know about them, the more value (and fewer problems) you’ll get from your expeditions.
How Curio Outcomes Work
Curios can have three broad outcome types:
- Positive: Heals, stress recovery, gold, gems, food, trinkets, buffs, or scouting bonuses.
- Negative: Disease, stress increases, damage, debuffs, negative quirks, or combat encounters.
- Random: Some curios draw from a list of possible rewards or punishments, so there’s always a chance of an unexpected effect.
Which result you receive depends on what item you use (if any) and, at times, on the quirks or traits of the hero interacting.
Items Matter
Most risky curios have a “best” item to use. Example:
- Iron Maiden (Ruins): Can't be opened safely—unless you pour medicinal herbs inside. Herbs cleanse, making it safe and even profitable.
- Altar of Light: Use a holy water vial to get a strong buff with no downside.
- Eerie Spiderweb (Weald): Without items, you might get hurt or infected. Use bandages and you’ll loot treasure safely.
Hit up resources like the official wiki if you want specifics, but you don’t need to memorize everything at first. Here’s the rule: If you’re low on supplies, only touch those curios you know are safe. Guessing can get ugly, fast.
When To Touch, When To Pass
Some curios are almost always worth interacting with:
- Sacks/Backpacks: Free loot, low risk.
- Bookshelves: Potential lore, but high risk for bad quirks unless purified with holy water.
- Holy Fountain: Stress heal; use holy water for even more healing.
Others are “trap” curios, especially dangerous without an item:
- Confession Booth (Ruins): Stress punishments unless you use holy water.
- Dinner Cart (Warrens): Can heal or poison—bring herbs or say no.
- Eldritch Altar (Warrens): Touching without holy water is a recipe for quirks you don’t want.
All areas have curios with mixed odds, but often “don’t touch without the right item” is a safe stance.
Quirk and Disease Transfer
Some curios will always—or very often—hand out afflictions, negative quirks, or straight-up diseases if handled wrong. This is how you can wind up with syphilis after poking a pile of bones, or suddenly have a hero become compulsive or masochistic.
Best advice: If you don’t know what a curio does, it’s often safer to ignore it—especially on boss runs or when team health is fragile.
Curio Cheat Sheet: Common Interactions
Here’s a quick region-by-region guide for interaction strategy:
Ruins
- Sarcophagus: Use a skeleton key for extra loot, or leave it.
- Alchemy Table: Use herbs for guaranteed loot.
- Bookshelf: Holy water removes risk.
Weald
- Eerie Spiderweb: Always use bandages.
- Tree with a Hallow: Antivenom can turn poison traps into healing.
- Totem: Don’t touch if you’re not sure—quirk risk is high.
Warrens
- Dinner Cart: Herbs avoid food poisoning or disease.
- Pile of Bones: Only interact if desperate; diseases very likely.
- Moonshine Barrel: Bandages turn debuff risk into buffs.
Cove
- Fish Idol: Holy water rewards with buffs.
- Barnacle-Crusted Chest: Only open with a shovel to avoid trap triggers.
- Eldritch Altar: Use holy water or skip.
Curio Strategies
Bringing the Right Supplies
Shovels, herbs, holy water, bandages, and keys are all curio tools. Their main use is to control outcomes and avoid disaster. Don’t just bring enough for hazards—pack a few more for maximum loot.
Hero Quirks and Curio Risks
Some quirks (like “Curious,” “Compulsive,” or “Clumsy”) might force heroes to try a curio even if you don’t want them to. That’s how a single mistake can spiral. Remove these quirks at the Sanitarium when you see them, or plan routes to keep such heroes away from dangerous curios.
Risk vs. Reward
Playing it safe is important, especially when starting out or on high stakes missions. Only engage with safe curios, or those where you have the right item. As you get more comfortable, you can take calculated risks for valuable rewards.
Summary and Quick Tips
- Learn the safe curio options in every area.
- Never open hazardous curios without the right item.
- Expect quirks and diseases from unknown or unsafe interactions.
- Always bring extra supply items—not just for battle, but for curios too.
- Watch out for heroes with compulsive or curious quirks—they might trigger trouble.
- Sometimes it’s better to skip a curio than deal with the fallout.
Mastering curio interactions lets you collect bonuses, farm money, and avoid game-losing problems. A bit of caution goes a long way towards a safe and profitable expedition. Provisioning in Darkest Dungeon isn’t just about packing enough snacks and torches. Smart supply choices make your runs smoother, safer, and more profitable—and picking wrong can doom a mission before it starts. Here’s a practical guide to provisioning for any dungeon and every budget.
The Basics of Provisioning
Before setting out, you’ll land on the Provision screen. Here, you spend gold to buy all non-permanent supplies your party will take—food, torches, keys, and a bunch of dungeon-specific items.
Every expedition comes with a bit of free food and a single stack of torches, but you’ll almost always want more, especially if the dungeon has length or the zone is unfamiliar. The rest comes down to smart shopping and knowing what each item does.
Provision Items At a Glance
- Food: Keeps your heroes alive during hunger checks, heals, and prevents starvation stress.
- Torches: How bright the dungeon stays. High light means safer, easier fights; low light means more loot but heavy risk.
- Shovels: Used to clear blockages (which can sap health or stress), and in some curios.
- Bandages: Stops bleeding and opens up certain curios.
- Antivenom: Cures blights (poison), and makes some Weald curiosity safer.
- Holy Water: Protects heroes, boosts resistances, purges/primes dungeon curios.
- Medicinal Herbs: Heals food poisoning, buffs, and enables safe looting in certain spots.
- Skeleton Key: Unlocks chests and can add loot in certain curios.
- Laudanum: Clears horror stress debuffs (mainly for Cove).
- Dog Treats: Unique consumable for Houndmasters—increases damage for a few rounds.
- Firewood: Only for camping, and only available in medium or long dungeons—comes free.
- Other Items: Some classes bring their own tools: Highwayman’s Flashbang, Crusader’s Talisman, etc.
How Much of Each Supply Should You Bring?
Mission Length Matters
- Short: 4-8 rooms, plan for 1-2 hunger events.
- Medium: 9-14 rooms, expect 2- hunger checks (firewood provided).
- Long: 15+ rooms, possible 4+ hunger events (two firewoods to camp twice).
Base numbers increase with length:
| Supply | Short | Medium | Long | | -------------- | ------------- | --------------- | -------------- | | Food | 8-12 | 12-18 | 18-24 | | Torches | 8-12 | 12-18 | 18+ | | Shovels | 2 | | 4 | | Keys | 1-2 | 2- | -4 | | Bandages | 2 | -4 | 4-6 | | Antivenom | 1-2 | 2- | -4 | | Herbs | 1-2 | 2- | -4 | | Holy Water | 2 | 2-4 | 4-6 |
Use these as starting points and adjust as you learn your own style, or evolve a route where you skip some risks intentionally.
Dungeon Differences
Each dungeon has its own “personality” and supply priorities:
- Ruins: Focus on holy water and skeleton keys. Bleed and blight don’t happen often here—fewer bandages/antivenom.
- Weald: Bring more antivenom and bandages. Herbs are helpful for safe loot and food cleaning. Consider extra shovels (lots of blockages).
- Warrens: Think bandages, herbs (lots of disease/bleed hazards), and normal food/torches.
- Cove: Load up on antivenom, bandages, laudanum, and a couple extra shovels.
Keys are always good for chests. Don’t go overboard, but missing a locked chest feels bad.
Party Considerations
If your team has heavy healers or stress management, you can risk bringing less food. Conversely, lines with low sustain want extra rations and cures.
Dog treats: Only usable by Houndmasters—if you brought one, don’t forget them!
What Happens If You Run Out?
- Food: Hunger events hit hard; stress skyrockets and heroes lose HP—running out is a quick route to a wipe.
- Torches: Low light means crits against you, shuffling monsters, and stress for days. However, playing “in the dark” can drop more loot for advanced players.
- Shovels: If a block appears and you’ve got no shovel, your team eats 20 stress and takes HP loss. Nasty stuff.
- Curio Tools: Can’t cleanse dangerous or profitable curios.
- Healing/Status Items: Burns, bleeds, and blights are not a joke. Running dry on cures can spiral quickly.
“Money Runs” vs. Safe Runs
There’s a balance between provisioning for profit (spend less, bring home more loot) and safety (avoid deaths, stress, and spirals).
- If you’re broke, gamble with less food and fewer trinkets. Prioritize torches and shovels.
- For money runs, cut down gently on basic items (maybe bring 8 food instead of 12, fewer bandages), but never short yourself on shovels.
- When you’re flush with cash or running a boss: bring supplies strong. Outfitting for absolute safety can be worth the investment if you really don’t want to lose a well-leveled team.
Pro Tips for Supply Management
- Don’t hoard unspent gold. Buying enough supplies pays off in less stress and fewer losses.
- New heroes? Pack extra—low-level recruits are squishier.
- Always bring at least one of every curio tool to unlock or cleanse the best curios for the region.
- If a run goes bad early and you’re low on supplies, you can “abandon” the quest at the cost of stress and gold, but sometimes that's better than a full wipe.
Summary: Provisioning Checklist
- Food: Enough for the party, with a buffer for healing and hunger checks.
- Torches: Keep the light high or know the risks of darkness.
- Shovels: Never skimp—blockages are brutal if unprepared.
- Bandages, Antivenom, Herbs, Holy Water: Bring region-specific tools for safe exploration and curio control.
- Skeleton Keys: Essential for maximizing loot.
- Class Specials: Pack unique class items if relevant.
Send your team prepared and you’ll bank more loot, lose fewer heroes, and see more of what Darkest Dungeon has to offer. Smart provisioning is the unsung hero of every victorious expedition.