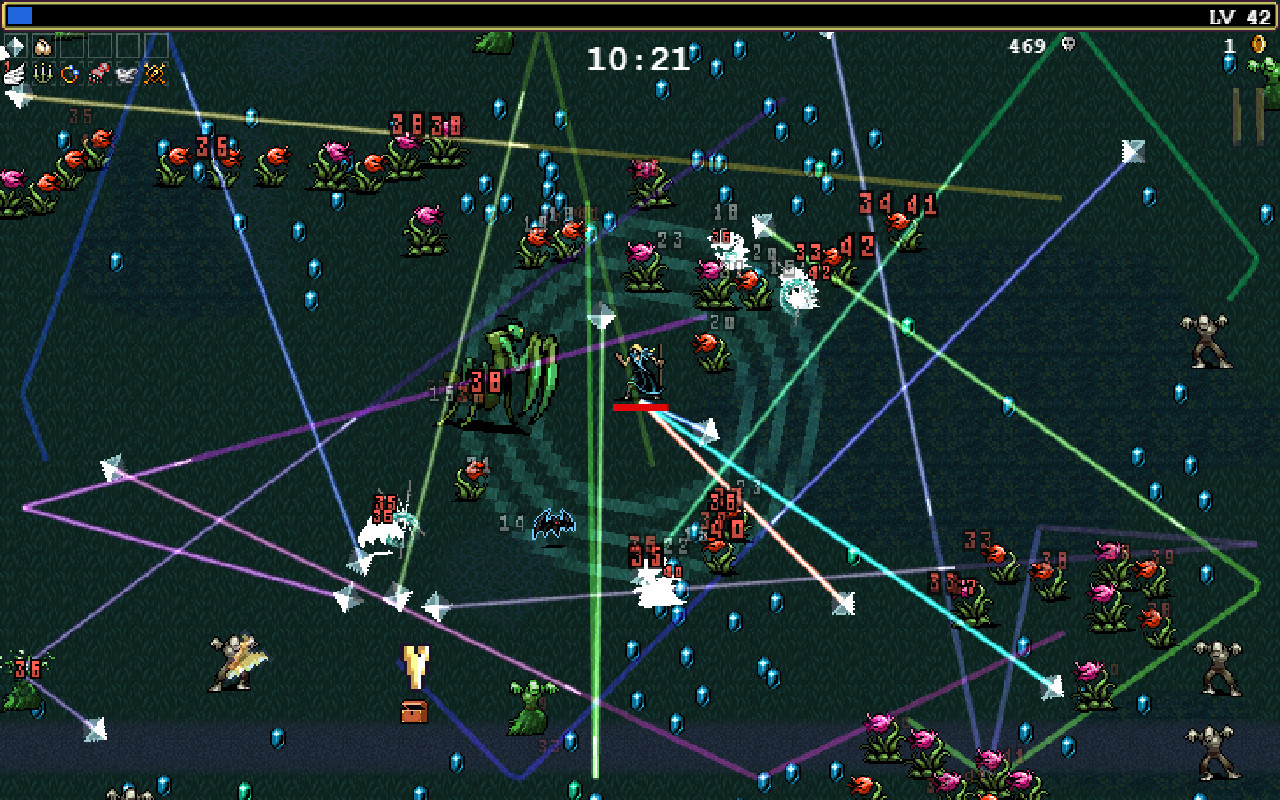
Vampire Survivors Weapon Evolution Guide: Best Combos to Unlock
How weapon evolutions work in Vampire Survivors, with the passive pairings, union recipes, and late-game combos worth planning a run around.
Evolutions are the real win condition in a Vampire Survivors run. Your starter weapon carries you to about minute 10, and after that the waves get thick and the enemies get chunky. The evolved versions of your weapons are what keep you standing. The game does a pretty bad job of explaining any of it though, so plenty of players hit minute 25 with three maxed weapons and no clue why nothing upgraded.
The short version: every weapon has a passive buddy, and when you're holding both, the right treasure chest swaps the weapon out for its stronger form. The long version is below, along with the combos actually worth building a run around.
How Weapon Evolution Requirements Work
Three conditions, and you need all three at the same time.
The weapon has to be max level. Most base weapons cap at level 8, which takes a steady drip of level-up picks. A weapon you grab at minute 2 has plenty of time to finish. One you pick up at minute 18 usually doesn't.
You need the matching passive in your inventory. For the classic base game recipes, level 1 is enough - the game only checks that you own it. The newer stuff is pickier. Infinite Corridor and Crimson Shroud both want their passives fully maxed, and most post-1.0 recipes and DLC recipes do too.
Then you have to open a chest that's allowed to evolve something. Nobody tells you this part. In most stages, only bosses that spawn at 10:00 or later drop those. A chest at minute 6 does nothing for your recipe, even with everything maxed. The game doesn't label them either, unless you own the Yellow Sign relic - after that, every evolution chest shows up silver so you can spot it.
Chest rules and exceptions
- Boss chests from the 10:00 mark onward are the normal source.
- Mad Forest's Glowing Bat spawns with the 1:00 wave, and its chest can evolve a weapon. Nice for early unlocks.
- Every chest in Dairy Plant, Il Molise, Cappella Magna, Boss Rash, Laborratory, Abyss Foscari and Hectic Highway works, at any minute.
- The purple Arcana chests at 11:00 and 21:00 only evolve weapons when you're already at your max Arcana count.
- Gyorunton, a secret character, evolves weapons with any chest pickup at all.
When it triggers, the base weapon leaves your inventory and the evolved one takes its slot. The passive stays put, which is a little odd but free value either way. Normally you get one evolution per chest. The minute 20 chests in Inlaid Library, Dairy Plant, Gallo Tower, Cappella Magna and The Bone Zone can hand out up to three at once, and chests in Il Molise, Bat Country and Tiny Bridge go as high as five.
The base game recipe list
| Weapon | Passive | Evolution | |---|---|---| | Whip | Hollow Heart | Bloody Tear | | Magic Wand | Empty Tome | Holy Wand | | Knife | Bracer | Thousand Edge | | Axe | Candelabrador | Death Spiral | | Cross | Clover | Heaven Sword | | King Bible | Spellbinder | Unholy Vespers | | Fire Wand | Spinach | Hellfire | | Garlic | Pummarola | Soul Eater | | Santa Water | Attractorb | La Borra | | Runetracer | Armor | NO FUTURE | | Lightning Ring | Duplicator | Thunder Loop | | Pentagram | Crown | Gorgeous Moon | | Gatti Amari | Stone Mask | Vicious Hunger | | Song of Mana | Skull O'Maniac | Mannajja | | Shadow Pinion | Wings | Valkyrie Turner | | Clock Lancet | maxed Silver Ring + Gold Ring | Infinite Corridor | | Laurel | maxed Metaglio Left + Right | Crimson Shroud |
You get six weapon slots and six passive slots from level-ups. Six recipes, six passives, nothing wasted. That's the whole planning game, and it's why the pairing matters more than the raw power of any single weapon.
Best Passive Item Pairings for Early Evolutions
Since your passive slots are the scarce resource, grab the ones that double as real stat boosts.
Passives that pull double duty
Spinach is the easiest first pick in the game. It's +10% Might per level, +50% at max, and Might pushes every damaging weapon you own. It also finishes the Fire Wand recipe, and Hellfire throws 100 damage meteors that pierce forever and go through walls. Empty Tome is the same story on the speed side: -8% Cooldown per level, -40% at max, and it turns Magic Wand into Holy Wand, a 30 damage wand on a 0.5 second cooldown. (Fun wrinkle: Empty Tome only unlocks once you've held six different weapons in one run.)
Candelabrador gives +10% Area per level, up to +50%, and Area is the best stat for most area weapons. It's also the Axe requirement, and Death Spiral throws nine scythes at 60 damage each with a 30% crit chance. Duplicator is the cheapest recipe finisher in the game - two levels, +1 projectile each, and it completes Lightning Ring. Thunder Loop hits for 65 with six bolts, and every bolt strikes the same spot twice.
Hollow Heart and Pummarola are the defensive picks of this group. +20% Max Health per level on the heart, +0.2 HP per second on the tomato. Boring, but they unlock Bloody Tear and Soul Eater, two of the best safety nets around.
Recipes you can finish by minute 12
- Whip + Hollow Heart = Bloody Tear. Crits heal 8 HP, and the whip crits 10% of the time at 2x damage. That's real sustain off a weapon you didn't spend a slot choosing.
- Garlic + Pummarola = Soul Eater. The aura sits at 300% Area and drops Little Hearts on kills.
- King Bible + Spellbinder = Unholy Vespers. Its cooldown (3.0 seconds) matches its duration (3.0 seconds), so the ring around you never disappears.
- Santa Water + Attractorb = La Borra. The Attractorb drags gems in from way out - roughly 1.5x pickup range at level 1 and near 4x at max - so it speeds up every level-up that comes after. Pair it with Crown (+8% Growth per level) and you level embarrassingly fast.
The ones to hold off on
Bracer is +10% projectile speed per level, and that stat does close to nothing for most builds. Thousand Edge is fine, but don't rush it. Skull O'Maniac is worse: +10% Curse per level means faster, healthier, more numerous enemies, so only take it when you're actually ready to cash in Mannajja. And Crown is a trap unless you want Gorgeous Moon or you're running it next to Attractorb - a Growth passive in a damage slot usually isn't the trade you want.
Union Evolutions and Multi-Weapon Requirements
Unions work differently. Two weapons merge into one, both originals leave your inventory, and you get a weapon slot back. That refund is a bigger deal than it sounds, because six slots is all you get.
Vandalier (Peachone + Ebony Wings)
Both birds to level 8, no passive needed at all. The result bombards two zones that circle you in opposite directions, firing 4 sets of 20 projectiles by default. Running the birds separately eats two slots for less output. This is the cleanest union and a fine pick whenever both birds show up.
Phieraggi (Phiera Der Tuphello + Eight The Sparrow + Tirajisú)
Both revolvers at level 8, plus Tirajisú anywhere in your inventory. Four blue lasers rotate around you and pass through walls. The fun part is the scaling: every Revival you're holding adds +1 laser and +1 base damage, capped at +10 each. Tirajisú itself only has 2 levels and gives +2 Revival at max. Stack the Awake (IV) Arcana on top for +3 more and you're most of the way to the cap early. Around -42% Cooldown the lasers stop retracting entirely and just stay up.
One warning: actually dying spends a Revival, and each one you lose shaves a laser off. The item is doing double duty as your safety net and your damage, so play like it matters.
Fuwalafuwaloo (Vento Sacro + Bloody Tear)
The weird one. An ingredient is itself an evolution, so the path runs Whip, then Hollow Heart, then Bloody Tear, then Vento Sacro to level 8, then unite. No extra passive beyond what Bloody Tear already needed. The payoff slashes 8 times per burst, crits for 2x at a 5% rate, heals 8 HP per crit, and spawns explosions on those same crits. It also stacks up to +40 flat damage from walking without stopping. Stand still and that bonus drops back to zero, so keep moving.
The ring and metaglio recipes
Infinite Corridor wants Clock Lancet plus maxed Silver Ring and Gold Ring. Crimson Shroud wants Laurel plus maxed Metaglio Left and Right. None of those four passives ever show up in level-up choices. They only appear as floor items, and only after you've collected the Yellow Sign relic from Holy Forbidden, the hidden stage reached deep through Moongolow. Silver Ring alone is 9 levels, and level 1 gives literally nothing. Budget real detour time for these, and remember the rings don't spawn in every stage.
The slot math is the reason to care. Vandalier costs zero passives for two weapons. Phieraggi spends one passive (Tirajisú) on two weapons, and that passive is revivals. Every passive you save is a free Duplicator or Spinach level for the rest of the build.
Prioritizing Evolutions Around Your Character Pick
Your starter has been collecting levels since minute 0, so its recipe is usually the one to finish first. Who you pick changes which passive you hunt.
Poe Ratcho - the Soul Eater rush
Poe starts with Garlic, +25% Magnet, and a rough 70 HP. Take Pummarola early and you're on track for a minute 11 Soul Eater. The aura covers 300% Area, and every 60 HP you heal tacks on +1 damage, all the way up to +60. All that Magnet drags gems in from far away too, so he levels fast despite the health penalty. Probably the smoothest early game in the cast.
Pugnala - born halfway to Phieraggi
She starts with both revolvers, which means two weapon slots and a pile of banked levels are already pointed at the union. The only missing piece is Tirajisú, which spawns as a floor item in Cappella Magna, Moongolow and Boss Rash. It's rare, so check the map. Her +1% Might per level has no cap either, so by minute 30 she's hitting harder than most of the roster.
Poppea - Mannajja and the curse tax
Song of Mana needs Skull O'Maniac, and curse makes everything on screen faster and meaner. The early game is genuinely harder because of it. The payoff is Mannajja, a huge pulsing column that slows whatever it touches by another 5% per hit, down to 20% of normal speed after 16 hits. Her +1% Duration per level feeds Song of Mana, King Bible and Santa Water all at once.
Concetta and Porta - the Area stackers
Concetta starts with Shadow Pinion and gains +1% Area every level; Wings finishes Valkyrie Turner. Porta starts with Lightning Ring, keeps a permanent +30% Area, and opens with -90% Cooldown that shrinks by 30% per level and is gone by level 4. So on Porta, avoid XP early and let that cooldown carry you, then grab Duplicator for Thunder Loop.
Christine - the Gorgeous Moon gambit
Pentagram into Gorgeous Moon with Crown. She starts with -25% Cooldown, +30% Move Speed, and one bonus level, but only 50 health. The catch is that unevolved Pentagram erases pickups and chests on screen, and it's her only weapon, so her opening minutes are scary. Once it evolves, the weapon flips completely: Gorgeous Moon never eats items, spits out bonus gems, and vacuums the whole stage.
Quick hits for the rest: Gennaro's +1 Amount on everything makes Thunder Loop and Death Spiral extra nasty. Leda (secret, 666 gold) already starts with Holy Wand and +100% Might. Mask of the Red Death starts with Death Spiral evolved, plus +100% Move Speed, if you've managed to kill the Reaper.
Evolution Combos That Carry Late-Game Waves
The walking circle: La Borra + Unholy Vespers + Soul Eater
The classic for a reason. La Borra drops 4 puddles that creep toward you and grow as they travel, so kiting in a loop paints your whole path with damage. Unholy Vespers never stops spinning, since its cooldown equals its duration. Soul Eater covers anything that slips inside the ring. Three weapons, three passives (Attractorb, Spellbinder, Pummarola), and your last three slots go full damage. On most stages you can have all three online by minute 20.
Sustain that scales: Bloody Tear or Fuwalafuwaloo
8 HP per critical hit, all run long, with no cap on the healing. Bloody Tear crits 10% of the time, and Luck pushes that number up, so Clover quietly makes the build tankier. Fuwalafuwaloo crits less often (5%) but adds explosions and the walking damage bonus. Either one covers the chip damage that kills sloppy runs around minute 25.
The burst crew
Thunder Loop for constant double-strikes. Hellfire for 100 damage meteors that ignore walls entirely. Death Spiral for nine scythes at 60 damage with a 30% crit rate - and it scales off Area, so Candelabrador and Concetta-style bonuses crank it hard. Heaven Sword is the utility pick: 77 damage with a knockback of 6, which shoves bosses and elite packs off you when the circle gets tight.
Screen-wipers for the final stretch
Gorgeous Moon has a 60 second base cooldown, but Cooldown bonuses push it toward a hard floor of 15 seconds. Each cycle beams enemies off the screen, drops extra gems, then vacuums everything on the stage. It single-handedly fixes the minute 28+ gem pile. Infinite Corridor is the other late-game monster: a freezing beam sweeps 12 directions, and each full rotation halves the health of every enemy on screen. It ignores Might and Area completely, so it stays just as strong at minute 40 as at minute 15 - one of the only weapons in the game that never falls off.
One last planning tip. The minute 20 chest in Inlaid Library, Dairy Plant, Gallo Tower, Cappella Magna and The Bone Zone can evolve up to three weapons in a single box. So finish three recipes, sit on them, and let that one chest cash everything at once. It's the biggest power spike the game hands you on a normal run.