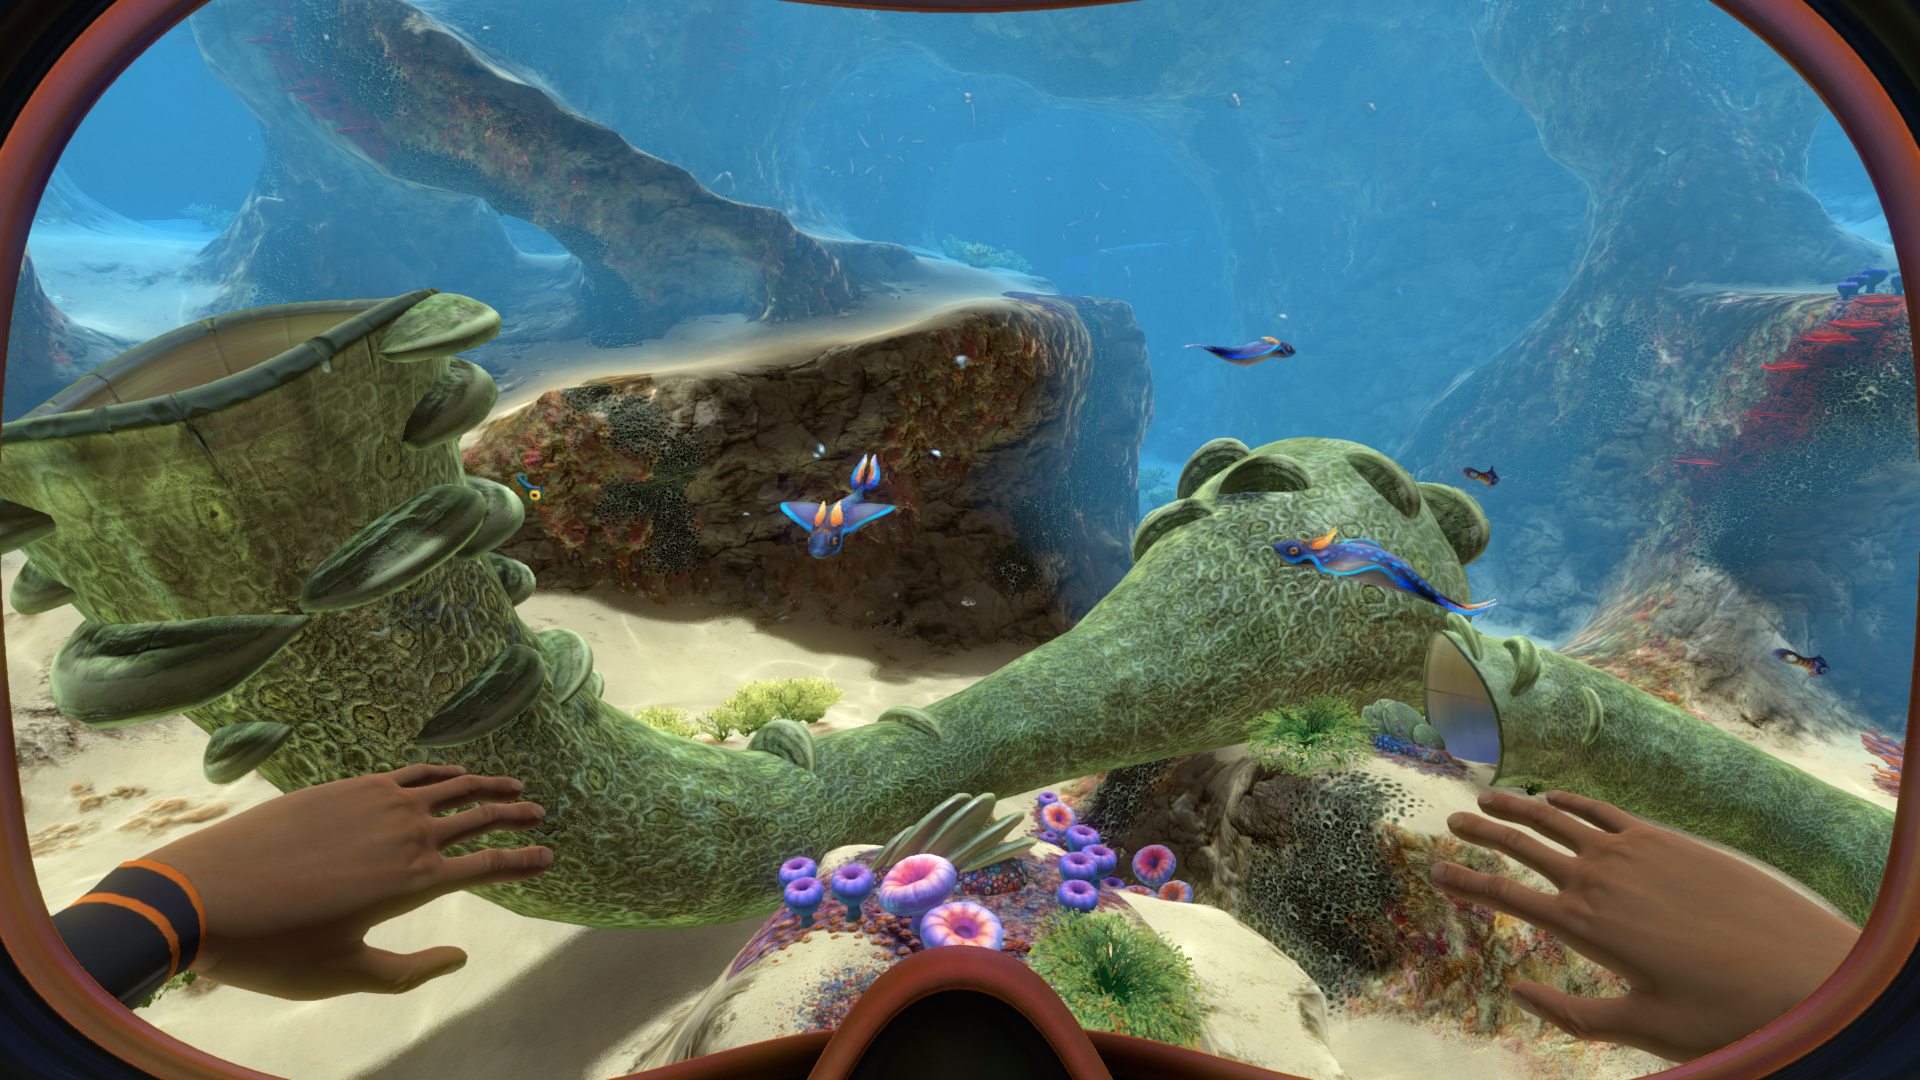
Subnautica Vehicle and Navigation Guide
Explore Subnautica's vehicles: master Seamoth upgrades, Prawn Suit power, Cyclops operations, maintenance tips, and deep-sea navigation strategies.
Navigating the vast underwater landscape of Subnautica can feel daunting, especially with limited oxygen and countless hazards lurking in the depths. Vehicles play a crucial role not only in exploring more efficiently, but also in keeping your character safe and mobile when venturing into unknown territories. Understanding your options for transport and how to effectively navigate the game's expansive ocean environment can greatly enhance your experience and improve your odds of survival. Whether you're still getting acquainted with crafting your first Seamoth or looking to optimize your routes and exploration tools, having a clear grasp of Subnautica's vehicle mechanics and navigation techniques makes your journey beneath the waves far more manageable--and far less intimidating.
Seamoth Upgrades
The Seamoth quickly becomes the vehicle players depend on to travel faster and dive deeper into Subnautica's dangerous oceans. On its own, this compact submersible is already a significant upgrade from swimming or relying on the Seaglide. However, crafting and installing vehicle upgrades brings your Seamoth's usefulness to a whole new level. Let's go over everything you'll need to put together the best Seamoth possible, so you can safely tackle deeper waters and survive those close encounters with dangerous marine life.
Understanding the Vehicle Upgrade Console
Before you start crafting any upgrade modules, build a Vehicle Upgrade Console. The Vehicle Upgrade Console is available once you've scanned fragments found around wreck sites--typically closer to the Aurora, Mushroom Forest, or underwater habitats. After scanning enough fragments to unlock the blueprint, install the console into your Moonpool.
Once installed, this custom-made console lets you fabricate Seamoth upgrades and safely install or switch out modules. It also enables you to rename your vehicle, assign colors, and even monitor your Seamoth's durability from a safe base location. Think of it as your personal underwater customization station.
Essential Seamoth Upgrade Modules
Now that you've got the console installed, you'll see several module options available for crafting. Let's go through essential upgrades that significantly boost your Seamoth's utility and survival capabilities:
Depth Module (MK1-MK3)
Without depth modules, your Seamoth can only dive up to 200 meters before taking damage. Adding depth modules pushes that limit deeper and deeper:
- MK1 Module: Increases maximum depth to 300 meters. Crafted at the Vehicle Upgrade Console using basic materials--Titanium Ingot and Glass.
- MK2 Module: Increases diving limit to 500 meters. To craft this module, use the Modification Station (another workstation built in your habitat). Combine your MK1 depth module with Magnetite, Plasteel Ingot, and Enameled Glass.
- MK3 Module: Pushes the Seamoth down to 900 meters deep, a must-have for late-game biomes. You'll use the Modification Station again, upgrading the MK2 module by adding another Plasteel Ingot and multiple Rubies.
These modules are a priority. The deeper you explore, the more valuable resources you'll access, bringing you closer to completing your ultimate mission.
Seamoth Solar Charger Module
Nothing annoys more than being stuck in deep water with a drained battery. Fortunately, this module charges your Seamoth passively during daylight. Though slower in deep waters or dark biomes, popping back up close to the ocean surface is an easy trick to get some battery juice back. Easy to craft with some Enameled Glass, Advanced Wiring Kit, Copper Wire, and Titanium, this solar upgrade helps immensely with extended exploration sessions.
Seamoth Perimeter Defense System
As you explore deeper depths, aggressive sea creatures often become a severe threat. Luckily, this Perimeter Defense System gives your tiny sub a fighting chance, delivering an electric shock that stuns nearby hostile life. Once installed, activating this system sends out an electric pulse to temporarily paralyze the predators that surround your Seamoth--giving you precious seconds to escape.
To craft it, you'll need Polyaniline and a Wiring Kit, resources easily obtainable mid-to-late game. Absolutely pick up this module before journeying near Leviathan-infested areas like Aurora crash sites or depths where Reaper Leviathans lurk.
Seamoth Hull Reinforcement Module
This little module might seem low-key compared to shocking dangerous creatures, but it's a lifesaver. Hull reinforcement significantly reduces damage your Seamoth sustains from creature bites or accidental collisions, giving it much-needed durability in cramped cave systems and tight canyons where careful navigation isn't always easy. Collect Diamonds, Lithium, and Titanium to create one, and your Seamoth will thank you later.
Seamoth Storage Module
Space constantly feels limited when you're gathering piles of precious resources deep underwater. This module transforms your humble vehicle into a mobile storage locker. Install up to four storage modules for more room, ideal for minerals and resources during long trips. Simple to craft at your upgrade console with just Titanium and Lithium, you won't regret installing these when gathering materials far from base.
How to Install Your Modules
After crafting your desired modules, head to your Seamoth. You'll see four upgrade slots located at the vehicle’s exterior side. Simply interact with these slots and install upgrades from your inventory. Feel free to swap or rearrange your installed modules depending on whether you plan on exploring, gathering resources, or dealing with dangerous animals.
Modules can also be removed and reattached at any moment--flexibility is a huge benefit. Remember to occasionally repair your Seamoth using your repair tool directly on the damaged areas.
Choosing the Right Upgrades for Your Adventures
The modules you choose depend on both your exploration goals and the level of danger you anticipate facing in various biomes. Newer players exploring shallow areas don't necessarily need high-tier modules. Simply grabbing a depth upgrade and a solar charger is more than enough. However, cultivating higher-level modules will be necessary as you set your sights on exploring places like the Lost River, the Lava Zone, or wrecks situated deep underwater.
Combine your depth modules with defensive capabilities like the perimeter defense and hull reinforcement if you venture deep into Reaper Leviathan territory. Meanwhile, stacking storage modules is excellent if you're going to resource-rich environments for extended runs.
Arrange modules in ways that complement the type of exploring you prefer, mixing and matching defensive and utility modules until you find your ideal setup--it makes exploring Subnautica's eerie depths far less stressful and more rewarding.
Conclusion: Maximize Your Seamoth’s Potential
In Subnautica, upgrades turn your trusty Seamoth into a robust utility vehicle perfect for surviving deadly waters and efficiently collecting valuable materials. Take the time to scan blueprints, craft materials, and customize modules that suit your expedition goals. Both beginners and experienced explorers benefit greatly from strategically picking clear priorities when enhancing their submersible.
With the right upgrades, your Seamoth proves more than just a safe vehicle--it's your dependable partner in Subnautica’s challenging underwater landscape. The Seamoth carries you safely through some of Subnautica’s hazardous depths, but eventually, you'll reach a point where tougher challenges demand more robust solutions. Enter the Prawn Suit: a powerful exosuit designed for those deeper, scarier biomes the Seamoth just can’t handle--like the Lava Lakes or the deepest caverns of the Lost River.
Prawn Suit Overview: Your Deep-Sea Armor
Before diving into its upgrades and accessories, let's quickly go over the basics. The Prawn Suit, officially known as Pressure Reactive Armored Waterproof Nano Suit, provides heavy-duty armor, high temperature resistance, and remarkable versatility. It can handle extreme depths that no other vehicle in Subnautica can safely reach, starting at a depth rating of 900 meters--but you can push that way lower with upgrades. This hulking, armored suit feels slower than your sleek Seamoth, but it delivers way more power and customization options, making it a top-notch late-game exploration vehicle.
Now let's break down building essential arm modules and upgrades to push your Prawn Suit to its full potential.
Essential Prawn Suit Arm Modules
When piloting your Prawn Suit, you have the choice of equipping two arm modules simultaneously. Here are the standout choices and why they matter:
Drill Arm Module
Your faithful friend in resource hunting, the Prawn Suit Drill Arm turns your exosuit into a mining powerhouse. Huge, valuable resource deposits like titanium, copper, quartz, gold, lithium, kyanite, and even precious nickel are scattered throughout deep biomes but completely inaccessible without a drill arm. This arm will grind through deposits, breaking them apart quickly, leaving a nice pile of resources ready to collect.
It’s especially crucial when gathering critical late-game materials--don't leave your deep sea base without it. Craft it at the Vehicle Upgrade Console using relatively common materials like Lithium, Titanium, and Diamonds.
Grappling Arm Module
If you aren’t already excited for the Grappling Arm, it's time to take notice: this module upgrades your mobility to superhero levels, turning the cumbersome Prawn Suit into Spider-Man underwater. Shoot a grappling hook toward terrain or terrain features like large stalactites and pull yourself forward, upward, or across large chasms.
The Grappling Arm alleviates the suit’s slow movement and limited jump distance, making travel through treacherous or vertical territory much easier. Craft it from Advanced Wiring Kits, Titanium, Lithium, and Benzene--all moderately easy to procure by the game's mid-stage.
Propulsion Cannon Arm
Yes, the propulsion cannon attachment exists, and it’s great in specific scenarios--grabbing and launching objects or even smaller aggressive creatures away from you. If you're regularly annoyed by mesmers or annoying crab squids near wrecks, the Propulsion Arm can instantly send them flying. Brave explorers can also remove debris from wreck entrances or pull loot boxes that already sunk to otherwise unreachable spots.
The only downside is the cannon's energy consumption, so use it wisely. You’ll need Computer Chips, Titanium, a Magnetite--you’ll find those as you progress deeper into the game.
Torpedo Arm Module
Some players feel the Torpedo Arm isn't as practical as other modules, and in some ways, that's true. Torpedoes are inventory-heavy, they're expensive to produce, and their damage isn't spectacular against larger predators like Leviathans.
But what they really offer is powerful distraction and knockback capability. Gas torpedoes create a stunning green gas cloud to deter or confuse lurking predators. While less essential than drill or grappling arms, it's fun and adds strategically defensive options late-game when Leviathans tend to swarm deadly biomes. Still, only get it if you have spare resources or enjoy the game's combat side.
Enhancing Your Prawn Suit’s Capabilities
Beyond arms, you have several powerful upgrade options that add functionality and significantly bolster your adventure:
Prawn Suit Depth Modules: Delving Deeper Than Ever
Despite starting deep at 900 meters, you'll need to extend your suit's depth limit even further to safely access some endgame resources and biomes:
- MK1 Module: Boosts depth rating to 1,300 meters. Built in the Vehicle Upgrade Console using Nickel, Plasteel, and Ruby.
- MK2 Module: Increases diving limit further to an incredible 1,700 meters. Crafted at your Modification Station and crucial for accessing biome depths such as the active lava zones. You’ll need the MK1 module you made previously alongside Kyanite--a resource found only in these dangerous deep zones.
First-timers often underestimate how deep late-game areas go, so don’t head into extreme depths without maxing out your Prawn Suit’s depth upgrades.
Jump Jet Upgrade: Boosting Your Mobility
The Jump Jet Upgrade significantly enhances thruster performance, allowing longer and higher jumps--and central to escaping certain biomes or chasms more comfortably. Movement feels smoother and less frustrating, especially toward lower, lava-ridden territories. Craft one early, and you'll thank yourself later when moving through challenging terrain. Catalyze Benzene, Crystalline Sulfur, Nickel Ore, Titanium and Lithium--the work is completely worth it.
Prawn Suit Thermal Reactor Module: Infinite Energy in Hot Zones
Want infinite power without worrying about carrying extra batteries or Power Cells? Enter the Thermal Reactor. The reactor produces energy by absorbing heat, perfect in hot zones like Lava Lakes or Thermal Vents. Craft it using Kyanite and advanced materials, and your suit actively recharges as you hang out near hotter biomes.
It’s a late-game perk--but arguably necessary and ultra-convenient in extreme environments where battery swapping could leave you exposed and vulnerable.
Hull Reinforcement: Keep Your Suit Durable
All the armor in the world won't matter without extra hull reinforcement. It lets your Prawn Suit absorb way less damage when crashing into rocks, landing hard, or facing vicious predators hiding silently deep below the surface.
Consider adding Hull Reinforcements made from Lithium, Diamonds, and Titanium--it raises your suit’s toughness greatly, letting you push bravely into danger.
Storage Module: Expand Your Loot Capacity
Similar to your Seamoth, the Prawn Suit’s storage module expands storage allowing you to gather massively useful quantities of resources, especially minerals obtained through drilling large deposits. Buddy up your Drill Arm and extra storage modules, and carry home payloads of rare, important resources for crafting bases, Cyclops vessels, or end-game items. Storage additions use Lithium and Titanium--chiefly simple and easily accessible.
Installing Modules to Your Prawn Suit
Like your Seamoth, installation is straightforward. Approach your suit at your moonpool docking station or Cyclops docking bay, access its upgrade panel on the back, and swap modules around effortlessly as your mission demands.
It's instantly customizable, so feel free to combine modules experimenting with mobility, storage, combat, and functionality until you get your perfect combination for any destination.
Conclusion: Master Your Adventures With a Fully-Capable Prawn Suit
In Subnautica, exploring deep depths safely relies heavily on your Prawn Suit and how effectively you use and equip its modules. Its amazing depth capabilities, powerful arm attachments, and specialized upgrades make underwater exploration rewarding and manageable, even in the darkest, deepest corners of the planet.
Gear it wisely for the scenario you face--resource-collecting expeditions, predator-rich territories, or extremely hot, low-power areas. A fully-equipped Prawn Suit transforms Subnautica’s intimidating depths into an adventurous trek through alien waters you'll actually enjoy.
Piloting the Cyclops Like a Pro
Operating the Cyclops might initially seem daunting given its enormous size, complexity, and unique functionality compared to more nimble vehicles like the Seamoth or Prawn Suit. Let's simplify controlling your gigantic underwater base-on-the-go, and help you become an expert Cyclops driver in no time.
Cyclops Movement Basics
The cockpit of your Cyclops gives a clear view forward, but keep in mind the sheer size and sluggishness while steering underwater. Use these controls to smoothly guide your Cyclops:
- Forward & Reverse: Standard controls (W or S keys) propel the vessel forward or backward.
- Steering: Rotate your ship left and right (A and D keys). Your Cyclops steers slowly, so pre-planning turns can prevent accidental collisions.
- Vertical Control: Adjust depth by pressing Spacebar (ascend) and C key (descend). Mastering vertical movements reduces collision risk when traversing tight biomes and caverns.
Pay close attention to the integrated compass and depth meter on your dashboard. Monitoring them helps maintain situational awareness, especially in tighter underwater caves or predator-populated depths. You can also use the integrated cameras for better visual coverage when moving through tricky passages (more on that soon).
Noise Management & Silent Running Mode
The Cyclops isn't just big--it's noisy. Making noise underwater is always risky, attracting aggressive attackers like Leviathans who will damage and even destroy your precious submersible. Thankfully, clever Cyclops pilots have tools to keep noise levels low:
-
Silent Running Mode: Engaging "silent running" dramatically reduces engine noise and predator attraction at the cost of increased energy usage. It's your best friend when maneuvering through leviathan-heavy environments. Just flip the control panel switch labeled "Silent Running" when threats are close by. Keep it short-term, though--it drains your Cyclops batteries rapidly.
-
Rig for Silent Running vs Regular Speed: There are multiple engine speeds available:
- Slow: Quiet, safe, and efficient--the default mode ideal for general travel.
- Standard: Balances noise and speed nicely, moderate efficiency.
- Flank (High Speed): Fastest but extremely loud and energy-consuming. Limit flank speed to short escapes or critical emergencies; otherwise, you're ringing the dinner bell for predators.
Cyclops Camera & HUD System
Your Cyclops includes multiple external cameras, letting you safely navigate tight spots or dangerous biomes with greater precision. Access them through the cockpit interface whenever needed:
- Keel Camera (below): Spots hazards beneath your submarine, helping you avoid terrain collisions--ideal when cautiously descending toward the seabed.
- Conning Tower Camera (above): Perfect for scouting ahead or monitoring predators overhead.
- Aft Camera (rear): Assists reversing or maneuvering in cramped spaces.
Use these cameras frequently--especially before attempting challenging cave systems or gripping turns. Gauging obstacle distance is much simpler through their clear, external viewpoints.
Damage Control and Hull Integrity
No matter how skilled a pilot you become, accidental scrapes against cave walls or attacks from aggressive sea life are inevitable. Your Cyclops alerts you immediately after collisions, showing hull damage on its internal holographic display:
-
Repairing External Damage: Grab your Repair Tool and exit your Cyclops briefly. Damaged portions appear as glowing hull breaches on your craft's outside body. Quickly patch these up using the Repair Tool before leakage escalates. Repair promptly; prolonged breaches could flood the Cyclops partially, restricting access or disabling critical systems.
-
Fire Suppression System: Severe engine damage (common after leviathan attacks) may cause combustion within the sub's interior. Panic not--the Cyclops can house built-in Fire Suppression modules or manual extinguishers, far more efficient than your handheld version. Access suppression from your engine kiosk or launch manually equipped fire extinguishers available onboard to resolve hazardous internal flames.
Energy Management and Battery Considerations
The Cyclops devours battery power quickly, especially running silent modes, shields, lights, or when moving at "flank" speeds. Wise navigation means effective energy management strategies including:
-
Power Cells: Six power cells form your Cyclops battery array. Each must be charged with Power Cell chargers at your base or replaced when drained. Keep a rotation of fully-charged backup cells to avoid losing power in critical moments.
-
Cyclops Power Efficiency Modules: Install these upgrade modules to reduce power consumption, a must-have feature if planning long expeditions. It's crafted using advanced components such as Benzene and Polyaniline--don't leave base without it.
-
Thermal Reactor Module: Installing this late-game upgrade converts nearby environmental heat (like thermal vents and lava biome heat) into reusable power for your Cyclops, significantly extending travel time in extreme depths.
Shield Generator: Come Out Unscathed
When facing unavoidable predators--especially aggressive leviathans or swarms of Bone Sharks--activate your Cyclops Shield Generator module briefly. It temporarily protects your hull from harm. Be conservative--shield usage heavily taxes your Cyclops's power cells.
Customization & Storage Tips
Your Cyclops functions as a mobile base. Design interiors to suit your playstyle:
- Craft interior lockers, fabricators or storage chests: Store essential resources, spare batteries, food, and water inside built storage areas for hassle-free long voyages.
- Grow food onboard: Interior planter beds allow crops like Bulbo Trees or Marblemelons, keeping food fresh and accessible without forcing land-returns constantly.
Customize smartly and you'll rarely need to return home for supplies mid-adventure.
Cyclops Mastery: Your Ticket to Safe Deep Sea Adventure
At first glance, piloting and managing cyclops operations might look overwhelming due to scope, scale, and potential risks underwater--but once you've mastered core mechanics, energy management practices, and deep-sea survival strategies, Subnautica's deepest biomes become fully achievable adventures with minimal risk and maximum reward.
Vehicle Maintenance: Keeping Your Cyclops Operational and Efficient
No matter how skilled you become at piloting, your Cyclops is only dependable if you take proper care of it. Regular maintenance ensures your underwater journeys remain smooth, safe, and free from unnecessary drama. Here are essential tips for keeping your Cyclops running at peak performance:
Watching Your Hull Integrity
Although you've patched external damage as previously covered, consistently maintaining hull health extends beyond emergency repairs. Hull integrity isn't just about avoiding crashes--it's about prevention and preparedness:
- Routine Hull Checks: After every underwater trip or predator encounter, step outside briefly just to inspect your Cyclops’s hull. Minor damage can sneak up on you, especially in deep biomes or after rough landings. Regularly scan the exterior while docked at your base to save yourself future troubles.
- Spotting Minor Damage: Sometimes minor hull damage doesn't trigger obvious onboard alerts. Look closely--the small glowing cracks seen on inspection mean your trusty Repair Tool is needed again (the cracks should visibly fade when repaired completely).
Upkeep on Power Cells and Chargers
Energy is your Cyclops’s lifeline. Being meticulous with battery care spares you unexpected power shortages far below the surface.
- Rotate your power cells: Don't wait until your Cyclops is near-empty to charge them back home. Consistently swap out depleted cells for freshly charged backups whenever docked. This keeps energy reliability at maximum.
- Install Chargers Onboard (When Possible): While onboard chargers drain your overall Cyclops energy, deploying them wisely combined with upgrades like the Thermal Reactor Module can make your trips infinitely self-sustaining. Near late-game thermal hotspots, onboard charging is extremely practical.
Cleaning and Organization: Getting Your House in Order
Your Cyclops doubles as a base, workspace, and transport. Keep it organized and tidy:
- Efficient Interior Setups: Always place lockers, crafting stations, and resource storage logically inside your submarine. Label storage lockers clearly and group them according to resource type, making resource retrieval quick when you’re rushed or under pressure.
- Trash Disposal Solutions: Rather than crowding lockers with unneeded or duplicate items, install a trash receptacle or a recycling bin. Eliminating clutter speeds up quick navigation throughout your sub and lessens confusion during urgent situations.
Upgrading and Modifying Your Cyclops
Routine upgrades significantly prolong your submarine's lifetime. Proactive installation of advanced modules enhances safety, reduces energy waste, and offers valuable convenience:
- Hull Reinforcement Modules: Given frequent encounters with sharp terrain and aggressive fauna, consider investing resources into the Cyclops Hull Reinforcement upgrade. Installing it significantly reduces the rate and degree of hull damage after impact--no brainer if frequent hazardous voyages define your playstyle.
- Creature Decoy Tubes: Attaching creature decoy upgrade dispensers saves your hull damage greatly in hostile situations. Insert a creature decoy--the capsule attracts predators away from your submarine temporarily, providing invaluable breathing room to escape danger zones.
- Sonar Module Installation: Subnautica’s hazards lurk silently in darker waters. A Sonar Module’s powerful height-mapping display provides clear real-time topography readings on your cockpit HUD--perfect for avoiding hidden wrecks, hostile leviathan patrol zones, or complicated cave interiors.
Managing Interior Fires and Emergencies
Emergencies can escalate quickly; learning how to mitigate interior fires efficiently helps you stay level-headed when disaster strikes:
- Keeping Multiple Extinguishers On-Hand: Fires often appear far from the installed fire suppression module positions. Store multiple manual fire extinguishers within easy reach around critical interior locations, such as storage lockers and battery compartments, for rapid response.
- Air Quality and Health Checks: Following interiors fires or even lingering smoke, briefly inspect your interior with extra caution. Open doors and ventilate compartments if smoke hazards remain post-fire. Lingering smoke can briefly reduce your health unless aired promptly.
Docked Vehicle Checks (Seamoth and Prawn Suit)
Your beloved Cyclops isn't alone on your expedition--it often carries additional vehicles, such as your Seamoth or Prawn Suit. Your craft's operational safety relies on regularly maintaining these docking-bay inhabitants too:
- Seamoth Inspection: Slotting your Seamoth into the Cyclops docking bay is great for recharging, but regularly check its storage compartments and hull damage status. Repair promptly with a handheld Repair Tool if required, saving time during deeper expeditions.
- Prawn Suit Maintenance: Your beefy Prawn Suit can handle damage better than your smaller craft, but after long lava biome dives, double-check integrity and quickly top-off suit batteries while docked. Damaged suits placed back into the docking station could cause unexpected flooding or fire hazards on your Cyclops, so careful inspection after tough exploration is strongly advised.
Final Checks and Prep before Voyages
A small final checklist before departing your base can help you prevent maintenance issues before they ever arise:
- Check Power Levels on Cyclops and any docked vehicles. Replace or recharge batteries immediately if they're below half capacity.
- Inventory Stocked? Confirm sufficient food, water, medkits, and spare tools onboard.
- Emergency Items: Creature decoys loaded? Multiple extinguishers placed strategically? All onboard facilities--including fabrication machines--operating correctly?
Having these well-crafted habits ingrained makes your deep ocean journeys safe, efficient, and significantly less stressful.
With diligent vehicle maintenance, your Cyclops will reliably stand between you and the ocean’s harshest dangers, providing safe shelter and unmatched exploratory scope every time you set out beneath Subnautica's watery surface.
Navigating Depths: How to Safely Pilot Your Cyclops in Subnautica
Now that your Cyclops is upgraded, stocked, and seaworthy, your next challenge is safely piloting your submarine through Subnautica’s more treacherous waters. The deeper you travel, the more threatening conditions your sub faces--pressure, aggressive creatures, and complex terrain. Here’s a handy breakdown of navigation strategies to help you confidently and safely maneuver through the darkest, trickiest depths.
Understanding Depth Limits and Crush Depth
Each vessel in Subnautica has a specific "Crush Depth." Pushing beyond your sub’s limits will rapidly damage your Cyclops, quickly ending your exploration--sometimes catastrophically.
-
Keep an Eye on Your Depth Indicator:
Always watch the on-board depth gauge located in your HUD, showing the Cyclops’ current and maximum depth. Upgrades like the Cyclops Depth Modules raise your maximum depth limits, allowing safer trips into deeper territory. -
Warning Signs:
When approaching your Cyclops’ Crush Depth, the interface will flash clear warning messages, accompanied by audible alarms. Heed these warnings immediately by ascending to safer depths or installing the needed depth-enhancing modules before continuing. -
Depth Upgrade Installation:
Completing and installing Cyclops Depth Module upgrades--easily crafted via your Modification Station and displayed inside the Cyclops' upgrade panel--should be prioritized before deep-sea adventures. Improved modules let you access valuable biomes, like the Lost River, Lava Zones, and deeper cavern networks safely.
Monitoring and Conserving Cyclops Energy
Piloting through extreme depths demands careful energy management, especially when resources are scarce.
-
Engage Silent Running Sparingly:
The Cyclops Silent Running mode lowers your detectability but rapidly eats through your sub’s power reserves. Use Silent Running only when evading predators or quietly maneuvering past aggressive fauna like Reaper or Ghost Leviathans. -
Minimizing Lights and Sonar Use:
Headlights, internal lighting, and sonar functions also consume sub energy. If you’re confident navigating familiar terrain, temporarily turning these off prolongs battery reserves, giving you a buffer of extra time when far from your base or power sources. -
Recharge via the Thermal Reactor Module:
In volcanic or geothermal-rich regions, take full advantage of the Cyclops Thermal Reactor Module. Parking temporarily near hydrothermal vents or lava geysers quickly recharges depleted cells between long journeys, restoring your Cyclops without needing return trips to your home base.
Navigating Tight Spaces and Complex Cave Systems
Tightly packed coral reefs, twisting tunnels, and caves can quickly inhibit your Cyclops’ larger hull, causing collision risks and significant hull damage.
-
Using the Cyclops Cameras for Safe Maneuvering:
Your Cyclops is equipped with several external camera views, selectable from within your cockpit. These rear, keel, and top-mounted cameras let you carefully thread through narrow passageways and razor-sharp rock formations. Before inching forward, switch to these cameras to double-check your spacing and clearance. -
Sonar Scans for Dark Caves:
Subnautica’s murky depths can severely limit visibility. In dark or unknown cave interiors, your onboard sonar module casts energy pulses, mapping walls, terrain, and obstacles clearly on-screen. Use brief sonar pulses to guide you safely around unexpected twists and obstructions. -
Scout First, Piloting Later:
Utilize docked vehicles like the Seamoth or Prawn Suit to scout ahead through especially dense cave networks. Mark routes using deployed beacon items, setting reliable waypoints for your Cyclops to follow once you confirm sufficient clearance.
Avoiding Aggressive Fauna and Leviathan Class Encounters
Aggressive sea creatures pose considerable risks during deep-water navigation. Identifying threats quickly and responding efficiently will help you maintain Cyclops safety.
-
Identifying Nearby Threats:
Creature behaviors provide valuable warnings. Hearing loud roars or gaining loud sonar contacts generally signals leviathan-class predators nearby. Direct visual imagery reveals large forms swimming in the water--examples include Ghost Leviathans, Reapers, or Sea Dragons. -
Deploy Decoys Strategically:
When predators approach, quickly deploy one of your pre-loaded creature decoys from the dedicated tube upgrade. The launched decoy distracts creatures temporarily, creating space for you to safely maneuver away undamaged. -
Switch to Silent Mode & Minimize Movement:
Without a decoy available or as a supplementary tactic, activate Silent Running, dim your lights, and coast gently through hostile areas. Reducing the Cyclops audio signatures often lets you slip away unnoticed before attracting aggressive interest. -
Emergency Maneuvering: Shields and Retreat:
If predators attack and collisions begin damaging your hull integrity, immediately activate the Cyclops Shield Generator. Shielding will briefly mitigate further hull damage, allowing valuable seconds for you to retreat carefully to safer waters or cover.
Proper Depth Ascents and Descents
In Subnautica, rapid changes in depth or blindly ascending out of cavern systems lead to unnecessary collisions and hull damage.
-
Slow, Controlled Movements:
Always ascend or descend gently, watching terrain maps and sonar carefully. Going slower allows you more time to react and adjust your trajectory precisely. -
Vertical Thrust Management:
Cyclops controls include dedicated controls for vertical ascension or descension. Rather than steering directly upward, utilize gentle vertical thrust controls to regulate elevations gradually, avoiding unintended collisions or rush-induced mistakes. -
Know Your Exit Points:
When traveling through tunnels or cave systems, clearly mark beacon paths or mentally note your exact entry points. Maneuver your Cyclops carefully backward or retrace previously scouted routes if trouble arises, greatly reducing abrupt impacts and adverse scenarios.
Mastering Cyclops depth navigation equips you to confidently tackle the ocean’s toughest areas, dodge deadly creatures, and safely pilot your submarine through Subnautica’s vast submerged environment. Practice calm, clear-headed maneuvers and keep essential tips fully in mind--soon enough, the Cyclops becomes your safe haven for underwater adventure.