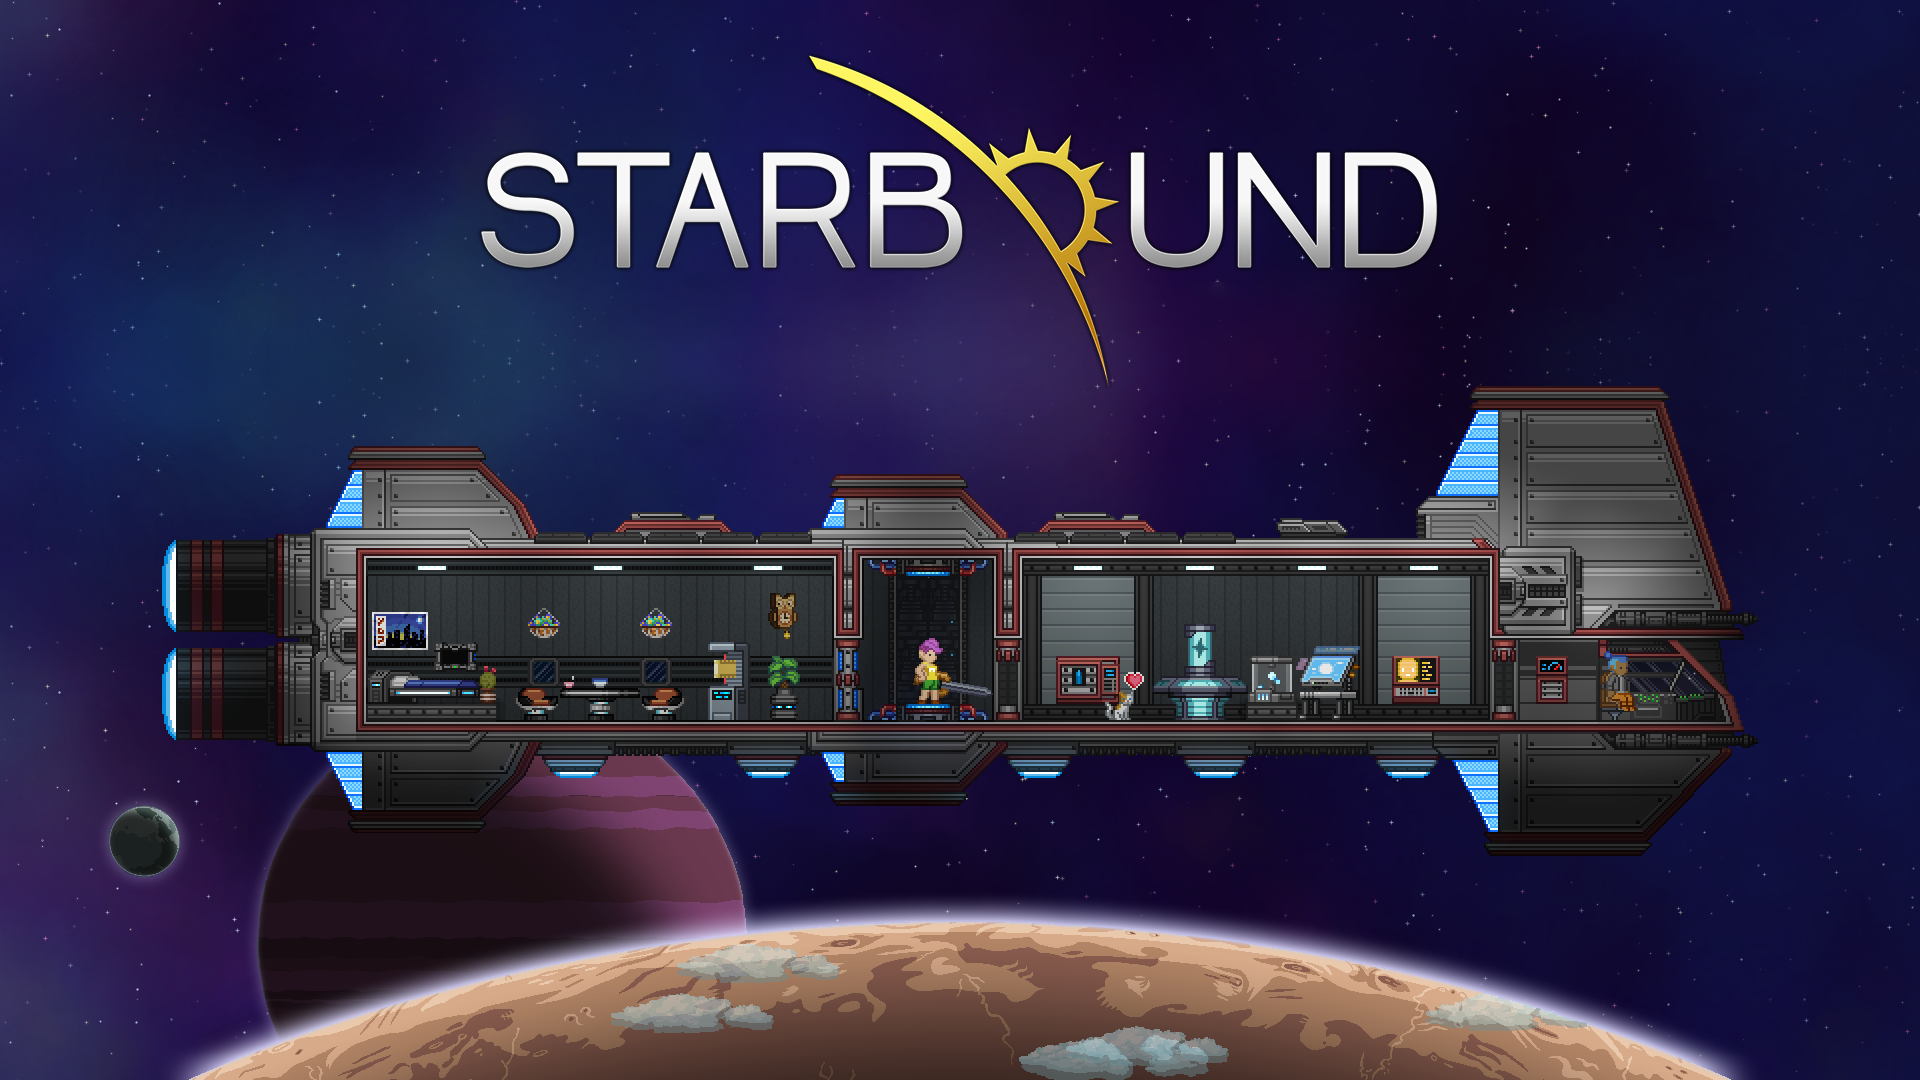
Starbound Base Building Guide
Master the art of base building in Starbound! Discover the best planet locations, smart designs, advanced crafts, defense tips, and optimization secrets.
Welcome to the ultimate "Starbound Base Building Guide," your go-to resource for crafting the perfect interstellar haven! Whether you're a seasoned explorer or a rookie spacefarer, our guide will equip you with the essential strategies for establishing a thriving base in the vast universe of Starbound. Dive into expert tips on Selecting Ideal Planet Locations to ensure your settlement flourishes in the right environment. Master the art of Efficient Base Designs to utilize space effectively and create a visually stunning home. Elevate your gameplay with insights on Advanced Crafting Stations, enabling you to build and innovate with ease. Protect your base from cosmic threats with savvy Base Defense Mechanisms, and learn Expansion and Optimization Techniques to accommodate your growing galactic ambitions. Embark on this exciting journey to transform your vision into a reality--all while earning the admiration of fellow travelers.
Exploring space in Starbound provides endless possibilities, so finding the ideal planet for building your base can be quite the adventure. As you traverse the cosmos, various factors come into play for selecting the perfect location. Let's break down what to consider when choosing a planet to call home in this expansive universe.
Consider Planet Biomes
Starbound features a diverse range of biomes, each with unique characteristics and resources. Here's a quick overview:
-
Forest Planets: Rich in wood and plant fibers, these worlds are excellent for early-game resource gathering. They provide a peaceful setting with fewer dangerous creatures.
-
Desert Planets: High in minerals and usually abundant with Sandstone and Erchius Fuel, making them resource heavens for more advanced crafting materials.
-
Frozen Worlds: While icy landscapes can be challenging due to extreme climates, they offer valuable resources like Frozen Berries and certain ores.
-
Toxic and Radioactive Planets: Though harsh environments with challenging weather conditions, these planets provide rare resources and materials for advanced players.
Assess Resource Availability
When selecting your planetary base, consider the natural resources available. Key resources such as iron, copper, silver, and coal are vital for crafting and progression. Desert and forest planets, for instance, frequently contain these essentials, while ocean and jungle planets often have unique flora and fauna for cooking and crafting.
Additionally, pay attention to surface ores and treasure chests that speed up your resource gathering. It’s crucial to weigh the abundance of materials against the dangers of the planet's environment.
Evaluate Environmental Hazards
Planets in Starbound can have various environmental hazards. From meteor showers and acid rain to frigid temperatures and radiation, each hazard requires specific gear or technology to protect your character.
In the early game, aim for planets with milder climates. As your resources and gear improve, you can venture into more hazardous environments for greater rewards.
Check for Creature Difficulty
Each planet has different wildlife, ranging from passive creatures to hostile aliens. If you're a beginner, sticking to planets with easier enemies will make your base-building efforts smoother and less risky.
On planets with hostile or dangerous creatures, secure your base by setting up defenses or choosing a secluded area less frequented by enemies. Consider the local fauna before starting construction.
Proximity to Fuel Sources
Space travel requires Erchius Fuel, typically found on moon planets. Keeping your base near a consistent fuel source allows for economical and frequent travel. Establishing supply runs to refuel and collect resources ensures sustainment of your interstellar explorations.
Discover Friendly Settlers
Some planets feature NPC villages that can offer trade, quests, and companionship. Setting your base near these settlements can provide benefits such as easy access to shops or additional protection from hostile creatures. NPCs can also add to the liveliness of your outpost, making it feel more homely.
Utilize Planetary Navigation Tools
Use your spacecraft's navigation system to examine planets before setting down. Review their climate, resource availability, and ecosystem, aiding in making informed decisions about your base's location. Maximize your navigation tools to avoid unnecessary peril and maximize efficiency in exploration.
In summary, choosing the perfect planet serves as a pivotal step in your journey across the galaxies. Factor in each planet’s biome, resources, hazards, wildlife, and proximity to key elements like fuel sources and friendly NPCs. Craft a vibrant home and make Starbound truly yours. Happy planetary selection! When setting up shop in Starbound, it's important to think ahead about your base design. A well-thought-out base isn't just about looks--it's about functionality and efficiency, too. Whether you're keeping your crew safe from alien threats or organizing your storage so you can find that pesky Matter Manipulator upgrade quickly, an efficient base can make your galactic adventures far more enjoyable. Let's check out some great tips for crafting the perfect hub for your heroic quests.
Location Selection
The first step in base design is choosing the right spot. You want a location that's both safe and resource-rich.
Proximity to Resources
Select a planet that offers easy access to essential materials like fuels, ores, and crops. Consider nearby biomes that can supply different kinds of resources. A diverse biome nearby means you won't have to travel far to replenish supplies.
Defense and Accessibility
Look for natural landscapes that can aid in defense, like cliffs or water bodies. Ensure that your landing pad or teleporter placement allows easy access. If you have to trudge a mile every time your ship lands, your base will quickly become a hassle rather than a haven.
Base Structure
Now that you've picked the spot, consider the basic structure.
Multi-Level Layout
Building vertically with multiple levels can save space and can help in managing different functions. For example, designate levels for living quarters, storage, crafting stations, and farms. This separation keeps activities streamlined, so you can move smoothly between tasks without tripping over your farm to reach the anvil.
Functional Zones
Create specific zones dedicated to particular tasks. Group activities that are related to maximize efficiency. For instance, place your crafting stations together and keep your kitchen near your farm. This way, resources flow seamlessly as you move around completing tasks.
Resource Management
Efficient management of your resources is vital to a thriving base.
Storage Organization
Keep your chest system organized with clear labeling. Sort items by type--food, tools, materials etc.--to quickly locate what you need. Nothing's worse than rummaging through six chests to find that one block of timber.
Automation Systems
Utilize wiring for automation to handle repetitive tasks. Timers can aid in watering farms, while sensors can light up rooms as you enter. This not only saves manual effort but also makes your base feel more alive and high-tech.
Aesthetic Flourishes
A base isn't just about function; it can be sleek and stylish, too.
Theme Consistency
Choose a theme that fits your character or playstyle. Whether it's a rustic cabin surrounded by trees, or a futuristic lab with all the tech you can muster, maintain consistency in design. This makes your base more harmonious and pleasing to the eye.
Decoration and Comfort
Spruce up your living spaces with furniture and decorations. A cozy base is a happy base. Adding personal touches like posters or trophies from your travels can make the space feel truly yours.
Energy Efficiency
Maintaining your base's energy efficiency requires some planning.
Power Management
Invest in a robust power setup to keep essential systems running without downtime. Solar panels and backup generators can ensure that your base stays powered up, even when the sun goes down or your primary systems fail.
Integration of power hubs can consolidate energy distribution across various base functions. You minimize interruptions by having one central control point, ensuring your operations run smoothly day or night.
With these tips in mind, you're ready to create a functional and efficient base that caters to all your adventuring needs. Whether defending against the cosmos or crafting that next great weapon, your base will be the trusty home you return to through your space-faring journey. Happy building! Crafting is an essential part of thriving in Starbound, and when you reach the advanced stages, crafting stations become even more crucial. These stations let you produce high-level items and gear, which can make your universe-trotting adventures a lot more exciting. Let's take a look at some of the advanced crafting stations you'll need to know about, and how they can enhance your gameplay.
The Importance of Advanced Crafting Stations
Advanced crafting stations give you the ability to craft better items and upgrade existing gear. With new recipes unlocked, players can enhance their survival chances on more challenging planets. These stations are vital for creating powerful weapons, durable armor, and useful tools that can handle the toughest environments the game has to offer.
Essential Crafting Stations and Their Functions
Atomic Furnace
The Atomic Furnace is a step up from earlier furnaces, enabling you to process advanced ores into refined metals. By smelting titanium, durasteel, and other high-tier materials, you’ll craft robust components necessary for creating top-notch weaponry and protective suits. Having one of these in your base is a must for any serious explorer.
Manipulator Table
The Manipulator Table is your go-to for crafting tech and crafting gear upgrade modules. Here, you can improve your Matter Manipulator, which is fundamental to collecting resources and terraforming planets. The upgrades you perform here will make mining and building a whole lot easier.
Sewing Machine
The Sewing Machine adds flair to the practical, enabling you to stitch together superior pieces of apparel using fabrics and various materials. While its primary function is clothing, high-tier equipment built here can be crucial for explorers needing to handle extreme temperatures and conditions on different worlds.
Replicator
The Replicator broadens crafting horizons with its ability to create advanced crafting tools and melee weapons. It’s particularly useful for players looking to craft unusual and potent items not available at other stations. Crafting here often involves expensive and rare materials, but the results can offer a game-changing advantage.
Tips for Setting Up Crafting Stations
-
Centralized Location: Position your advanced crafting stations close together to minimize time spent running between them. This makes transitions between station processes smoother and more efficient.
-
Resource Storage: Keep chests or storage lockers nearby stocked with essential crafting materials. This ensures you won’t have to interrupt your crafting sessions to collect missing ingredients.
-
Upgrade Paths: Always check the upgrade paths available at each station. Know what materials you're going to need for future enhancements, and gather these items ahead of time.
Craft Wisely, Adapt Swiftly
While advanced crafting stations significantly broaden your crafting capabilities, managing them efficiently within your base can elevate your overall playing experience. Strategic placement and consistent upgrades will keep you well-prepared, no matter the challenges the game world throws your way. The right setup can mean the difference between being overwhelmed or reveling in triumphant exploration.
Incorporating these stations into your gameplay is a game-changer, making your adventures both more effective and rewarding. Take your time to familiarize yourself with each station's capabilities, and you'll find yourself crafting like a seasoned veteran in no time. Feeling safe and sound in Starbound is vital when facing the numerous threats the universe throws at you. While your spaceship is your primary base, setting up terrestrial outposts offers the comfort and resources a space-bound vessel can't provide. To make sure your bases stand strong against various dangers, knowing the right defense mechanisms is essential. Let's look at some of the best ways to keep unwanted intruders out and your base secure.
1. Understanding Threats
Monsters and Enemies
Starbound's universe is full of hostile creatures and enemy NPCs. Monsters can appear anywhere, especially underground or during nighttime, while hostile NPCs might occasionally raid your base. Knowing the types of enemies in your area helps you decide the level of security you need.
Environmental Hazards
Toxic storms, meteors, and severe weather conditions can threaten your base's structural integrity. It's important to construct buildings using materials that withstand these conditions.
2. Defensive Structures
Reinforced Walls
Using stronger materials like Titanium or Durasteel for your walls adds durability against stronger enemies and harsh environmental conditions. Replacing flimsy wood or cobblestone with something sturdier provides a foundation for a solid defense.
Trap Chambers
Installing traps like spike pits and laser turrets around your base can deter or eliminate foes before they reach your walls. Strategically placing these traps ensures they engage enemies automatically.
Moats and Pits
Digging moats or pits around your base prevents ground-based enemies from crossing. Filling these trenches with water or lava adds an extra layer of deterrence.
3. Security Technology
Defense Turrets
Turrets are your automated guard against airborne and ground threats. Different turret types cater to specific threats--some excel in shooting down flying foes, while others handle ground pests effectively. Placing them in strategic locations maximizes coverage and minimizes blind spots.
Alarm Systems
Integrating alarm systems will alert you to breaches. Servicing them with logic gates ensures they activate under the right circumstances, giving you adequate time to respond to potential invasions.
Shield Generators
Shield generators create protective barriers around your base. These shields are perfect for temporarily deflecting enemy attacks during peak threat times, although they require power and resources to maintain.
4. Companions and Pets
Guard NPCs
Recruiting NPCs to act as guards can strengthen your internal security. Place them at entry points, and arm them with powerful weapons to deter intruders.
Pets
Tameable pets offer support during enemy encounters. Although not as powerful as turrets, pets can distract and weaken opponents, providing valuable time for you and your NPCs to react.
5. Fortify with Layout Design
Narrow Entrances
Design entrances that enemies can't easily swarm. Funnel them through one or two narrow paths, making defending and managing traffic more straightforward.
Elevated Platforms
Building elevated areas keeps crucial segments safe from melee-focused creatures. Utilize bridges and ladders carefully to provide you with vantage points to spot danger from afar.
Redundancy Systems
Having multiple fallback points, secure rooms, and escape routes ensures that if a part of your base is overrun, you can move to a safer space or regroup.
Conclusion
A carefully designed and well-defended base ensures that your time in Starbound is less about repairing damage and more about exploring and expanding your universe. Whether it's through strategic turrets, canny construction, or loyal NPCs, keeping threats at bay means you can focus on what really matters--adventuring across the stars. Stay alert, evaluate your security setups regularly, and tweak your strategies as you acquire new technologies. Happy building and safe travels! When your space-faring efforts in Starbound require a more permanent abode, it’s time to think about expanding and optimizing your base. Transforming your basic shelter into an efficient, thriving hub doesn't just involve throwing in a few more rooms; it’s about making strategic decisions to streamline your in-game life. Let’s look at some of the ways you can enhance your Starbound home base.
Plan Your Layout
Functional Spaces
Organize your base by creating dedicated rooms for different activities. You might have sections for crafting, storage, farming, and living quarters. Grouping similar functions together reduces the time spent running around and helps you keep everything in order. If you constantly need to craft and cook, position those stations near each other to streamline your workflows.
Future Expansion
While initial builds may start small, it's wise to plan for expansion. Gradually increase vertical and horizontal space with enough connectivity for transport--predetermine where staircases or elevators will go. This way, when the time comes to add new rooms, you won't have to overhaul your base.
Maximize Efficiency
Storage Systems
Implement a comprehensive storage system. Categorize your chest contents--use one for ores and another for construction materials, for instance. Label them or use color coding for quick identification, and place these storage solutions near relevant workstations. Efficiency is about minimizing the number of clicks and trips.
Automation
The wiring system is your friend. Set up automation to control lights, doors, and other devices. For example, pressure plates can automatically open doors or turn on lights as you walk through, saving you time and effort. Also, think about setting up farming automation--such as water systems for your crops--so you spend less time managing these vital spaces manually.
Adapt and Decorate
Aesthetic Choices
While function is vital, don't ignore form--personalize your base with decorations. Personal touches can make coming back to your base a more rewarding experience. Adding a few posters, paintings, or unique furniture pieces helps shape a cozy atmosphere, ultimately complementing more serious expansions.
Adaptation for Biomes
Adapt your base to the biome in which it's located. Consider the environmental hazards of each area. If it’s a cold biome, ensure your base is insulated or has enough heat sources. In hotter areas, prioritize ventilation and consider the construction materials' durability and availability.
Sustaining Growth
Modular Addition
For sustained growth, use modular designs for your room extensions. Modular expansions allow easy adjustments and additions without disrupting existing infrastructure. You can replicate designs for specific rooms or sections, building upon your framework with ease.
Resource Planning
Efficient use of resources is vital for sustained expansion. Prioritize your crafting and building tasks based on available materials while allocating time for gathering missions. Scouting new planets for resources should be a regular part of your routine to ensure you never run out of necessary components for upgrades.
In summary, transforming your base in Starbound begins with thoughtful planning and organization. From linking activities spatially through strategic layouts to augmenting functionality with automation, each decision can lessen travel times and improve how you handle resources. With a smart balance of practicality and aesthetics, your base will become not just a shelter but a central hub for all your cosmic adventures.