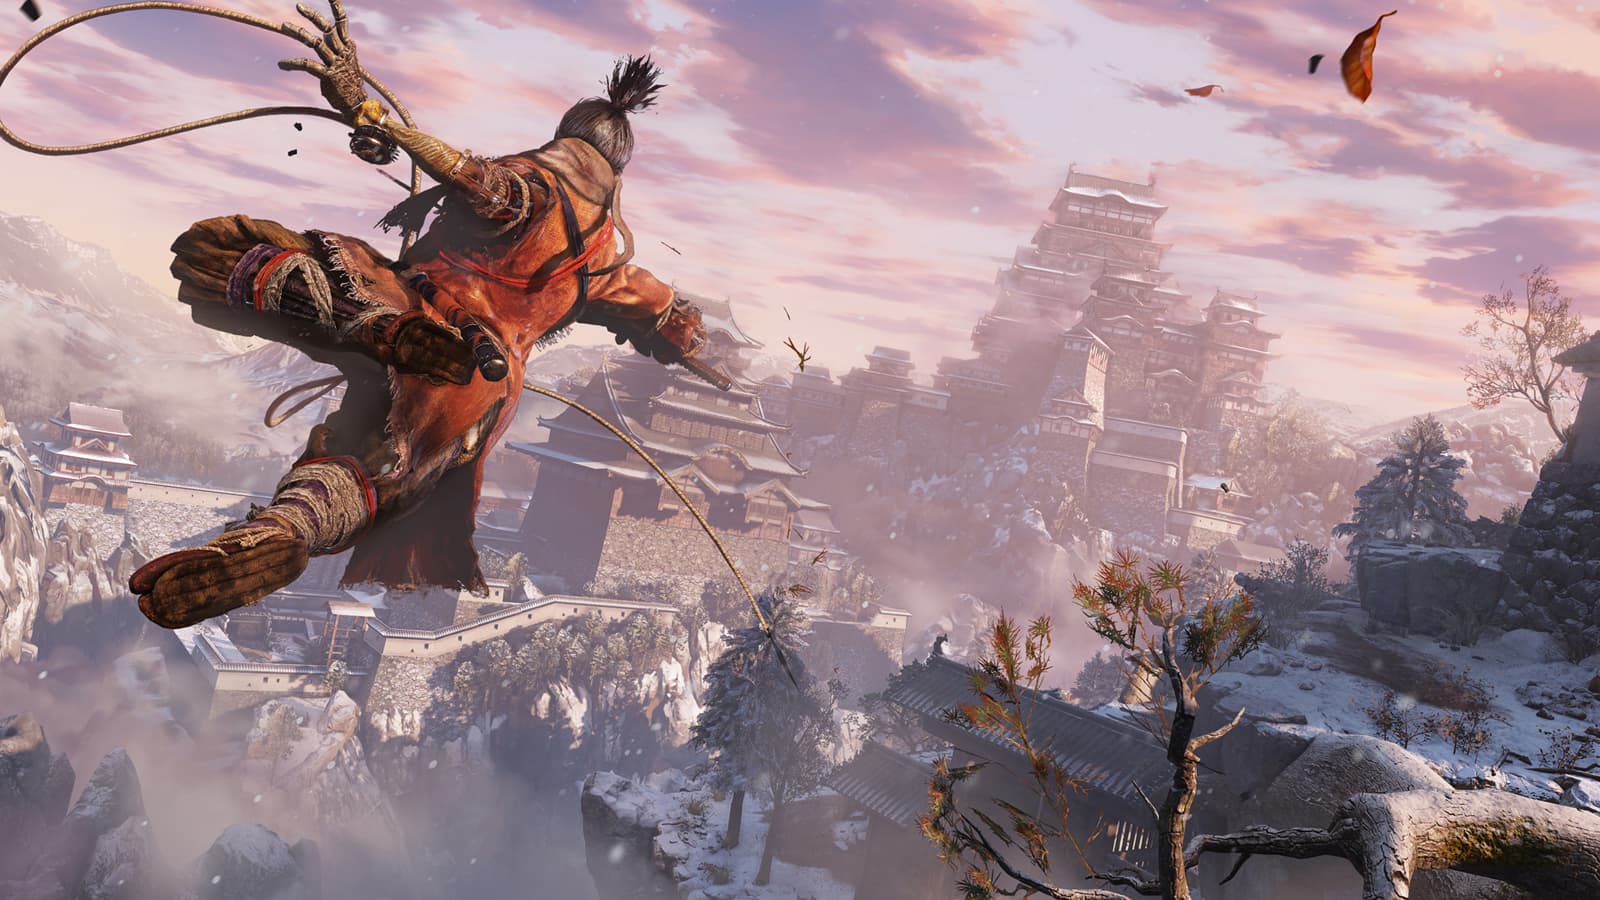
Sekiro Prosthetic Upgrade Guide: Materials and Tool Priorities
Where to find every prosthetic tool, how the upgrade tree works, which materials to farm, and which upgrades matter for each boss.
The prosthetic arm is half your kit in Sekiro, even if the sword does most of the swinging. The catch is that the base tools are only okay on their own. The good stuff shows up once the Sculptor starts bolting on upgrades, and that costs materials, sen, and a bit of planning, since some parts are strictly limited per playthrough.
So here's the whole picture: where each base tool hides, how the tree opens up, what to farm and where, and which upgraded versions actually pull their weight in boss fights.
Finding Base Prosthetic Tools
Ten base tools exist. Every one of them starts as a part sitting somewhere in the world (or in a shop), and you hand that part to the Sculptor at the Dilapidated Temple to get it fitted. The arm and its grappling hook come free during the story. The other ten are on you.
| Tool | Part | Where to get it | | --- | --- | --- | | Loaded Shuriken | Shuriken Wheel | Corpse in the building above the Outskirts Wall - Gate Path idol | | Shinobi Firecracker | Robert's Firecrackers | 500 sen from the Crow's Bed or Battlefield Memorial Mob | | Flame Vent | Flame Barrel | Campfire in the courtyards past the Estate Path idol, Hirata Estate | | Loaded Axe | Shinobi Axe of the Monkey | Hirata Estate garden house, revealed by an eavesdrop | | Mist Raven | Mist Raven's Feathers | Hidden temple past the cave from Bamboo Thicket Slope, Hirata Estate | | Loaded Spear | Gyoubu's Broken Horn | Chest in the Ashina Reservoir gatehouse, needs the Gatehouse Key | | Sabimaru | Sabimaru | Chest below the Upper Tower - Antechamber idol, Ashina Castle | | Loaded Umbrella | Iron Fortress | 1,600 sen from Blackhat Badger near the Old Grave idol | | Divine Abduction | Large Fan | Altar in the Gun Fort, Sunken Valley | | Finger Whistle | Slender Finger | Dropped by the Guardian Ape |
Free pickups in the first two areas
The Loaded Shuriken is basically free. From the Outskirts Wall - Gate Path idol, walk into the building above it through the broken wall and loot the corpse for the Shuriken Wheel.
Three more come from Hirata Estate, and two of them are sneaky. The Flame Barrel sits on a campfire in the courtyards past the Estate Path idol, surrounded by bandits and a dog or two. Clear them, grab the barrel, done. The axe is the one people miss: stand near the two enemies at the temple gate above that campfire and eavesdrop. Their chat points you to a small garden house further in, and the Shinobi Axe of the Monkey is inside. Skip the eavesdrop and the house just looks like scenery.
The Mist Raven hides at the top of a route most players run right past. From the Bamboo Thicket Slope idol, head up toward the Shinobi Hunter, but peel off into the cave on the right that follows the river. Climb to the opening at the top, grapple up, and you'll find a hidden three-story temple guarded by a purple ninja. Beat him and the feathers are yours.
The two you buy
Robert's Firecrackers cost 500 sen. Two shops sell them: the Crow's Bed Memorial Mob on the cliff near the Outskirts Wall - Gate Path idol, and the Battlefield Memorial Mob just past Gyoubu's arena. Buying from one removes the stock from the other, so don't go hunting for a second copy. Of everything in this guide, this 500 sen purchase is the best value in the game.
The Iron Fortress runs 1,600 sen from Blackhat Badger. He's in Ashina Castle, in the building right in front of the Old Grave idol. Drop through the roof opening and he's inside. It's a lot of sen that early, and the umbrella is more of a comfort pick, so it's fine to postpone this one.
Tools locked behind story beats
The Loaded Spear needs a key. Eavesdrop on the two guys on the bridge near the Ashina Castle idol to learn about the Gatehouse Key, then head back to Ashina Reservoir and open the gatehouse you snuck past way back at the start. Gyoubu's Broken Horn is in the chest inside.
Sabimaru is a chest drop below the Upper Tower - Antechamber idol. The room there has two holes in the floor. Drop through, clear the four enemies, and the chest in the small room has the blade.
The last two are boss-gated. The Large Fan sits on the altar in the Gun Fort after you beat Long-arm Centipede Giraffe, and the Guardian Ape coughs up the Slender Finger when he dies. Both are in the Sunken Valley, so one trip down the valley nets you both fights if you route it right.
Unlocking the Upgrade Tree
Here's the gate most people trip on: you can't upgrade anything until you beat Gyoubu Oniwa at the Ashina Castle Gate. He drops the Mechanical Barrel. Hand that to the Sculptor and the upgrade menu opens at the Dilapidated Temple.
The tree runs six tiers deep. Each step needs the one before it, and late in each branch the paths split, so you pick a direction and the other options stay available separately. One nice touch: you never lose the old versions. Upgrade the firecracker all you want and you can still equip the base one if you want the cheaper emblem cost.
Fit any three tools and the Sculptor also hands you the Prosthetic Esoteric Text. That unlocks the Prosthetic Arts skill tree, and a few of those skills matter a lot: Projected Force turns the umbrella into a counter-attack, and Living Force lets a Flame Vent blast set your sword on fire. Cheap skill points, big payoff.
So what does the whole tree cost if you go for everything? A silly amount, but here it is:
| Resource | Total needed | | --- | --- | | Sen | 35,700 | | Scrap Iron | 88 | | Scrap Magnetite | 63 | | Black Gunpowder | 30 | | Yellow Gunpowder | 29 | | Lump of Fat Wax | 40 | | Lump of Grave Wax | 17 | | Adamantite Scrap | 32 | | Fulminated Mercury | 19 | | Lapis Lazuli | 10 |
Notice the last line. Only six Lapis Lazuli exist per cycle, so maxing every tool in one run is flat-out impossible. You'd need a New Game Plus for the last few, and the Shura ending skips Fountainhead Palace entirely, which kills your Lapis supply. Picking a couple of favorites isn't lazy, it's just how the math works.
Two economy notes before moving on. Spirit Emblems cost 10 sen each at any idol, and tools drink them fast, so keep a stack banked before boss attempts. And once you beat the True Corrupted Monk at Fountainhead Palace, her Dragon's Tally Board adds infinite stock to most merchants: Scrap Iron and Black Gunpowder at 150 sen each, Divine Confetti at 300, Snap Seeds at 80. That's the point where the common-material grind just stops being a problem.
Farming Common Materials
The loop is simple: kill the right enemies, rest at the idol, repeat. Drop rates are the variable, and three things crank them up. Ring the Demon Bell in Senpou Temple (the Sinister Burden buff makes enemies tougher but loot way better), pop a Mibu Balloon of Possession, and grab the item-discovery skills in the temple skill tree, Virtuous Deed and Most Virtuous Deed. Stack all three and rare drops stop feeling rare.
| Material | Used for | Easiest source | | --- | --- | --- | | Scrap Iron | Early tiers of every tool | Basic enemies everywhere, 150 sen each once you have the Tally Board | | Black Gunpowder | Firecracker, Flame Vent branches | Gunner and cannon enemies, 150 sen each post-Tally Board | | Yellow Gunpowder | Mid and late explosive steps | Toxic Memorial Mob sells 2 for 270 sen, plus Sunken Valley pickups | | Scrap Magnetite | Mid and high blade steps | Shugendo Memorial Mob sells 2 for 330 sen, blue samurai and Senpou monks drop it |
What to actually kill
Scrap Iron falls out of almost anything with a weapon in Ashina early on. Don't buy it before the Dragon's Tally Board exists; you'll be swimming in it from normal play, and full price is a rip-off.
Black Gunpowder comes off anything with a firearm. The riflemen around the Outskirts and the cannoneers in the Sunken Valley are your crowd. Same deal as iron: hoard drops early, buy infinite later.
Yellow Gunpowder is a Sunken Valley special. The Toxic Memorial Mob by the serpent's lair sells two for 270 sen total, and there are fixed pickups all over the valley and the Ashina Depths poison pool. If you'd rather farm it, the Ministry samurai around the Ashina Castle idol drop it, and the Golden Vortex upgrade (from Divine Abduction) can yank extra loot rolls out of them each reset.
Scrap Magnetite is the first real bottleneck. The Shugendo merchant in Mt. Kongo sells two for 330 sen each, which covers a couple of upgrades by itself. For farming, the blue-robed samurai at Ashina Castle's Upper Tower drop it at roughly 1 in 30 with the bell and both discovery skills running. Faster option: the spear monks right outside the Main Hall idol in Senpou. With the bell on, they're close to a guaranteed drop, though the wiki notes you need the first item-discovery skill or they just cough up Scrap Iron instead.
Locating Rare Materials
These are the wall your upgrade plans hit. Most are late-game drops or one-time pickups, so know before you spend.
Fulminated Mercury
Needed for the top explosive steps, 19 total across everything. The Sunken Valley Clan starts dropping it at low rates once the game shifts to evening, and here's the weird part: before Fountainhead Palace is open, those drops only happen with the Demon Bell active. The rifle and cannon enemies at the Gun Fort and the Poison Pool in Ashina Depths are the targets. After Fountainhead opens, the rate jumps hard and you barely need boosts. Once Ashina is set ablaze near the end, the red guards there, flamethrower guys especially, join the drop pool.
There are also seven fixed pickups. The earliest is in Sunken Valley Passage, behind a rock across from the island with the white monkeys in the poison water. The rest are in Hirata's second memory and around burning Ashina.
Adamantite Scrap
Thirty-two needed in total. The repeatable source is the purple ninja near the Antechamber idol in late-game Ashina Castle. The Exiled Memorial Mob below Mibu Village sells two for 600 sen each, which is honestly a decent deal. Another option: with Sinister Burden active, the straw-hat monks outside Senpou's Main Hall idol can drop it, but only after certain bosses are dead. The Guardian Ape seems to be the trigger, so don't waste time there before that fight.
The two waxes
Lump of Fat Wax shows up on Senpou monks, but the drop rate is junk until Genichiro is dead at the top of the castle. After that, monks, the psychic Seekers on the mountain, and the blue-robed nobles at Fountainhead all pay out. There are also freebies: three from Doujun's questline in the Abandoned Dungeon, three more from Anayama if you send Kotaro to him, plus pickups around Mibu Village.
Lump of Grave Wax is late-game, full stop. The two nobles near the Flower Viewing Stage idol at Fountainhead are the easy farm. The Mist Noble drops one, and handing Doujun the Red Carp Eyes gets you two more.
Lapis Lazuli and the ring
Lapis can't be farmed at all. Six per cycle, and here's the full list: one from the Shichimen Warrior at the base of the Fountainhead waterfall, two from the Demon of Hatred, two bought from a Pot Noble at 6 Treasure Carp Scales each, and one more from feeding that noble's Truly Precious Bait to the Great Colored Carp. The four Lazulite upgrades need 2, 2, 3, and 3, ten between them, so pick two and enjoy them.
Malcontent's Ring comes from a different Shichimen Warrior, the one in the Guardian Ape's Burrow near the Poison Pool idol. He only shows up after you've severed the Headless Ape's immortality and wrapped up Mibu Village. No ring, no Malcontent whistle, and that whistle is worth the detour.
Choosing Upgrades for Bosses
Materials are scarce, so spend them where fights get easier. Here's the short version of what matters and when.
Early picks
Buy the Shinobi Firecracker before anything else. For 500 sen you get a 2-emblem panic button that blinds a whole crowd and does extra posture damage to beasts. The Blazing Bull stops charging, Juzou folds, and the Guardian Ape's first phase gets a lot shorter. Two caveats from the wiki: it does nothing to apparition-type enemies, and Headless plus Headless Ape are immune to the stun. Also, spamming it on beasts stops working pretty quick, since repeat stuns get resisted as the fight drags on.
The Flame Vent is your answer to red eyes. Anything with glowing red eyes fears fire, and the Chained Ogre panics the moment he burns. It also cooks enemies in straw capes in a single blast, though the Snake Eyes gunners need two hits before they catch. Add Living Force and your sword carries that fire for 8 seconds, which is where the real damage comes from.
The base Loaded Umbrella is already handy for the ogre too. It blocks grabs, which is the one attack that ruins that fight, and the wiki flags it as useful against the Chained Ogre and the Shura-ending bosses alike.
Mid-game picks
Get the Loaded Spear sorted before you rematch the ape. When the Headless Ape flops over after you deflect certain overhead slams, thrust the spear in and pull: it tears the centipede out of the body and chunks his health and posture at the same time. That single trick deletes the scariest part of the fight.
Sabimaru poisons, and poison here means real damage: 220 plus 15 percent of max HP over 20 seconds. The wiki calls it extremely effective against O'Rin of the Water, Snake Eyes Shirafuji, and the Okami warriors at Fountainhead Palace. Those Okami fights can be rough, and a poisoned blade smooths the whole palace out. Just mind the cost: it's 1 emblem per two-hit pair, so a full six-hit string runs you 3.
Late-game picks with real price tags
| Upgrade | Cost | Why bother | | --- | --- | --- | | Suzaku's Lotus Umbrella | 1,500 sen, 6 Scrap Magnetite, 6 Yellow Gunpowder, 2 Adamantite Scrap, 2 Fulminated Mercury | Open fire immunity, no Burn buildup | | Malcontent | 4 Scrap Magnetite, 4 Lump of Fat Wax, 2 Adamantite Scrap, 2 Lump of Grave Wax, plus the ring | Stuns apparitions and the Demon of Hatred | | Great Feather Mist Raven | 1,500 sen, 4 Lump of Fat Wax, 4 Yellow Gunpowder, 3 Lump of Grave Wax, 3 Fulminated Mercury | Burning teleport, safe Lightning Reversal | | Purple Fume Spark | 1,500 sen, 5 Lump of Fat Wax, 2 Adamantite Scrap, 2 Fulminated Mercury | Blinded enemies take extra vitality and posture damage |
Suzaku's Lotus Umbrella negates fire damage and Burn while it's open, and spinning it throws out a flare that works like a short-range firecracker. If the Demon of Hatred is the wall you're stuck on, this plus the whistle below is the standard answer.
Malcontent is the star. It stuns apparition-type enemies for several seconds, but only three times per fight, so save it for a final phase. On the Demon of Hatred it lands all three stuns, then the third use flips him into an enraged charge, so whistle early in phase three and not before. It also clears the mist around Headless, which makes those fights possible without burning confetti by the fistful.
The Great Feather Mist Raven leaves a burning trail where you teleport, and more importantly it lets you do a Lightning Reversal with no chip damage, which the Okami in Fountainhead appreciate. Purple Fume Spark upgrades your firecracker so blinded enemies take a bit more damage on top of the stagger.
Lazulite spending
With six Lapis a run, you're picking two of the four finishers: Lazulite Shuriken and Lazulite Sabimaru cost 2 each, Lazulite Axe and Lazulite Sacred Flame cost 3. The Sacred Flame is the flashiest, but look at the full bill: 3,000 sen, 7 Fat Wax, 7 Yellow Gunpowder, 4 Grave Wax, 4 Fulminated Mercury, and the 3 Lapis. Its purple flame hits apparitions like a poor man's Divine Confetti, which is nice, though by then confetti is buyable in infinite stock anyway. The axe is the boring, reliable pick and shreds posture on anything standing still.
So the priority order: firecracker the moment you have 500 sen, spear before the Headless Ape, umbrella branches before the Demon of Hatred, and Lapis last on whatever you genuinely swing. One last timing note, because it bites people: Malcontent's Ring only drops after the Headless Ape's immortality is severed and Mibu Village is finished. If you're stuck on the Demon of Hatred before that point, the whistle shortcut doesn't exist yet, so go deal with the ape first.