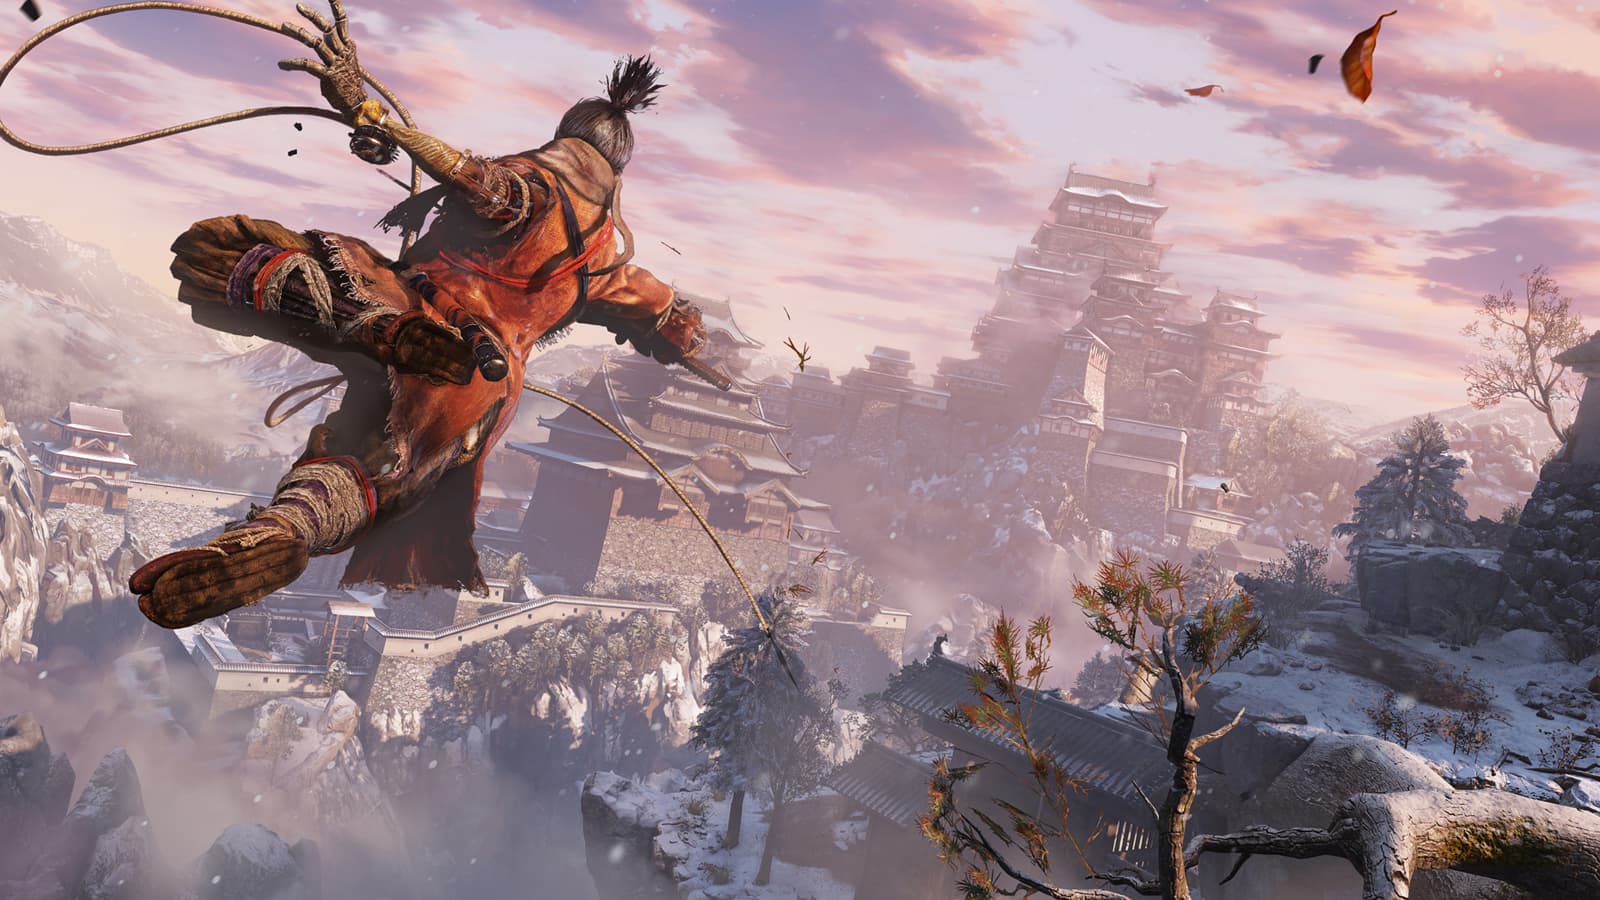
Sekiro Prayer Bead Locations Guide: Every Vitality Upgrade
Where to find all 40 Prayer Beads in Sekiro, from the Ashina Outskirts to Fountainhead Palace, plus the two you can lose for good.
Prayer Beads are how Sekiro hands out hit points. Take four of them to any Sculptor's Idol, pick Enhance Physical Attributes, and you string together a necklace that raises your max Vitality and Posture at the same time. There are 40 in the game, so ten necklaces, and each one stacks another 25% or so of your starting health and posture on top. All ten together put you at roughly three and a half times your day-one HP. That's usually the difference between a late boss killing you in two hits and you surviving the second one.
Boss memories handle your attack power on their own. Beads you have to hunt down on purpose, and a few can be lost for good if the story moves on without you. Here's the whole set, area by area, plus which ones have a timer on them.
Early Ashina and Hirata Beads
The game front-loads eight beads into the Outskirts and Hirata Estate. That's two full necklaces before the midgame even gets going, a nice comfort bump for Genichiro. Most come from mini-bosses, and nearly every mini-boss has two deathblow bars you can shave down with stealth first.
The Ashina Outskirts five
General Naomori Kawarada is the first one, just past the Outskirts Wall - Gate Path idol. He's the tutorial for deathblow bars. The path forks left toward the next gate, and looping around behind him gets a free stealth deathblow on his first bar. Beat him and the bead drops.
The Chained Ogre sits near the Outskirts Wall - Stairway idol. He's red-eyed, so fire is the answer: splash him with oil, then hit the Flame Vent prosthetic. His grab will delete most of a health bar at this stage of the game, so give him space when he rears back.
General Tenzen Yamauchi is a second general further up the road, past the Stairway on the way toward the castle gate. Same family as Kawarada, same fix. He patrols with a few soldiers along, so wait for him to wander and sneak in for the free first bar.
The Tengu's attic chest is the weird one, because there's no fight at all. After Gyoubu Oniwa, work through the fortress building where you first meet the Tengu of Ashina. Grapple up to the rafters, then wall-jump into the attic. The chest up there holds a bead. People walk underneath it for entire playthroughs.
The Blazing Bull is a story fight at the Ashina Castle Gate, so the arena comes to you. Stay glued to its flank, let it burn itself out on charges, and punish the turns. The bead drops on your way into the castle.
The Hirata Estate three
Hirata is optional content, and skipping it means skipping beads, so don't. The old woman near where you fought Kawarada (the Timid Maid) hands over the Young Lord's Bell Charm, and offering it at the Buddha statue in the Dilapidated Temple drops you into the Hirata memory. Three beads live in there.
Shinobi Hunter Enshin of Misen fights you just before the Bamboo Thicket Slope idol. He's the game's Mikiri Counter exam in mini-boss form, since his spear thrust is begging to be countered for big posture damage. The bushes on the flanks let you creep around for a stealth bar too. Learn the counter here and the rest of the game gets easier.
Juzou the Drunkard holds the courtyard in front of the Main Hall. Big guy, big swings, and you can pull the NPC hunter by the water in as a distraction. Circle behind him after his combos and he falls apart.
The hidden wall chest: from the Hirata Audience Chamber idol, head into the corridor patrolled by a bandit swordsman and an archer. At the end there's a wall scroll. Walk into it and the wall swings open, a shinobi trick door. The chest behind it holds a bead. The same trick shows up again later in the castle, so learn the tell: a scroll on a wall that has no business being there.
That's eight beads, two necklaces. Turn them in before you climb the tower for Genichiro.
Senpou and Sunken Valley Beads
Seven more beads sit between the temple mountain and the valley, a mix of real fights and pure exploration pickups. A couple of them hide better than any chest.
Senpou Temple, Mt. Kongo (3)
The Armored Warrior is on the long bridge past the Shugendo idol. You can't really hurt him through the plate, so the play is to deflect his huge swings while standing near the bridge edge, then deathblow him over the side. The fall does the actual work. He drops a bead when he goes.
Long-arm Centipede Sen'un is inside a house at the Temple Grounds. The building is crawling with centipede men, so don't use the front door. Get on the roof and drop through the hole to land right on Sen'un for a free stealth bar. His claw flurry looks terrifying but deflects cleanly, and his posture breaks fast.
The pond bead is the sneaky one. At the Temple Grounds idol, jump into the pond with the two Treasure Carps and swim down; the bead rests on a sunken statue. The catch: diving needs the Mibu Breathing Technique, which comes from beating the Corrupted Monk way later in Ashina Depths. For most runs this is a return trip.
Sunken Valley (4)
The graveyard bead needs no fight at all. From the Under-Shrine Valley idol, turn left and follow the path up through the cave, climbing ledges as you go. You come out above a small graveyard near the Outskirts, watched by one Snake Eyes rifleman and some ghost apparitions. The bead's sitting on the ground by the statues. Grab it and go.
Snake Eyes Shirafuji holds the stretch between the Sunken Valley idol and the Gun Fort, around the giant Buddha head. Her flintlock shots punish sloppy rhythm and her grab hurts a ton, so deflect on the beat.
Long-arm Centipede Giraffe waits inside the Gun Fort. Same family as Sen'un, same plan: eat the flurry with deflects, punish the recovery, collect the bead.
The cave bead behind Giraffe is the hidden one. After the fight, look for the hole in the floor to the left of the statue. Drop in while crouching, keep left until you hit the chasm, then grapple up the platforms on the right side. The bead sits at the top, guarded by lesser centipedes and a few poison-spitting wall lizards. Kind of a pain, kind of secret, very easy to never find.
Ashina Depths and Castle Beads
Fourteen beads are spread across the castle and the depths, and this is where world state starts to matter. The castle ones below are tied to the first version of Ashina Castle, before the Interior Ministry moves in. Fight them on your first pass and you're safe.
Ashina Castle, first state (5 plus one you buy)
General Kuranosuke Matsumoto stands at the top of the big stairway leading into the castle, with a couple of gunners for backup. You can open the main gate from inside the castle, come up behind him while he's mid-speech, and take his first bar for free. Kill him before the ministry ninjas take the castle, or you'll be buying this bead back later.
The Lone Shadow Longswordsman is down in the well at Ashina Reservoir, pretty much where the whole game opened. There's a pit overlooking him near the dungeon path, so drop down it for a stealth deathblow.
Seven Ashina Spears - Shikibu Toshikatsu Yamauchi is in the temple area north of the Ashina Reservoir idol. Sneak along the ledges on the right, grapple twice, and you can open with a stealth bar. His spear strings are long and his posture pool is deep, and Mikiri Counter earns its keep again here. One of the harder early beads, no shame in coming back later with more necklaces on.
The Antechamber hidden wall chest: warp to Upper Tower - Antechamber, clear out the blue-robed fencers, and check the room on the right, the one with the two sets of armor against the wall. Hug the wall between them and it opens. Chest, bead, done.
Ashina Elite - Jinsuke Saze runs the dojo at the Upper Tower. He's quick but fragile: a couple of clean deflects on his quick-draw slash and his posture folds. One of the easiest beads in the game.
The one you buy: the Dungeon Memorial Mob merchant at the Abandoned Dungeon Entrance sells a plain Prayer Bead for 1400 sen. No fight, just money, and sen gets halved when you die anyway. About the best purchase in the game.
Ashina Depths (8)
Snake Eyes Shirahagi waits at the Poison Pool. Another Snake Eyes gunner, same kit as Shirafuji. Deflect the shots, respect the grab, collect the bead.
The statue head bead: past Shirahagi's fog gate, before the drop into the burrow, look up and left for a grapple point. Climb, crouch under the low rock, wall-jump your way up the pit, then grapple onto the giant statue's head. The bead's balanced up there. Nobody finds this by accident.
Tokujiro the Glutton lurks in the Hidden Forest, near the bonfire with the NPC. He's a Drunkard-style fat boss with a monkey pack around him, so thin out the monkeys first and take the stealth bar when he wanders.
The Headless Ape rematch pays double: two beads from one fight, the only boss in the game that does it. Once the Guardian Ape dies in the Sunken Valley, its headless body shows up in the Guardian Ape's Burrow, past Shirahagi's cave, now swinging the sword from its neck. A second ape crashes the party partway through, but two beads is two beads.
O'Rin of the Water blocks the road past the Water Mill idol, before Mibu Village. She looks like a harmless NPC strolling around; she is not. Relentless combos, very little downtime, and she punishes running away. Deflect her straight through and use Divine Confetti if you have it.
The house shrine bead: from the Water Mill idol, cross the bridge past O'Rin's arena up to the house. Crouch through the opening to the right of the stairs, interact with the revolving floorboard (another shinobi trick), then step back outside and grapple up to the second floor. The bead's in a small shrine up there, next to a stack of Spirit Emblems.
The Mibu Village lake chest sits at the bottom of the lake by the village idol. Like the Senpou pond, it needs the Mibu Breathing Technique from the Corrupted Monk, so both swim beads land on the same backtracking trip. Swim down, hug the right side, and look for the glow.
Missable Endgame Beads
Now the dangerous part. Sekiro reshuffles its world as the story moves, and beads tied to old world states can lock out. So which ones can actually be lost forever? Just the Hirata pair. Everything else waits for you or ends up purchasable.
The two that can be lost forever
A second, later version of the Hirata memory holds two beads: Lone Shadow Masanaga the Spear-Bearer, inside the burning house at the end of the Bamboo Thicket Slope, and a Juzou the Drunkard rematch on the approach to the Hirata Audience Chamber. Getting in requires the Father's Bell Charm, and if you never claim it, those two beads are gone for the entire playthrough. No shop ever sells them back.
The charm comes from Emma's quiet side of the story, and the chain has to finish before you beat the Divine Dragon:
- Unlock Hirata the first time and defeat Lady Butterfly.
- Pick up either the Lotus of the Palace or the Shelter Stone, then talk with Kuro until he gives you his diary and brings up his blood.
- Ask Emma about it, report back to Kuro, then eavesdrop on Kuro through the nearby wall.
- Reload the area, talk to Emma by the Castle Tower Lookout idol, and pick "I agree. Kuro cannot be allowed to die."
- Go beat Great Shinobi - Owl on the castle rooftop. Stay loyal to Kuro there, because siding with Owl triggers the Shura ending and ends the run on the spot, locking out every late-game bead.
- Talk to Emma, meet her at the Old Grave idol, then eavesdrop on her conversation with the Sculptor back at the Dilapidated Temple and ask what she's hiding. She hands over the Father's Bell Charm. Offer it at the Buddha.
Two reassurances. Only the charm is on a timer; once you hold it, the second Hirata memory stays open even after the Divine Dragon dies. And fighting Masanaga and Juzou in there doesn't lock you into the Purification ending, so any ending plan still works.
One flip side: if you never grabbed the Young Lord's Bell Charm from the Timid Maid before the final invasion, she turns up dead and the first Hirata's three beads are gone too. Practically nobody misses that one, since she's right on the main road.
Castle state changes and the rest of the late beads
Ashina flips twice. The first flip lands once you're carrying the Lotus of the Palace, the Mortal Blade, and the Shelter Stone, when ministry shinobi overrun the castle. The second lands after the Divine Dragon, when Ashina burns. New bead carriers appear at each flip:
After the first flip (castle overrun):
- Lone Shadow Masanaga at the Great Serpent Shrine. Same spear-bearer from the Hirata memory, round two, this time in Ashina.
- Lone Shadow Vilehand in the Ashina Dojo. There's a lone enemy in the room you can stealth-kill with Puppeteer Ninjutsu for an ally mid-fight.
- A second Chained Ogre on the castle's ground floor. Drop down from the Upper Tower - Antechamber idol area to find him. Oil and fire, same as the first one.
After the final flip (Ashina ablaze):
- Seven Ashina Spears - Shume Masaji Oniwa back at the Ashina Reservoir, with a friend this time. A Gachiin's Sugar sneak gets you the opening bar.
- Ashina Elite - Ujinari Mizuo in the hidden dojo below Isshin's room, reached through the corridors under the Upper Tower. He's red-eyed, so fire, and lots of it.
- Shigekichi of the Red Guard in the burnt Outskirts, in the courtyard past the stairway gate. Drunkard-style moves with fire mixed in.
One catch: Matsumoto and Ashina Elite Saze vanish at the first flip, Yamauchi and the castle Masanaga at the second. Kill them before the world moves on, or plan on buying the beads back.
The Offering Box safety net
Any bead whose owner despawned from the castle or Outskirts drifts into the Offering Box next to Hanbei at the Dilapidated Temple. The box glows when something's inside. Prices run 1500 sen for the Matsumoto and Saze beads up to 2200 sen for the rest (Kawarada, Tenzen Yamauchi, the Seven Spears, Masanaga). That's the complete backstop for any castle boss you skipped. The stock resets each New Game Plus, and the Hirata beads never appear in it, which is why those two are the only true missables.
Fountainhead Palace (3)
The Sakura Bull of the Palace comes charging down the corridor around Mibu Manor once you're past the idol by the flute-playing nobles. Same bull logic as the Blazing Bull, but tighter quarters, and no roof perch for a free deathblow this time.
Okami Leader Shizu sits up on the Great Sakura shooting lightning at everything below. Not much health on this one, so close the gap and it's over fast.
The lake bottom chest: in the Great Colored Carp's lake, swim toward the sunken pit where a Headless lurks. You can skip the Headless completely; the chest is down by the big fish skeleton at the bottom, and this dive needs the Mibu Breathing Technique like all the others.
Finding Any Beads You Missed
So you're deep into the run and the necklaces aren't adding up. First, do the math. The bead's item description tracks how many you're holding, and every four should have been traded in already. Ten necklaces is every bead in the game, so nine necklaces plus loose beads means the rest is still out there.
Then check your map against the area totals. Both major wikis agree on the split:
| Area | Beads | | --- | --- | | Ashina Outskirts (including burnt-state Shigekichi) | 6 | | Hirata Estate (both memories) | 5 | | Ashina Castle (all three world states) | 10 | | Abandoned Dungeon (the merchant) | 1 | | Senpou Temple, Mt. Kongo | 3 | | Sunken Valley | 4 | | Ashina Depths | 8 | | Fountainhead Palace | 3 |
Add it up and it's 40, ten necklaces, and the Peak Physical Strength trophy, which wants all of them collected on a single save file.
Where missing beads usually hide
The usual suspects, roughly in order of how often they get missed:
- The three trick containers: the Tengu attic chest, the Hirata hidden wall, the Antechamber hidden wall. No fights involved, and all three are easy to walk past forever.
- The three dives: the Senpou pond, the Mibu Village lake, the carp lake pit. Every one needs the Mibu Breathing Technique, so they're late pickups people forget to backtrack for.
- The three climbing routes: the Under-Shrine Valley graveyard, the statue head past Shirahagi, the grapple climb behind Long-arm Centipede Giraffe.
- The bought one. 1400 sen at the Abandoned Dungeon Entrance, and the easiest bead in the game to overlook because it's sitting on a shop menu.
- The Headless Ape's second bead. People beat the ape, see one bead drop, and assume that's the payout. The fight drops two.
New Game Plus rules
Necklaces carry over into New Game Plus, but the beads themselves don't double up. Any bead you already collected gets swapped out of the world: mini-boss drops turn into a Heavy Coin Purse, and world pickups become a Bundled Jizo Statue or Divine Grass instead. So there's no farming old bosses for spares. Whatever you genuinely skipped still drops, which makes NG+ a clean second pass, and the Offering Box restocks each cycle too. The trophy only cares about one save file, over as many laps as it takes.
And if you've finished Fountainhead Palace sitting at 38 beads with no second Hirata visit behind you, stop searching. It's the Masanaga and Juzou pair, and that's the one gap in the game no amount of sen fixes.