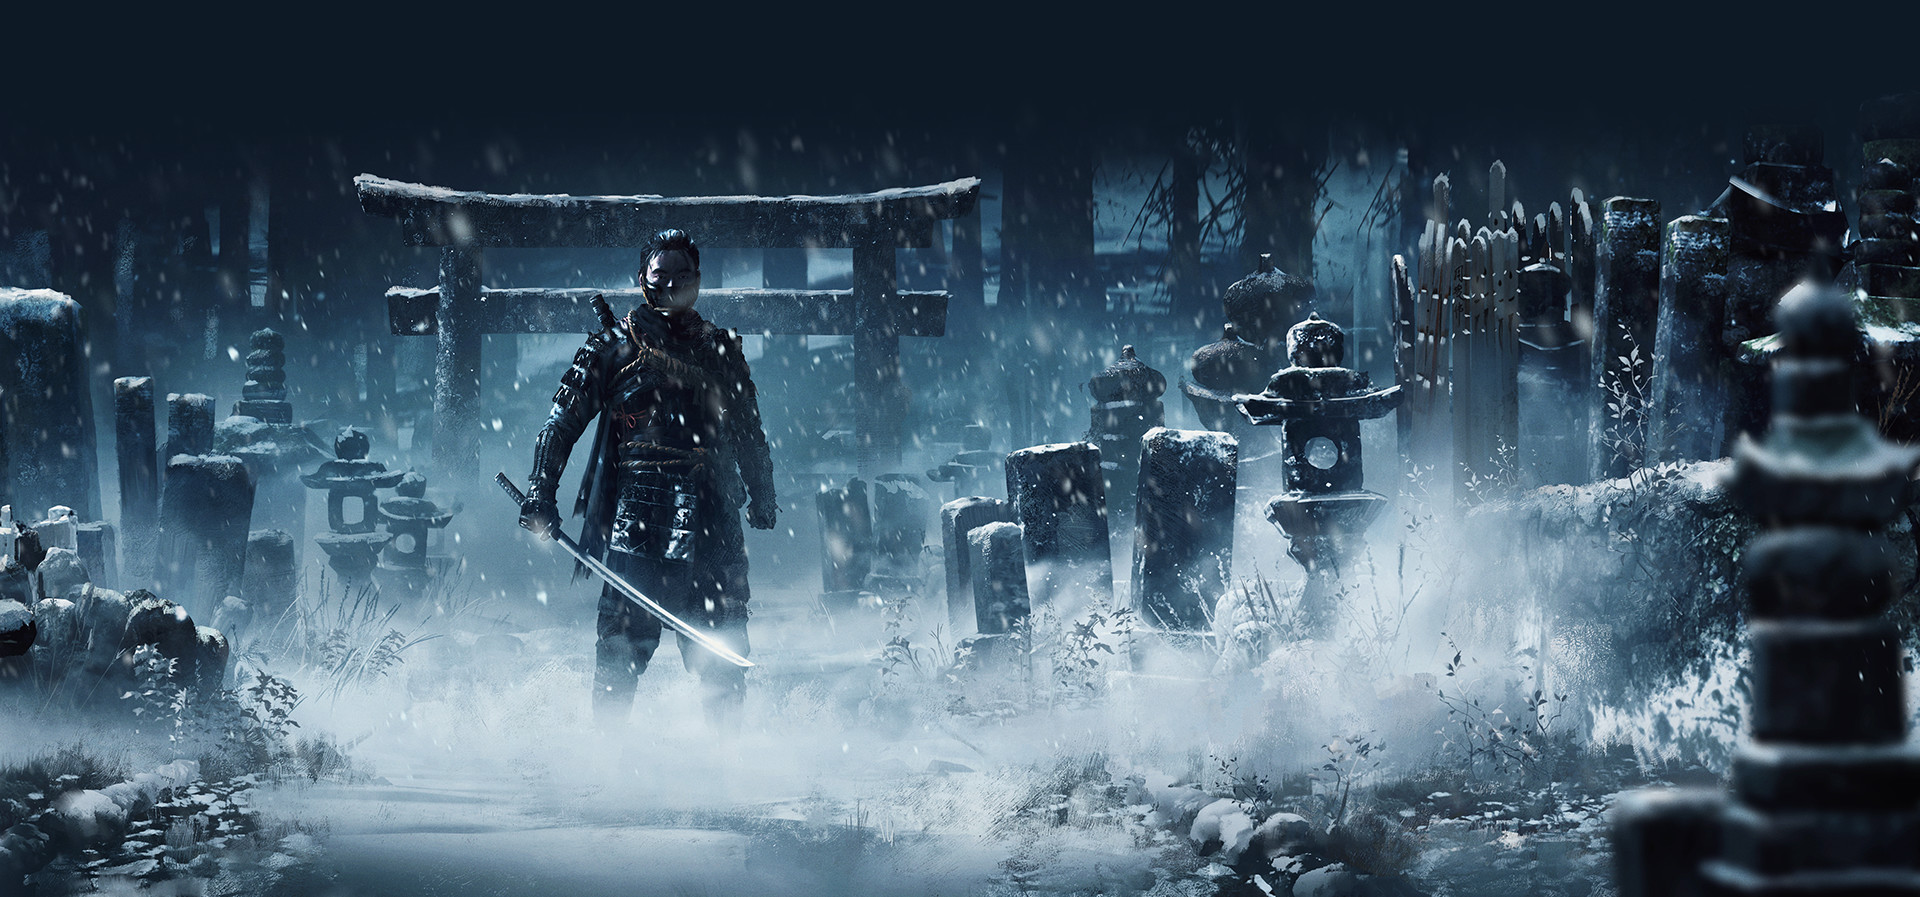
Ghost of Tsushima: Mastering Combat Techniques
Sharpen your skills in Ghost of Tsushima by mastering stance switching, ghost weapons, enemy weaknesses, perfect parries, and clever stand-off tactics.
If you've spent even a little time traveling through Tsushima as Jin Sakai, you've probably realized how crucial combat is to surviving against Mongol invaders and rival samurai alike. At first glance, battles might seem straightforward--swing a sword, dodge an attack--but there's much more depth hiding beneath the surface. Getting comfortable with different stances, timing your parries just right, or knowing exactly when to throw a kunai can elevate your combat experience from just skirmishing to genuinely mastering fights. Taking the time to practice these techniques won't just help you survive longer--they'll help you feel more like a skilled samurai weaving gracefully through chaos.
Understanding Stances in Ghost of Tsushima
In Ghost of Tsushima, you have four unique stances to handle different enemy types effectively: Stone, Water, Wind, and Moon. Each stance has specific uses that give you a big advantage against a particular enemy class:
- Stone Stance: Ideal against swordsmen.
- Water Stance: Best used when fighting shielded enemies.
- Wind Stance: Great for enemies bearing spears.
- Moon Stance: Perfect for quickly dealing with brute, heavy-armored enemies.
Switching between these stances during combat is important because it opens up opportunities to quickly break your opponent’s defense and launch critical hits, ending fights faster and more efficiently.
How to Switch Stances Effectively
Stance switching isn’t merely there to look cool; it’s built into the heart of combat. To switch stances, hold down the R2 button and select the appropriate stance using Triangle (Stone), Circle (Water), Cross (Wind), or Square (Moon). The game slows down slightly during the transition, which gives you a quick breather to assess your enemies. Use this mid-fight slowdown to your advantage: pick your stance depending on who you're up against, and plan your next couple of moves instantly.
For example, say you’re fighting a group of enemies that include shield-bearers, archers, and spearmen coming at you all at once. You might first prioritize the shield users by quickly switching to Water Stance. Once they're down, transition to Wind Stance to handle the rushing spearmen. The idea is to stay one step ahead, always making sure your stance matches the strongest threat facing you in that exact moment.
Breaking Enemy Guards with Stance Combos
Switching stances helps break enemy guards more easily, opening them up to a quick defeat. When you're using the perfect stance against the right enemy, a heavy attack--Triangle--is especially effective in wearing down their defenses.
Picture an enemy swordsman charging towards you: switching quickly to Stone Stance will grant easier access to a heavy strike that breaks their guard faster, allowing for follow-up attacks without resistance. If you notice heavier brutes joining the fray, immediately switching to Moon Stance and chaining heavy kicks will stagger these enemies, interrupting their brutal swings and leaving them exposed.
Learning to seamlessly move between all your stances as you handle groups is challenging at first, but practice makes perfect. Don’t worry if it feels awkward initially. Soon muscle memory will take over, making stance-switching second nature during frenetic battles.
Handling Larger Groups & Combat Variety
Stance switching is not only effective; it also makes combat much more enjoyable and varied. Relying on one stance may make combat repetitive and predictable. Instead, mixing them up allows you to experiment with combos and dramatically improve your efficiency in larger conflicts. When facing crowds, constantly swapping helps you smoothly handle a diverse set of enemy classes simultaneously. If you’re surrounded, flowing from one stance to another feels rewarding, satisfying, and avoids frustration.
Additionally, stance switching pairs great with Ghost Weapons. For instance, if overwhelmed by a large group led by shield-bearers and heavies, toss down a smoke bomb to blind foes temporarily, then safely shift between Water and Moon stances to quickly eliminate the most armored threats. Afterward, step back into rapid, precise strikes from another stance to finish stragglers. The creativity possibilities are broad, so experiment freely.
Stance-Switching Tips to Remember
- Pay attention: Before engaging, quickly observe enemy types to switch stances accordingly as the battle starts.
- Don’t button mash: Stance switching and guard-break attacks benefit strongly from well-placed timing. Take your time to learn effective timing.
- Pause and adapt quickly: Use the slow-down effect during the R2 stance wheel to refocus and strategize your actions in combat whenever possible.
Mastering stance switching takes a bit of patience, but the payoff is huge in Ghost of Tsushima. Your combat becomes more fluid, controlled, and stylish. With practice, you'll feel like a powerful samurai effortlessly adapting to any battlefield situation Tsushima throws your way--ready and prepared for anything.
Harnessing the Power of Ghost Weapons
You can't always rely solely on your katana and stance switches to overcome the hordes of Mongols ambushing your path. That's where Ghost Weapons come in, transforming you from an honorable samurai warrior into a mysterious shadow striking fear into your enemies. These stealthy tools become crucial lifelines, offering unique solutions to tough scenarios. Let's break down each weapon clearly, understand their uses, and highlight efficient strategies to smoothly incorporate Ghost Weapons into your fighting style.
Kunai: Quick Chaos at Your Fingertips
Kunai are the fast-and-easy solution when you find yourself overwhelmed and outnumbered. Press R1 to unleash these sharp throwing blades at close range, staggering enemies to leave them momentarily vulnerable. The damage itself isn't huge, but they temporarily halt enemies' movements, opening them up for critical strikes or combo opportunities.
Say you're cornered by spearmen and swordsmen at once. Quickly tossing kunai into their ranks staggers several of them at once. From there, immediately target the nearest enemy with a heavy attack to take them out swiftly. Upgrade the kunai as soon as possible to increase how many you throw at once and maximize their staggering effect, dramatically improving your odds when outnumbered.
Black Powder Bombs: Exploding Enemy Lines
Sometimes, you need heavier force to deal with tougher foes or tightly packed Mongol groups. Your Black Powder Bombs deliver explosive results. Tossed by holding R2 and pressing Square, these bombs damage and stagger all enemies caught in the blast radius, occasionally lighting them ablaze with the fire upgrade.
Black Powder Bombs excel in disrupting enemy lines, especially helpful against brutes or shield-bearers tightly grouped together. Got Mongols clustering around hostages or captives? Chuck a bomb to scatter them fast, then rush in with quick strikes to clear the area efficiently. Just be careful--bomb explosions can damage Jin as well, so always keep a safe distance during the throw.
Smoke Bombs: Your Emergency Exit Strategy
Think of smoke bombs as your instant backup plan whenever trouble escalates. Quickly toss one at your feet using R2 + Cross, obscuring enemy vision briefly in a dense cloud of smoke. This grants you precious seconds to reposition, strategize, or carry out stealth attacks.
Smoke Bombs pair brilliantly with stealth tactics, letting you quickly vanish from overwhelmed scenarios and reassess from cover. But they're equally helpful in direct combat: throw one into an encircling crowd to blind enemies, initiate rapid assassinations on disoriented foes, or simply escape to regain health. After upgrades, smoke bombs can even restore some of your health or let you chain assassinations silently, significantly boosting your survival and combat fluidity.
Sticky Bombs: Single-Target Destruction
Sticky bombs deliver focused, devastating force toward one particularly dangerous opponent. Tossed via R2 + Triangle, this bomb attaches to a single opponent before detonating moments later, causing massive damage to its unfortunate recipient and staggering nearby enemies.
These shiny instruments of doom shine brightest when faced with heavily-armored Mongol generals or brutish opponents whose constant attacks threaten your survival. Attach your sticky bomb, pull back swiftly, and watch as your target--and anyone unfortunate enough to stand too close--is sent staggering or crumbling to the ground. Use this momentary chaos to dive in and finish the combat swiftly before enemies can regroup.
Wind Chimes & Firecrackers: Controlling Enemy Movement
Wind Chimes (R2 + Circle) and Firecrackers share a more subtle, tactical role. These weapons don’t harm enemies directly but instead manipulate enemy positions.
-
Wind Chime: Perfect for stealthy approaches, tossing a chime will lure a single targeted enemy toward its ringing location, isolating them for a quiet assassination.
-
Firecracker: Generates louder distraction, pulling multiple enemies to one area at once. Excellent for grouping enemies together before unleashing an explosive Sticky Bomb or Black Powder Bomb, maximizing your damage and efficiency.
Use these carefully to control threats facing you, create favorable circumstances, or separate challenging groups into manageable chunks.
Integrating Ghost Weapons into Combat Flow
While individually potent, Ghost Weapons shine best when smoothly combined into your combat rhythm. Experiment widely. Use a smoke bomb when stuck in heavy melee to recover your rhythm. Stagger attackers quickly using kunai before switching to the correct stance for fast finishers on weakened targets. Employ Black Powder Bombs to scatter groups before isolating tougher foes with sticky bombs.
Always track your ammo to avoid running dry mid-combat. Regularly refill by scavenging enemy encampments, visiting traders regularly, and upgrading carry capacity to maximize your combat versatility in lengthy confrontations.
Ghost Weapon Tips To Keep in Mind
- Prioritize Upgrades: Boost the effectiveness and frequency of Ghost Weapons early via upgrades to open stronger tactical opportunities.
- Ammo Conservation: Manage your supplies carefully; Ghost Weapons are limited per combat engagement.
- Pair with Stance Switching: Swiftly combining correct stances alongside Ghost Weapons creates highly effective combat synergy.
- Know your Enemies: Choose the correct tool for the opponent--sticky bombs for heavy-hitters, kunai for crowds, and smoke bombs for escape or stealth maneuvers.
With practice, using Ghost Weapons becomes intuitive. You'll strategically blend swordplay, stances, distractions, and focused damage into an effective style. Mastering these tools turns confrontations from overwhelming chaos into stylish, tactical variety--giving your Jin Sakai total mastery over each battlefield scenario you encounter.
Stand-Off Strategies: Striking Fear with Precision
The Stand-Off feature in Ghost of Tsushima is a thrilling, cinematic duel that lets Jin Sakai challenge his enemies openly. Triggered by pressing "up" on the d-pad when approaching hostile groups, Stand-Offs call for quick reflexes and patience. Mastering this mechanic gives you immediate momentum at the start of combat, thinning enemy numbers before the real battle begins. Here’s how to improve and perfect your Stand-Offs to tilt combat in your favor:
How Do Stand-Offs Work?
Initiating a Stand-Off will have Jin approaching enemies directly, issuing a bold challenge. The camera shifts dramatically, focusing closely on Jin and a single enemy soldier who cautiously moves forward. Hold down the Triangle button as both Jin and the enemy wait, poised for action.
Timing matters. Release the Triangle button precisely as the enemy lunges during their initial feint or attack, killing that target instantly. However, wait too long or get tricked by enemy fakes, and Jin takes heavy damage, beginning the confrontation on the back foot.
Gradually Increase Your Patience--Read the Enemy’s Movement
Enemies in Ghost of Tsushima aren't always predictable during a Stand-Off. Early-game opponents charge straightforwardly, making it tempting to release quickly in response to the slightest twitch. But tougher opponents later in the game behave differently, feigning attacks with sudden jerks or intimidating shouts designed specifically to mislead you.
The key is patience. Wait calmly, without anxiety pushing you toward an early button release. Watch carefully--true incoming blows have more committed, exaggerated animations compared to lighter feints. Learning enemy animation and patterns builds your confidence and helps you identify exactly the right moment to unleash your lethal strike, turning a risky moment into guaranteed victory.
Upgrading Your Stand-Off Skills
There are opportunities along Jin’s growth path that widen your Stand-Off capabilities. Spend your Technique Points in the Samurai skill tree to gain additional follow-up kills after a successful initial Stand-Off strike. At max upgrades, Jin can dispatch three enemies in a single Stand-Off scenario.
Prioritize these upgrades early--they greatly boost your combat momentum. A successful triple Stand-Off immediately slashes down enemy numbers, clearing out lower-ranking foes before the fight begins in earnest, letting you direct your energy toward stronger or armored opponents.
Stand-Off Armor Bonus Synergy
Certain armor sets amplify your Stand-Off proficiency. The Sakai Clan Armor, acquired midway through the main story arc, increases both your Stand-Off kill count and improves your chances against trickier foes. Equipping and upgrading the Sakai Clan Armor grants Jin the ability to eliminate up to five enemies instantly.
Consider wearing it when facing large enemy clusters, heavily fortified encampments, or on harder difficulties where numbers matter significantly. The Stand-Off bonus from the Sakai Clan Armor drastically shifts battles to your advantage by immediately thinning enemy ranks. Always match gear choices to your particular combat strategy and enemy composition.
Picking Your Moment--When Not to Stand-Off
Despite the usefulness of Stand-Offs, there are certain situations where avoiding direct challenges might actually benefit you. If your health is low or you lack healing items, choosing stealth or ranged tactics is safer. Stand-Offs also reveal your position to surrounding enemies, meaning that if reinforcements lurk nearby, engaging quietly will be smarter.
Consider Stand-Offs ideal in safe, open battlegrounds and less crowded enemy camps where instantly eliminating foes gives reliable value. Use your map and focused hearing to understand enemy presence. If tarp-covered watchtowers or hidden archers abound, go stealth instead to preserve your advantage and safety. Understanding when not to pursue a Stand-Off ensures better survival outcomes overall.
Combining Stand-Offs with Ghost Weapons
Stand-Off victories create significant surprise and panic among remaining enemies--use this confusion to your advantage. Once you've sliced through several foes in a Stand-Off, quickly deploy Ghost Weapons such as kunai or smoke bombs to capitalize on enemy vulnerabilities. Stagger remaining opponents before they fully react and finish them easily.
Adding Ghost Weapons right after your Stand-Off dramatically extends combat advantage, helping dispatch confused or scattered enemies with speed. For maximum effectiveness, keep Ghost Weapon ammo and health kits stocked. Taking advantage of post-Stand-Off chaos ensures faster battles and better positioning at critical combat moments.
The Stand-Off Mindset--Stay Confident, Stay Aggressive
The true benefit of mastering Stand-Offs is the shift it creates in your combat confidence. With repeated practice, you can reliably enter open combat scenarios with fewer concerns about enemy numbers. Each successful strike instills confidence for future combat encounters, helping you calmly approach even large battles.
To sharpen your Stand-Off skills, practice against weaker opponents first, gradually working toward harder, more unpredictable enemies. Habitual reflex training makes timing second nature rather than a stressful guessing game, rewarding tactical patience with a satisfying, cinematic result.
In Ghost of Tsushima, mastering Stand-Offs isn’t just about flashy samurai cinematics--it's about effectively reducing enemy numbers, controlling the momentum of combat, and approaching fights with strategic confidence. Be patient, precise, and confident to wield this powerful technique effectively, securing crucial advantages in every encounter.
Enemy Types
Understanding the different enemy types you'll face in Ghost of Tsushima is essential to mastering combat effectively. Each enemy has unique moves, armor, and weaknesses. Recognizing their fighting styles helps you adapt quickly, choosing the best stance and appropriate strategy to easily cut your foes down.
Here's a breakdown of the common threats you'll encounter:
Mongol Swordfighters
Most common among your enemies are Mongol swordfighters. They're straightforward but deadly if underestimated. Swordfighters attack quickly, using swift horizontal and vertical slashes that force you to remain alert. The "Stone Stance" is your ideal choice against them, allowing Jin to stagger enemies with a combination of heavy strikes. Watch carefully for cues: Mongol swordsmen will pull back slightly or pause before launching into a flurry of attacks. A timely parry or dodge lets you counterattack swiftly and put them down.
Later in the game, armored and elite Mongol swordsmen appear, equipped with heavier metal armor and thicker helmets. For these tougher adversaries, break their defenses with heavy blows from your Stone Stance before finishing them off.
Mongol Shieldmen
Mongol Shieldmen present an irritation at best, death at worst, especially when fighting in groups. With thick wooden shields, they shrug off standard sword blows easily. Switch immediately to the "Water Stance" for these foes, delivering powerful kicking combinations that break their defensive posture. Shieldmen often pepper in quick jabs between shield thrusts, making patience essential: block or stagger them first, then follow through with decisive strikes.
As you progress, enemies ditch their wooden shields for more durable iron versions. Breaking these harder shields demands additional patience--chain your heavy attacks carefully but look for openings, sidesteps, or well-timed dodge rolls to dispatch them effectively.
Mongol Spearmen
Arguably the most frustrating melee opponents, Mongol Spearmen bring long-range weapons designed specifically to keep Jin at a distance. They excel in thrusts and fast sweeps, forcing caution in your approach. The "Wind Stance," with its extended reach and spinning kicks, is made precisely for handling these ranged melee fighters. Mongol Spearmen give clear tells before thrusting forward: a noticeable windup signals the moment to dodge and strike back instantly.
Spearmen can become deadly when teamed up with other types, often harassing Jin from behind while you're occupied with other foes. Keep an eye on their positioning, target them early during battles, and eliminate their nuisance factor promptly.
Mongol Brutes
Mongol Brutes tower above most foes, wielding massive clubs or axes designed to crush rather than cut. If your guard slips, these giants drain health at an alarming rate, knocking Jin flat onto his back. Face them with "Moon Stance," featuring sweeping kicks and spinning strikes perfect for dealing with oversized, intimidating enemies. Brutes telegraph their blows with exaggerated overhead swings, giving you adequate time to sidestep or dodge backward.
Aim to stagger brutes early--land multiple heavy kicks in rapid sequence to stun them. Once staggered, deliver precise heavy strikes to finish these dangerous foes quickly. Always address brutes quickly whenever they appear on the battlefield, preventing them from distracting you while other enemy types close in for the kill.
Archers
Often overlooked but deceptively dangerous, archers wait along the fringes of fights, firing arrows to whittle down your health. An arrow fired at a crucial moment often resets your momentum, causing mistakes against tougher enemies. Archers announce attacks clearly with yells as their arrows approach. React quickly by dodging or parrying the shot. Closing distance rapidly rewards you--archers panic easily when confronted face-to-face.
Never let archers linger unchallenged. Quickly reach them by sprinting, dodging, or rolling toward their position. Engage them first, especially before handling larger groups of melee attackers, to prevent being overwhelmed by ranged damage.
Leaders and Bosses
Leaders and bosses include both Mongol commanders encountered in enemy camps and unique warriors who challenge Jin to duels. These enemies are tougher, absorbing more punishment than regular troops while delivering significantly more dangerous blows. Combat against these unique foes relies heavily upon your learned reflexes, stance selection, and dodge counters.
Leaders often blend techniques and weaponry--one may use both sword and shield, changing stances mid-fight unpredictably. Adapt by changing your stance accordingly, making sure each enemy defense is countered specifically. Boss duels demand patience and carefully timed parries; capitalize upon narrow openings after dodging or deflecting attacks. Employing Ghost Weapons like sticky bombs, kunai, and smoke bombs also evens the edge, disrupting your foe's rhythm.
Attack Dogs
Introduced after several story progressions, attacking dogs accompany Mongol patrols, quickly distracting Jin mid-fight. They relentlessly leap toward you, striking at your ankles or wrists. Dogs are swift yet easily staggered by quick blows or throwing kunai. Dispatch them promptly since they tend to appear during critical moments of battlefield chaos.
Carefully listen for their growls or footsteps for advance warning of their charge. Once heard, immediately strike towards them before they leap. Prioritize dogs in large combat situations before they become serious distractions or health-depleting annoyances.
Closing Thoughts on Enemy Types
Combat proficiency and survival rely on rapidly identifying threats and correctly responding with appropriate stances and techniques. Develop your familiarity with each enemy type early in the game, then adjust your combat strategies according to evolving enemy strengths later. Gradually fine-tuning your recognition speed and reflexes leads to smoother battlefield management.
Read every situation thoroughly--avoiding assumptions regarding enemy types helps prevent frustrating surprises. Ghost of Tsushima rewards player attentiveness, careful stance management, and smart target prioritization. Mastery over enemy behaviors is fundamental to becoming the unstoppable Ghost Jin strives to become.
Perfect Parry and Dodge
Mastering Jin Sakai in Ghost of Tsushima requires more than brute strength and aggression--it calls for precise timing and finesse. Two core defensive techniques--perfect parries and dodges--form the backbone to handling overwhelming enemy forces, aggressive boss fights, and emerging victorious in tense confrontations. Understanding and perfecting these skills elevates your gameplay, turning tough enemy encounters into smooth displays of skill.
Understanding Perfect Parry
Regular parries simply deflect enemy attacks, minimizing their damage but leaving limited counterattack opportunities. A Perfect Parry, however, completely stuns your enemy, allowing Jin to retaliate instantly with a devastating strike.
To perform a Perfect Parry, press L1 at the very moment an enemy's sword or weapon nearly lands. Timing is incredibly strict, but don't worry--Ghost of Tsushima provides visual cues. Watch for your opponent's weapon to flash briefly right before making contact; this brief glint signals exactly when to press L1 for the ideal moment of defense.
Advantages of Perfect Parry
Landing a Perfect Parry isn't just satisfying--it genuinely turns momentum in Jin's favor. Here are key advantages you'll benefit from by practicing this skill:
- Staggering foes: Immediately leaves your opponent open and vulnerable to powerful, quick-attacking combos.
- Instant counterstrike: Enables Jin to take aggressive action seamlessly, drastically reducing enemy health bars.
- Resolve building: Successful Perfect Parries notably increase Jin's Resolve, fueling healing and advanced Ghost abilities.
Improving Your Perfect Parry Timing
Like all techniques in Ghost of Tsushima, practice makes perfect. Here are a few tips to better recognize that brief timing window:
- Start with slow-motion enemies: Early-game Mongol swordsmen telegraph attacks clearly, providing an ideal and forgiving practice environment.
- Equip Charm of Mizu-no-Kami: This charm increases your parry timing window, giving you extra room for error while honing your technique.
- Observe enemy patterns: Each enemy type has unique visual warnings right before swinging their weapon. Learn these subtle clues to anticipate precisely when to press
L1.
Investing extra effort into Perfect Parries will massively simplify late-game encounters and tense boss duels, rewarding your patience with swift, satisfying victories.
Mastering Dodge Mechanics
Perfect Parries won't handle every dangerous situation you'll face. Heavy weapon users, unblockable attacks or swift, overwhelming groups often demand evasion. Hence, your other core defensive skill--dodging.
Ghost of Tsushima lets Jin evade in three distinct ways:
- Sidestep Dodge (
Circleonce): Ideal for swiftly avoiding standard sword slashes and spear thrusts, offering repositioning against single aggressive attackers. - Roll Dodge (
Circletwice quickly): Provides greater distance between Jin and attack. Excellent for escaping wide-reaching swings, heavy axes, clubs, or explosives. - Perfect Dodge: Triggered by pressing Circle precisely before a hit lands. This advanced technique slows enemy strikes briefly, enabling Jin a quick opportunity to punish the attacker from their blind spot.
Knowing precisely which situation each dodge suits is half the battle. Sidesteps protect best against linear weapons--spears, swords--while roll dodges grant breathing room required when overwhelmed or against bosses' unblockable lunges.
Perfect Dodge and Its Benefits
Just like a Perfect Parry, mastering the slightly tricky Perfect Dodge will greatly improve your survival. A successful Perfect Dodge momentarily slows down time, creating an opening with these benefits:
- Easy counterattacks: Gives clear open windows to swiftly slash enemies now vulnerable from missed attacks.
- Opportunities for repositioning: Allows Jin to move advantageously, choosing a better tactical angle or adding distance from closely grouped foes.
- Adaptability against unblockable attacks: Addresses threats you can't parry, ensuring fewer costly injuries when facing more challenging enemies later.
Tips for Nailing the Perfect Dodge
The Perfect Dodge's timing can feel initially unforgiving--it demands trained reflexes. Use these quick tips to steadily master this tactic:
- Watch enemy shoulders or footwork: Often, heavier enemy weapons like axes telegraph their attack through exaggerated movements. These obvious clues guide your dodge timing.
- Practice smaller skirmishes: Begin experimenting dodge timing against weaker, isolated enemies to build confidence and consistency before tackling tougher fights.
- Equip helpful charms: The Charm of Amaterasu regenerates small health after a Perfect Dodge's counterattack, incentivizing precision and aiding Jin in longer fights.
Balancing Parries and Dodges During Fights
Effective combat against assorted Mongol enemies demands flexibility. Neither technique alone solves every battlefield scenario. Here’s a small guide when choosing dodge vs. parry:
| Situation | Preferred Action | |------------------------------------------|-------------------------------------------------------| | Regular sword or spear combination strikes| Perfect Parry: Stun and quickly counterattack. | | Shield ramming charges | Sidestep Dodge: Avoid and counter from the sides. | | Unblockable heavy enemy strikes | Roll Dodge: Create distance swiftly. | | Mixed enemy groups | Balance Perfect Parries upfront and quick dodges sideways.|
Using Parries and Dodges in Boss Duels
Bosses, Leaders, or dueling champions heavily test your mastery over Perfect Parries and Dodges. Boss patterns often mix unblockables and rapid strikes, mandating fluent switching between parry opportunities and evasive maneuvering.
- Listen carefully to enemy shouts, breathing patterns, and observe blade glowing colors (red or blue indicates unblockables needing dodges).
- Capitalize aggressively on Perfect Parries whenever bosses initiate lightning-fast sword strikes.
- Seamlessly dodge backward or sideways around unblockable attacks or lunging thrusts, swiftly repositioning to apply optimal damage.
Smoothly alternating between precise parries and elusive dodges transforms challenging duels--turning otherwise frustrating encounters into elegant showcases of skillful technique.
Master Your Defensive Arsenal
Combining reliable Perfect Parries and expertly timed Dodges shifts the balance entirely toward Jin in combat. Mastering both makes Jin considerably tougher and extends your overall gameplay enjoyment. So breathe, patiently hone your skills, and watch enemy efforts crumble beneath your improved defensive precision.
Making these fundamental techniques second nature takes patience, but that practice pays off dramatically. Soon, opponents no longer intimidate; instead, your perfected defenses control the battlefield, shaping Jin Sakai into the legendary Ghost he was always meant to be.