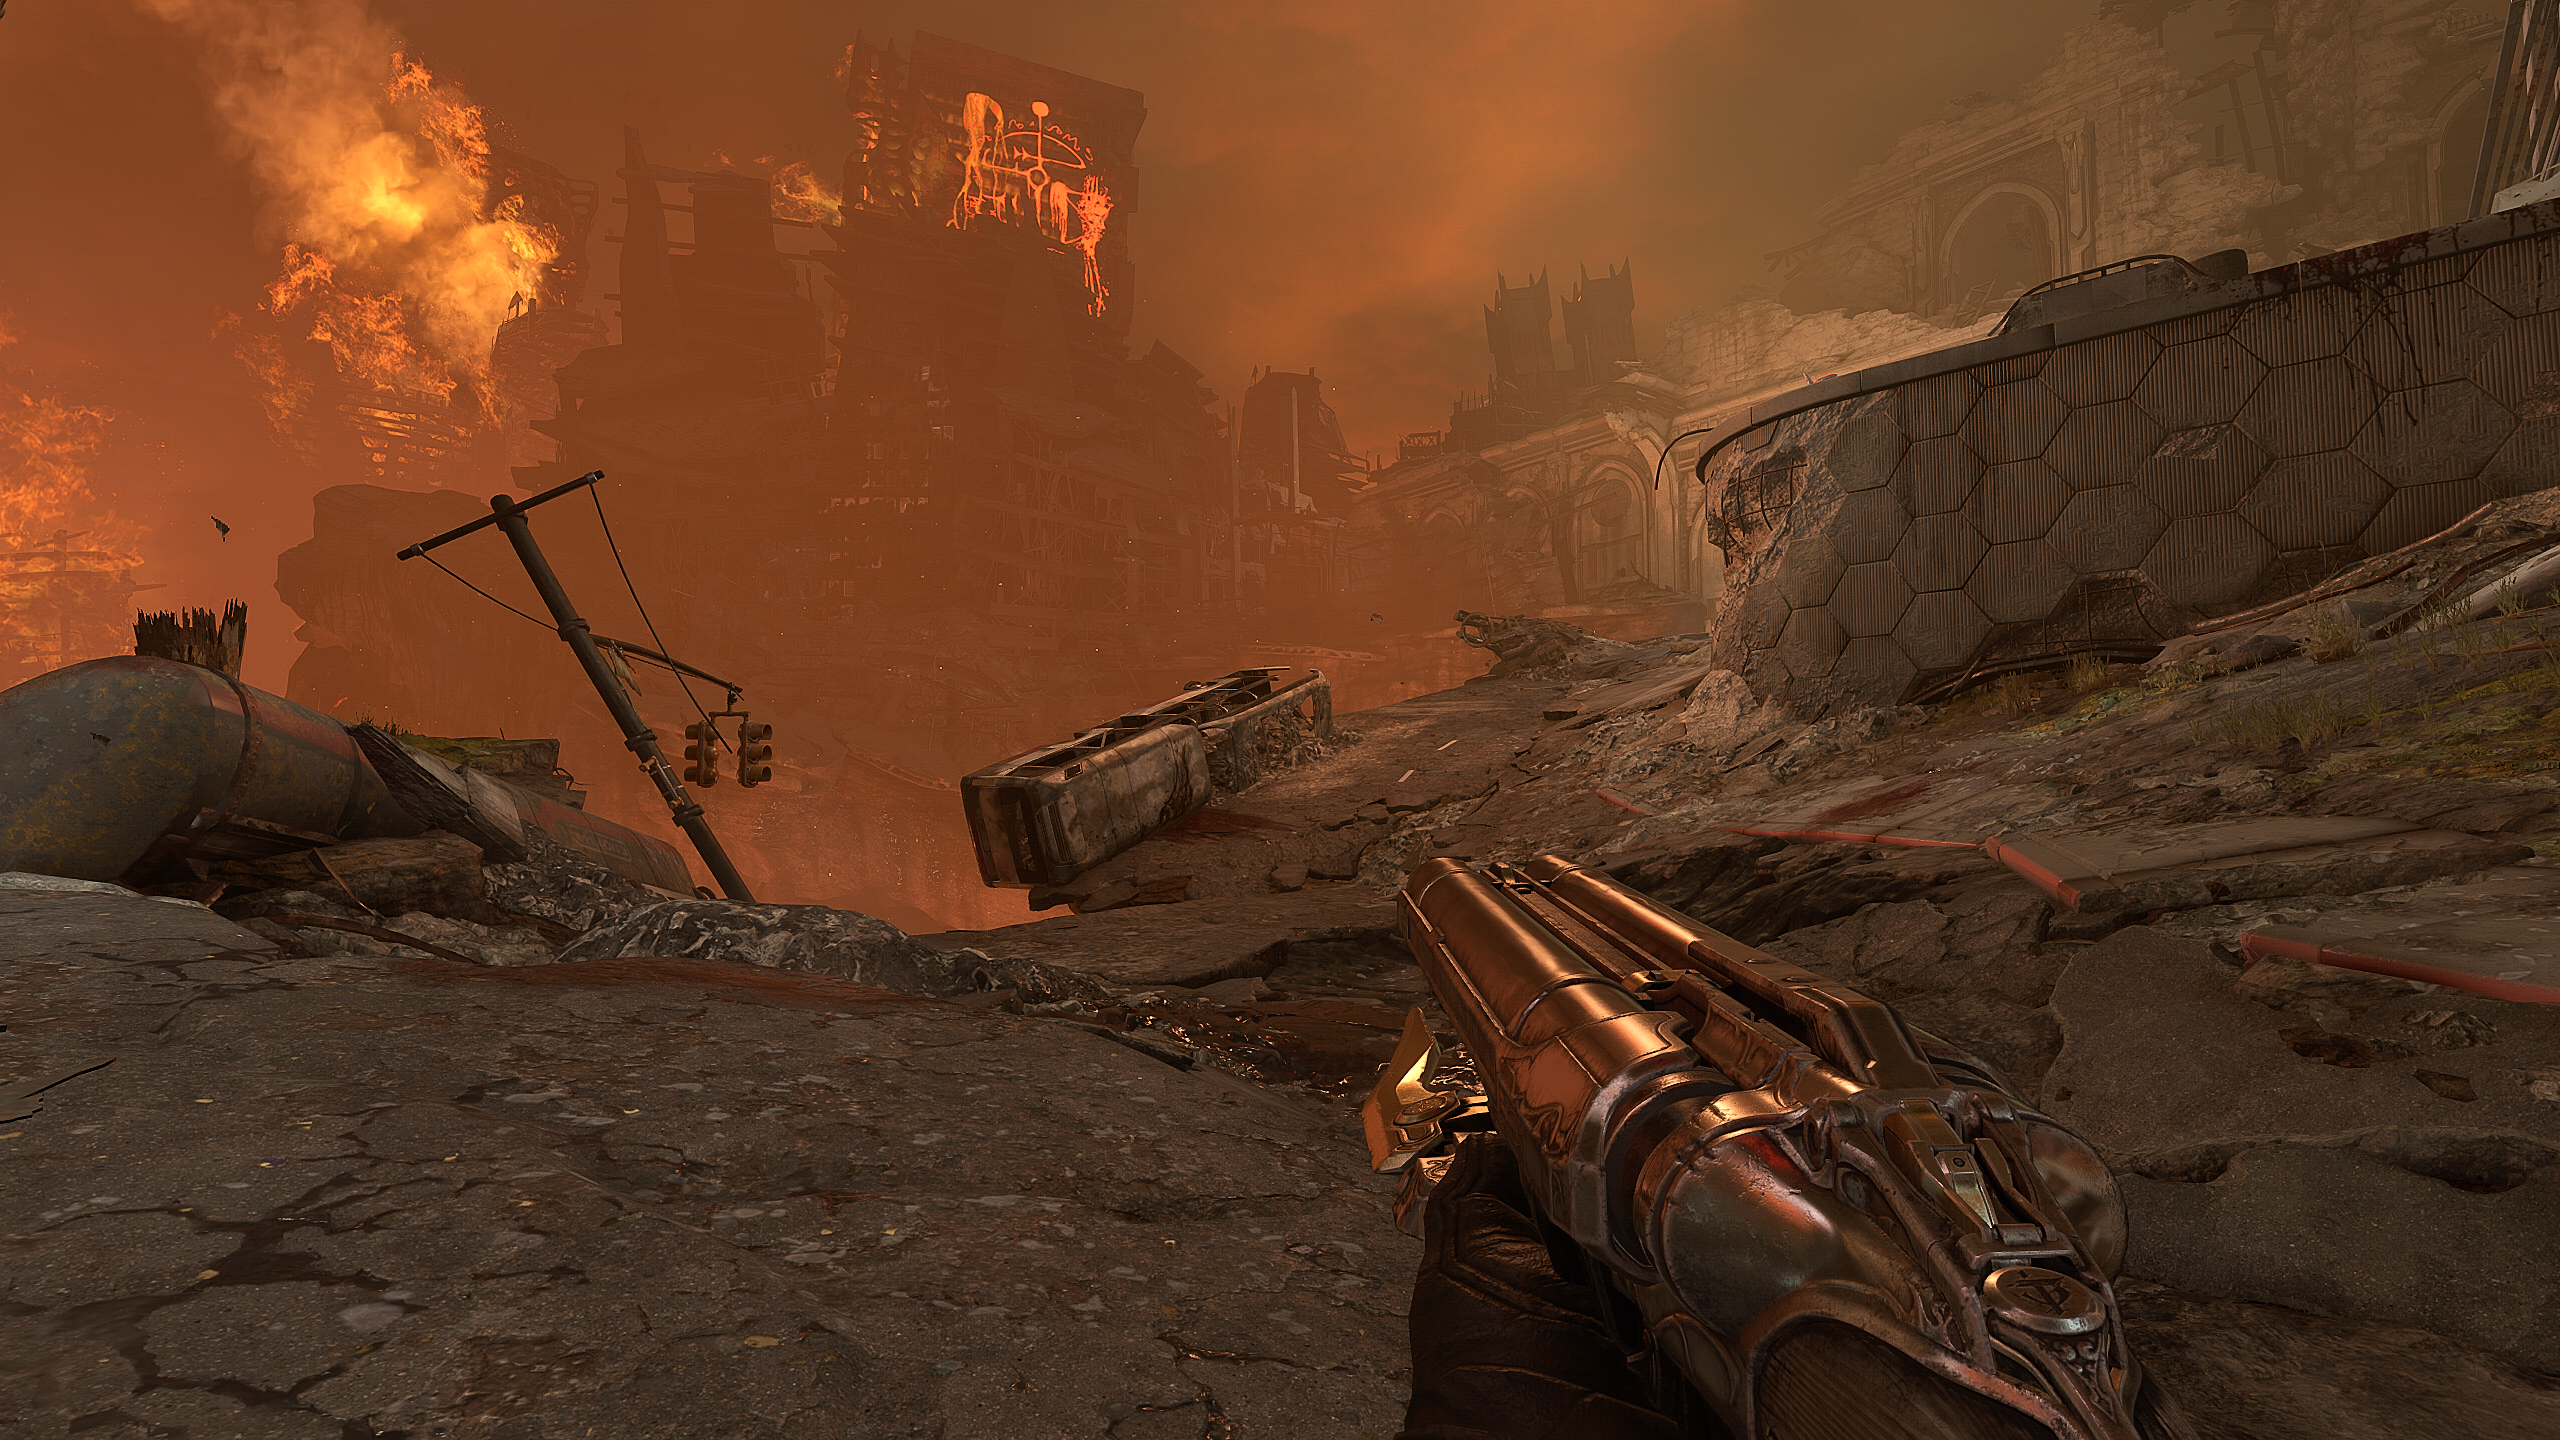
Doom Eternal Advanced Combat Tactics Guide
Master Doom Eternal’s toughest battles with pro tips on glory kills, resource use, weapon swaps, demon weaknesses, and agile movement.
Fighting your way through Doom Eternal isn’t just a test of quick reflexes and a good aim—it’s a game that asks players to think several steps ahead. With hordes of aggressive demons around every corner and resources in short supply, lasting more than a few minutes means making every shot, dash, and chainsaw swipe count. The game rewards bold, aggressive play, but that doesn’t mean rushing in without a plan. From juggling ammo types to maximizing your mobility, experienced Slayers pick up a mix of strategies that give them the edge when the action hits its peak. Whether the arena is packed with Barons or you’re just trying to survive a particularly nasty Marauder, having the right tactics can mean the difference between glory and a quick trip back to the last checkpoint.
Glory Kill Mastery
Timing a Glory Kill isn’t just about finishing off a demon with style—it’s a key tool for survival throughout the whole campaign. Glory Kills let you shatter demon defenses and refill your health, all while keeping the pace relentless. Mastering how, when, and why to use this mechanic can keep you going even in the thickest firefights. This section breaks down how to make the most out of Glory Kills, from recognizing windows of opportunity to manipulating demon positioning for the best payoffs.
What Is a Glory Kill?
Glory Kills trigger when a demon is staggered, indicated by the enemy glowing blue and orange. Stagger a demon by dealing enough damage quickly; hit the melee button nearby, and you’ll launch into a brutal takedown sequence. During the animation, you’re invulnerable. When completed, you’re rewarded with a burst of health pickups. This creates a rhythm where aggressive play keeps you alive, and conservative tactics often get you killed.
Why Glory Kills Matter
Every resource in Doom Eternal is precious, and health tops the list. Unlike older shooters, enemies don’t drop health unless you trigger a Glory Kill. Relying on health packs isn’t enough—tougher arenas often hide them or put them in dangerous places. By stringing together Glory Kills, you’re topping off your health bar right in the middle of the action, letting you keep up the pressure without retreating. Besides health, Glory Kills:
- Let you skip reload times—you’re safe during the animation.
- Give you a moment to assess the arena with no threat.
- Trigger certain rune and equipment bonuses, powering up your combat loop.
Making the Most of the Glory Kill Window
Staggering demons isn’t just about pouring bullets into them. It’s more efficient to mix up weapon types and aim for weak points—precision is rewarded. If you need health desperately, look for lower-tier demons like Imps, Soldiers, or Zombies. You can soften them with a single Shotgun blast or weaker weapon, then close the gap for a quick Glory Kill. Timing also matters—hold off on that final blow until you actually need health, planning ahead between packs of enemies so you’re not caught empty-handed.
Chaining for Momentum
Glory Kills keep up your momentum, especially when you dash between staggered enemies. In bigger arenas, bait some weaker demons to follow you, stagger them one by one, and pick them off as a lifeline. Use your double jump and dash to zip from one staggered target to the next, letting you heal mid-mob. This tactic also reduces pressure while you reload or search for ammo pickups.
Route Planning and Demon Herding
Since demons like Cacodemons and Whiplashes can get airborne or shift around quickly, sometimes repositioning is needed. Herd low-health, stagger-prone demons toward chokepoints or away from the arena’s most dangerous threats. When a horde closes in, having a staggered enemy in reach gives you control—go for the Glory Kill, claim the invincibility window, then spin out and resume blasting.
Equipment, Mods, and Runes that Amplify Glory Kills
A few upgrades turn Glory Kills from a survival tool into a pure power play:
Equipment/Mods
- Flame Belch: Set demons on fire right before a Glory Kill—health and armor rain out at once.
- Ice Bomb: Freeze enemies, then soften for quick staggers.
Rune Combos
- Seek and Destroy: Dramatically boosts your melee range for Glory Kills—leap across gaps for surprise finishes.
- Blood Fueled: Boosts your speed after each Glory Kill, making chaining easier.
Experiment with different rune setups; if you’re speeding through encounters, Blood Fueled pays off, while Seek and Destroy lets you pick off demons on the fly, even while airborne.
Animation Cancellations and Mobility
You’re locked during most Glory Kill animations, but you can “animation cancel” by initiating a Glory Kill near ledges or while dashing. This little trick can slingshot you to safety or get you out of tight spots quickly. Practice which glory kill animations leave you in the most favorable positions—some end with you facing the action, others spin you away.
Quick Tips for Glory Kill Mastery
- Save low-tier demons for emergency health—don’t blow them up right away.
- Watch out for remaining enemies as you finish a Glory Kill; sometimes you’ll emerge into a crossfire.
- Learn the tells for staggered enemies and prioritize weak, isolated targets when you’re at low HP.
- Remember you’re invulnerable during the takedown, use it to dodge heavy attacks.
- Some slayer gates and encounters intentionally limit resources—use glory kills as your main health source there.
Closing Thoughts
Strong Glory Kill mastery carries you through Doom Eternal’s hardest fights. By learning both the timing and tactics around staggering, positioning, and chaining together takedowns, you keep your Slayer in fighting shape through every challenge the game throws your way. Sharpen those reflexes, trust your instincts, and use every staggered demon to the fullest—you’ll last longer, fight harder, and rack up some of the most stylish kills in the process.
Resource Management
Doom Eternal isn’t just about aiming fast and hitting hard; staying alive means squeezing every drop out of your resources. Health, armor, and ammo drain fast in every fight, and the game pushes you to keep moving and fighting aggressively instead of just hiding behind cover. Good resource management lets you keep up your momentum and makes you way harder to kill—even in the late-game’s most intense boss arenas. Let’s break down how to stay topped off, what tools refill which bars, and how to make snap decisions under pressure.
Ammo: Keeping Your Guns Blazing
You’ll notice pretty quickly that ammo runs out faster in Doom Eternal than in classic Doom games. This is by design—the game wants you cycling through weapons, not relying on one gun the whole time. The main way to get back ammo? The Chainsaw.
Chainsaw Basics
- Press the Chainsaw button (default: C or RS/R3) near almost any demon.
- Lower-tier demons (Zombie, Soldiers, Imps) can be sawed at any time as long as you have at least one “pip” of fuel.
- Higher-tier demons need three pips, so you’ll use it on them sparingly.
A single Chainsaw kill refills a ton of ammo for every gun, so don't be shy about carving up smaller enemies whenever you’re running low. Keep an eye out for flashing green fuel cans around arenas—they’re limited, but incredibly helpful.
Ammo Pool Upgrades
Upgrade your ammo capacity early through Praetor Suit tokens and Sentinel Crystals.
- More ammo in your pool means less time hunting for fodder demons or pickups.
- Some weapon mods help conserve ammo (like the Sticky Bomb mod for the Shotgun) by letting you do more damage per shot.
Smart habit: Whenever your weapon switches to the default (the Combat Shotgun) because you’re empty, that’s your cue to Chainsaw the nearest fodder demon.
Health: Glory Kills and Med Pack Scrambles
Health is both a resource and a reward for fighting dangerously. Relying on old-school med packs gets you killed fast; the game expects you to make use of Glory Kills whenever you’re hurt.
Health Recovery Breakdown
- Glory Kills: Your primary source—see previous section for maximizing their use.
- Health Pickups: Scattered in every arena, but often tucked into risky, hard-to-reach spots.
- Sentinel Crystals: Permanent max health upgrades. Use them to build a Slayer who can soak up more punishment.
If you’re hurt and no demons are staggered nearby, take a risk. Aggressively target weak enemies for fast Glory Kills, or run-and-grab health pick-ups as you circle strafe.
Upgrade Tip
The "Health for Blood" Praetor Suit perk gives you a constant trickle of recovery for Blood Punch kills. Consider this if you play aggressively up close and want to stay in the mix longer.
Armor: Shields Up, Slayer
Doom Eternal makes armor pickups valued but rare. Instead, most of your armor comes from Flame Belch—your shoulder-mounted flamethrower.
Armor Tatics with Flame Belch
- Use Flame Belch on groups of fodder demons. Damaged enemies drop more armor with each tick of flame.
- Follow up with a Glory Kill on a burning enemy for a jackpot of armor shards.
- Larger demons shed armor more slowly, but a quick Flame Belch before unloading damage does help.
Add-ons can make a difference:
- "Napalm Belch" Praetor suit upgrade spawns smaller fire explosions from burning enemies, spreading armor further.
- "Thick Skin" makes incoming fire hurt less—making each armor piece count for longer.
Pick up armor shards (blue) around arenas for quick boosts, but always plan a Flame Belch when a mob of enemies groups up.
Resource Loops: Chaining Tools Together
Doom Eternal expects you to juggle your equipment like a pro. Here’s a typical combat resource loop:
- Spot weak, mobile demons.
- Run low on ammo? Chainsaw one. You now have a fresh supply for your best weapons.
- Getting low on health? Soften up fodder with your new ammo, then Glory Kill to heal.
- Armor taking a hit? Flame Belch into a group, then finish with a Glory Kill for a fat burst of armor.
Repeat as needed—this rhythm is the heart of advanced play. If you ever stall or stop moving, you’ll get surrounded and resources will dry up fast.
Managing Cooldowns and Equipment
Several tools work off cooldowns—Flame Belch, Frag Grenade, Ice Bomb, Blood Punch. Keeping track of these and weaving them into your offense means you won’t run out of tricks, even in the most drawn-out brawls.
Tips for Equipment Cycling
- Alternate between Flame Belch and grenades while your Chainsaw recharges.
- Ice Bomb freezes enemies, giving you breathing room to grab ammo or line up a safe Glory Kill.
- Use Blood Punch on clusters for much-needed health spikes and clearing space.
Don’t waste cooldowns on single weak foes—save them for when you’re getting pressed or need a big resource dump quickly.
Resource Management in Tough Fights
Certain arenas limit available resources—either with tough demon combinations or restricted pickups. Here’s how to get by:
- Always leave a few fodder demons alive as “resource banks.” Resist the urge to clear them out early.
- Know where pickups and fuel cans are stashed before you pull the fight trigger.
- Save your Chainsaw and Flame Belch for emergencies, not just whenever they’re off cooldown.
In boss fights, fodder enemies often spawn periodically—manage them carefully, and don’t let panic waste your cooldowns.
Advanced Habits and Quick Tips
- Memorize arena layouts so you know where to dart for a med pack, armor, or ammo in a pinch.
- Don’t overstock: Picking up too much when you’re nearly full can waste crucial items. Only grab what you need.
- Practice making “combat circuits” around arenas—looping through resource spots in between blasting demons.
- Use the environment, like jump pads and monkey bars, to dodge while topping off on resources.
Wrapping Up Resource Management
Staying alive in Doom Eternal depends on never running empty. By making smart use of every tool—Chainsaw for ammo, Flame Belch for armor, Glory Kills for health—and learning how to cycle between them, you keep your Slayer topped off and deadly. Commit these habits to muscle memory, keep an eye on your resource meters, and don’t be afraid to play aggressive. Push forward with confidence, and every arena will feel a whole lot more manageable.
Weapon Swapping Tactics
Weapon swapping sits at the core of high-level Doom Eternal combat. The game’s speed and enemy variety push you to switch guns constantly—not just for flavor, but for survival. Mastering the art of fast swapping between weapons lets you dish out huge bursts of damage, control the arena, and style on demons like a true Slayer.
Why Weapon Swapping Matters
Every enemy in Doom Eternal has unique weaknesses. Cacodemons gobble up Sticky Bombs, Revenants buckle to Precision Bolt headshots, and Arachnotrons lose their turrets in a single blast from the Heavy Cannon. Sticking to just one gun limits your damage and resources, often leaving you stuck or overwhelmed.
But there’s a deeper layer: animation canceling. Swapping weapons at the right moment cancels reloads or recovery animations, letting you fire again almost instantly. In high-level play and speedrunning, quick swapping is how players melt bosses and heavy demons in seconds.
Core Swapping Techniques
Tap Swap: The Foundation
- After firing a weapon (especially Super Shotgun or Ballista), quickly hit the swap button to switch to another high-damage weapon.
- Fire that one immediately, then swap back—repeat as needed.
- This skips a big chunk of the recovery animation and drastically increases your rate of fire.
Example
Super Shotgun shot → swap to Ballista → fire Ballista → swap back to Super Shotgun → fire again.
Mod Swapping
Many weapons have two mods (alternate firing modes). You can swap mods on the same weapon almost as fast as switching weapons. Some combos include:
- Combat Shotgun: Sticky Bomb and Full Auto. Sticky a weak spot, then empty Full Auto rounds.
- Plasma Rifle: Heat Blast before switching to an Overheat for a bonus damage spike.
Hot Swapping versus Cycling
- Hot Swapping: Assign your favorite weapons to hotkeys or the weapon wheel for one-tap switches.
- Cycling: Scroll between weapons, which is slower and riskier. Hot swapping is always faster.
Top Weapon Swap Combos
Ballista + Super Shotgun “SSG-Ballista Combo”
Ballista and Super Shotgun form the bread and butter of burst damage.
- Fire the Super Shotgun for close-range power.
- Instantly swap to Ballista, fire, then repeat.
- This combo shreds Super Heavies like Barons and Tyrants, and also works great vs. weak points thanks to the Ballista’s pinpoint accuracy.
Rocket Launcher + Ballista
- Shoot a direct Rocket (equip Remote Detonation for better control).
- Before the explosion, swap to Ballista and fire.
- The overlapping blasts take out groups and stagger even tough heavies.
Chain Gun Shield + Plasma Rifle
- Against mobile or projectile-heavy foes, deploy the Mobile Turret’s shield, swap to Plasma Rifle, and use Microwave Beam to lock bigger demons in place.
- The shield lets you tank, the Microwave Beam locks enemies down, and you can swap out at the first sign of trouble.
Precision Bolt + Sticky Bombs
- Snipe a weak point with the Heavy Cannon’s Precision Bolt.
- Before the enemy reacts, swap to Combat Shotgun and lob a Sticky Bomb for chain detonations, especially effective on groups or for Cacodemons.
Mastering Animation Cancelling
Animation cancelling is what separates good players from great ones. Here’s how to practice:
- Super Shotgun: Fire, then immediately hit the weapon swap to Ballista and fire again.
- Chainsaw: After activating the animation on a fodder demon, swap to the SSG or Ballista to ready your next shot while the chainsaw plays out.
Note: Conserve ammo by only using high-burst swaps when needed. Practice the timing in low-pressure battles before committing in the thick of big arena fights.
Weapon Swap Settings and Hotkeys
Your experience depends a lot on settings:
- Instant Weapon Switch: Turn this on in settings to eliminate the brief animation when changing weapons.
- Assign Hotkeys: Especially on PC, map each weapon slot to its own key so you’re never stuck cycling.
- Quick Radial Menu: On controller, use the radial menu and quick swap (double-tap Switch Weapon) for fast combos.
Tactical Use: Adapting to Fights
Certain enemies force you to swap strategically:
- Shield Soldiers: Plasma Rifle melts shields fastest—swap to it when you spot the blue glow.
- Cacodemons: Sticky Bomb or grenade them, then switch to another weapon to finish them while staggered.
- Barons and Tyrants: Hit them with the SSG-Ballista combo or Rocket-Ballista for maximum burst.
In an arena, constantly mix up your weapons to keep ammo reserves level and maximize your edge. Chaining combos between small fry and big threats keeps you from ever running dry or cornering yourself.
Practice Drills
Want to get sharper?
- Spend a few minutes in the Demon Prison between missions, swapping between Ballista and SSG. Try to eliminate dummy demons with alternating shots, aiming for minimal gaps.
- Set up custom hotkeys and practice using them under pressure.
- In fights, practice firing one weapon at a time, instantly swapping—skip reloads and rack up damage.
The Finishing Touch
In Doom Eternal, weapon swapping lets you break the rules of traditional shooters: you’re never locked into a slow reload or a bad engagement. Practice fast swaps, find your favorite combos, and you’ll cut through even the nastiest encounters with brutal efficiency. The more fluent you get, the “flow” of combat turns from chaos into mastery—demons simply can’t keep up.
Demon Weakness Guide
Knowing each demon's specific weakness transforms every fight in Doom Eternal from a wild slugfest to a tactical takedown. Every demon type has a unique vulnerability—and most have at least one hard counter weapon or mod that can make them crumble fast. Here’s a breakdown of the most common enemies and the best ways to deal with them, including weapon, mod, and strategy recommendations.
Fodder Demons
Zombie, Imp, Soldiers
- Weakness: Nearly any weapon.
- Strategy: Use basic weapons like the Combat Shotgun to farm ammo and armor. Keep them alive in the background for resource generation instead of hunting them down first.
Weak Point Enemies
Arachnotron
- Weakness: Turret
- Best Weapons: Sticky Bomb (Combat Shotgun) or Precision Bolt (Heavy Cannon)
- Strategy: Take out the turret immediately to limit its ranged attacks. One Sticky Bomb or well-placed precision shot disables the turret, turning the Arachnotron into a less-mobile melee threat.
Revenant
- Weakness: Shoulder cannons
- Best Weapons: Precision Bolt or Sticky Bomb
- Strategy: Snipe the shoulder launchers to severely reduce its firepower. After that, use any strong weapon or combo to finish it off.
Cacodemon
- Weakness: Mouth
- Best Weapons: Sticky Bomb, Frag Grenade
- Strategy: Fire a Sticky Bomb or toss a grenade into its mouth as it charges—this instantly staggers the Cacodemon, setting it up for a Glory Kill.
Mancubus
- Weakness: Arm cannons
- Best Weapons: Precision Bolt or Sticky Bomb
- Strategy: Target the arm cannons first; once destroyed, the Mancubus loses its most damaging attacks.
Carcass
- Weakness: Energy shield
- Best Weapons: Plasma Rifle
- Strategy: Plasma instantly overloads and destroys the barrier. The Heat Blast mod is especially good for quick shield breaks.
Whiplash
- Weakness: Speed and lack of armor
- Best Weapons: Super Shotgun, Ballista
- Strategy: Freeze Grenade locks it in place; use burst weapons to punish before it moves again.
Super Heavy Demons
Baron of Hell
- Weakness: High burst damage
- Best Weapons: SSG-Ballista combo, Rocket Launcher, Chaingun
- Strategy: Rotate high-damage combos. Blood Punch and Freeze Grenade help control them, but only burst damage reliably staggers them.
Tyrant
- Weakness: Burst damage, weak to Ballista and rockets
- Best Weapons: SSG-Ballista, Ballista-Rocket combo
- Strategy: Target from a distance and swap for burst shots. Exploit its slow turning and use terrain.
Doom Hunter
- Weakness: Shield (Plasma), then sled (explosives)
- Best Weapons: Plasma Rifle, Rocket Launcher
- Strategy: Use Plasma to strip the shield, then blast the sled with rockets or Ballista. Once the sled is gone, the Doom Hunter becomes significantly weaker.
Archvile
- Weakness: Stun/interrupt, high direct damage
- Best Weapons: Ballista, SSG, Remote Detonation Rocket
- Strategy: Sprint straight for it—don’t give it time to summon or supercharge other demons. Freeze or Flame Belch to interrupt casting and hit with the strongest weapons.
Marauder
- Weakness: Timed counters
- Best Weapons: Ballista, Super Shotgun
- Strategy: Wait for his eyes to flash green as he attacks, then hit with SSG and Ballista in quick succession. Never shoot when his shield is up—he’ll counter almost everything except a point-blank dog bite or slow projectile.
Support Demons
Pain Elemental
- Weakness: Mouth (like Cacodemon)
- Best Weapons: Ballista, SSG / Sticky Bomb
- Strategy: Fire into the mouth to stagger. Ballista deals massive direct damage—take them out fast to limit Lost Soul spawns.
Shield Soldier
- Weakness: Energy shield
- Best Weapons: Plasma Rifle
- Strategy: Plasma melts the shield instantly, making them open to a follow-up shot.
Cyber-Mancubus
- Weakness: Venom armor
- Best Weapons: Blood Punch (strips armor instantly)
- Strategy: Blood Punch removes the armor in one hit. Afterward, treat it like a regular Mancubus.
Special Cases
Pinky & Spectre
- Weakness: Exposed tail
- Best Weapons: Plasma Rifle (Microwave Beam), Blood Punch
- Strategy: Wait for them to charge, sidestep, and blast the tail. Freeze or stagger them for a window.
Lost Soul
- Weakness: Fragile
- Best Weapons: Any hitscan (Heavy Cannon, Chaingun, Plasma)
- Strategy: Pick them off while running—autos and fast-firing weapons work best.
Weapon and Mod Pairings for Weaknesses
- Sticky Bomb: Fantastic for Arachnotron, Cacodemon, and Revenant.
- Precision Bolt: Best for sniping weak points—Arachnotron, Revenant, Mancubus.
- Microwave Beam: Locks down Whiplash, Pinky, and turns big threats vulnerable.
- Blood Punch: Instantly destroys Cyber-Mancubus armor and chunks big demons.
General Tips
- Always exploit weak points first—dealers of big damage rarely fight back when disarmed.
- Don’t waste heavy ammo on fodder. Use chainsaw and weak weapons for imps and zombies.
- Alternate resource gain with weaknesses. Glory kill for health, Flame Belch for armor, Chainsaw for ammo, but plan around weak spots with your top-tier weapons.
- Practice weak point snipes in the Demon Prison. It’s the safest way to get muscle memory before real fights.
Conclusion
Every demon has a soft spot—knowing and using these weaknesses makes even the toughest arenas manageable. Master counter-picking weapons and timing shots, and you’ll be stacking up staggered, glory kill-ready enemies instead of running for your life. Knowledge is a weapon in Doom Eternal; with the right approach, even Hell’s worst can’t stand in your way. Movement and agility set Doom Eternal apart from other shooters. The Slayer’s raw firepower means nothing if you’re standing still, caught in a web of demon projectiles and flamethrowers. Here’s how to keep ahead of the game, turn every arena into your playground, and make the most of Doom Eternal’s unique movement tools.
Understanding the Basics
Doom Eternal rewards mobility above all else. Standing in place is a death sentence. The levels are designed with monkey-bar swings, jump pads, portals, and ledges for a reason. Learn to use them.
Your default moveset includes:
- Sprinting (always active)
- Double jump (press jump again in midair)
- Dash (quick burst in any direction; hits max two charges)
- Ledge grab + climb
- Wall clambering
Armed with these basics, you’re expected to keep moving nonstop.
Dash: The Slayer’s Lifeline
The dash is a vital upgrade over Doom (2016). Tap the dash button to zip a few meters in any direction midair or on the ground. You get two charges, shown under your reticle, and they refresh in seconds. Dash evades Pinky charges, slices across flame walls, or closes the gap to a Marauder.
Timing is everything. Dash just before a projectile or melee strike lands to avoid chip damage, not after. Get the rhythm of demon attack animations. Pair dashes with double jumps to slip through tight bullet patterns or bounce between platforms.
Don’t forget: Dashing off jump pads and monkey bars conserves momentum. You’ll rocket even farther and reset your jump abilities, so look for environmental combos.
Double Jump for Survival and Attack
The double jump isn’t just for reaching high places. Think of it as a split-second way to change direction. For example:
- Jump, then quick change with a left or right second jump to avoid a Tyrant’s rockets.
- Use the double jump to peek over obstacles, grab power-ups, or land tactical headshots in midair.
- Combine with dashes for midair direction reversals that confuse chasing demons.
Upgrade your suit with Air Control, and you’ll notice much more responsive turning in the air. This is essential for trickier arenas and for setting up those perfect midair Glory Kills.
Environmental Tools
Doom Eternal’s maps are packed with movement aids:
- Monkey Bars: Hit them to launch yourself across the arena or change path instantly.
- Jump Pads: Leap high and reposition; a good way to avoid being boxed in.
- Portals: Teleport across a room, dodging deadly situations or flanking heavy demons.
- Climbable Surfaces: Jump, grab, and climb. Perfect for escaping when overwhelmed.
Link together dashes, monkey bars, and jump pads in quick succession—the demons can’t target you as easily if you’re unpredictable.
Advanced Agility: Combining Tools
Arenas get tougher as more enemy types pile in. Advanced movement means knowing when to blend your tools:
- Quick Escape: Wall climb → double jump → dash → monkey bar → dash again. This gets you out of heavy traffic.
- Aerial Strikes: Launch off a pad or bar, dash to line up, and rain death from above with Ballista or SSG.
- Micro Play: In close range, short hops and quick dashes side-to-side outrun Whiplash lashes and Imp fireballs.
Target resource pickups and cooldowns while moving. If you need armor, dash through a cluster and Flame Belch on your way out. Out of health? Use verticality to zip up, find a Glory Kill target, then double dash down before running into heavier hitters.
Momentum and Flow
Great players don’t think about movement—they react automatically, stringing together jumps, dashes, and swings. This kind of flow state is built through repetition. In the Demon Prison (the game’s optional practice zone), run laps using every movement option until it’s second nature.
Remember: Every missed dash or jump costs you. Recovery time from falling or getting cornered is usually fatal. Play with intent—never move randomly. Plan an escape route in every battle.
Movement Drills and Tips
- Strafe Practice: Find a safe enemy (like an Imp or Possessed) and practice circling with dash and jump.
- Air Control: Enable in your Suit menu ASAP. Practice changing direction in the air mid-fight.
- Monkey Bar Combos: Run through arenas hitting every bar, pad, and climbable in sequence.
- No-Stop Rule: See if you can move for an entire fight without touching the ground for more than a second or two.
- Cooldown Time: Learn how many seconds it takes for dash to refresh—keep track mentally.
Tips for Staying Alive
- Movement is armor. The longer you avoid damage, the longer you last.
- Don’t run backward for long—you might corner yourself.
- Always scan the arena for escape tools before the battle. Monkey bars, portals, and jump pads are your best friends.
- Be bold, but don’t over-commit. Dash into the thick of the fight to Chainsaw a fodder demon, then dash out before the big hitters close the gap.
Movement, not firepower, keeps you alive in Doom Eternal. Demons are relentless, but they’re also predictable. Stay mobile, link together dashes and jumps, and let the battlefield work for you—you’ll find yourself in control of every fight.