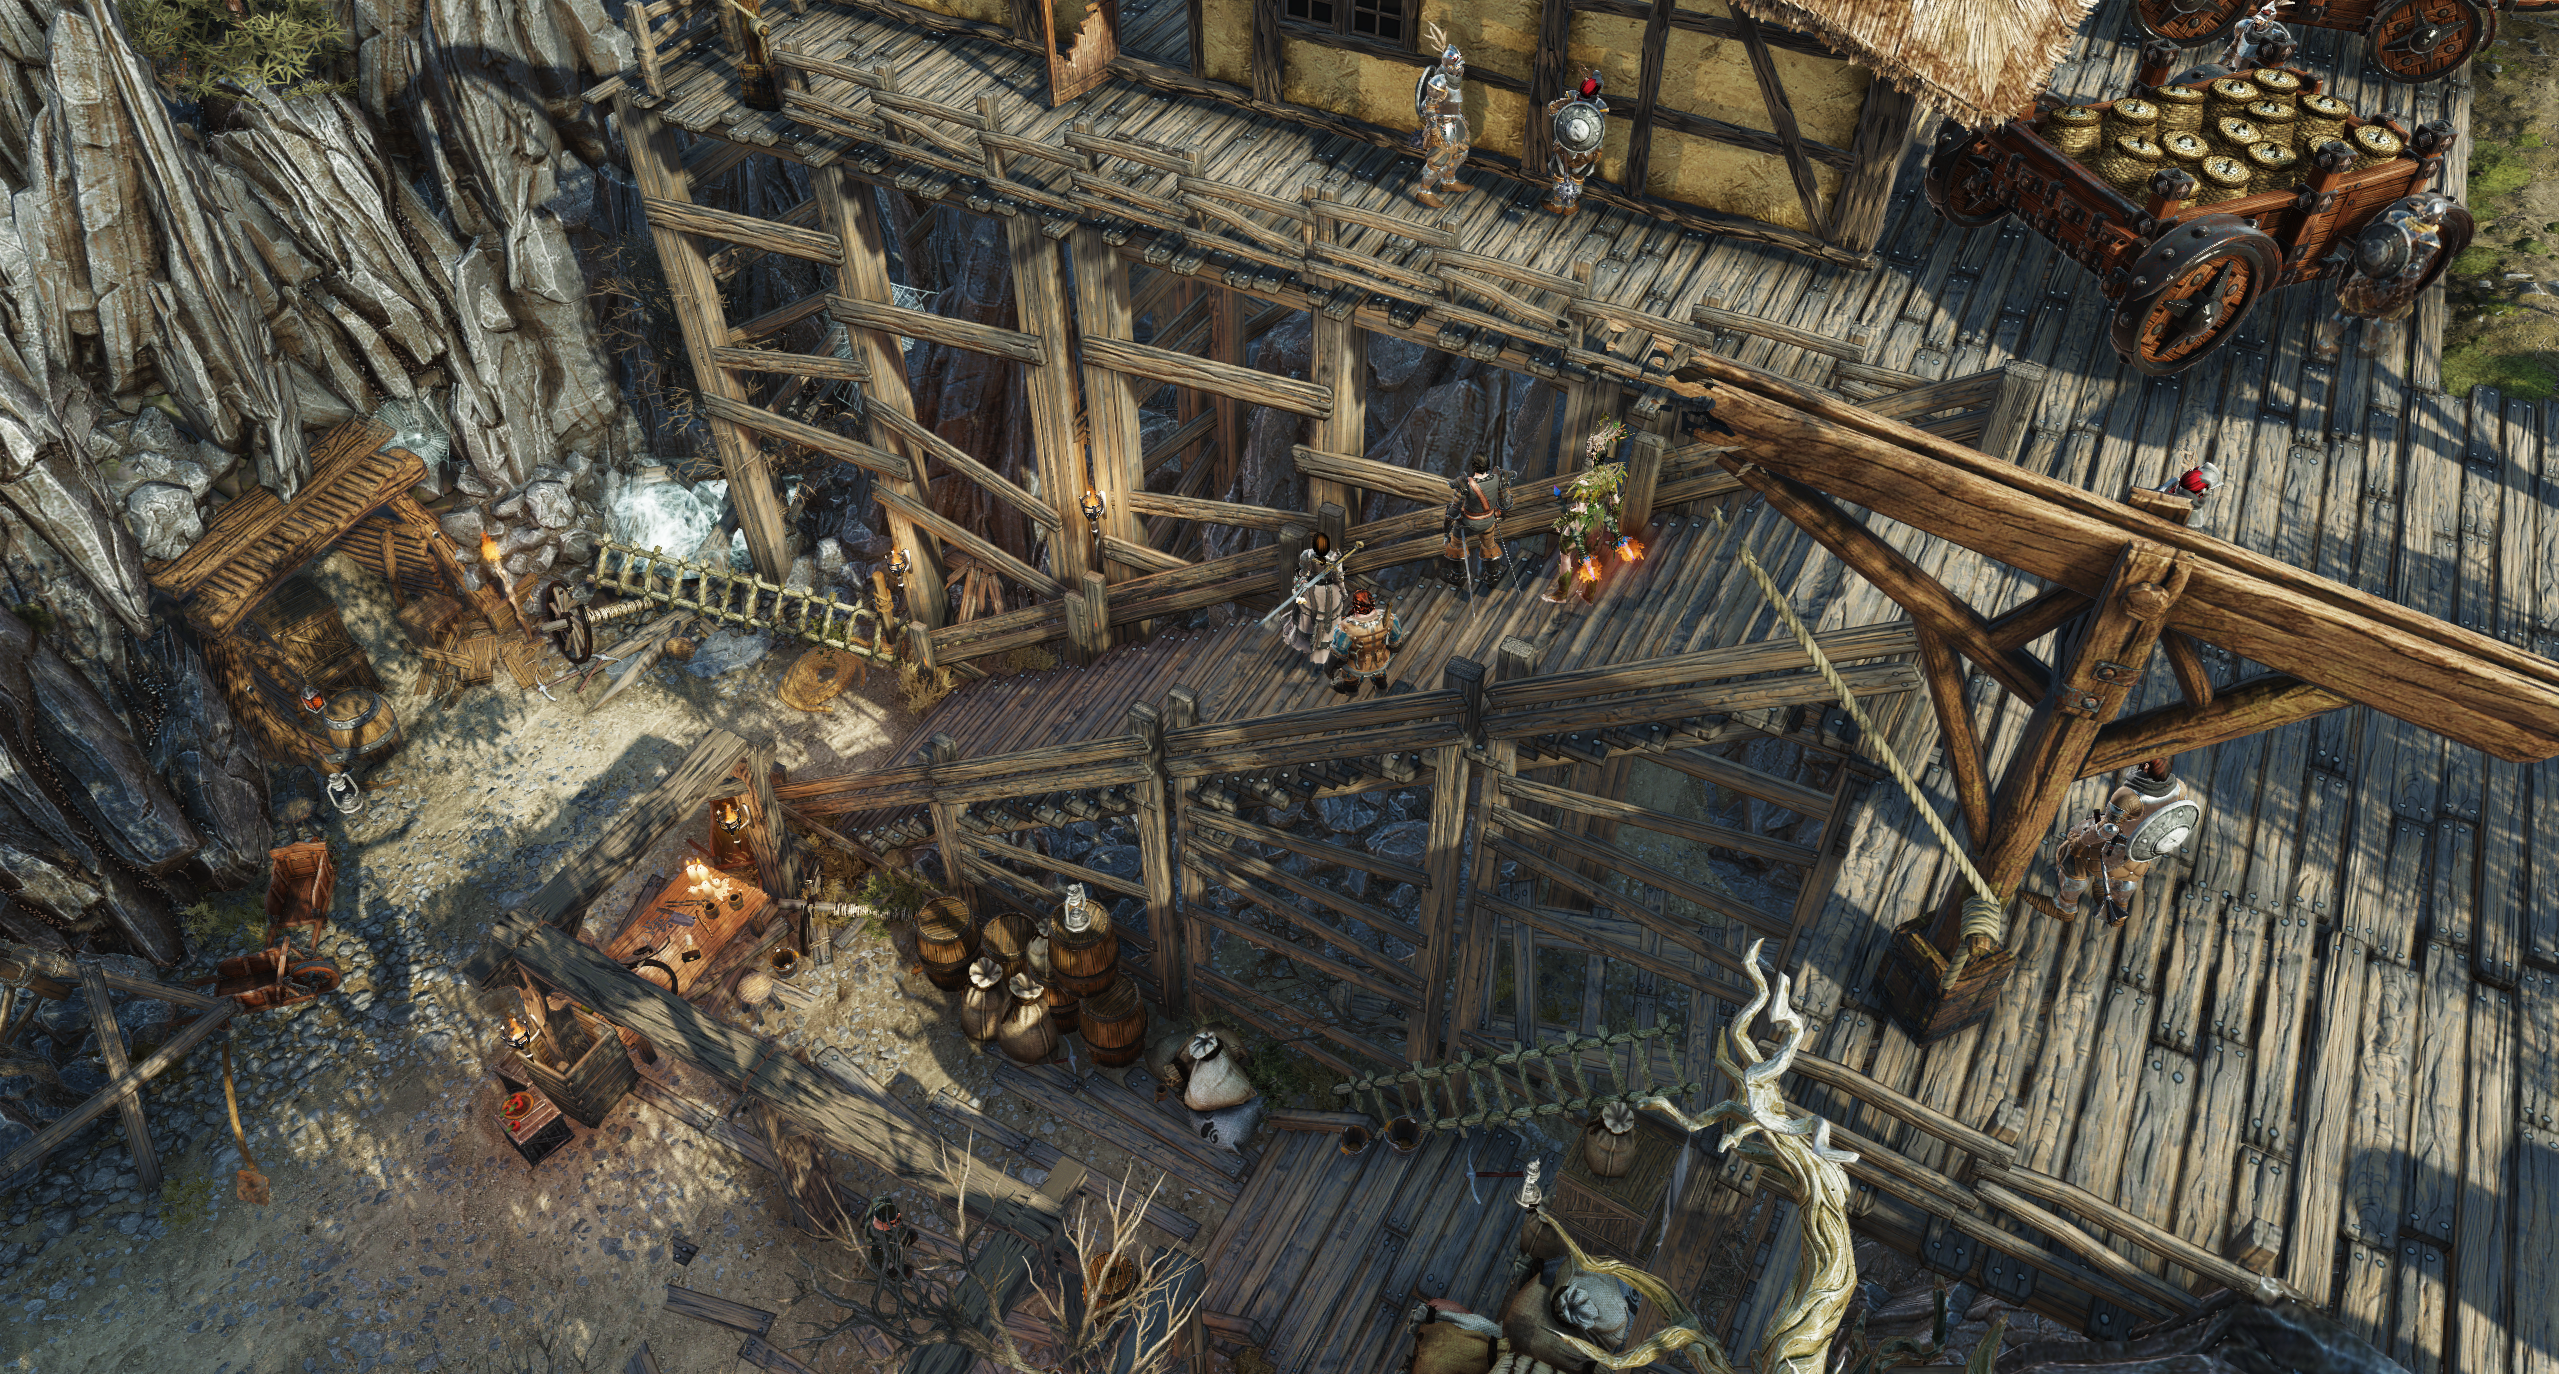
Divinity: Original Sin 2 Combat Tactics and Strategy Guide
Master Divinity: Original Sin 2 combat with expert tips on environmental effects, source points, builds, crowd control, and positioning strategies.
Divinity: Original Sin 2 can be both exciting and challenging when it comes to combat, especially if you're not fully prepared or familiar with how the mechanics work. Battles unfold through deep, tactical encounters where your choices--positioning, skills, environmental elements and party coordination--can mean the difference between victory and defeat. Even experienced RPG players sometimes find themselves needing to rethink their strategy to handle tougher encounters effectively. Understanding how different elements interact, how to leverage status effects, and how to set up powerful skill combinations can significantly improve your chances of success. Whether you're struggling to win tricky fights or just feel like your approach could use some fine-tuning, getting a solid grasp on Divinity: Original Sin 2's combat tactics can make your gaming experience a lot smoother and more rewarding.
Environmental Effects Explained
One of the standout features in Divinity: Original Sin 2 is how the battlefield reacts to your actions. Environmental effects aren't just flashy visuals; they're strategic tools that can swing a fight in your favor or spell disaster if you're careless. Learning how these environmental combos and hazards work can help you get the upper hand in even the toughest combats.
Elemental Surfaces 101
In Divinity: Original Sin 2, elemental surfaces are created whenever magic or special abilities interact with the environment. There are four main elemental surface types, each causing unique and immediate risks or rewards when characters (friend or foe) step onto them:
- Fire: Stepping into flames deals instant fire damage that continues each round. Great for setting traps but risky if you're standing too close.
- Water: Water itself doesn't cause damage but makes targets susceptible to shock or freezing. It's a perfect setup element.
- Poison: Initially harms anyone except the undead, but poison surfaces become explosive when ignited. Watch carefully around these.
- Oil: Characters move slower when stepping in oil, providing a great tactical advantage. Plus, oil ignites easily for fiery explosions and extended fire surfaces.
These surfaces aren't static. You create and manipulate them using skills, arrows, grenades, spells, or even objects found around you.
Status Effects: Leverage or Danger?
Environmental surfaces don't exist solely for immediate damage; they also inflict different status effects on whoever stands on them or walks through:
- Burning: Ongoing fire damage over several turns that's excellent for gradually thinning enemy ranks.
- Wet: Wet characters become vulnerable--get hit by lightning, and they're stunned instantly. Cold spells will freeze them solid, effectively removing them from the fight in the short term.
- Frozen: This state completely incapacitates the enemy, leaving them unable to act or defend themselves until their turn passes.
- Poisoned: Gradual poison damage accrues turn-over-turn unless healed or neutralized. Undead characters benefit instead and are healed from poison.
- Slowed: Moving through oil will reduce your target's movement speed, restricting positioning and mobility--perfect if you're trying to keep dangerous melee attackers at a safe distance.
Creating these statuses effectively means pairing complementary surfaces together. Use rain or water balloons before casting electric or frost spells. Cast fire spells onto oil or poison surfaces to magnify area damage and further debilitate your enemies.
Cloud Effects and Line-of-Sight
Surfaces can also create clouds, each affecting visibility, defense, and offense in distinctive ways. Clouds obstruct your visual and shooting range and can apply additional statuses:
- Smoke Clouds: Usually created when fire hits water surfaces or steam. They obscure line-of-sight, preventing ranged attacks.
- Steam Clouds: Occur when water meets heat. Steam blocks vision but also conducts electricity, letting lightning attacks create electrified clouds causing shock statuses to anyone inside.
- Poison Clouds: Poison surfaces become toxic poison clouds when ignited or interacted with specific poison-based skills. They apply poison and block visibility.
- Blessed/Cursed Clouds: Using the Bless or Curse skill changes cloud properties drastically. For example, a blessed steam cloud heals while a cursed surface can cause decay or worse.
Knowing when and how to trigger or clear clouds becomes key during challenging battles. Clear problematic clouds with spells like "Tornado" or summon rain. Or deliberately place them between ranged attackers and vulnerable members of your party.
Managing and Controlling Environmental Chaos
Battles in Divinity quickly turn chaotic, especially when playing multiplayer with co-op partners dishing out their own magic and attacks. Keep friendly fire in mind. Accidentally setting your ally on fire or electrocuting your healer is painful--and embarrassingly common.
To minimize mistakes, always:
- Preview your move: Hold down Shift (PC) or left trigger (console) before taking any action to preview exactly which surfaces the spell or attack will affect.
- Coordinate elemental strategies: Ensure team synergy by communicating clearly about plans to create surfaces. Careful planning ensures you won’t unintentionally hurt friendly party members.
- Always prepare counters: Be equipped with movement or teleport abilities (like "Tactical Retreat" or "Teleportation"), jumping skills, or spells that neutralize harmful statuses, including Clearing surfaces and clouds.
Turn Environmental Effects Into Your Ally
Mastering elemental effects and surface combinations gives you major control on the battlefield. Difficult encounters become easier once you recognize opportunities to combine spells, status effects, and positioning. Understanding these advanced mechanics lets you turn chaos into calculated, satisfying victories.
Environmental effects aren’t optional side mechanics--they're essentials that reward thoughtful players. Experiment with your most useful surface combos, stay mindful of your party's positions, and watch those intimidating battles become your playground.
Source Point Management: Making Powerful Abilities Count
In Divinity: Original Sin 2, Source Points are your ticket to unleashing powerful, game-changing abilities. While regular spells and skills pepper your everyday fights, Source Skills are those "ace in the hole" moves you save for high-stakes moments--dramatically turning combat in your favor. But Source Points come in limited supply, so smart management is critical. Let's break down how you can generate, store, and efficiently spend these game-winning resources.
What Exactly Are Source Points Anyway?
Source Points power unique, exceptionally strong abilities called Source Skills. Your characters start with just one Source Point slot but can gain up to three total as you progress. These potent skills can deal huge damage, summon mighty creatures, reverse losing battles, or buff your team. Unlike regular cooldown abilities, Source Skills cost one or more Source Points per activation--once used, they're gone until replenished.
Careful, deliberate use is important--blowing through your Source Points too quickly leaves your team short when you need these big-hitters most.
Gaining and Replenishing Source Points
Running low? You have several ways to refill Source Points in Divinity: Original Sin 2:
- Source Pools: Shimmering, glowing pools scattered throughout Rivellon restore your Source Points instantly. They're limited per region but generally refill each character who interacts with them fully.
- Consumables: Special items like "Source Orbs" can restore your Source. These items are rare and valuable, so save them when emergency refills are needed most.
- Source Vampirism: After learning the Source Vampirism ability, your character can drain Source energy from dead or alive (weakened) characters, replenishing your points at their expense. It's a quick way to stock up mid-battle.
- Spirit Vision and Ghosts: Casting "Spirit Vision" lets you locate and talk to ghosts. Occasionally, ghosts grant Source Points after conversation, helping top off your reserves while exploring.
- Resting at Specific Locations: Certain areas like Lady Vengeance provide permanent Source recovery points, perfect for replenishment between tough challenges.
Timing is Everything: When to Pull the Source Trigger
Sure, Source Points regenerate occasionally, but their relative scarcity means wasteful spending can cost you dearly in tough fights ahead. Here’s when Source Skills really pay off:
- Boss Fights and Intense Battles: Big encounters call for big solutions. For enemies that shrug off regular damage or hit ridiculously hard, Source Skills can be your difference-maker in bringing them down faster.
- Turning the Tide: Your party struggling? Use your Source Points to cast massive healing, resurrection, or area-of-effect CC (crowd control) skills, turning certain defeat into victory.
- Initiation Advantage: If you find a strong enemy group tightly clustered, initiating combat with a Source Skill--like powerful area damage or mass debilitation--sets the fight in your favor from the very start.
- Emergency Insurance: Save at least one Source Point to bail out teammates before a big move or provide that vital resurrection or teleportation in tight situations.
Always weigh benefits against costs. Ask yourself clearly: "Do I need a Source-level effect right now, or can standard abilities and planning do the trick?"
Efficient Source Management Strategies
Don't let your Source Points trickle away needlessly. Here are some reliable habits to practice:
- Rotate Character Source Abilities: Rather than exhausting one character’s Source entirely, rotate skills among your characters to share the burden and maintain strategic options.
- Map Out Source Pool Locations: Mark locations of Source pools mentally or on your game map, returning regularly between tough fights or before lengthy travels.
- Balance Source Generation: Use Source Vampirism carefully--ideally during cleanup phases at the end of a tough fight, draining defeated enemies safely, without unnecessary risk.
Dealing with Source-Limiting Conditions
Occasionally, certain story events, cursed areas, or special enemy abilities might hinder or remove your ability to wield Source altogether. If this happens:
- Prioritize standard skills and consumables aggressively.
- Adapt your strategies around standard combat options like elemental surface tactics.
- Get out of restricted areas quickly after completing your objectives.
If you know you'll soon enter an area restricting Source abilities, consider consuming your Source Points earlier in easy, confident battles rather than letting them go to waste completely.
Experimentation and Flexibility Are Key
Ultimately, Source management success comes from playing your strengths and experimenting with many skill combinations. Try different Source Skills frequently, getting a clear understanding of how each could fit into various combat scenarios. Don’t be afraid to spend if the moment demands--but always have a recovery plan afterward.
Source Skills exist to make massive impacts and shift battles from difficult to comfortable. Thoughtful planning, combined with Resourcefulness and strategic spending, will transform your fights completely. Use your power wisely, and your strongest abilities will always be there when you need them most.
Character Builds: Customizing Your Ultimate Team
Divinity: Original Sin 2 lets you tailor your characters to fit specific combat roles. Understanding character builds means noticing synergy between skills, talents, attributes, and gear, creating a fun team you like to play. Let's get started!
Understanding the Fundamentals
Before picking a build, remember these basics:
- Attributes: Your primary stats (Strength, Intelligence, Finesse, Constitution, Memory, Wits). Choose attributes that best support the damage type or role you're going for.
- Combat Abilities: Levels in abilities like Warfare, Scoundrel, Necromancer, Pyrokinetic, Geomancer, Aerotheurge, and more. They make related skills stronger or open new skills to equip.
- Civil Abilities: Non-combat abilities like Persuasion, Thievery, Lore Master. Don't ignore these, especially if your party has specialized roles.
- Talents: Powerful passive bonuses that significantly adjust the playstyle of your character.
- Skills & Spells: Active abilities your character casts during battle, requiring points in corresponding Combat Abilities.
Pay attention to how attributes, abilities, and talents connect. The strongest builds stay focused but versatile.
Popular and Effective Builds
Here are several community-tested builds that often dominate on the battlefield. You can customize these easily or combine their ideas to suit your style:
The Battlemage (Melee/Elemental Hybrid)
Primary Attributes: Intelligence, Strength, Memory
Combat Abilities: Warfare, Aerotheurge, Hydrosophist or Pyrokinetic
Recommended Talents: Executioner, Opportunist, Elemental Affinity, Mnemonic
Battlemages engage up close while wielding powerful elemental attacks. With Warfare raising all physical damage, and Intelligence boosting your magic attacks, you dominate close-quarter battles. Elemental Affinity lowers AP if standing on corresponding surfaces--handy for constant spellcasting. You've got solid crowd control with stunning or freezing skills to disable foes before striking.
Ranger Sniper (Precision Damage Dealer)
Primary Attributes: Finesse, Wits, Memory
Combat Abilities: Huntsman, Ranged, Scoundrel
Recommended Talents: Guerilla, Hothead, Elemental Ranger, Executioner
Ranger Snipers hit targets from afar, using elevation and positioning bonuses to maximize damage. With high critical chance (from a pumped-up Wits stat), each attack hits hard. Huntsman's bonuses make height your best friend--always find high ground positions. With proper positioning and smart target choice, Snipers can drastically thin enemy ranks before they're close enough to counter.
Summoner Commander (Versatile Support)
Primary Attributes: Intelligence, Memory, Constitution
Combat Abilities: Summoning, Leadership, Necromancer
Recommended Talents: Far Out Man, Mnemonic, All Skilled Up
Summoners control the battlefield without ever directly attacking. High Summoning level grants your incarnate huge boosts in battle, while Necromancer offers healing through damage dealt. Leadership gives nearby allies excellent defensive boosts. You remain safe at range, while your incarnate and allies crush enemies. With lots of memory, keep diverse summon spells handy for situational flexibility.
Rogue Assassin (Sneaky Burst Damage)
Primary Attributes: Finesse, Wits, Memory
Combat Abilities: Scoundrel, Dual Wield, Polymorph
Recommended Talents: The Pawn, Backstabber, Executioner, Parry Master
Rogue Assassins sneak into position, dealing massive damage quickly with backstab critical hits. Scoundrel grants additional movement, stealth bonuses, and deadly burst combos. Polymorph gives key mobility skills like Chameleon Cloak and Wings, granting extra turns hidden safely or leaping into position. Your job? Eliminate high-priority targets (like mages or healers) immediately, tilting the fight heavily in your favor.
Warrior Tank (Frontline Defender)
Primary Attributes: Strength, Constitution, Wits
Combat Abilities: Warfare, Geomancer, Retribution
Recommended Talents: Opportunist, Comeback Kid, Living Armour, Picture of Health
Warrior Tanks hold the front line, taking hits others can't, while dishing substantial damage. Warfare grants bonus damage and important crowd control abilities, like knockdowns. Geomancer provides armor boosts and additional protection spells, and Retribution punishes enemies daring to attack you. You soak damage, keeping your party safe and controlling enemy movement.
Specialized Hybrid and Experiment Builds
Divinity: Original Sin 2 rewards creativity. Try mixing combat types or adding points in unusual places for unique builds suited perfectly to your personal style. Try these quirky favorites:
- The Elemental Archer: Combining Huntsman with elemental skills like Pyrokinetic or Aerotheurge adds huge surface-damage combos to arrows fired.
- Blood Mage: Necromancer plus Hydrosophist skills combines self-healing damage-dealing spells, magically aggressive yet sustainable in health.
- Magical Thief: Blending Scoundrel stealth with Polymorph and elemental attacks creates unpredictable moves that enemy AI struggles to counter.
Party Composition: Creating the Ideal Team
A balanced team covers each other's weaknesses. Combine magic, physical, close-range, and long-range builds to handle any enemy type or scenario effortlessly. Keep roles and abilities complementary. For example:
- Tank (draw enemy attention)
- Supportive Summoner or Controller (manages the field)
- Heavy-Damage Dealer (assassin, ranger or mage)
- Versatile Hybrid (flexibly patches holes in your defense/offense)
Clearly defined roles, paired with proper positioning, keep combat smooth and rewarding.
Matching Your Build to Equipment
Don't overlook gear! Equipment plays a giant part in strengthening builds. Choose equipment aligning with your dominant attributes and battle skills:
- Match your armor type (Strength-based armor for tanks/melee, Finesse armor for rogues/rangers, Intelligence armor for mages).
- Upgrade weapons regularly, favoring bonuses matching your targeted stats/abilities.
- Amulets, rings, and belts influencing attributes grant helpful boosts heavily influencing fight outcomes.
- Runes and Source Orbs enhance gear--experiment frequently with slotting different runes for custom effects perfectly suited to your build.
Stay attentive to gear drops or vendor offerings. Swap or upgrade gear often--it's as valuable as the build itself.
Final Thoughts: Adapt and Have Fun
The beauty of Divinity: Original Sin 2 is how freely you choose skills, strategies, and party roles. Don't stress over 'optimal' too much--instead, test cool ideas, try unusual approaches, and customize freely to your playstyle. If something doesn't click, re-spec characters at Lady Vengeance freely and cheaply.
The best builds are ones you enjoy--so keep testing, tweaking, and fine-tuning. Victory awaits your inventiveness!
Mastering Crowd Control: Keeping the Battlefield in Check
Combat in Divinity: Original Sin 2 becomes tricky fast, especially as enemy groups grow bigger and tougher. Landing devastating blows that drop enemy health bars feels great, but it's equally important to stop enemies from hitting you back. That's where smart crowd control (CC) comes in. CC gives you breathing room in fights, helping your characters manage large groups of foes and tougher boss encounters. If enemies can't move, attack, or cast spells, your party quickly gains the upper hand.
Let's talk about how crowd control actually works and strategies to make these techniques shine in battle.
Understanding Types of Crowd Control Effects
Not all crowd control moves act the same. Knowing the differences and durations of each is key to locking enemies down consistently:
-
Knockdown:
Knockdowns make targets lose their next turn entirely. Many Warfare abilities--like Battle Stomp or Battering Ram--apply Knockdown if the enemy's physical armor is gone. Knockdowns reliably keep enemies helpless for a turn, allowing your party to safely overwhelm them. -
Stun:
Shocked enemies who take additional electrical damage become Stunned and miss out on their next turn. Aerotheurge attacks (like Electric Discharge or Chain Lightning) quickly set up this state once magic armor is depleted. Water surfaces soaked by rain or spells like Rain further amplify Electric attacks, making Stuns easier. -
Frozen/Chilled:
Hydro magic can chill targets when magic armor is down. Chilled enemies move slower, while hitting chilled foes again with ice-based attacks freezes them solid--turn-skipping guaranteed. Spells like Winter Blast, Hail Strike, and global ice skills provide fantastic freezing potential. -
Petrified:
Petrification disables targets for a turn, turning them into immobile statues. Medusa Head and Petrifying Visage (from Polymorph) or specific earth-based effects reliably trigger petrification when hitting enemies lacking magic armor. -
Charm and Terrify:
Charm temporarily flips an enemy's allegiance, making them attack their teammates. Terrified enemies will uncontrollably run away. Mind Maggot grenades, Dominate Mind, and Terror spells produce these powerful psychological effects on foes lacking magic armor. -
Sleep:
Sleep spells put enemies to rest temporarily--with zero action until damaged or duration ends. It's great for taking a tough enemy out of the fight briefly to focus on others.
Understanding the armor system is essential: Physical-based CC moves only work when enemies lose physical armor, while magic-based CC moves trigger once magical armor is gone. Keep an eye on enemy armor bars carefully so you know when and how to lock targets down effectively.
How to Land Crowd Control Reliably
Simply having crowd control skills won't save the day--you need to make sure they'll actually land. Use these tips for efficient, consistent CC victories:
-
Coordinate Armor Damage:
Focus your team's attacks strategically--physical attackers should prioritize breaking through physical armor first, while mages peel away magic armor. Pick targets carefully, then chain your CC moves once armor protection vanishes. -
Combine Elemental Surfaces & Effects:
Divinity loves chemistry! Water puddles amplify electric shocks, grease surfaces ignite into flames, blood and water freeze solid. Setting the stage before battles by spreading surfaces gives you huge advantages--lowering enemy armor faster or amplifying effects significantly. For example, casting Rain and then Electric Discharge swiftly stuns groups of foes lacking magic armor. -
Initiate the Fight from Stealth:
Position rogues to land devastating opening CC attacks from stealth. Surprise warfare knockdowns, Polymorph petrifying moves, or magical stuns starting from hidden status ensures the enemy has trouble acting immediately.
Recommended Crowd Control Skills and Combos
Certain skill combos consistently deliver great crowd control options:
-
Battle Stomp + Battering Ram (Warfare):
The ultimate reliable physical knockdown combo once armor breaks. Use Battering Ram to close gaps and knock one or two foes down, then follow up next turn with Battle Stomp for guaranteed area knockdown coverage. -
Rain + Electric Discharge (Hydrosophist + Aerotheurge):
Cast Rain to spread large water pools, followed up by Electric Discharge, creating mass stun zones effortlessly. -
Winter Blast + Ice Fan (Hydrosophist):
Ice spells chill enemies, and once chilled, following up freezes them solid. Use Ice Fan target-by-target after hitting groups with Winter Blast area chill. -
Medusa Head + Petrifying Visage (Polymorph):
Petrify nearby foes once magic armor falls, immobilizing a significant chunk of enemies at once. Ideal when surrounded by melee enemies. -
Dominate Mind (Summoning):
Charm enemy casters or archers to temporarily swing battle momentum your way--let their powerful spells and ranged hits weaken enemy ranks.
Crowd Control Strategy with Team Composition
Always build your party composition around reliable CC options:
-
Warrior tanks:
Your frontline should always pack Warfare skills for physical knockdowns and group disable. Position them carefully to shield weaker teammates and consistently lock down aggressive melee foes. -
Mages and Elementalists:
Hydrosophist and Aerotheurge casters easily disable enemies lacking magic armor. Mages deal area damage, stripping armor rapidly to let crowd control happen quicker. -
Rogues and Rangers:
Keep these classes bashing physical armor to assist your warrior. Alternatively, sneaky rogues with polymorph skills can surprise target mages behind enemy lines, locking down dangerous enemy spellcasters early.
Putting it All Together in Battle
In real battles, pick enemy targets clearly and methodically:
- Scout Armor Bars: Check enemies at battle start. Target foes with weaker armor and quickly remove it.
- Apply Crowd Control Immediately After Armor Break: The moment physical or magic armor drops, cast CC moves immediately before the enemy's turn.
- Maintain Control Every Round: Refresh effects or apply new ones on subsequent turns. Don't let controlled enemies recover!
- Prioritize Controllers and Support Enemies: Lock down enemy mages, summoners, or ranged attackers who threaten your team's back ranks.
Stay Flexible, Win Consistently
Crowd control tactics transform challenging battles into easy victories. Knowing enemy armor, carefully timing CC moves, using elemental combos, and taking advantage of team synergy makes your party unstoppable. Remember, controlling actions always grants more advantage than simply doing raw damage.
Keep practicing and creatively combining CC methods to consistently turn overwhelming odds into triumphant wins. You've got all the tools and techniques now--go show your foes who's boss!
Mastering Tactical Positioning in Divinity: Original Sin 2
In Divinity: Original Sin 2, smart positioning on the battlefield decides who lives and who gets turned into a chicken by an angry wizard. Properly placing your team not only keeps your heroes alive longer but also helps you easily manage enemy encounters. Let’s break down the ways you can dominate encounters through tactical placement.
High Ground Advantage
If you’ve ever watched Anakin Skywalker’s downfall, you already know--you want the high ground. Divinity: Original Sin 2 rewards players who position ranged characters higher up than their enemies.
When your archer or mage attacks from above, they'll deal increased damage and enjoy a nice bonus to accuracy. On the flip side, anyone below suffers penalties when firing back, meaning high ground is excellent for offensive and defensive stances alike. Always check your surroundings; a ladder, a platform, or even a rock formation can become your best friend in combat.
Setting Up High Ground Snipers
Before fights, sneak your ranged attackers quietly onto advantageous positions. Take the time to put a ranger or mage in stealth mode and carefully place them atop towers and cliffs. When the fight starts, they'll confidently rain arrows or spells down on confused enemies. Simple, but extremely effective.
Preventing Enemy High Ground Control
Keep an eye on enemy archers or spellcasters attempting to climb high. Use your warriors' knockdown moves or teleportation spells aggressively; forcibly throwing an enemy ranged unit down to your level (or into a fire) can swing a tough battle your way immediately.
Defensive Choke Points: Controlling Enemy Movement
A choke point is a narrow spot enemies must pass through, making it easy to defend or ambush unfortunate foes one at a time. Doorways, narrow bridges, or rocky passages naturally limit enemy access. You control their approach and limit how many attacks your team faces at once.
Forming an Unbreakable Frontline
Your warriors and tanks thrive controlling these spots. By placing them at the front of choke points, you protect more fragile back liners like healers, mages, or archers. Use defensive skills that fortify warriors' armor and reflective abilities (like Deflective Barrier) to punish enemies who stubbornly try to push through.
Exploiting Choke Points With AoE Damage
Choke points pair perfectly with area-of-effect spells and effects. Let enemies pack themselves tightly by funneling through narrow openings, then unleash damaging surfaces and spells like Dragon's Blaze, Fireball, or Rain plus Lightning. They’ll struggle to approach your party through burning ground or electrified puddles while losing armor fast.
Utilizing Cover & Environmental Obstacles
Use your environment to survive incoming projectile attacks. Trees, walls, boxes, and columns all provide obstruction, shielding you from harmful arrows and ranged spells.
Fighting From Cover
Keep fragile party members positioned behind obstacles. Rangers, mages, or summoners can safely launch attacks while significantly reducing the threat of enemy ranged counter-attacks. Even if opponents close in, you buy extra time thanks to blocked sight lines.
Creating Artificial Barriers
You can summon or create your own cover. Summoners deploy incarnates or totems that draw enemy attention or block pathways temporarily. Geomancers set up rock walls or Fortify key party members, obstructing enemy movement and ranged attacks. Consider spells like Ice Wall, Dome of Protection, and Living Wall to craft your perfect defensive setup at crucial moments.
Teleportation and Mobility Skills
Movement essential skills such as Teleport, Nether Swap, Tactical Retreat, or Cloak and Dagger let you swiftly reposition the battlefield. Smart usage cheese enemy plans or instantly position allies advantageously.
Positioning Allies Effectively
Move squishy allies away from dangerous melee or spellcasting enemies swiftly. A tactical teleportation can save characters from imminent doom or send them to assist another teammate across the map quickly, keeping your team alive and responsive.
Misplacing and Disabling Foes
Conversely, teleport problematic opponents away from their ideal positions straight into traps, dangerous elemental surfaces, or near your waiting melee specialists. Nothing's sweeter than tossing the enemy assassin into a giant pool of electrified water or lava--especially after they've just dealt devastating damage to your team.
Pre-Battle Positioning and Ambush Tactics
Many fights in Divinity are avoidable until you initiate them, giving you time for sneaky placement. Proper pre-battle positioning helps the fight unfold exactly in your favor before it even starts.
Setting Sneaky Traps and Ambushes
Take advantage of stealth or invisibility spells to secretly place characters behind enemy lines. Rogues and Polymorph-based assassins benefit highly from this, striking at enemy mages or healers the moment combat initiates. Surprise attacks often completely disrupt enemy tactics, forcing them into chaos.
Preparing Early Hazardous Surfaces
Before triggering the dialogue or the enemy spotting you, spread oil barrels, water puddles, or blood across the battlefield. Once the fight breaks out, turning these prepared surfaces into blazing infernos or frozen fields makes enemies regretting ever trying to pick on your party.
Positioning and Initiative Order
Initiative determines turn order and directly influences positioning strategy. Have your position correspond neatly to your character's initiative stat--characters acting first often want immediate clear shots and positioning, while slower team members should have reliable cover ready nearby.
First Movers for Immediate Pressure
If your mage or archer acts early in combat, position them aggressively: high ground or unobstructed lines of sight. Their rapid attacks soften or eliminate enemy armor, opening foes up quickly to your team's crowd-control moves coming afterward.
Late Movers and Safe Positioning
Low initiative classes might be last to act each round. Ensure these characters (typically healers or summoners) start further back, behind stable cover, safe from initial damage bursts until their turn arrives.
Final Positioning Tips To Remember
- Always seek high-ground for ranged heroes.
- Warriors defend narrow choke points effectively.
- Summoners and Geomancers create makeshift walls and obstacles.
- Use teleportation skills to swiftly adjust positions mid-battle.
- Prepare sneaky openings and ambushes ahead of combat.
Tactical positioning separates victorious leaders from those sent scrambling back to reload their save file. Keep fine-tuning placement, adapting to versatile battlefield situations, and soon your team becomes an unstoppable force--ready to flatten enemies like Fort Joy escapees flatten hapless Voidwoken.