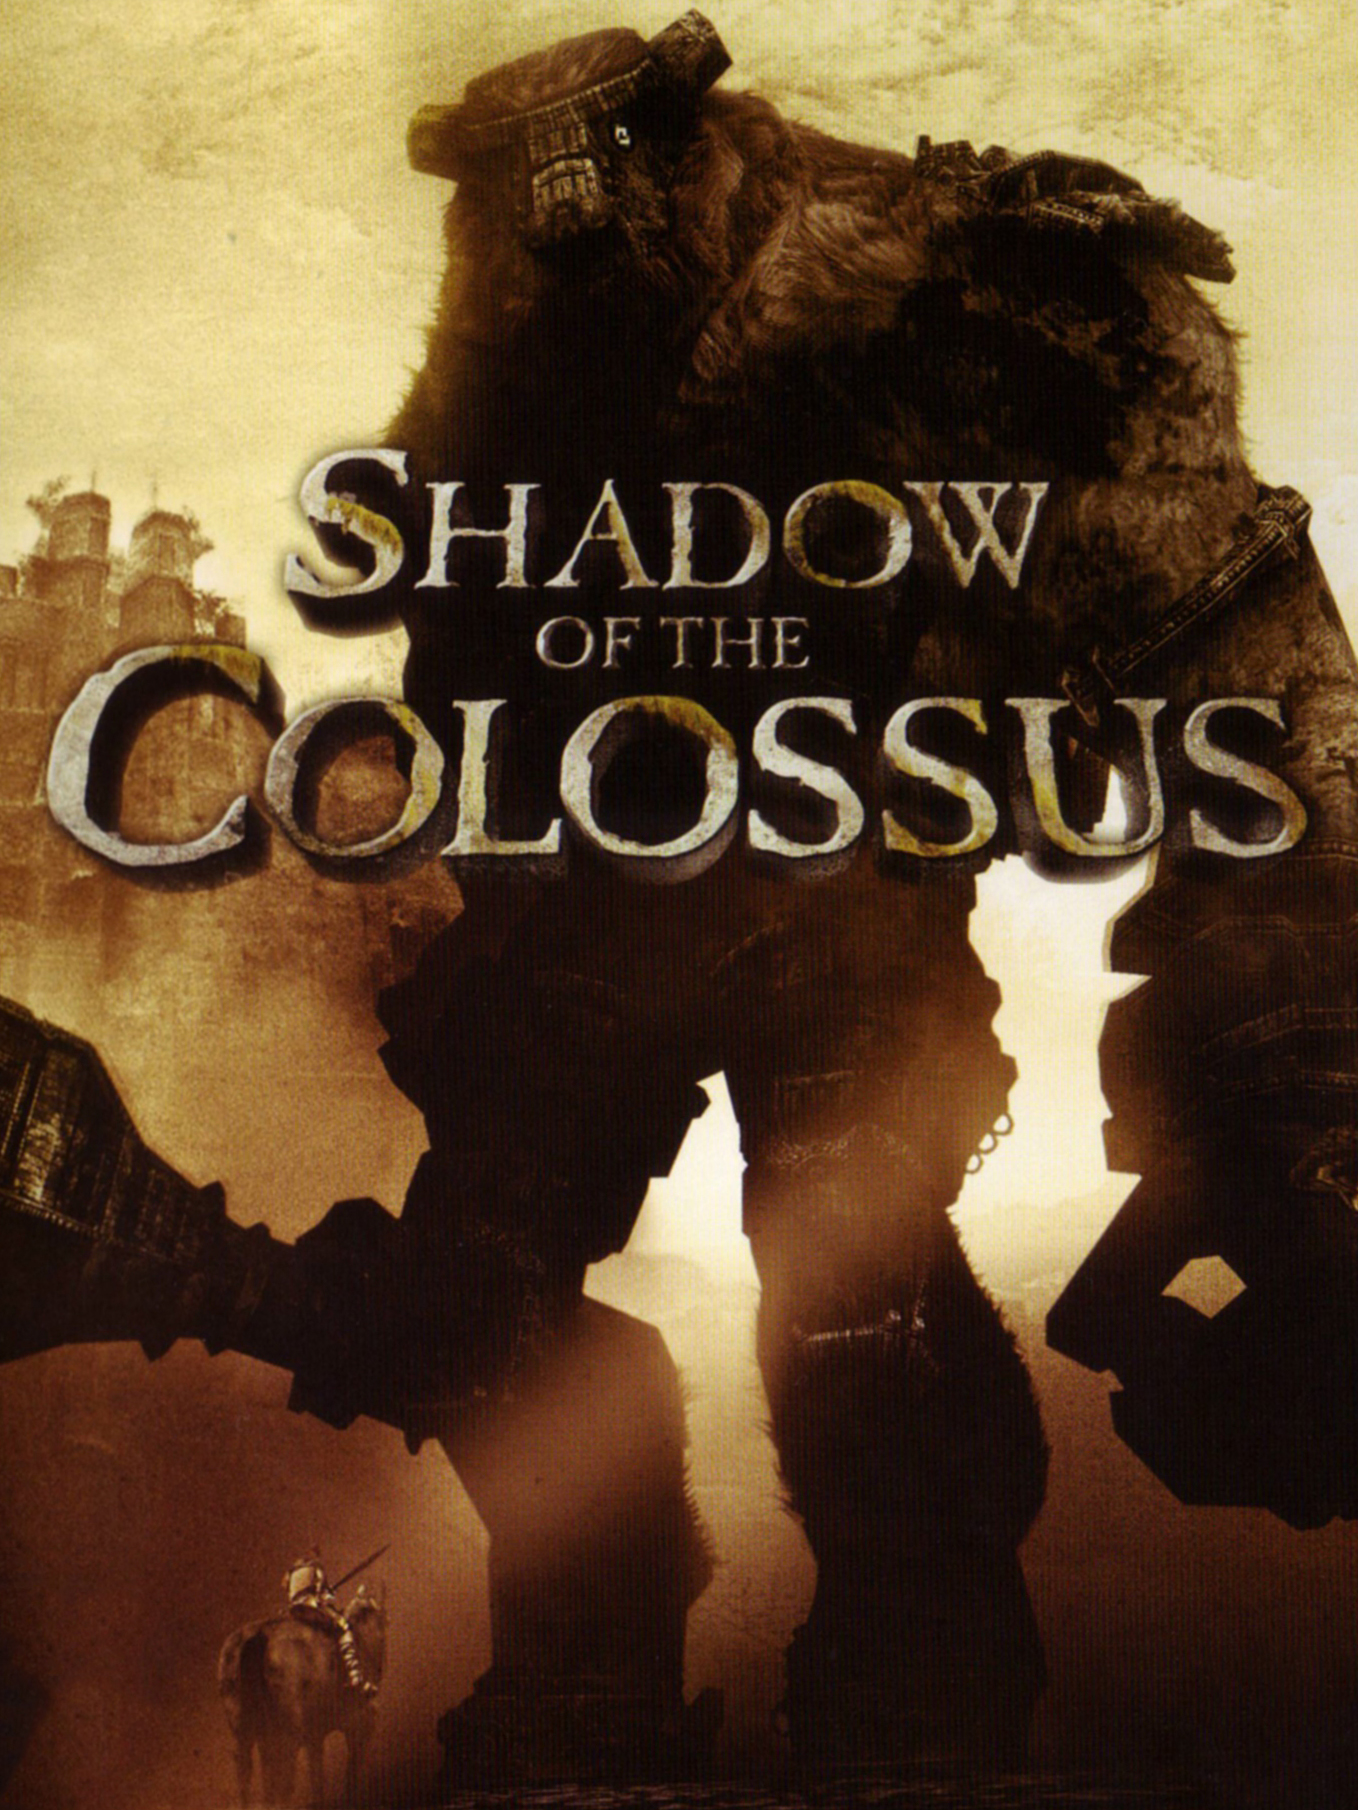
Shadow of the Colossus Beginner Guide: Controls, Grip, and Survival Tips
The buttons, grip meter, weak point hunting, horse handling, and healing basics you need before your first colossus.
Shadow of the Colossus hands you a sword, a bow, a horse, and a big empty land with sixteen giants scattered across it. No towns, no shops, no quest log, and almost no instructions. The game likes it that way. Half the fight is figuring out its unspoken rules, like which button keeps you from falling off a moving mountain and why a pink circle decides when you eat dirt. So here's the stuff that tends to trip up new players, laid out before you ride out to meet your first giant.
Button references below use the default "Modern" layout on the PS4 and PS5 version. If you're playing the PS2 original, or you picked the Classic scheme in the remake's options, a few things move around - jump is Triangle, grabbing is R1, and the sword light sits on Circle.
Basic Movement and Camera Controls
The buttons you'll actually use
| Action | Button (Modern layout) | |---|---| | Jump / mount Agro | X | | Roll | Circle | | Sword attack (hold to charge) | Square | | Spur Agro | Triangle | | Aim bow / raise the sword | R1 | | Grab, crouch, pick things up | R2 | | Snap camera behind you | L1 | | Lock view onto the colossus | L2 | | Swap weapons | D-pad left (bow), right (sword) | | Open the map | Touchpad |
Two of these carry the whole game: R2 and L2.
R2 is the hold-on button, and it does more than the label suggests. Hold it to cling to fur, ledges, and mossy walls. Hold it while running and you crouch, which you'll need for praying at shrines and picking stuff up off the ground. Hold it mid-jump and you'll catch a ledge instead of bouncing off it. Get this one into your muscle memory early, because fumbling it at the wrong time means sliding off a colossus and starting the climb over.
L2 points the camera at whatever giant you're fighting. That sounds small. It isn't. These bosses are the size of a building, they move around a lot, and trying to keep them framed with the right stick while hanging on for dear life is a losing battle. Tap L2 and the camera does the tracking for you. L1 yanks the camera back behind Wander when you're just running around, and the touchpad brings up the map whenever you get turned around out in the fields.
A few movement tricks worth knowing
Hold the jump button instead of tapping it and you'll charge up a longer leap, which covers more than one ledge at a time. That one saves real seconds on long climbs. Circle rolls you out of danger, and it's honestly more useful for scooting under a swinging club than for anything fancy.
You can also climb anything with a mossy or furry surface - walls, trees, cliffs. If it looks fuzzy, hold R2 and go up it. Smooth stone won't hold you at all, so a lot of exploration is spotting the green patches.
One quirk to be ready for: the camera is deliberately a bit loose and slow. The remake smoothed out some of the original's jank, but it still wants you looking with L1 and L2 rather than fighting the right stick. Let it do its thing.
Grip Meter and Stamina Management
That pink circle in the bottom-right corner, next to your health bar, is the grip meter. It's your stamina for everything - hanging onto a colossus, scaling cliffs, treading water. It drains while you cling to something, drains faster when a giant starts bucking and shaking, and refills whenever you're standing on something solid. When it gets close to empty it starts beeping at you. That noise means you're seconds from falling, and by the time you hear it you've usually left your escape too late.
Know when to let go
The single biggest beginner mistake is hanging on until the meter runs dry. Don't. Any flat spot on a colossus - a head, a stone platform on its back, a ledge where it stops shaking - is a chance to stand up and let the meter refill. Watch for the calm moments between its tantrums, let go, and top yourself off. Plan where that safe spot is before you commit to a climb, not after the beeping starts.
Trading one extra stab for a full trip back up the fur is a bad deal nine times out of ten. Take the recharge.
Charging stabs burns time, not just grip
Press Square once while hanging on and you start winding up a stab; press it again to plunge the sword in. The longer you let it charge, the deeper the wound. But the charge can be interrupted - if the colossus thrashes hard enough while you're winding up, you lose the whole charge and start over. So there's a rhythm here: stab during the calm, hold on through the violent parts. A string of quick shallow stabs often beats one big greedy charge, especially when your pink circle is already looking thin.
There's also a plunge attack - jump off a ledge or the colossus itself and hit Square in mid-air. It lands about as hard as a fully charged stab, though it takes longer to pull the sword back out, so it works best as a finisher.
Making the circle bigger
Every colossus you kill bumps your max grip up a notch, and your max health comes along for the ride. The meter genuinely grows as you play, so climbs that feel impossible around fight three feel casual by fight ten. Stats also carry into New Game Plus, so replaying stacks even more grip on top. And then there are the white-tailed lizards, covered in the last section, which add permanent bits of grip on demand.
Finding Weak Points on Colossi
You don't kill a giant by whaling on it anywhere. Each one has a glowing weak point - the wiki crowd calls them sigils - and only the sword hitting that spot does real damage. Arrows can poke and provoke, but they can't finish the job.
The sword light points the way
Sword raised in sunlight = free directions. Hold R1 with the sword out on a sunny stretch of ground and Wander lifts it overhead, throwing a fan of reflected beams. Turn slowly and the beams narrow and merge into one stream pointing toward your next target. Follow it. The catch: it only works in direct sunlight, so in the gloomy corners of the map you're on your own.
The same trick works up close. Raise the sword near a colossus and the light makes its weak points glow a pale blue-white, so you can see exactly where you're headed before you even start climbing. Weak points also glow faintly on their own once your blade gets close to them, since they're marked on the furry parts of the body.
How sigils work
A colossus can have up to three of them, depending on the fight and the difficulty. Every one of them has to be pierced with the sword before the giant goes down, and once a spot has taken enough punishment its mark fades out - that's your signal to stop stabbing there and find the next one. A proper hit sprays black ichor and the colossus bellows and starts trying to shake you loose, which is your cue to stop attacking and just hold on.
Triggers: the glowing spots that aren't weak points
Some fights add smaller glowing marks called vital points, or triggers. These barely hurt the colossus at all - their job is to make it react. The yellow ones (bow triggers) always glow at any distance; the sword kind look like fresh wounds and only light up close. Example: the second colossus has one on the bottom of each hoof, and shooting a hoof makes it buckle so you can climb its leg. The ninth has them on its ankles, the thirteenth on the air sacks along its belly. When a giant seems totally sealed up, hunt for something that glows and hit it - that's usually the door.
Getting their attention
Colossi have two moods, and their eyes tell you which: blue means it's just cruising, red means it's coming for you. If one ignores you or wanders off, put an arrow into it. That almost always flips it to red, and its attack is usually what opens the climbing route you need. You can loose arrows from Agro's back too - hold R1 while riding and fire away, which some fights practically demand.
Using Agro Your Horse
Agro is transport, platform, and co-star. You'll spend a lot of game on her back, because the land is huge and Wander jogs about as fast as you'd expect a guy in sandals to.
Press X to mount and Triangle to spur her forward. The left stick steers. Simple enough. The feel takes adjusting, though - you're not steering the horse directly, you're asking a rider to ask a horse, so she cuts corners wide and takes a moment to respond. Relax and plan your line a little early and she's great; fight her on every turn and you'll end up in bushes a lot.
The quick moves
A few inputs make her way easier to live with:
- Quick start: from a standstill, pull the stick down and press Triangle together - she bolts into a gallop.
- Quick stop: the same input while at full speed.
- Quick 180: stick down plus Triangle tapped twice at a gallop. She plants and spins back the way you came. It's touchy - you'll trigger accidental stops at first.
- Cliff jumps: at full gallop she leaps short drops on her own. There's one right out front of the central temple if you want to practice.
- Bailing out: tap X at speed to leap out of the saddle, sometimes onto a colossus.
Stunts with actual uses
Hold R2 and push up on the stick while she moves and Wander stands on the saddle - handy for grabbing high ledges or firing arrows from up top, since you can do it at a slow walk. Hold R2 plus X and steer left or right to hang off her side, which a few fights use for ducking under attacks or shooting from cover. And when nothing's chasing you, put the sword away and press Square next to her to give her a pat. She's earned it.
Where she can't go
Some areas block her outright - rubble, steep cliff walls, tight canyon entrances. The game signals this with the terrain itself rather than a message, so if she won't follow, that's normal: hop off and climb. She'll wait. A handful of colossus fights do need her in the arena, so don't ditch her before you know the layout. Bonus: she'll trample lizards if you herd them her way, which comes in handy later.
Healing With Lizard Tails and Fruit
Wander's health regenerates on its own, slowly, any time he's not being stepped on. Kneeling speeds it up - hold R2 on flat ground and he crouches, and wounds close quite a bit faster. If a fight's going badly, backing off and crouching behind a rock for a minute is a legitimate plan.
The other free heal is the shrines. Those small statues out in the world are save points: kneel in front of one and pray, and you save your game and get your health topped off. If you die fighting a colossus, the fight just restarts with you at full health. Die out in the open, though, and you're back at your last save - so pray at shrines as you pass them. It also drops a marker on your map.
Fruit grows your health bar
Scattered around the land, mostly in the southern half, are 33 fruit trees carrying 128 pieces of fruit between them. Shoot the fruit down with an arrow, then kneel with R2 to pick it up and eat it. Each one permanently extends your max health a little (and patches up your current health too). Small gains, but they stack, and the bar can eventually stretch clear across the screen.
On the PS4 version there's a sneaky helper: Wander's head-tracking. If he's facing a tree that still has fruit hidden in the leaves, his eyes drift toward it. If he stares straight ahead past a tree, you've already cleaned it out.
Need a first tree to get started? Ride directly south from the central temple and look where the cracks in the earth end, around the boundary of map squares F4 and F5. One warning for later: the fruit up in the post-game Secret Garden is a different variety entirely, and eating it permanently lowers your health and stamina. Save first if you're curious.
Lizard tails grow your grip
Blue-black lizards skitter around the ruins, and the ones with white glowing tails are the prize. Kill one - arrow, sword swing, a roll over the top of it, or Agro's hooves all work - and it leaves a shining tail behind. Kneel next to the tail with R2 and eat it for a permanent bump to your max grip. Small, but it adds up, and early on even a sliver of extra circle is the difference between finishing a climb and sliding off it.
Nearly every save shrine has a white-tailed lizard hanging around (up to three will spawn there across visits), which makes shrine stops doubly worth it: pray, heal, save, then shoot the local lizard on your way out. There are 77 of the special ones in total. Plain black lizards without the white tail aren't worth chasing - their tails only restore a pinch of health, no permanent gain.
One honest note on efficiency: killing colossi raises both gauges faster than any amount of lizard chasing. The tails and fruit are for topping off between hunts, not replacing them. After you finish the game, Time Attack runs hand out a Lizard Detection Stone (beat eight colossi in Normal Time Attack) that shows nearby lizards on your map - that's when the real cleanup happens. Until then, the routine is simple: shrine, lizard, fruit tree, ride out, and check that pink circle before you jump.