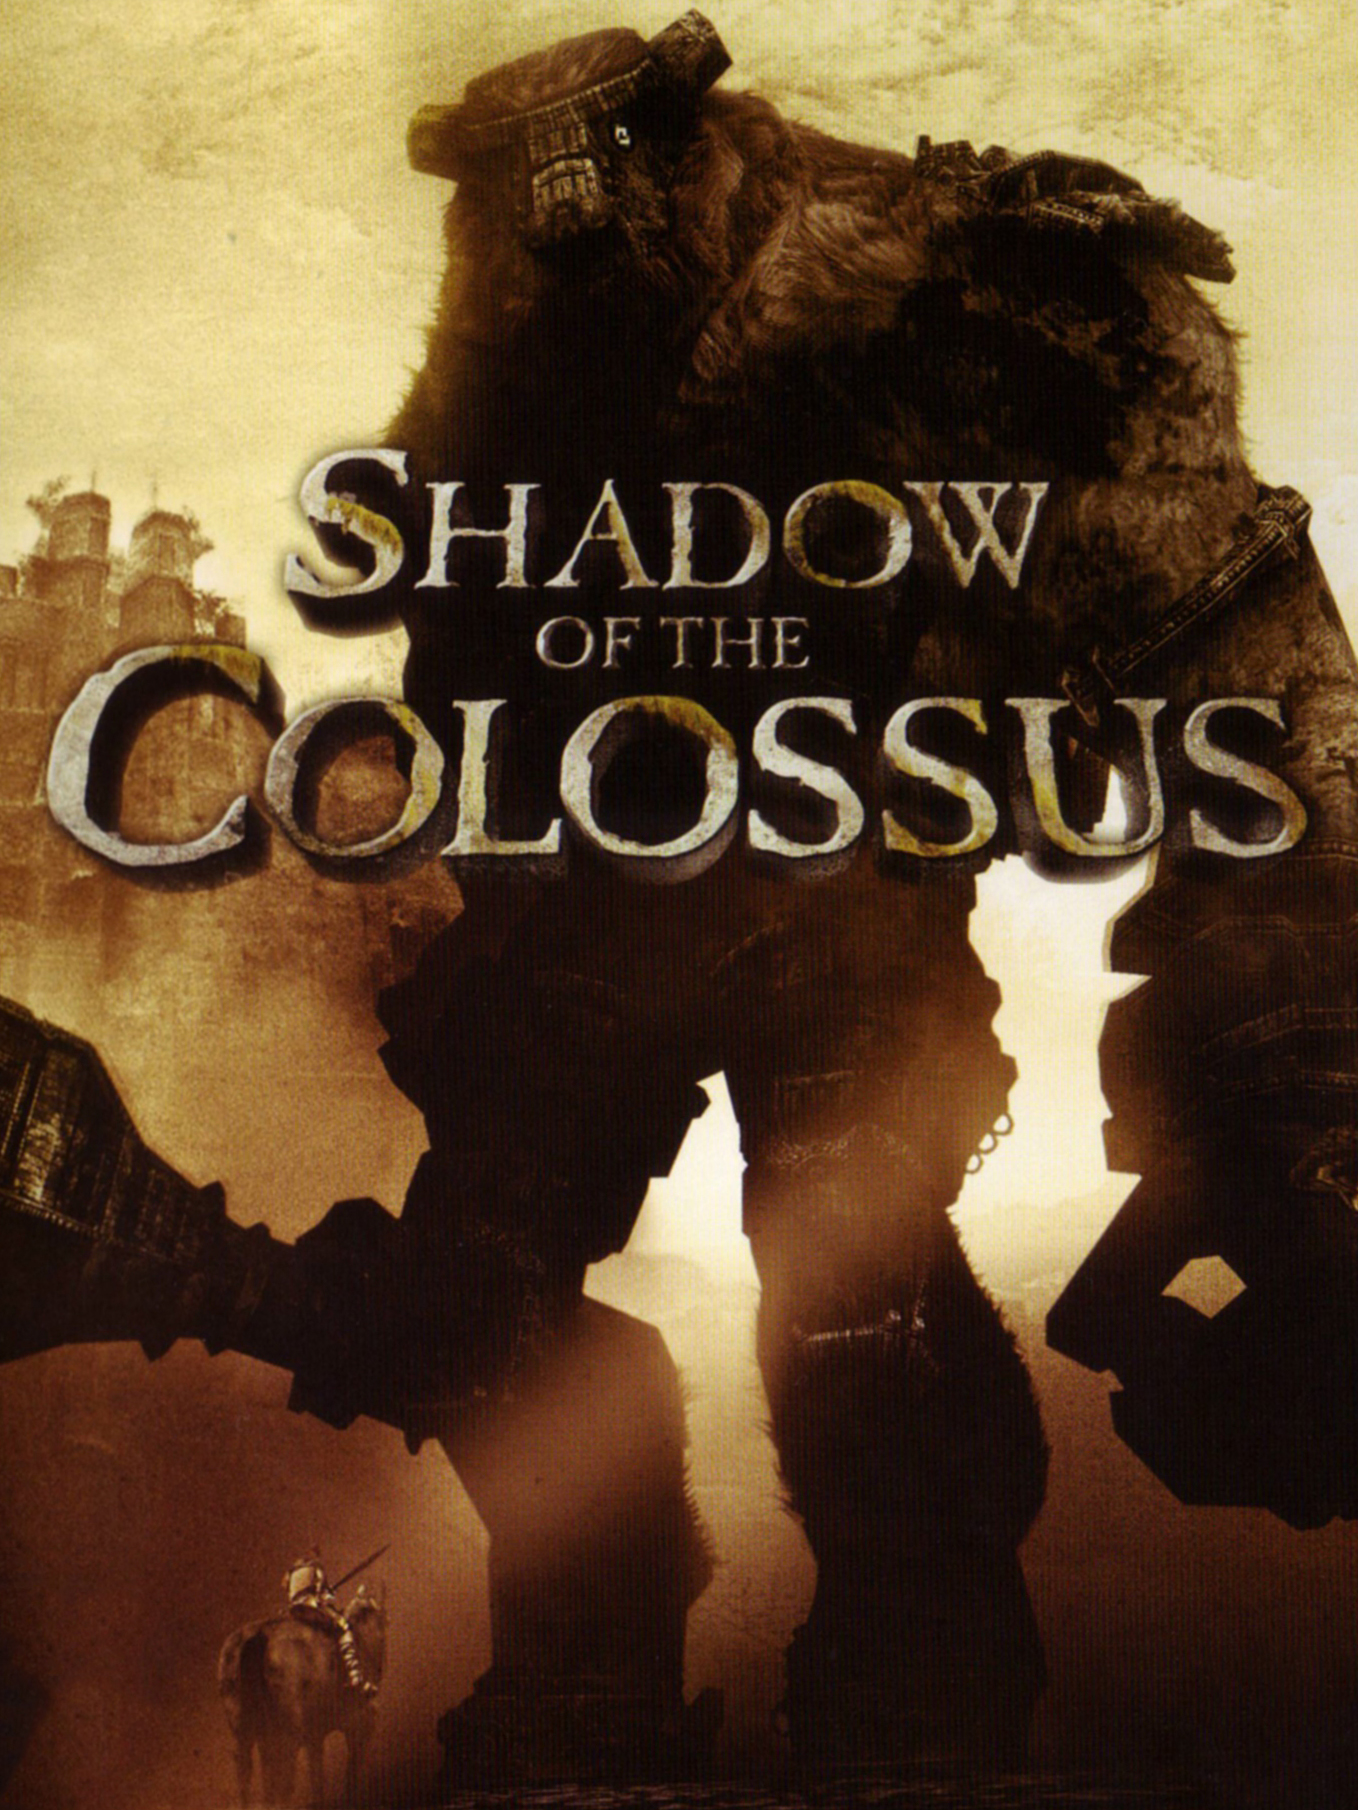
Shadow of the Colossus All 16 Colossi Guide: Locations and Weaknesses
Where to find each of the 16 colossi, which weak points to stab on each one, and how Time Attack changes the fights.
Sixteen bosses, one sword, and a whole lot of empty land in between. Shadow of the Colossus points you at a monster, hands you a bow and a blade, and leaves the rest up to you. Half of each fight is just finding the thing. The other half is working out where its glowing marks are and how on earth you reach them. Here's the full set: every colossus's address, every weak point worth stabbing, and what changes when you run the whole gauntlet again on a clock.
Colossi Order and Map Locations
You don't pick your targets. The game feeds them to you one at a time, in a fixed order, and it's always the same sixteen. Stand in sunlight, hold up the Ancient Sword, and thin beams of light bend toward wherever the next one lives. Follow the beams, ride Agro, repeat. The hints Dormin mutters at the shrine rhyme too, which is a nice touch even if "a shadow that crawls on the walls" only makes sense after the fact.
One quick naming note before the list. The colossi have no official names. The famous ones (Valus, Quadratus, Gaius, and so on) trace back to a forum post written days after the 2005 launch, claiming to quote a Japanese magazine. That list was fake. Two decades later the whole fanbase still uses those names, so they're the ones used here.
The in-game map is a grid: letters run west to east, numbers run north to south. The Shrine of Worship sits near the middle at F4, so every direction below is relative to home.
| # | Name | Where it lives | Grid | Agro? | |---|------|----------------|------|-------| | 1 | Valus | Cliff-top temple plateau, dead south of the shrine | F5 | No | | 2 | Quadratus | Canyon floor under the great bridge, straight north | F3 | Yes | | 3 | Gaius | Tilted stone arena on a lake island, northwest | E2 | No | | 4 | Phaedra | Grassy alcove with ruined tunnels, southeast | G5 | Yes | | 5 | Avion | Misty lake ringed with broken towers, east | H4 | No | | 6 | Barba | Crumbling temple past the autumn forest, southwest | D6 | No | | 7 | Hydrus | Huge murky lake, far northwest | D1 | No | | 8 | Kuromori | Overgrown ruins deep inside a cliff cave, southeast | G6 | No | | 9 | Basaran | Geyser field beside a great cave, northwest | D3 | Yes | | 10 | Dirge | Sand pit inside a cave system, far west | B4 | Yes | | 11 | Celosia | Canyon right under the north end of the great bridge | F1 | No | | 12 | Pelagia | Lake above the misty falls, northeast | G2 | No | | 13 | Phalanx | Open desert, southwest | E6 | Yes | | 14 | Cenobia | Ruined walled city, northwest | C2 | No | | 15 | Argus | Fortress in a valley, north | G1 | No | | 16 | Malus | Mesa at the southern tip of the map, behind a sealed gate | F8 | No |
The odd trips out
A couple of these journeys break the normal rules. Quadratus lives closest to the shrine but the route down into its canyon takes a while. Malus doesn't exist as a destination until the other fifteen are dead, because a sealed gate at the south end of the map only opens once you focus all eight of the sword's beams on it. The bridge past that gate collapses under anything slower than a full gallop, so point Agro straight, commit, and don't stop.
Two spots also shrug off your sword light. The geyser field around Basaran is too smoggy for the beams to show up, and the dark canyons on the way to Hydrus are kind of a pain to read. In those places the grid reference matters more than the light does.
Five fights bring the horse
Agro can only reach five arenas: Quadratus, Phaedra, Basaran, Dirge, and Phalanx. Everywhere else you climb, swim, or squeeze through gaps she can't fit through. Don't feel bad for her, those five include the two fights where she's genuinely part of the plan. Dirge chases you through loose sand at terrifying speed, and Phalanx never comes close enough to catch on foot.
Weak Point Summary Per Colossus
Every colossus wears glowing marks called sigils, and they light up whenever your sword is out near them. There are two kinds, and telling them apart saves a ton of wasted stabbing:
- Major sigils are the ornate blue-green patterns. These are the kill conditions. Drain one and it fades out, then you move to the next.
- Triggers look like small yellow-orange wounds. They barely do damage, but they make a colossus kneel, flinch, tip over, or drop its guard. Think of them as door openers rather than weapons.
The kill condition is always the same: destroy every major sigil. Most fights have one to three on Normal. Here's the cheat sheet:
| # | Name | Major sigils (Normal) | How you get at them | |---|------|----------------------|---------------------| | 1 | Valus | Head | Stab the back of its left calf to make it kneel, then climb the platforms up its back | | 2 | Quadratus | Rear back, head | Arrow the sole of a raised hoof, then climb its side while it's down | | 3 | Gaius | Belly, head | Bait its stone sword onto the shimmering plate to shatter its wrist guard, then run up the flat blade | | 4 | Phaedra | Head | Hide in a ruin tunnel until it squats down to peek in, then jump on and stab its neck twice to lower the head | | 5 | Avion | Tail, both wing tips | Arrow it once, stand on a middle platform, jump-grab as it divebombs you | | 6 | Barba | Lower left back, head | Hide in the alcove at the far end of its hall, jump on its beard when it lowers it to search | | 7 | Hydrus | Head | Grab the fur on its tail, then stab out each of the three electric spikes on the way forward | | 8 | Kuromori | Two on its belly | Arrow two of its ankles while it clings to a wall so it falls on its back | | 9 | Basaran | Head | Park it over a geyser, arrow both glowing hind ankles while it's lifted | | 10 | Dirge | Two on its back | Arrow an eye mid-chase from horseback, climb on when it crashes into a wall | | 11 | Celosia | Back | Light a torch from a brazier and herd it off the ledge; the fall shatters its armor | | 12 | Pelagia | Belly | Stab the teeth on its head to steer it to a ruin roof, then hide so it lunges up after you | | 13 | Phalanx | Three under its back fins | Pop all three gas bladders with arrows, chase it on Agro, jump onto a low wing | | 14 | Cenobia | Back | Bait it into smashing pillars and towers until a collapsing roof breaks its plating | | 15 | Argus | Head, right palm | Climb its fortress using the platforms it tilts up, then stab its arm so it drops the cleaver | | 16 | Malus | Head | Work the trigger chain up its body: lower back, left hand, upper arm, right hand, shoulder, head |
Hard mode adds homework
Six fights grow extra sigils on Hard, all of them in awkward spots. Valus gets one on the back of its right arm, Quadratus on its left flank, Gaius on the back of its left arm, Phaedra two small ones just below its neck, Barba one on the back of its left hand, and Argus one on its upper left chest. Same bosses, more marks to clear, and the Hard-only spots tend to sit where the shaking is worst.
Reading the damage numbers
Sigils have health of their own, and the spread is wilder than you'd guess. Avion's tail sigil soaks 114 damage while each wing tip holds just 38, so the tail takes three times the work. Phalanx's three sigils hold 90 each, and Malus's head sigil is the thickest single mark in the game at 275. A fully charged stab hurts way more than a quick tap, so charge to the max whenever the beast holds still long enough. And as Wander absorbs more of Dormin's essence with each kill, his base stab damage creeps up on its own, which is why a late-game Wander hits noticeably harder than the one who fought Valus.
Ground Versus Climbing Fights
Every fight ends with a sword in fur. The road there splits into two flavors though, and knowing which one you're in changes how you should behave.
Fights that keep you on the ground
Some colossi are arena puzzles where you spend most of the battle on foot, dodging and setting traps. Celosia is a fire-wreathed statue the size of a truck that charges nonstop. You can't stab through its armor, so duck into one of the four brazier alcoves, wait for it to knock a burning stick loose, light it, and walk the beast backwards off the ledge. It's scared of fire, keep medium distance (too close and it swipes you) and you have about 45 seconds per lit torch before it burns out.
Cenobia plays similar but bigger. That one chases you through a ruined city, and the whole game is standing on things it can break. Pillar, pillar, tower, until finally a rooftop collapses onto it and cracks the armor over its back. From then on, every time it slams into something it sits stunned for a few seconds, and that's your stabbing window.
Gaius and Barba round out the group. Gaius swings a stone sword the size of a bus, and the trick is standing on the shimmering plate so it smashes its own wrist guard open, then sprinting up the flat of the blade while it's stuck in the ground. Barba lumbers after you down a temple hall. Reach the alcove at the far end, whistle from cover, and it puts a hand down and lowers its giant beard for you to board. Feels gross, works great.
The common thread: patience beats greed. Every one of these bosses hands you a window right after an attack, and the fight only really hurts when you try to take a window that isn't there.
Fights that are pure climbing
The other flavor barely touches the ground, and neither do you. Hydrus is a 75-meter eel that drags you around a lake while three electrified spikes on its back cook anything that touches them. You board at the tail fur (the only safe patch), then stab out each spike's base on the way up, spending as little time near the electricity as possible. It dives when it's had enough, you let go, and you do it again. Each spike you break stays broken, thankfully.
Phalanx is the gentle giant of the set. At almost 145 meters long it's more than double the size of any other colossus, and it never attacks, period. You deflate its gas bladders, board a wing from horseback, and then it turns into a giant balance beam with three sigils hiding under fins along its spine. When it barrel rolls or dives into the sand, just jump off early and take the small fall instead of the big one.
Malus, the finale, is basically a climbing level wearing a boss health bar. It never moves from its mesa, but it snipes energy bolts at you the whole way up, so you creep through tunnels and behind walls, then work a chain of trigger stabs up its body until the head sigil is all that's left.
Managing the grip meter
Hanging drains stamina, shaking drains it faster, and an empty meter means you let go, usually from very high up. A few habits help a lot:
- Fur is furniture. Any patch of fur is a rest stop where the meter refills, so plan your route sigil to sigil with a nap in between.
- Crouch while resting on flat fur. It keeps you attached through most of a tantrum.
- Only charge stabs when the body is still. A colossus bucking mid-charge cancels the stab and eats your meter for nothing.
- One sneaky trick on Barba: its head dips slightly right before it throws its head back. Stab during the dip and you'll often cancel the buck entirely.
Ranged Versus Melee Approaches
What the bow is actually for
Plinking a colossus with arrows does almost nothing on its own. The bow's real job is poking triggers from safety, and most fights open with it:
- Quadratus rears up to stomp you, and the soles of its hooves light up as targets. One arrow there and the giant tips over, climbable.
- Kuromori clings to walls, so you shoot an ankle (or two) from the top tier and let gravity do the takedown.
- Basaran needs both hind ankles shot while a geyser is holding it off the ground, which is genuinely tricky from horseback while it's firing electrical pulse beams at you.
- Dirge hunts you by sight. One arrow in either eye mid-chase blinds it, and it rams headfirst into the nearest wall.
- Phalanx comes down when you deflate its three gas bladders. Draw the bow fully, lead a moving target slightly, and the sacs darken one at a time.
- Avion will sit and watch you from a tower forever. One arrow turns a spectator into a divebomber you can board.
Whistling pulls attention too, no ammo needed, and it works through cover, which is exactly how you bait Barba's beard. Going the other way, the Whistling Arrow (a Time Attack prize) drags a colossus's attention to wherever it lands, great for spinning a boss around to reach its back.
Melee means charged stabs
The sword does all the actual killing. Hold the stab button and a charge meter fills; more charge, more damage. Damage-boosting gear from Time Attack (the Cloak of Force and the masks) piles on top of that, so between a full charge and the right outfit, sigils pop in fewer stabs than the first visit.
Horseback is a melee tool too. Jumping off Agro at a gallop launches you way farther than a standing jump, and it's the only sane way to land on Phalanx's wing. Speedrunners use the same launch to skip entire phases elsewhere, like hopping straight onto Basaran's leg before it even leaves its cave.
So who's melee-first? Not many, honestly. Gaius is the purest one, a sword-to-sword fight where the bow's only job is annoying it. Most of the time you'll open at range, close in, and finish on the fur.
Time Attack Mode Differences
Beat the game once, save after the credits, and a second game wakes up inside your save file: Time Attack. Go to any colossus idol in the Shrine of Worship, pray at it like you're saving at a shrine, and that single fight restarts on a clock. Clear the target time and it counts. Easy difficulty doesn't get this mode at all, and the target times are separate for Normal and Hard.
The fights themselves are the same bosses in the same arenas. What changes is everything wrapped around them.
The target times (PS4 remake)
| # | Name | Normal | Hard | |---|-------|--------|------| | 1 | Valus | 2:30 | 2:45 | | 2 | Quadratus | 3:30 | 4:30 | | 3 | Gaius | 6:00 | 6:30 | | 4 | Phaedra | 5:00 | 6:15 | | 5 | Avion | 5:00 | 4:15 | | 6 | Barba | 3:30 | 6:00 | | 7 | Hydrus | 9:00 | 7:30 | | 8 | Kuromori | 6:00 | 7:00 | | 9 | Basaran | 5:30 | 5:45 | | 10 | Dirge | 5:30 | 4:30 | | 11 | Celosia | 4:30 | 4:15 | | 12 | Pelagia | 8:30 | 9:30 | | 13 | Phalanx | 12:00 | 10:15 | | 14 | Cenobia | 9:00 | 8:15 | | 15 | Argus | 7:30 | 10:00 | | 16 | Malus | 9:30 | 10:45 |
The PS2 and PS3 versions used slightly different clocks, usually more generous ones. Hydrus's Normal target was a monstrous 12:00 on the original hardware versus 9:00 on PS4, mostly because the old controls made that fight slower.
Every two clears pays out
Rewards appear in the shallow pool in the back room of the temple, one item per two cleared challenges, eight items per difficulty. On PS2 and PS3 the two tracks never share anything. The PS4 remake's New Game+ finally lets gear cross between difficulties.
| Clears | Normal reward | Hard reward | |--------|---------------|-------------| | 2 | Whistling Arrow | Harpoon of Thunder | | 4 | Cloak of Force | Sword of the Sun | | 6 | Mask of Strength | Shaman's Cloak | | 8 | Lizard Detection Stone | Shaman's Mask | | 10 | White Steed | Fruit Tree Map | | 12 | Mask of Power | Cloth of Desperation | | 14 | Cloak of Deception | Cursed Wander Skin | | 16 | Flash Arrow + Brown Steed | Queen's Sword + Crested Agro |
The Normal track is about killing faster (Force and Strength stack, Power replaces Strength), plus the Cloak of Deception, which turns you invisible to colossi entirely. That cloak makes the Malus arena explorable at leisure, which is honestly the whole reason to grab it. The Hard track is more defensive and more fun: the Harpoon of Thunder hits hard enough to interrupt a colossus mid-attack and can pop triggers like a sword, the Sword of the Sun works as a light source in the dark caves, the Cloth of Desperation is a parachute that erases fall damage, and Flash Arrows explode on impact, softening sigils before you even board.
Hard runs play by Hard rules
Hard Time Attack is Hard Mode underneath. A stomp that bruised you on Normal is instant death there, the attacks hit harder across the board, and six fights carry those extra sigils listed earlier. Target times shift in both directions because of it, Avion's Hard target is actually shorter than its Normal one (4:15 versus 5:00), while Argus balloons from 7:30 to 10:00 with the chest sigil added.
Want a practice lap that isn't timed? Pray at a fallen colossus's corpse out in the world and you'll get Reminiscence Mode, the same fight under a grainy old-film filter with no clock at all. It pays nothing, and the fight ends if you wander out of the arena, but it's a calm way to learn a route before the timer makes your hands shake.
If you're only doing one track, do Hard. The community's standing advice holds up: once you can clear a fight under the Hard clock, the Normal version feels like a formality, and the Queen's Sword waiting at the end erases a full major sigil with one charged stab more often than not.