PUBG BATTLEGROUNDS Taego Map Guide: Landing Spots and Rotations
Where to drop, how to rotate across the farmland, and how Taego's revive systems work on the 8x8 Korea map.
Taego is PUBG's 8x8 Korea map, and it's the closest thing the game has to the old-school battlegrounds that made it blow up. Wide farmland, dense little towns, mountains, rice fields, and birds that rat you out the second you sprint through the grass. A hundred players drop in, the fights lean long and medium-range, and it's one of the few maps built around second chances for knocked or dead squadmates. Drop smart, rotate before the open ground eats you alive, and the circle math starts working in your favor.
Taego's Unique Map Layout and Terrain
An 8x8 with the classic feel
At a full 8x8 kilometers, Taego sits in the same size class as Erangel and Miramar, so the pace runs slow and deliberate. Land, loot up, move with a real plan, and play the blue zone. This is not the frantic 4x4 knife-fight of Sanhok. A hundred players share that big space, which means long quiet stretches broken up by sharp fights at compounds and chokepoints. Matches reward teams that think two circles ahead instead of chasing every gunshot they hear.
The terrain mix
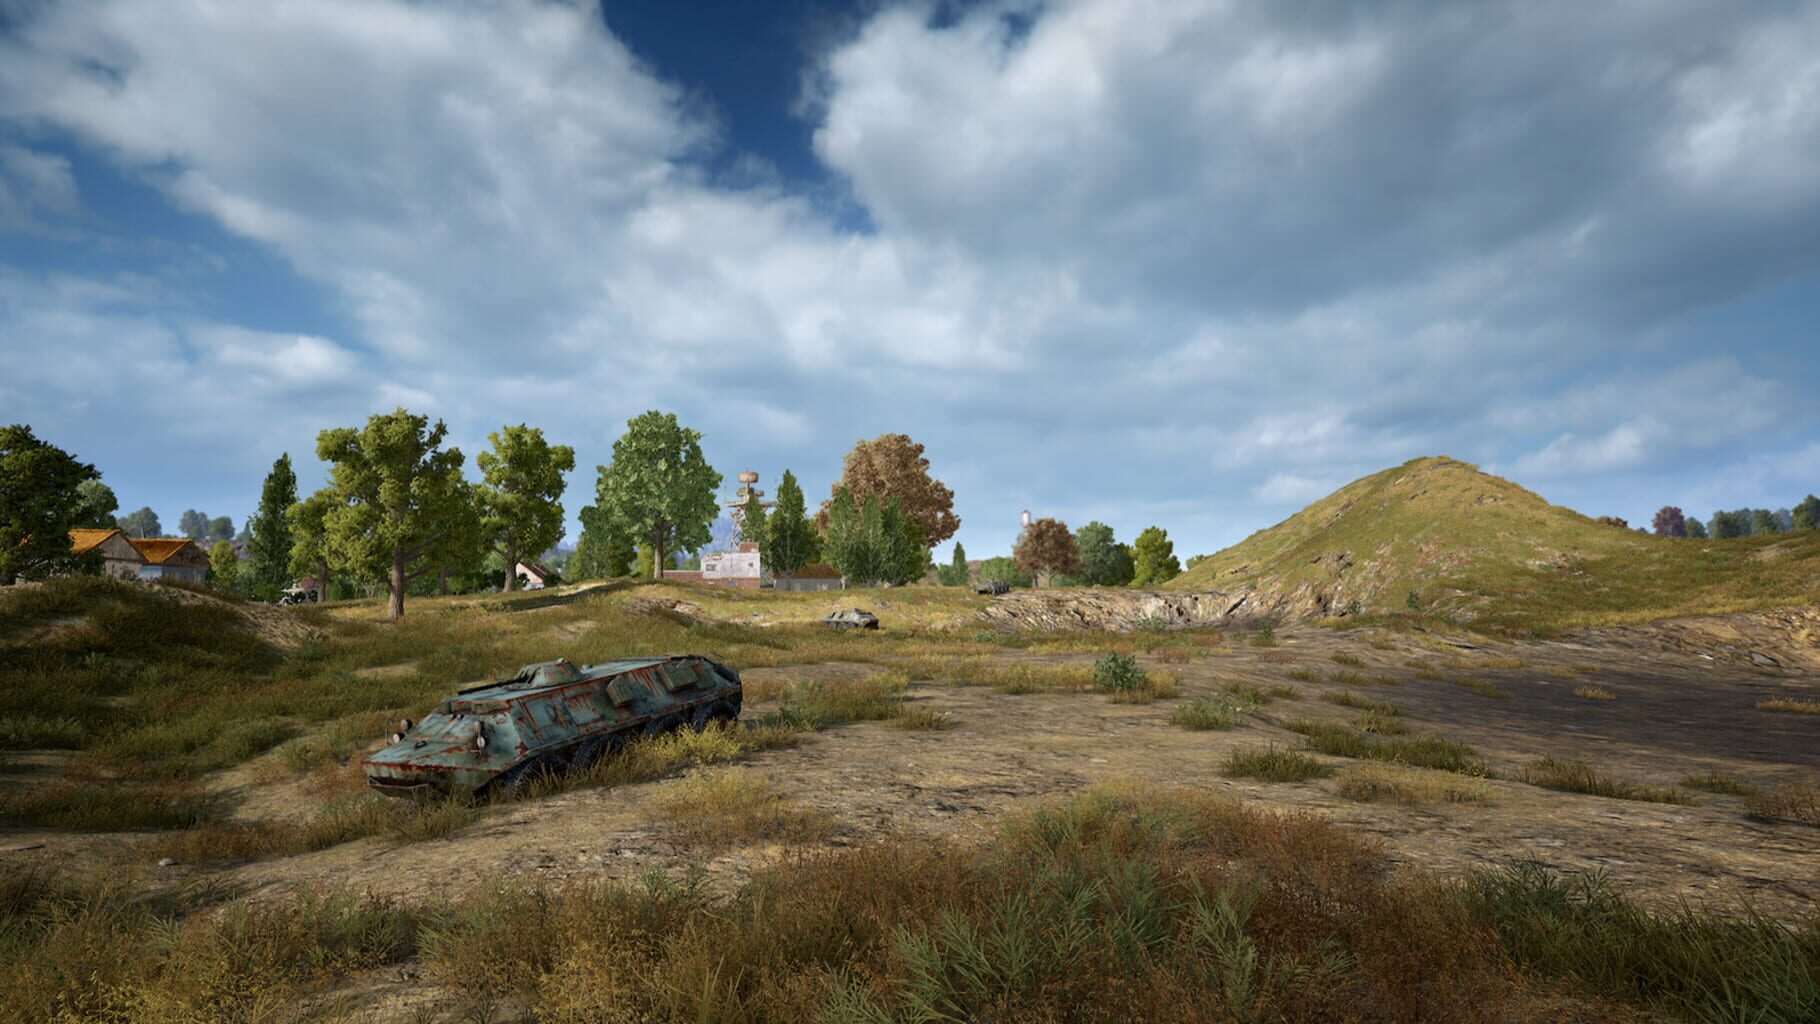
The map throws a bit of everything at you. Mountainous ridges ring the outer edges and cut across the middle, giving you actual high ground to fight from. Broad farmland and rice fields stretch between the towns, and these open tracts are where a lot of players get picked off. Then you have the dense urban districts and walled compounds where the fights turn close and vertical.
That mix is what makes the place tricky. A loadout and a plan that sing in a rice field fall apart inside a city block, and the good squads adjust on the fly. Combat here leans long and medium-range, so scopes and a steady DMR or AR matter more than they do on the small maps. You will take fire from distances where a red dot feels short, so grab a 4x or 6x the moment one shows up.
Wildlife that gives you away
Here's a detail people sleep on. Taego has birds and chickens scattered through the fields, and they react to movement and gunfire. A flock that suddenly lifts off a patch of ground is a free tell that somebody is moving over there. It works both ways, of course. Sprint across open grass and you might as well ring a dinner bell, because anything watching those birds now knows roughly where you are. Walk when you can, and watch the sky when you hear wings flap.
What the 31.2 update changed
The map got a solid rework in Update 31.2 (September 2024), and a few landmarks shifted around. The old Studio area on the outskirts was rebuilt into an abandoned Hospital, with a fresh layout, new structures, extra loot spots, and more cover. Shipyard picked up a new bridge and some repositioned buildings. Ho San Prison had its coastal area expanded with new terrain, and the Song Am area got more buildings for cover. The Ho San town got more trees thrown in to break up sightlines. Two older features also got cut in that same patch, which matters a lot for the revive section below.
Best Landing Zones for Loot and Safety
Pick your drop based on the kind of game you want to play. Taego's hot zones hand out top-tier loot and guaranteed fights, while the smaller towns give you a clean kit and room to breathe. There's no single right answer. The flight path and your squad's confidence should make the call for you.
Hot drops for fights and gear
Ho San Prison is the premium contest on the map. It's a walled prison complex with strong loot and a defensible layout, so it pulls squads who want gear and a fortress in one move. Win the landing and you walk out kitted and dug in. The walls cut both ways, though, so don't let your squad get boxed inside while another team camps the gate.
Palace is the marquee landmark drop, a big ornate compound with a ton of loot and a matching crowd. Both spots are confident-squad drops, and they come with the usual hot-drop discipline: gun first, clear room by room, and don't sprint into the open center before you know it's empty.
The city districts are the vertical option. Packed mid-rise blocks, tight angles, high loot density. If your squad trusts its close-range gunfighting, the city kits you up fast. School is the same idea in a tighter package, a dense campus that's either a quick full loadout or a quick trip back to the lobby.
Quieter towns to kit up
For a calmer start, the smaller towns and compounds spread across the map carry solid loot with fewer bodies around. Ho San town mixes two-story buildings that are great for grabbing a full kit. Wol Song sits tucked behind coastline to the north and west, and since most players work from the outside in, you usually get a little extra time to loot and watch your flanks. Kang Neung sits near the Airport with a river and a mountain helping box it in, which buys time at the start of the match.
The trade is the same on every big map. Quieter loot means a longer, more exposed crossing of the open farmland to reach the middle later on. You swap early safety for a harder rotation down the line.
The Secret Room gamble
Taego hides a literal loot vault called the Secret Room. It's stocked with top-tier gear, including a few items you cannot find anywhere else on the map. To get in you need a key, which is scattered across the world. They often sit inside glowing pots in residential compounds, or show up as floor loot in big loot zones like Terminal and Shipyard. Once you have a key, follow the blue markers to a building with a blue corrugated roof, head inside, and open the central floor hatch.
The honest read on the Secret Room is that it's a bonus, not a plan. Finding a key is never guaranteed, and the detour can drag you off your circle line. Grab it when you stumble onto a key during normal looting. Building your whole early game around a key you might never see is how you end up under-geared and out of position when the zone pulls.
Reading the flight path
The plane line decides just about everything about your drop. If a hot zone sits right under the path, expect company, because half the lobby can reach it. A compound far off the line buys you space but costs you travel time and a vehicle to rotate later. Pick a drop you can reach on your chute, leave yourself a nearby car or boat for the rotation, and always eyeball the other chutes on the way down before you commit to a landing.
Reviving Comrades and the Comeback Mechanic
Taego's signature feature has always been second chances, and the systems have shifted around over the patches. A lot of older guides still describe a version of the map that doesn't exist any more. Here's how reviving and coming back work today.
The normal DBNO revive
When a squadmate gets dropped but not finished, they go into the DBNO knocked state and start crawling. Any teammate can walk over and pick them up with a hold prompt, which is the baseline revive every map shares. Heal them after, because they stand up hurt. The basics matter more here than people think. Taego's open ground means a downed player lying in a rice field is often a goner if nobody pushes out to help, so figure out your revive plan before the shooting starts.
The Self-AED, Taego's signature item
The Self-AED is the item that still sets Taego apart. It's a world-loot pickup that lets a downed player revive themselves with no teammate nearby, and it works in both Solo and Squad matches. In Solo, where there's normally no knocked state at all, carrying a Self-AED means a hit that would end your run instead puts you into DBNO, and you pick yourself back up off the floor. It's a genuine get-out-of-jail card.
Spawn rates got a 37 percent boost back in Update 13.1, so you'll see them reasonably often in floor loot. Treat one like a high-value piece of gear. A Self-AED turns a lost solo gunfight into a fixable mistake, and it lets a squad player self-rez when the team can't reach them in time. Just remember it's one item, not infinite lives. Play around it, don't throw because of it.
The old Comeback BR is gone
Plenty of guides still tell you to hot-drop Taego because of a built-in safety net, and that advice is stale. The map used to ship with a Comeback BR arena. Players who died during the first blue zone phase got sent to a separate arena to fight a smaller battle royale among the other early casualties, and the survivors were flown back into the main match by helicopter in a later phase.
KRAFTON removed the Comeback BR map in Update 31.2, along with the weird Error Space area. So today, dying in the first phase on Taego ends your match exactly like it does on Erangel, unless a surviving teammate brings you back through the current system. Taego still rewards aggressive play through loot density and the Self-AED, but not because of a first-phase cushion any more. Price your hot drops the way you would on any other big map.
Recall: the comeback system that's live now
The thing that replaced Comeback BR is called Recall, and it's been on every map since Update 35.1. When a teammate is fully eliminated, their deathbox drops a Blue Chip, a small hexagonal tile that weighs 5 and picks up instantly. Grab it, and you can bring them back into the match.
There are two ways to register a chip. A Blue Chip Tower is a fixed trailer structure that spawns somewhere on the map each match and shows up marked on your map, and it's reusable. A Blue Chip Transmitter is a world-loot item you carry and pop from your inventory anywhere, and it gets consumed on use. Either way, registering takes about 10 seconds of standing dead still, plus 5 extra seconds for each additional chip you register at once. The whole thing cancels if you move or take a hit.
Once a chip is registered, the teammate parachutes back in on the next recall flight. Flights run every 2 minutes 30 seconds, and on the big 8x8 maps like Taego they stop arriving from Phase 6 onward. Recalled players drop in with nothing on them, so call them back after you win a fight and hold some ground, not in the middle of a scramble. Enemy chips can't be recalled, but turn in two of them at a tower and you get a care package instead.
Towers even broadcast their state with a light. Blue means ready, red means somebody is registering right now (a free kill if you catch one), yellow means the tower is on cooldown, and gray means recall is switched off for that phase. Knowing the lights turns towers from map furniture into ambush spots.
Rotation Paths Through Open Farmland
The single hardest part of Taego is the space between the compounds. The farmland and rice fields are broad, flat, and wide open, and crossing them is where good drops go to die. Here's how to get across in one piece.
The farmland sightline problem
The open ground between towns has sightlines that stretch hundreds of meters, and that turns every crossing into a sniper's dream. A team posted on a ridge or a rooftop can watch three different fields at once, and a squad caught walking a straight line through the middle is usually dead before they can find the shooter. The fix is to never cross open ground on a straight line if you can help it. Follow terrain folds, hug tree lines and walls, and break the crossing into short sprints between cover. Treat any patch of grass with no rock, ditch, or building near it as a kill zone.
Gliders change the math
Taego has a rotation tool the other big maps don't lean on the same way: motor gliders. They spawn at fixed locations around the map, fairly reliably, and they give you real air mobility. An 8x8 is a lot of ground to cover, and a glider turns a long exposed walk into a fast flight over the top. Use one to beat the blue zone, scout the next circle before you commit, or drop onto strong high ground.
Fly it with a plan, though. A glider up in the open sky is a loud, slow target that everyone for a mile can see and shoot at. Land near cover, cut the engine, and skip the victory laps at altitude. The glider is a tool, so use it like one.
Vehicles and the road network
Standard cars still do the heavy lifting for rotations. The road network links the major points of interest, and a car gets you between compounds faster than anything on foot. Park in cover near where you plan to fight, and kill the engine before the shooting starts so the sound doesn't give away your spot. Boats matter too, because Taego has rivers and coastline that cut off foot routes, and a boat can turn a bad circle into a clean flanking line along the water.
One habit worth building: always note where vehicles spawn near your drop. Running out of circle on foot across a rice field because nobody grabbed a car is a completely avoidable way to die.
Crossing safely and reading the tells
When you do have to move through the open, stack the odds in your favor. Move with at least one piece of hard cover between you and any likely overwatch angle, and spread the squad out so a single burst doesn't wipe all of you at once. Watch the birds again, because scattering flocks out ahead of your line tell you an enemy is moving over there, which beats walking into them blind. If you have smokes, save a couple for the mandatory open-field crossing near the end of the match. The teams that win on Taego are usually the ones that crossed the dangerous ground with a plan, not the ones who sprinted it on hope.
Late-Game Circle Tendencies on Taego
By the final phases, the map's personality really comes through. The circle tends to pull the survivors out of the compounds and into the open, and the squad on the better piece of ground usually takes it. Here's what to watch for.
High ground wins
Taego's mountains and elevated compounds hand you the strongest late-game positions. A covered ridge or a hilltop building where the zone can only drag other teams toward you across open farmland is the hand you want. Let the circle do the work for you. Set up on high ground with cover, watch the open approaches, and pick off the teams that get funneled uphill through the grass. A squad holding a good ridge in the last few zones is hard to push off without getting shot from above the whole way in.
Account for recalled players
Here's the wrinkle that trips people up. Recall flights drop parachuting players back into the match through the mid and late phases, so the final circles can be more crowded than the kill feed suggested. A quiet kill count doesn't mean an empty zone. Three different teams might have Recalled a fourth back in, and those players drop with nothing but they're back in the fight fast once they loot a body or a crate. Keep counting heads, and don't assume the field is clear just because you haven't heard gunfire in a minute.
Cover over buildings in the last fields
Late zones on Taego often pull off the towns and out into open ground, and that flips the value of buildings. A house you're hugging when the circle leaves it behind turns into a trap, because you'll have to sprint across the open to the new zone with everyone watching. Out in the final fields, rocks, terrain folds, ditches, and the odd haystack become your best friends. Pick a piece of hard cover that stays inside the next circle, and be ready to move again when the zone pulls once more.
Bank a Self-AED for the clutch
Carrying a Self-AED into the final circles is the best insurance the map offers. A lost late gunfight that would normally end your run can become a self-revive and a re-engage, which is exactly the kind of swing that wins games. Hold one in your bag for that moment rather than popping it the first time you go down mid-match. Taego also launched without a Red Zone, so endgames tend to be cleaner reads on terrain and players rather than dodging random artillery, which makes positioning and patience pay off even more.
One last thing worth doing before the final circle closes: mark the nearest Blue Chip Tower on your map on the way in. If a squadmate goes down late and recall flights are still running, that tower run is the difference between finishing a man down and finishing with a full squad.