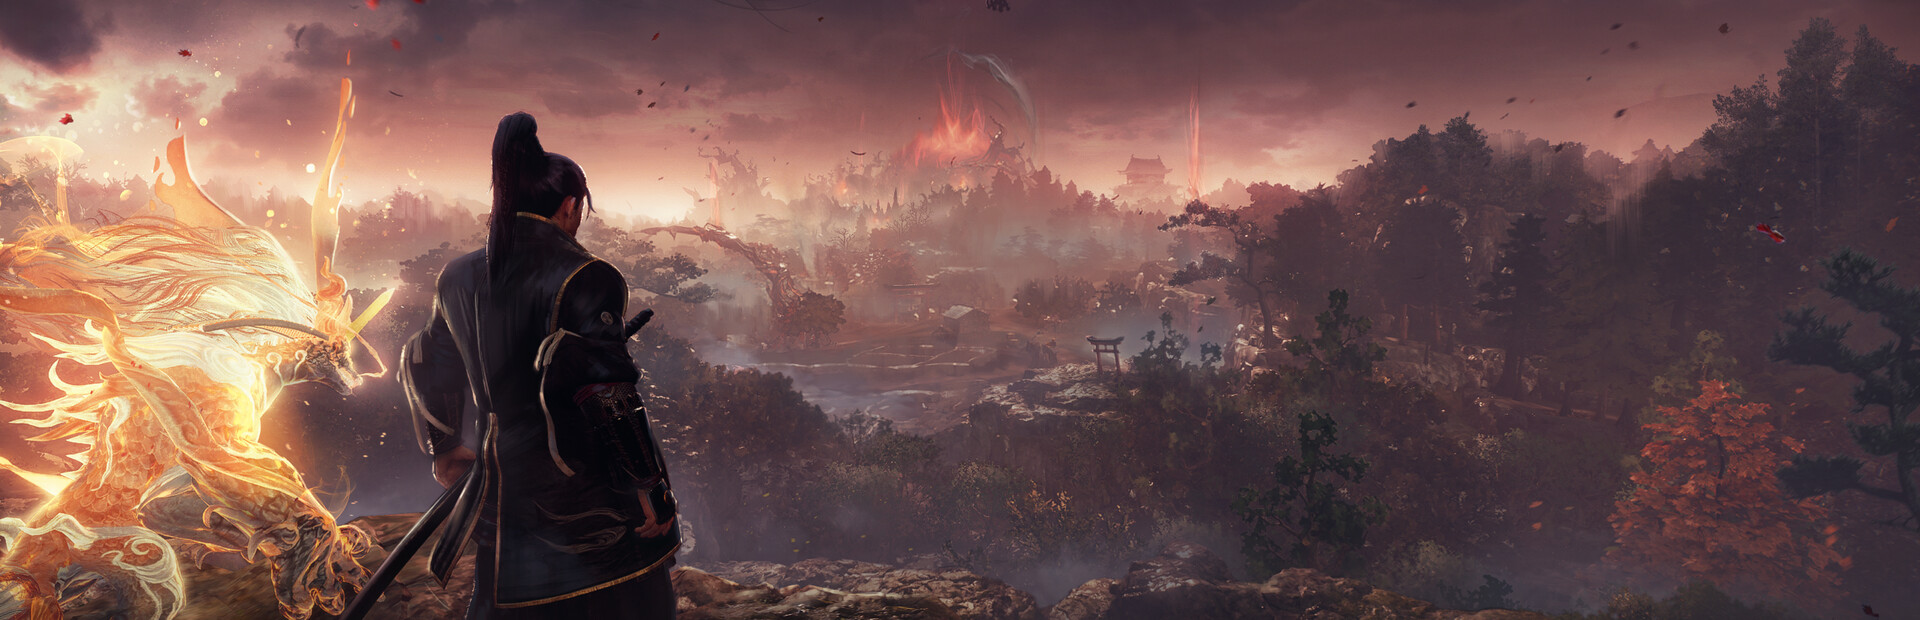
Nioh 3 Fractured Sun System: Light and Dark Realm Guide
How Nioh 3's dark zone mechanics actually work: Dark Realm shifts, Yokai Realm pools, Spirit Force, and handling all of it in boss fights.
Quick heads-up before anything else: there's no system literally called the "Fractured Sun" in Nioh 3. It's not in the official system pages, it's not on any wiki, and nobody in-game says it. What people usually mean when they search for it is the game's whole light-versus-dark push and pull - the normal daylight version of Sengoku Japan, and the corrupted dark version that yokai drag you into mid-fight. That machinery is very real, and it's some of the best stuff in the game. It comes in three layers (Yokai Realm pools, Dark Realms, and Crucibles), and every layer trades danger for power. Here's how the dark actually works, what it does to you, what you get back, and how to handle it when a boss flips the lights off.
How the Light and Dark Duality Works
Nioh 3 spends most of its time in the light. You roam open fields, towns, and castle paths in plain old daytime, and combat follows the standard rules - Ki regenerates normally, yokai fight at their base strength, everything's fair. The dark shows up in three sizes.
The small size is the Yokai Realm pool. That's the dark puddle of shadows certain yokai leave behind or plant on purpose. It's the ground-level version of the mechanic, and it messes with the rules in a specific way: your Ki recovery tanks while you stand in it, while yokai inside it actually regain Ki over time. So a pool quietly tips the fight toward whatever yokai is standing in it.
The medium size is the Dark Realm proper. A strong enemy or a yokai boss can snap one over an area mid-battle, and the whole neighborhood changes state. Every yokai inside the bubble gets stronger. But - and this is the interesting part - you get stronger too. Your Spirit Force gain goes up inside a Dark Realm, and so does the power of your Guardian Spirit Skills. The game is bribing you to fight in the dark instead of running from it.
Most Dark Realms come from a totem the enemy plants. Find it, smash it, the darkness lifts. Sometimes the source is the boss itself, and then the only way out is through. The horse-headed boss Mezuki, an optional fight southeast of Tokaido Shrine, works that way - the Dark Realm pours out of him, so dispelling it and beating him are the same task.
The large size is the Crucible. These are permanent cursed zones marked by black spikes erupting from the ground and a glowing red barrier at the entrance. Yokai inside hit harder and inflict Life Corrosion, which shaves your maximum health every time you take a hit. You can't leave until you purify the place, and the shrine inside is a Bodhisattva Statue instead of a normal one. Lesser Crucibles are the bite-size versions scattered around the map, and they matter for a reason covered lower down: they're where your Spirit Force actually comes from.
So the "duality" isn't a toggle you control. It's a seesaw the game sits you on: the dark raises the stakes on both sides of the fight, and your job is to come out ahead on the trade.
Switching Between Sun States Mid-Battle
First, the honest version: you never choose to shift into the dark. No button takes you there, because the enemy owns that switch. A yokai drops a pool when it attacks, a strong one slams a Dark Realm down when the fight hits a certain point, and you deal with it. What you own is the switch back.
For pools, the tool is a Ki Pulse. Every Samurai player has the martial art Purify Yokai Realm from the start - it sits in the Samurai tree as a Common art with Ki Pulse as its prerequisite, and all it says is: perform a Ki Pulse inside a Yokai Realm pool, in any stance, and the pool disperses. Ninja style can't do it, since Ninja has no Ki Pulse. If you're deep in a ninja build, that's a real reason to style shift to Samurai (R2) when the floor starts filling up, get your pulse off, and shift back.
For a full Dark Realm, it depends on the source. Totem-sourced ones? Sprint away from the buffed enemies and break the totem - the realm collapses and everything inside goes back to baseline. Boss-sourced ones won't lift until the boss does, so the play is to change how you fight, not where. That usually means spending resources you were saving, which the strategy section gets into.
The other mid-battle "switch" worth naming here is the one you actually have on your pad. Style Shift on R2 flips you between Samurai and Ninja instantly, even mid-combo, and the same input timed against an enemy's red-glowing Burst Attack becomes a Burst Break - it cancels their move, chunks their Life and Ki, and carves down a yokai's maximum Ki. (If pressing R2 for two jobs feels awkward, the System menu lets you split Style Shift and Burst Break onto separate buttons.)
A concrete example of an enemy flipping the state on you: the mounted rematch against Yamagata Masakage at Mikatagahara. At some point he stops moving and charges up - that's the tell. He's dragging the arena into a Dark Realm, and he opens it with an expanding ring of fire that can't be blocked. Jump it as it reaches you. Inside the realm his horse leaves fire trails everywhere it runs and his blade stays lit for the rest of the phase. The game didn't ask your permission, and it won't. It just changed the rules and handed you a torch fight.
Buffs and Penalties Tied to Each State
Here's the full ledger, state by state. This is the part worth internalizing, because the dark states aren't pure punishment - each one hands you something back.
| State | What it costs you | What it pays you | | --- | --- | --- | | Normal (light) | Nothing, it's the baseline | Nothing special either | | Yokai Realm pool | Ki recovery tanks while inside | A free purge if you Ki Pulse it out | | Dark Realm | Every yokai in the area hits harder | Faster Spirit Force gain, stronger Guardian Spirit Skills | | Crucible | Life Corrosion - each hit shaves your max HP | Amrita Gauge fills much faster, Seal summons hit harder, exclusive bosses and loot |
The Spirit Force half of that table deserves a closer look, because it's the resource your whole dark-state counterattack runs on. Spirit Force is the yellow bar sitting under your Life and Ki bars. It fills as you land hits, and it's what Guardian Spirit Skills spend - big stylish moves like Nekomata's Thunderclaw Kick that cost no Ki at all. You fire them with L1 + Square (and later a second skill on L1 + Triangle), and they vary in cost, cooldown, and what they do, so two spirits play completely differently. You get the bar itself early, right after your first Lesser Crucible on the road to Hamamatsu Castle, when Nekomata lends you its power.
If you'd rather not earn it swing by swing, there are consumables for that. Lantern Plant Fruit and Red Spider Lily both give the bar a quick top-up, which is a nice panic button right before a Dark Realm phase starts.
So stack the two systems in your head: the Dark Realm makes yokai stronger, but it also makes your yellow bar climb faster and makes the skills that spend it hit harder. Nine times out of ten, the right response to a boss going dark is to go dark with them - dump Spirit Force into their face while the multiplier is live.
The permanent version of this economy is the Crucible Spike. Those are the destroyable spike objects you find in Crucibles and Lesser Crucibles, and breaking them raises your Spirit Force cap, increases your Guardian Spirit's attack power, and unlocks extra effects that scale with how many spikes you've destroyed overall. Wiki testing on this lines up: conquering spikes and other key points of interest is a main way your Spirit Force grows across a playthrough. They're not set dressing. Every spike you pass by is a permanent upgrade left on the table.
Yokai Realm Interactions With Fractured Sun
"Fractured Sun" still isn't a thing - but the interaction people are asking about is real, so here it is plainly: how the little pools and the big dark zones stack, and why leaving pools alive loses fights.
Pools inside a Dark Realm or a Crucible boss arena are pressure that piles on top of pressure. Your Ki recovery is already being tested by buffed enemies; now the floor itself is choking your regen, while the yokai standing in the puddle is passively refilling theirs. Let two or three pools survive in a boss arena and you've built the boss a rest area. That's the interaction in one sentence: the pool is the enemy's turf in miniature, and turf compounds.
The pool also breaks grappling. Strong yokai can't be grappled until their maximum Ki is fully gone, and yokai in a pool are regenerating the Ki you're trying to drain. Your max-Ki tools - Burst Breaks, Guardian Spirit Skills, and destroying their glowing golden weak points - all cut that ceiling down. Purifying the pool stops the refill. Doing both is how a dragged-out yokai slugfest turns into a grapple and a huge damage number.
Practically, purification is cheap and you should be doing it constantly. Finish your combo in Samurai style, Ki Pulse on the way out, and if your feet are in a pool the pool simply dies. Plenty of players deliberately end strings inside a pool so one press both refunds Ki and cleans the floor. Just remember the style catch again: pulse in Ninja mode and nothing happens to the pool, because the art belongs to the Samurai tree.
One more layer if you run Onmyo: the Purity element. Fan testing so far has Purified enemies losing access to their yokai abilities for a stretch, with their pools vanishing too - which makes Purity builds a natural answer to Dark Realm-heavy fights. The buildup on it is slow, so it's a plan B more than an instant fix, but a Purity-imbued weapon grinding a boss down through its own dark phase is a real strategy people are running.
And don't forget the totem rule from earlier. If the darkness has a physical source, killing the source beats purifying anything. Sweep the arena for a totem before you waste thirty seconds chopping at a boss who's getting stronger the whole time.
Strategies for Managing Sun Shifts in Boss Fights
Boss fights are where the light/dark swings bite hardest, so here's the playbook, tell by tell.
Learn the realm-shift tells. When a boss stops moving and starts charging something big, that's usually the Dark Realm coming. The Masakage rematch is the tutorial for this - the charge-up means jump the incoming fire ring, then re-engage inside the dark. Reads like that convert a panic moment into a planned one.
Don't turtle in the Dark Realm. The instinct is to play safe while everything's buffed against you, but the realm is also your damage window - Spirit Force is flowing faster and your Guardian Spirit Skills are hitting harder. The Masakage fight is again the example that teaches it: pop Living Artifact (Triangle + Circle) as the realm settles in, go loud, and burst him hard enough to force him back out of the empowered state. Living Artifact makes you temporarily unkillable and imbues your attacks with your spirit's element, so a realm shift is honestly the best possible moment to spend it. The gauge fills way faster inside Crucibles too, which is the game saying the same thing louder.
Hunt the totem when there is one. If the Dark Realm has a physical source, your opening move is a sprint to it, not a trade with a buffed boss. Kill the totem, the fight resets to normal, and you've skipped the hard phase entirely.
Keep the floor clean and break the ceiling. Pulse out every pool the moment it lands so the boss never gets the Ki regen. Meanwhile, hammer the max-Ki toolkit - Burst Break every red glow you can read, land Guardian Spirit Skills, and shoot for the golden weak points. When a strong yokai's max Ki finally empties, the grapple that follows is your biggest damage of the fight. That chain (purify below, break above) is basically the whole boss formula.
Prep before the door. A few things that measurably matter:
- Pray at Six Jizo statues as you explore. They pay Jizo Merit - usually 50 a statue, with later-region sites worth up to 250 - and the Blessing menu at any shrine spends it. The blessings are aimed straight at the dark content: Life Corrosion Reduction, Melee Damage (Crucible), Elixir Drop Rate (Crucible), and Grave Corrosion Recovery. Each costs 50 merit and each goes up to Level 3.
- Push a region's Exploration Level to 2 or better before its big Crucible boss - the permanent attack and defense bonuses stack with everything else.
- Grab Kodama for the extra elixirs, and pack elemental answers. Firestop Talismans for fire phases, Lightning to slow a boss down, and a second element to stack Confusion on top for the damage spike.
- Expect phase enchants on human bosses too. Takeda Shingen's fight lights his spear on fire around the halfway mark and switches to wind for the last stretch, where a fast five-hit string can delete you. Same rule as a Dark Realm shift: the state changed, so change your spacing.
Last thing, and it's the quiet one: purify every Crucible Spike you walk past, even the ones off in the middle of nowhere. The Spirit Force cap raise is permanent, the Guardian Spirit attack boost is permanent, and the scaling effects only get better the more you've broken. The more of the map you clean up, the harder your counter-punch hits the next time a boss turns the lights off on you.