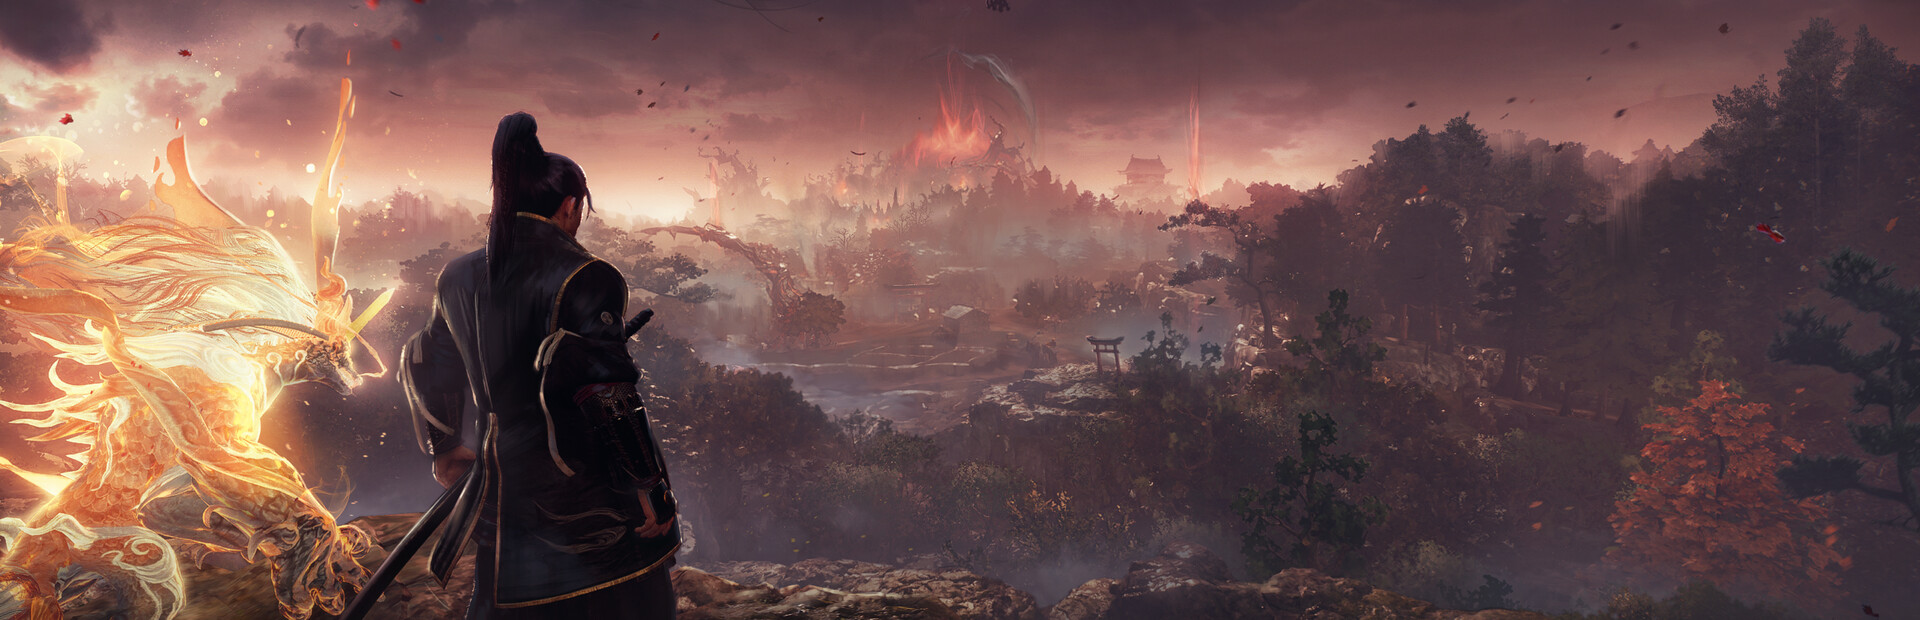
Nioh 3 Beginner Guide: Combat Basics and Ki Pulse Explained
A beginner's look at Nioh 3 combat: Ki Pulse timing, the three stances, yokai attack tells, Guardian Spirits, and early survival tips.
Nioh 3 landed on PS5 and PC (Steam) on February 6, 2026, and it does what Team Ninja games do: it moves fast, hits hard, and will happily flatten you in mission two. You're a fighter hopping between eras of Japanese history, cutting down soldiers and yokai, and a huge share of your early deaths will trace back to one thing - not really understanding your Ki bar. The good news is that almost everything in combat hangs off a few systems that click fast once somebody walks you through them. Ki Pulse, the three stances, enemy tells, and your Guardian Spirit do most of the work. Get those four comfortable and the first act stops feeling like a wall.
Understanding Ki and Ki Pulse Timing
Ki is your stamina. It's the blue bar sitting right under your health bar, and basically everything drains it - swings, guards, dodges, sprinting, all of it. Run the bar to zero in the middle of a fight and the next hit that connects staggers you, and you're stuck gasping until roughly half the bar refills. That gasping state is where most early deaths come from. A yokai looks at a staggered samurai the way a cat looks at a dropped sandwich.
What the pulse actually does
After your attacks in Samurai style, two things happen: blue light gathers around your character, and a red strip starts filling back along the Ki you just spent. Press R1 (RB on an Xbox-style pad) while that's going on and you Ki Pulse - you snap back a solid chunk of what the combo cost you, instantly, instead of waiting on the slow natural regen. Time it right at the end of the fill and you get the full effect, refunding nearly everything the chain burned. One button press is honestly the difference between getting two swings per opening and pressuring a boss nonstop.
Practicing it is boring but cheap. Rest at a shrine, swing at the air in Mid stance a few times, and watch the blue glow instead of staring at the bar. The glow is the cue you want to build on, because you'll need it in a real fight where your eyes are busy. Give it twenty or thirty minutes and it becomes muscle memory. Then redo it in the other stances, since every stance animates at a different speed and the timing shifts a little with each one.
Purifying Yokai Realms
See a dark puddle of shadows on the ground? That's a Yokai Realm, and standing in one guts your Ki recovery. Ki Pulse while you're inside it and you purify the pool - it disperses and your regen goes back to normal. This is why the pulse isn't optional. Bosses drop these pools constantly, and late in a fight the floor can get messy. Plenty of experienced players actually step into a pool on purpose right before pulsing, so one press both refills Ki and cleans the floor.
The ninja-shaped hole
One wrinkle: Ninja style has no Ki Pulse at all. Its counterpart is Mist, a dodge you can do right after attacking that costs zero Ki and, near an enemy, leaves a decoy that pulls attention. It's a great movement tool, but it won't refund Ki or purify anything. So the two styles split the job - Samurai sustains your offense, Ninja saves your skin.
Stance Switching Between Low, Mid, and High
Stances are a Samurai thing. Ninja weapons skip them entirely, which is part of why ninja kit feels simpler. For Samurai weapons you get three stances, and here's the part the tutorial doesn't shout about: you start with Mid only.
Unlock the other two first
High and Low stance are purchases in the Acquire Martial Arts/Ninjutsu menu, bought with the same points you spend on weapon skills. Grab both early. They're not expensive at the start, and playing hours of Nioh 3 with a third of your moveset locked off is a rough way to live.
What each one is for
| Stance | What it feels like | Ki cost | Good for | | --- | --- | --- | --- | | High | Big, slow overhead swings that hit like a truck | Heavy | Punishing staggers, breaking guards, big damage windows | | Mid | Balanced strings, strong guard, few openings | Moderate | Learning, head-on fights, blocking through strings | | Low | Quick pokes, snappy dodges, tiny openings | Light | Sustained pressure, tight fights, getting out |
You can switch on the fly, even mid-combo, by holding the Ki Pulse button and tapping the stance input - same chord the series has always used, and it's listed right on the stance row of the controls screen.
Flux: pulse while you switch
The trick worth drilling is switching stances during a Ki Pulse. There's a skill in the Samurai tree called Flux (with a Flux II upgrade later) that pays out bonus Ki when you switch stances on a pulse. So instead of pressing R1 alone, you press R1 plus a stance button and you've refunded Ki and repositioned your whole moveset in one motion.
A concrete loop makes it clearer. Open in High with two heavy swings, then Flux into Low as the recovery lands - you get the refund, and now you're holding the cheap, evasive stance while the enemy counters. Poke twice in Low, Flux back to Mid to block whatever comes next, then pulse again. Done right, your Ki bar basically sawtooths near the top instead of ever bottoming out. Flux II pushes it further with a second switch inside the same pulse window, but that one's genuinely hard, so don't sweat it until the basic version is automatic.
So which stance should a new player live in? Mid, mostly. It guards well and forgives bad spacing. Dip into High when the enemy is staggered or out of position, and drop to Low when your own bar is running dry or you need to slip out. Over time the stance you're in stops being a choice you think about and starts being a reflex, which is the whole point.
Reading Yokai Tells and Ki Attacks
Nioh 3 gets called unfair a lot. It mostly isn't - nearly every dangerous move in the game is announced, you just have to learn the announcements. Think of this stuff as a vocabulary list.
The red glow
When an enemy lights up with a red aura, that's a Burst Attack coming. These are the moves that delete health bars. The answer is Burst Break: switch styles at the exact moment the attack lands. Done right, the attack is cancelled, you take nothing, the enemy's Life and Ki both take a hit, and if it's a yokai its maximum Ki gets slashed way down. That last part matters a lot, and we'll get to why in a second.
On the default pad layout, Burst Break shares its button with Style Shift (R2 on PS5, RT on an Xbox pad). That means pressing it outside a red glow just swaps your style, which causes a lot of accidental flip-flopping mid-fight. Go into System and split the two inputs onto different buttons - basically every experienced player does this within the first hour and never looks back.
Grabs, pools, and the other tells
Red isn't the only thing to read. Grabs are the other big killer: they can't be blocked and can't be Burst Broken, so dodge them. They telegraph with an obvious wind-up - the boss Otoroshi, for instance, glows yellow-black on the hands right before it lunges across the room at you. Sideways or through is usually the escape; backing straight up tends to get you caught.
The full cheat sheet looks like this:
| Tell | What it means | What you do | | --- | --- | --- | | Red aura on the enemy | Burst Attack incoming | Burst Break (style switch as it lands) | | Yellow-black glow, big wind-up | Grab, unblockable | Dodge sideways or through | | Dark puddle on the ground | Yokai Realm, slows your Ki regen | Ki Pulse inside it to purify | | Whole area goes dark and foggy | Dark Realm - regen crawls, enemies hit harder | Find the source (usually a glowing yokai or object) and destroy it | | Enemy Ki bar hits zero | They're staggered | Grapple for big damage, or unload a combo |
On the Dark Realm: some fights drop a heavy gloom over the whole arena. Your Ki recovery slows way down inside it and the enemies get meaner. It's not random - there's a source anchoring it, usually something glowing that you can kill, and breaking it lifts the whole thing. If a fight suddenly feels impossible, look around for what's holding the dark up.
Ki attacks work both ways
Here's the twist that makes all this matter: enemies have Ki too, plus a second, deeper bar of maximum Ki. Regular enemies just need their current Ki emptied - they wobble and open up a Grapple, a critical hit that hurts a ton. Bosses and bigger yokai are nastier: emptying their current Ki only staggers them briefly. To actually break them you have to wear down their maximum Ki, and only a few things do that - Burst Breaks and Guardian Spirit Skills being the main two. That's why the red glow is worth so much. Every successful Burst Break isn't just damage, it's progress toward a real break.
Lock-on helps here more than people expect. It pins the camera on a target and puts their Life and Ki on screen, so you can watch the enemy's bar instead of guessing. One honest piece of advice for new bosses: spend your first attempt barely attacking at all. Dodge, block, and count the red moves. Attempt two is when you start breaking them, and the fight usually falls apart in your favor from there.
Guardian Spirit Basics and Burst Counters
Quick naming note for anyone coming from Nioh 2: the counter used to be called Burst Counter and came in three flavors depending on your spirit type - Brute, Feral, Phantom. Nioh 3 replaced all that with Burst Break, one version built into style switching that works the same whether you're in Samurai or Ninja style. The idea is identical - see red, counter at the moment of impact - the timing is just stricter than it used to be. Old habits will get you hit for a while, then they won't.
Your spirit is gear
Guardian Spirits are equipped companions, and you swap them at any shrine through the Change Guardian Spirit menu. Each one carries an element, a set of passive Special Effects (three to start, more unlock as you progress), and skills. They're also style-locked - Guhin is a Wind spirit for Samurai, Nekomata is a lightning cat for Ninja, and several spirits come in separate Samurai and Ninja versions with different kits. So part of building a character is picking a spirit per style that pushes the same direction your weapons do.
Each spirit's element ties to a status ailment you can stack on enemies, and they're worth knowing by heart:
| Element | Ailment | What it does to the enemy | | --- | --- | --- | | Fire | Scorched | Life drains over time | | Water | Saturated | Takes extra damage from your hits | | Wind | Bluster | Ki costs climb, takes more Ki damage | | Lightning | Electrified | Attacks and movement slow down |
Spirit Force and Guardian Spirit Skills
Every spirit carries two Guardian Spirit Skills. They run on Spirit Force - the segmented yellow bar under your Ki gauge that fills as you land hits, with a ready icon glowing next to your Amrita gauge. Fire one off and the spirit jumps in for a heavy attack that also carves down a yokai's maximum Ki. Remember the Max Ki problem from the last section? This is one of your main tools for it.
Two beginner-friendly notes. First, you start with one skill slot and unlock the second as the story goes, so early on there's exactly one big button to remember. Second, don't hoard Spirit Force. The bar refills fast in a real fight, and there's a clutch use people miss: you can fire a Guardian Spirit Skill to cancel your own stagger animation. Getting knocked silly mid-combo? Spirit to the face of whatever did it, and you're back in the fight instead of eating the follow-up.
Living Artifact, your panic button
The Amrita Gauge is the spirit icon to the left of your health bar, and it fills as you collect Amrita from kills. When it's full you can trigger Living Artifact, the game's super mode, and it's strong. While it lasts, enemy attacks can't kill you (damage drains the artifact gauge instead of your health), your attacks stop costing Ki entirely, and you get a special attack carrying your spirit's element. The gauge empties over time and faster when you eat hits, so it's a window, not a new form of permanent. Saving it for a rough boss phase or a genuine emergency is usually smarter than popping it the second it fills.
Early Game Survival Tips for New Samurai
A grab bag of things worth doing in your first hours, roughly in order.
Bank your Amrita before you push
When you die, your spirit plants a grave at the death spot holding all your unspent Amrita. Die again before you get back there and it's gone for good. So level up at shrines early and often - bank the currency before you push into anything scary, not after. Takeda Shingen, the first act's big closer in the Warring States era, does not need your help being harder.
Where early levels and skill points go
Level Heart and Constitution first. Heart raises your max Ki, speeds up Ki recovery, and boosts ranged damage; Constitution is flat health. Both make every mistake cheaper. If you're going heavy-armor Samurai, add Stamina for the equip weight. And don't agonize - everything in Nioh 3 respecs at the shrine's level-up menu (R3 on pad, R on keyboard), levels and skills and blessings included. Experiment freely.
As for skill points, buy the actual basics before fancy weapon moves: High and Low stance, Flux, the Samurai Deflect (a guard timed to the instant a hit lands - it negates the attack, refunds your Ki, and charges both resource gauges), and the Ninja Evade equivalent. These are cheap and they change how the whole game feels.
Habits that keep you alive
Stop attacking quite so much. The classic new-player death is a five-hit string into a boss's three-hit reply. Take your two or three hits, pulse, and defend. Guarding fills your Arts Gauge and a Deflect or Evade fills both gauges at once, so defense is literally building your next combo. Chip bosses from range first too - Ninjutsu tools and ranged weapons dent their health and Ki before you commit to melee range.
Use lock-on and watch the Ki bars - yours and theirs. Almost every decision in a Nioh fight (attack, back off, break, grapple) is really a decision about whose stamina bar is closer to empty.
Play both styles. There are 14 weapon types, seven per style, and you build a different loadout for each. Ninja style does way more damage from behind, so a natural habit forms: cut through an enemy's attack with Samurai, end up at their flank or back, shift to Ninja for the bonus. Even if you main one style hard, knowing the other's basics is what makes Burst Break available at all times.
And wander off the main path. Kodama, hot springs, side routes - the good stuff for builds is usually a little off the road, and exploration is one of the fastest ways to out-level a wall. Between that, shrines to bank Amrita at, and a respec waiting whenever you want to change your mind, Nioh 3 is actually pretty forgiving about letting you fix a bad start. It just never stops punishing an empty Ki bar, so keep pulsing.