Marvel's Wolverine Beginner Guide: Combat Basics and Healing Factor Tips
The combat rules, Rage meter, healing factor tricks, stealth options, and early mistakes to avoid in Marvel's Wolverine on PS5.
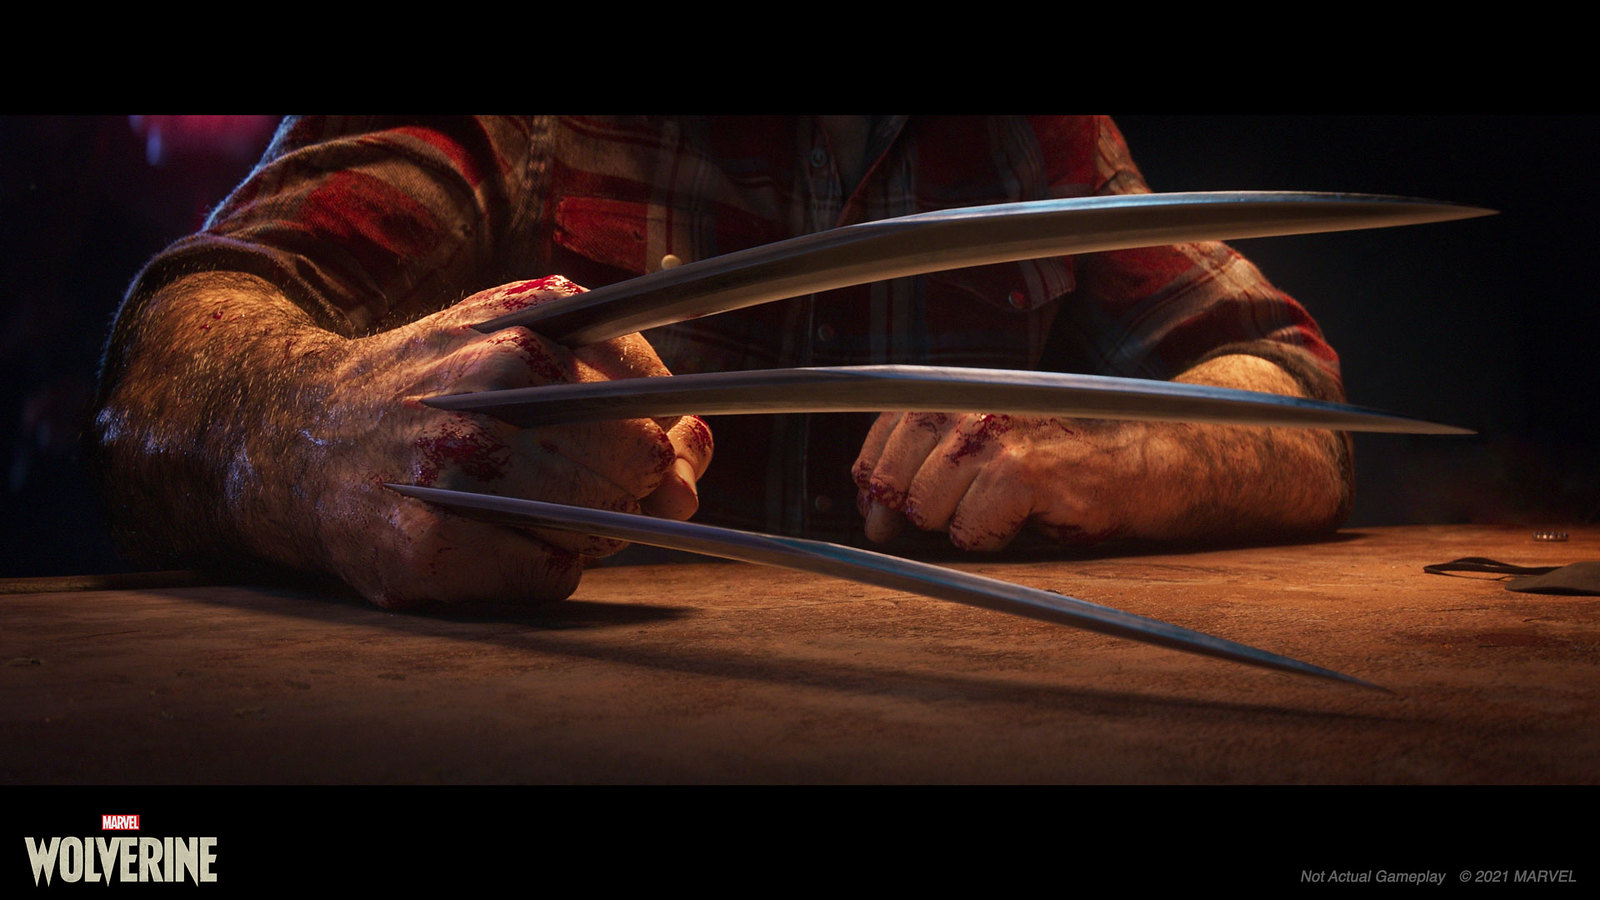
Marvel's Wolverine is finally out on PS5, and it plays nothing like Insomniac's Spider-Man games. There's no open city and no gadget wheel. It's a straight-ahead, bloody, 30-mission brawler where Logan walks into rooms full of Trask goons and Reavers and walks out as the only one left breathing.
The catch for new players: this looks like a button-masher, and it absolutely grades you for mashing. The parry matters, one meter runs almost everything, and even the healing factor has real rules instead of just refilling your bar. Here's how the pieces fit together, plus the mistakes that tend to get people wrecked in the first act.
Core Melee Combat and Claw Attacks
The basic kit
Square chains light claw swings, and Triangle caps a string with a heavy hit (a go-to ender is Square, Square, Square, Triangle). L1 taps out a parry, and dodge covers everything else. The claws stay out the whole time you're fighting. Outside of combat you can pop them manually with the triggers just to flick them around, which does nothing but feel cool (there's a little haptic buzz, honestly worth trying once).
The single most useful rule in the whole game: read the glow. Attacks that flash blue can be parried. Attacks that glow red cannot, so you dodge those every single time. The game starts grading you on this at the Omega Red duel, the climax of Mission: Last Meal and your first named boss. His three-hit combo is basically the pop quiz. The first two swings can be parried and the last one has to be dodged, so you parry, parry, then slip out.
Treat the parry like an attack
Parries do way more than keep you upright. Every one chips at the enemy's stagger meter, the yellow bar sitting under a boss's health. Fill it and they lock up, handing you a free barrage window to unload everything. Parries are also one of the fastest ways to build Rage, more on that meter in a bit.
A lot of players spend the early missions dodge-rolling around like it's Spider-Man and wondering why fights drag. The combat doesn't click until the parry stops feeling like defense and starts feeling like your opener. Omega Red punishes mashing light attack, so he's where most people learn it the hard way.
Rage: the meter that runs everything
Rage builds from landing hits, and kills hand you solid chunks of it. Brutal moves, like barraging a staggered enemy who's already opened up, pay out even more. As the meter climbs, the game changes shape around it:
| Meter level | What changes | | --- | --- | | Low | Standard combos, nothing special. Play careful and build meter. | | Middle | Combos get stronger, and Last Stand (your death-save) comes online around here. | | Top | Logan goes feral: Critical Strikes impale weakened enemies for fast kills, but the meter drains quick. |
That top tier is a window, not a mode. The screen drains to black-and-white (a nod to Marvel's Black, White & Blood comics), the audio muffles, and Logan can delete weakened enemies with impale kills. It burns fast, so dump it into a staggered crowd instead of saving it for later. Rage also slowly decays when you back off, so hiding to reset a fight throws away momentum.
Techniques: your special moves
Techniques are named specials on cooldowns, unlocked and upgraded with Technique Points as you play. Tornado Spin is your first, taught in the prologue. It hits everyone around Logan, which makes it your answer to getting surrounded. Bull Rush charges forward and powers through enemy guards, good for closing on a sniper. Stagger Leap pounces across distance and piles on stagger damage, and it's a strong early unlock for boss fights. There's also a straight lunge that lets Logan leap target to target, handy for jumping on ranged enemies who think distance keeps them safe.
When allies fight with you
You're Wolverine the whole game, but you're not always alone. Jean Grey fights under her own AI and can open enemies up for you, lifting them with her telekinesis so you can rush in for a quicker kill. The game wants you paying attention to her for exactly those moments. Sabretooth is the opposite deal. He's on your team in the early going, but he's competitive about it, and he'll happily rush in to steal a kill you had lined up. Don't fight him for it, just take the next one. These segments change the rhythm a bit, and the quick-kill openings Jean sets up are the closest thing the game has to a "free damage" button, so watch for them.
Using the Healing Factor in Fights
How health actually works
Here's the neat part: Logan's body basically IS the health bar. Cuts, gashes, and worse show up on him at a level of detail that matches how much health you have left, and you can watch the wounds knit closed in real time as he recovers. In combat the passive heal is slow. Once the last enemy drops, he regenerates fast, so ending a fight quickly is its own kind of healing.
Lore-wise, the game's answer to "how do you kill Wolverine?" is that enough damage overloads the healing factor and his heart stops. That's your game-over screen.
Last Stand: the mash-to-survive moment
When your health hits zero with Rage still banked, Logan goes down but he's not out. A button-mash prompt (Square) converts that leftover adrenaline back into health, and how well you do at the mash decides how much health you come back with. Two catches. It eats all your Rage, so you don't get a second chance in the same knockdown. And if you hit zero with an empty meter, there's no prompt at all. That's death.
So the meter is both your sword and your defibrillator. At high health, spend Rage on damage and don't waste activations topping yourself off. When you're banged up deep into a long fight, keep a floor in the tank for Last Stand and spend everything above it.
One more thing worth knowing: the recovery isn't scripted. It doesn't matter what knocked you down, a boss slam or a random goon with a lucky hit. Any knockdown with Rage left can turn into the mash, so the safety net shows up in regular fights, not just the cinematic ones. (You'll see the move called both Last Stand and Healing Surge depending on where you're reading. Same save.)
Healing Strike
The Healing Strike Technique heals you while you keep swinging, and it's one of the best early Technique Point spends in the game. It doesn't fix the "rage or health" tension by itself, but it smooths out the middle of long encounters where you're too rich in Rage to die and too hurt to get careless.
Suits are your real health bar
This is the beginner trap most people don't hear about until later. There are 32 suits in the game, crafted from materials in Material Crates, and every single craft permanently adds health. Health is the cheapest difficulty slider in the game. The suit-crafting tutorial lands during Mission: Homecoming, and you should craft the moment the Suits menu lights up (it also drops the Suit Up trophy). Crates pulse blue and your DualSense rumbles when one's nearby, so that little buzz in your hands is literally a health upgrade saying hi.
And if it's all too much: the difficulty settings are modular, and the lowest setting (The Man) makes Logan functionally unkillable. No trophy cares what difficulty you're on, and you can change it any time. Story-first players lose nothing by riding the easy setting.
Dismemberment and Environmental Kills
When limbs actually come off
The gore isn't constant, and it isn't cartoonish. Land an especially brutal finisher on an enemy whose defenses you've already broken down (staggered, guard gone) and sometimes the move takes a limb off. Mechanically, that's the payoff for doing your guard-break work first: hack through the defense, then cash in the ugly finisher. Rage Tier 3's Critical Strikes are the fast lane here, since they impale weakened enemies for instant kills.
Hazards and barrels
The Canada act teaches environmental kills early, and the gist is simple: kick people into things that hurt. Kick moves double as guard-breakers too. When Omega Red throws up a shield with his tentacles, you kick through it (hold Square) and then punish him while the guard's down. The hangar where you fight him also has barrels worth using, and slamming attacks during a stagger window into hazards does serious work for zero extra effort. Basically, if an arena has something dangerous in it, that thing is a free attack on a cooldown.
If you want less gore
Fair warning, this stuff is on by default. The settings menu splits it into separate toggles: Dynamic Blood, Dismemberment, and Visceral Healing (how graphic Logan's own wounds and regeneration look), plus a fixed blur on the nastiest scripted shots. Turning them off changes nothing about combat results. Enemies still die the same way, you just don't see the explicit version. The game stays an M-rated story either way, so don't expect it to turn into a teen-friendly romp.
Stealth Takedowns vs Open Aggression
Why bother sneaking at all
Logan's enhanced senses let you track patrols through cover, and the prologue teaches scent tracking for following trails. Stealth here is always optional. You can ghost the edges of an area or just walk in the front door swinging, and the game genuinely doesn't mind either way. Insomniac has been upfront that Logan isn't a stealth character. He sneaks when it's the efficient move, not because he's scared of a fight. Their own framing is a balance between "covert hunter" and "all-out fury."
The Rage head start
Here's the actual reason to sneak, and it's a good one. Stealth kills pre-build your Rage meter, and that banked Rage doesn't decay the way combat-built Rage does. Pull off two or three quiet takedowns before anyone notices you, and you walk into the brawl with a warm meter and stronger combos from the first swing. The intended rhythm is exactly that: thin the edges quietly, find your moment, then explode into open combat on the last group. You get the opening burst without ever paying for it.
When stealth runs out
Don't plan on ghosting everything. Plenty of arenas are built so you can't quietly take down every enemy, and the game will eventually force the fight. That's fine. Getting spotted isn't a fail state here, it just starts the party early, and Logan is built for the party. In some stealth segments Jean Grey can use her telepathy to dim enemy perceptions and buy you room, so keep an eye out for when the game hands you that help.
Early Mistakes That Get You Overwhelmed
Mashing into enemy strings
The big one. Enemies throw multi-hit strings, and the punish window is after the string ends, not during it. Wading in mid-combo means trading health blow for blow, and Logan trades worse than he seems to early on (your health pool is small before suits come online). Block the instinct to answer every attack with attacks. Let the string finish, then take your turn.
Chasing the boss
Omega Red's threat scales with how close you stand. The fight is beatable by baiting committed swings from mid-range, stepping in for a two-to-three hit punish, and backing out. Greed is basically the only way to lose it on normal. His second phase adds unparryable red-glowing coil grabs with long reach, so the mix shifts toward dodging. Dodge sideways, not backward, and keep moving when he starts slinging debris.
Hoarding Rage
Tier 2 spent now beats Tier 3 spent never. Rage decays when you disengage, and dying with a full meter means you saved it for nothing. The one exception is keeping a floor for Last Stand when you're hurt, since an empty meter at zero health is a flat death. Otherwise, spend it. Feral windows want to be used on staggered crowds, not admired.
Walking past crates
Those pulsing blue Material Crates are suit materials, suits are permanent health, and health is the real difficulty slider. Walk past them in the first act and you'll arrive at the bosses squishier than the game expects. Turn on Settings > Visuals > Collectibles and Interact Shader on day one too. It outlines every crate, bottle, and cache, so your first run doubles as your collectible run. Whisky Bottles and the optional Nightmare Doors (14 timed challenge rooms) feed your Adaptations, the passive layer covering health, Rage capacity, and perk slots. Skipping those doors feels free early and costs real power late.
Ignoring mission replays
From the second Nightmare Gate onward, mission select opens up, and replays are free XP and free crates. Nothing in the game is missable, so if a boss is stomping you, replaying an earlier mission for materials toward one more suit craft is usually the difference. You'll land somewhere around level 34-36 by the credits playing normally anyway, which is right where the endgame fights are tuned, so a grind isn't really part of the deal. It's more that replays let you fix a weak health bar on demand.
Playing it like Spider-Man
Pure dodge-and-circle play works okayish on trash mobs and then falls apart on the first boss. Parries are the fastest Rage source in the game and the only efficient way to fill boss stagger meters, so the earlier the parry becomes muscle memory, the smoother everything gets. Grab Healing Strike early, keep Tornado Spin for crowds, and let the glow rule make your decisions: blue means counter, red means move.
The game tells you the rest of the way assumes you've got this down. The Hand ninja in Japan and the late-game duels all build directly on the rhythm Omega Red tests, so the hour you spend learning to parry the glow in that first boss fight is really prep for everything after it.