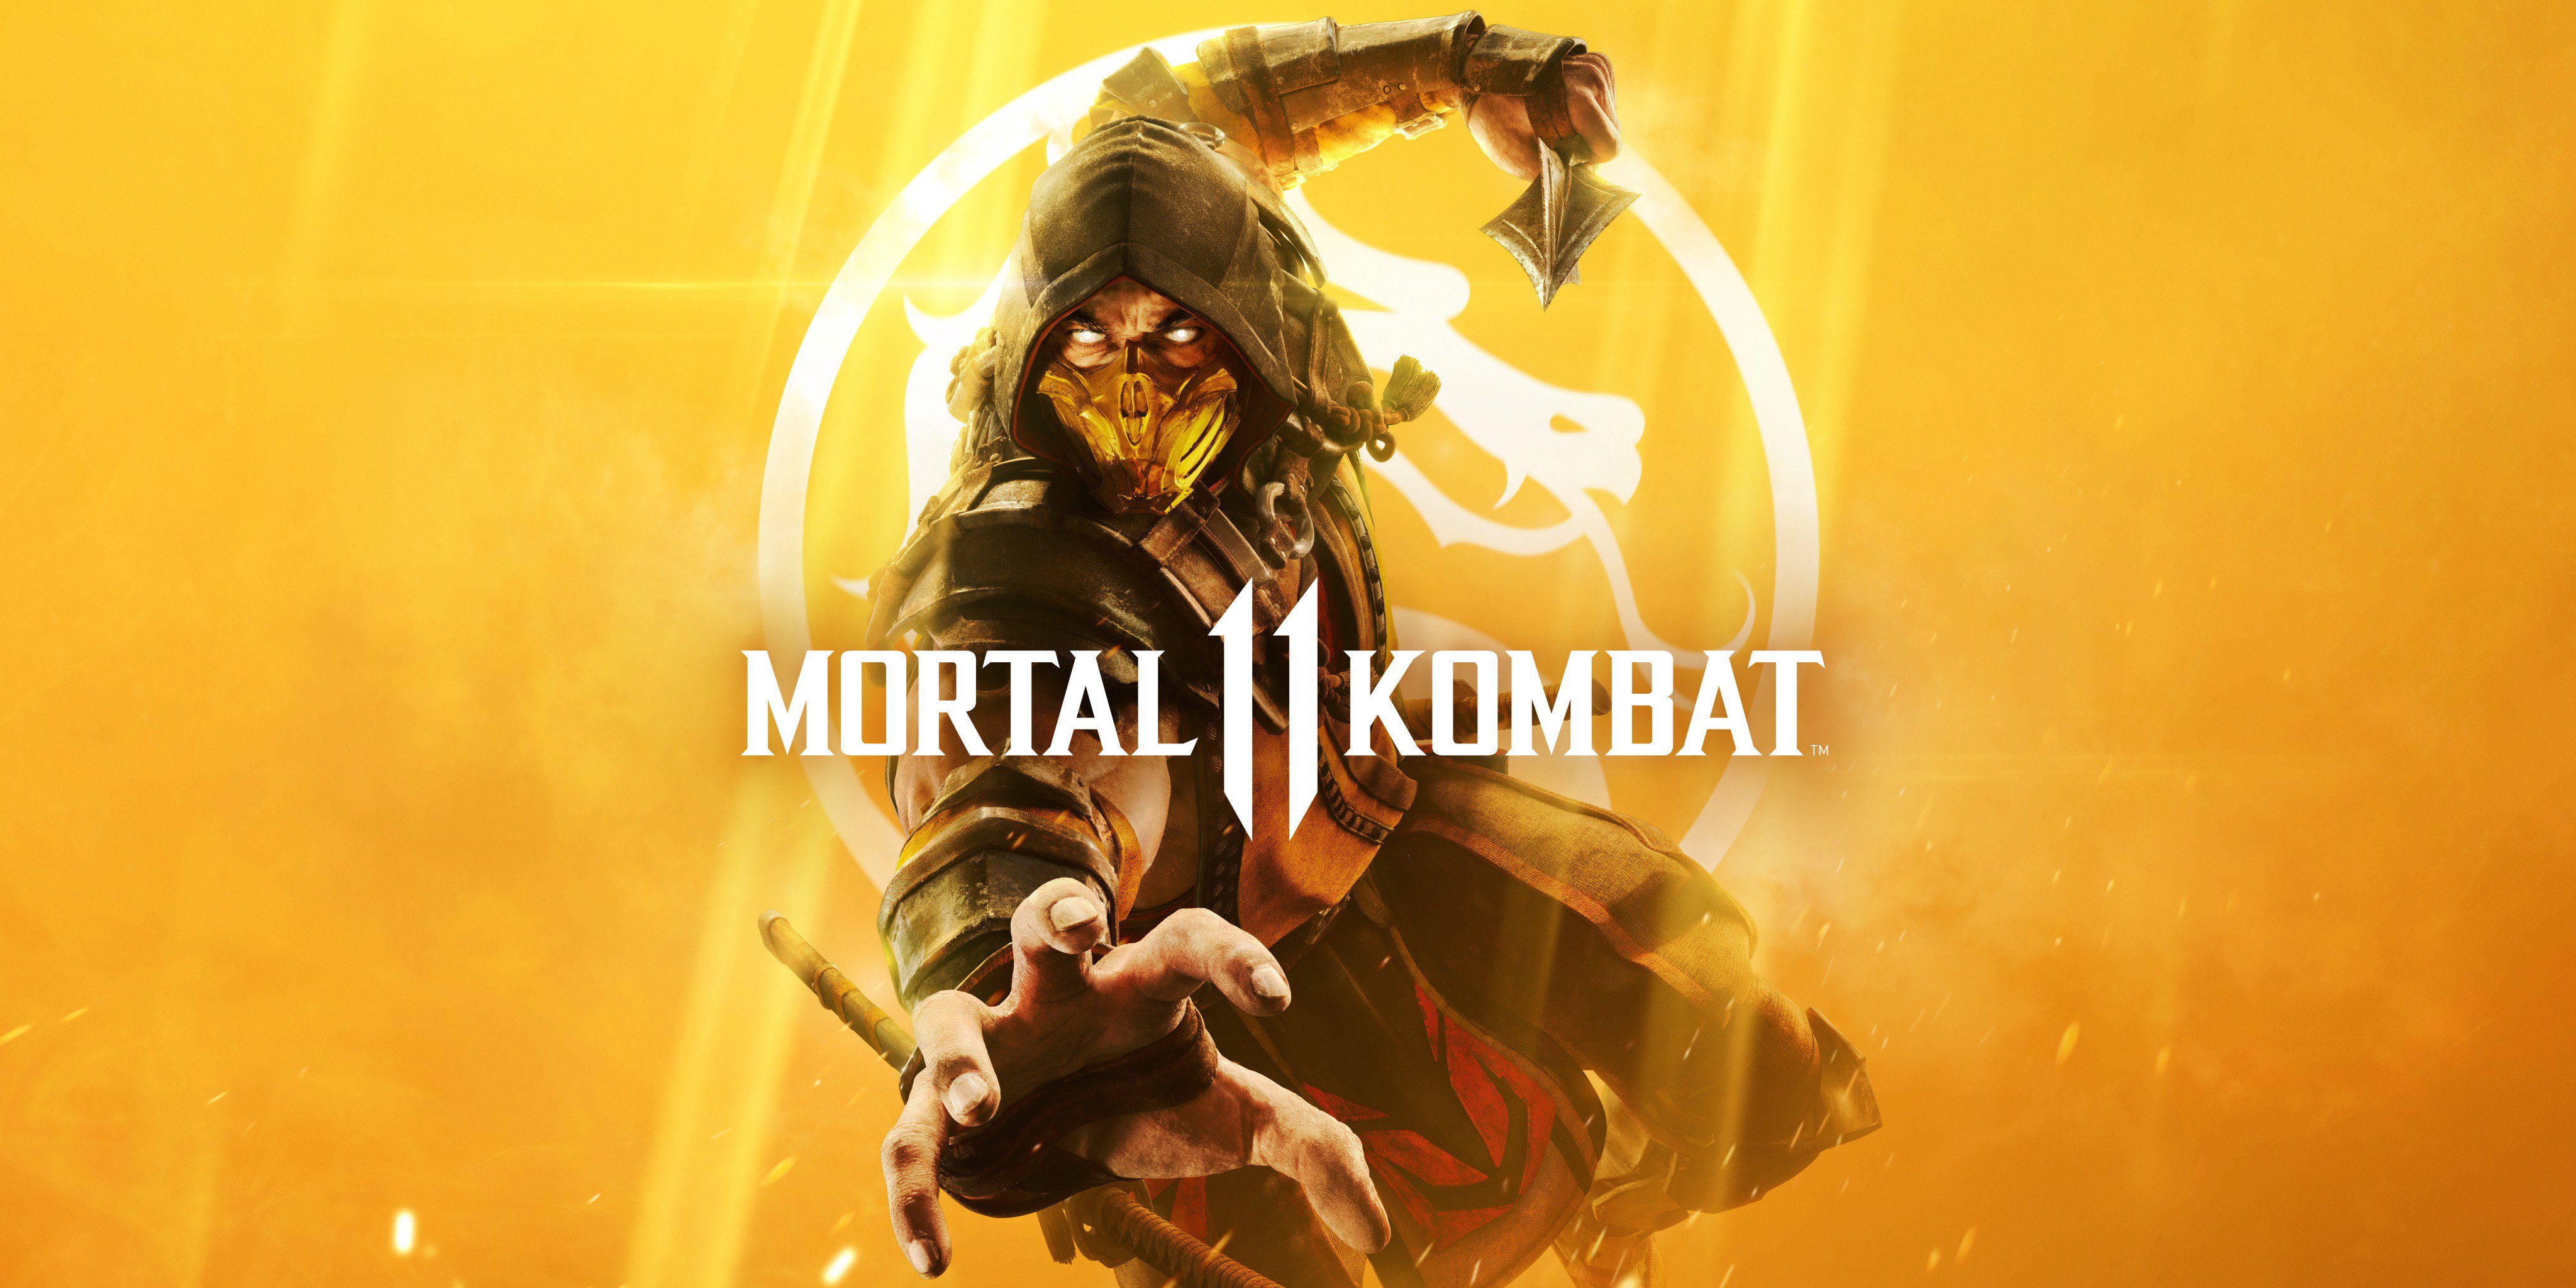
Mortal Kombat 11 Advanced Combat Guide
Unlock advanced tactics in Mortal Kombat 11—learn fatalities, krushing blows, combos, special moves, and character strategies!
As anyone who's spent a few hours getting pummeled in Mortal Kombat 11 can tell you, mastering the basics is just the start. Success in the arena often comes down to subtle details—knowing when to press your advantage, how to escape pressure, or the ins and outs of meter management. The game’s fast pace rewards quick thinking, but there’s a depth beneath the flashy Fatal Blows and cinematic finishers. Delving into advanced combat techniques can make the difference between a close loss and a satisfying victory, and help veterans and ambitious newcomers alike face the fiercest competition with confidence.
What Are Fatalities?
Fatalities are the iconic finishing moves in Mortal Kombat 11 that let players end a fight with an outrageous, fantastically gory sequence. These are not just stylized knockouts—they’re the exclamation point at the end of a hard-won match. Each character has their own signature Fatalities that showcase their personality and fighting style. Landing a Fatality after the “Finish Him/Her!” prompt is as much about style as it is skill, letting you flex on your opponent (and maybe blow off a little steam after a tough fight).
How to Perform a Fatality
Every character in Mortal Kombat 11 has at least two Fatalities, but you only start with one unlocked from the beginning. Each move comes with a specific button and direction input combo, which must be entered rapidly after you see the “Finish Him/Her!” on screen. Here’s how it works:
- Wait for the prompt: When your opponent’s health hits zero, and their knees buckle, it’s go time.
- Check distance: Most Fatalities require you to stand at a certain distance—close, mid, or far—from your opponent.
- Enter the command: Quickly input the specific combination for your character’s Fatality (examples: Down, Forward, Back, Y; or Back, Down, Back, A, etc.).
- Hit the final button: The last button in the input typically triggers the animation. Don’t mash—you want smooth, quick execution.
You can always pause the game during the “Finish Him/Her!” window to check the move list if you forget the sequence. But time is short, so memorize your main character’s Fatalities for quick access.
Fatality Distances Explained
Distance plays a big role in whether your input works. Here’s a quick breakdown:
- Close: Hugging distance, practically touching your opponent.
- Mid: A few steps away—usually just out of standing punch range.
- Far: All the way across the screen; no way to tickle your foe.
If you’re not at the right spot, the Fatality simply won’t trigger, and you’ll just throw a normal attack, possibly whiffing and missing your chance.
Unlocking Additional Fatalities
Not all Fatalities are unlocked by default. You’ll need to earn or find the second Fatality for each fighter. These can be unlocked via the Krypt, the game’s single-player loot dungeon, or sometimes through Tower rewards.
Even if you haven’t unlocked a Fatality, you can perform it if you know the input. The game just hides them from the move list until you find the “secret.”
Easy Fatality Tokens
If you’re struggling with precise button combinations, Mortal Kombat 11 offers “Easy Fatality” tokens. These let you pull off a Fatality with a much simpler input (usually just pressing two buttons). You earn these tokens from completing Towers, chests in the Krypt, or they can be bought via microtransactions.
Tokens are limited, so consider saving them for online play or when you want to show off with a character you barely use.
Why Fatalities Matter
Sure, Fatalities are flashy, but there’s more to them than just spectacle. Landing a Fatality in a ranked match can rattle your opponent, especially if it’s a close set. In tournaments or online play, it’s a flex, a way to intimidate or play mind games—after all, Mortal Kombat is just as much about attitude as it is about skill.
Plus, finishing fights with a Fatality unlocks profile icons, cosmetics, and unlockables. Styling on your foe can push you closer to the sweet, sweet loot.
Practice Makes Perfect
Fatalities feel great to pull off, but even experienced players can fumble the input under pressure. A good tip: hit the training room and practice the ones for your main. Focus on muscle memory for the directionals and finishing button. Try each Fatality at different ranges, so you get a feeling for where your fighter needs to stand.
Common Fatality Mistakes
- Inputting too slowly or too early: Wait for the “Finish Him/Her!” screen.
- Standing at the wrong distance: If it doesn’t work, try scooting closer or farther away.
- Mashing buttons: Clean, deliberate inputs work best—panic mashing just gives you awkward attacks instead of a cool finisher.
Wrapping Up
Mastering Fatalities is about speed, precision, and a little bit of showboating. Nail them consistently and you’ll not only look like a pro, but you’ll add extra flair to your game. Whether you play for fun or bragging rights, Fatalities are pure MK11 style—making every win that much sweeter. Practice your favorites, memorize the inputs, and don’t be afraid to flex a little after a hard-fought victory.
Mastering Krushing Blows
Krushing Blows in Mortal Kombat 11 pack a serious punch—both literally and strategically. These advanced attacks can tilt the match in your favor if you know how and when to use them. Unlike regular moves, Krushing Blows unleash cinematic, bone-snapping damage and usually tack on lasting effects, like damage-over-time or a big combo extension. Let’s break down how Krushing Blows work, when to trigger them, and how to reliably add them to your toolset.
What Is a Krushing Blow?
A Krushing Blow (KB) is a souped-up version of a character’s normal attack or throw. Each KB comes with its own requirements, like hitting as a counterattack, landing at maximum range, or connecting after a set number of previous hits. When those conditions are met, the move triggers a slow-mo, hyper-violent animation and meteoric damage spike. Think of it as a built-in mini Fatality performed mid-match—but with big tactical upside.
Each character has a handful of moves that can cause Krushing Blows. Some attacks—like uppercuts and certain throws—offer universal KBs across the whole roster, while others are completely unique to each fighter.
Reading the Krushing Blow Tooltip
You can view the conditions for every Krushing Blow in your character’s move list. Pause during any match, flip to the movelist, and look for moves with a small star next to them. Select the move, and you’ll see the KB condition explained, like:
- “Triggers on counter or punish.”
- “Triggers if first hit misses or is blocked.”
- “Triggers on third amplified use in match.”
Knowing these conditions is the first step to working KBs into your plan.
Universal Krushing Blows
Some Krushing Blows are shared among all characters. Here are two you’ll find on every fighter:
Uppercut KB
- Condition: Land a down+2 (uppercut) as a counter or punish.
- Why It Matters: This is a fast, high-damage option against sloppy pressure or unsafe moves.
- Tip: Save your uppercut KB for a guaranteed punish; hit training mode and get used to recognizing “punish” pop-ups.
Throw KB
- Condition: Land a forward throw or back throw after teching the other direction.
- Example: Tech a forward throw, then successfully use your own back throw for a KB.
- Why It Matters: This tags your opponent for huge damage and can condition them to be more careful with grabs.
Character-Specific Krushing Blows
Each fighter’s move list has signature KBs tied to their unique attacks. These are usually designed to reward smart, mindful play:
- Combos: Some moves KB on the third hit in a combo string.
- Amplify Spamming: Certain KBs trigger if you don’t abuse a move (i.e., “Triggers on first hit if this move hasn’t connected yet”).
- Punishes: Others land when punishing a missed high-risk special.
Reading your character’s KBs is key. Consider building your round plan around creating opportunities to unlock these effects rather than just swinging wildly.
How to Set Up Krushing Blows
Timing and awareness are everything. Some practical tips:
Bait and Punish
Let opponents use predictable pokes or unsafe specials, block or dodge, then respond with the right KB attack. For example, after you block a risky attack, land that down+2 for the uppercut KB.
Space Correctly
A few KBs only trigger from “max range” (e.g., hitting with the tip of a spear or sword). Play footsies and learn the exact spacing needed.
Control Throw Techs
If you see your opponent tech your throw, remember which direction they broke. Next chance, throw them the other way for KB.
Hold Back Your Moves
KBs with restrictions—like “first hit of this move in a match”—require patience. Don’t blow your chance with a random move in neutral. Use it when you need a momentum shift.
Krushing Blow Management
Each KB usually triggers once per match (not round!), so don’t waste them on chip damage or low-risk situations. Hold onto them for:
- Momentum shifts, when both players have low health
- Confirming a big combo starter
- Punishing a clear, round-ending mistake
Some characters have multiple Krushing Blows. Pick the ones that work with your style—early game pressure, whiff punishing, or closing out rounds.
Visual and Audio Cues
You’ll know you landed a KB when the screen slows down, the camera zooms, and the X-ray animation kicks in. Audio cues—a crack or crunch—also tip you off, so don’t mash past the moment.
Maximizing Damage After a Krushing Blow
Many KBs leave your opponent staggered and vulnerable for follow-up attacks or even full combos. Practice juggling or hit confirming out of your KBs. Some special moves let you follow up with an amplified attack, especially for corner carries or to secure a round.
Training KBs: Practice Makes Pain
Get into Training Mode. Set the CPU to repeat behaviors that match KB conditions (like whiffing throws, blocking your first attack, etc.). Build muscle memory for recognizing triggers. Practicing setups for both universal and character-specific KBs will make them second nature in online matches.
When NOT to Use a Krushing Blow
Using your one-shot KB at the wrong time is a common mistake. Avoid using KBs:
- Early in the round with no follow-up planned
- When victory is assured already
- On an armored enemy who can absorb the hit
Hold off for clutch moments where extra damage or a psychological edge matters.
Krushing Blow Quick Reference
- Check requirements in the movelist
- Save for key moments
- Focus on spacing and timing
- Practice follow-ups
- Don’t waste universal KBs early
Wrapping Up Krushing Blows
Mastering Krushing Blows is about planning ahead, reading your opponent, and managing your one-time big hits. Players who make KBs part of their regular gameplay find themselves cashing in huge momentum swings—and picking up a few mental victories along the way. Take the time to practice each requirement, and watch how much more damage (and respect) you start racking up in every fight.
Combo Mastery Guide
When it comes to Mortal Kombat 11, combos are where you’ll separate casual players from the serious contenders. A well-executed combo can turn a close match into a landslide victory, chip away at life bars, and force your opponent to play on your terms. This section breaks down what goes into combos, how to practice them, and why learning them is a must if you want to consistently win.
Basic Combo Structure: What Makes a Combo Work
At its core, a combo is any string of attacks that connects fast enough so the opponent can’t block between hits. In MK11, you’ll usually see combos made up of three parts:
- Starter: Opens your opponent up and lands the first hit. This could be a simple poke, a jump-in punch, or a special move.
- String/Link: The middle hits, usually fast attacks that chain together. This is where knowing your character’s move list pays off.
- Ender: A finishing move that gives you time to reset, recover, or push for extra damage—like a special move, amplified attack, or Krushing Blow.
If you’re just starting out, go for short combos (3-5 hits) that are easy to remember. Longer, trickier combos can wait until your muscle memory and game sense catch up.
Understanding Notation
Most guides use a standard button notation instead of console-specific terms:
- 1 - Front Punch (Square/X)
- 2 - Back Punch (Triangle/Y)
- 3 - Front Kick (X/A)
- 4 - Back Kick (Circle/B)
- F - Forward
- B - Back
- D - Down
- U - Up
So, a combo listed as “Jump 2, 1, 2, BF1” means jump-in with Back Punch, then chain Front Punch, Back Punch, and a Back-Forward + Front Punch special. MK11 is all about consistency, so spend a minute getting comfortable with this lingo if you aren’t already.
Timing and Execution: Why Your Combo Drops
Combos in MK11 are a mix of rhythm and reaction. New players often struggle with “dropping” combos—meaning the hits don’t chain and the opponent gets away. Some tips to tighten up your timing:
- Don’t mash: Tap with purpose. MK11’s combo windows can be strict.
- Buffer moves: Input the next attack just as the previous one hits, not before.
- Use Training Mode: Turn on input display. If you see your commands coming out too fast, slow down.
Launchers and Juggles: Maximizing Your Openers
Every character has at least one move that pops the opponent into the air (a launcher). These are your ticket to big damage. After landing a launcher, follow up with fast normals, an amplified special, or even a Krushing Blow if it’s available. If you notice a combo string says “Pop-up,” that’s your launcher—get used to chasing your opponent with quick strikes before gravity pulls them back down.
Some heroes have better juggle potential than others. For example, Scorpion’s spear (Back Forward 1) is an easy launcher, while Liu Kang’s bicycle kicks need tighter execution. Test your juggle follow-ups in Training Mode.
Auto-Strings vs. Custom Combos
Most fighters have “auto-strings,” multi-hit moves mashed out by pressing buttons in a set order (like 1,2,2). These are easy to pick up and mix into your blockstrings, but they’re sometimes unsafe if blocked. Custom combos—linking single moves or specials together—can be safer and let you adjust on the fly.
When you’re starting out, use auto-strings to get comfy, but practice branching into custom links for advanced play. Learning which of your character’s moves “cancel” into specials (check your move list) is key to extending combos.
Amplification and Meter Management
MK11’s offensive and defensive meters open up new combo routes. Amplifying (pressing R1/RB after a special move lands) boosts damage or lets you add another follow-up. Some combos only work if you spend meter, so practice both “meterless” and “metered” sequences.
Gauge your resources—saving meter for big, round-ending combos or for escaping pressure is a balancing act that separates the good from the best.
Combo Breakers and Flawless Block Gaps
It’s easy to get carried away with a flashy combo, but beware of counters. If your opponent has defensive meter, they can break away mid-air and kill your momentum. On defense, get in the habit of “flawless blocking” the gap between certain attacks to punish greedy attackers.
Memorize which strings your main character can safely finish, and which leave you wide open. MK11 rewards smart pressure, not reckless offense.
Mission Mode and Character Trials
Don’t ignore the in-game tutorials and character-specific trials. These step-by-step lessons walk you through character combos, explaining which situations each is best in. The challenge modes force you to chain hits at game speed—not just in Training Mode. Stick with each trial until it clicks.
Practical Tips for Combo Practice
- Pick one or two core combos that work mid-screen and in the corner.
- Practice them from both sides (player 1 and 2) since muscle memory can throw you off if you’re always on the left.
- Focus on confirms—recognizing when your opening hit landed so you commit to a combo, rather than risking a punish if it was blocked.
- Add in “endings”—like Fatal Blows or Krushing Blows—once you’re confident with the basics.
Example Combos for Popular Characters
Let’s break down sample combos for a few favorites:
Scorpion (Mid-Screen)
- Jump 2, 1, 2, Back Forward 1 (Spear), (amplify), Dash, Back 3, 4, Teleport (Down Back 3)
Sub-Zero (Corner)
- Jump 2, Back 2, 1, Down Forward 2 (Ice Ball), (wait for freeze), Forward Jump Kick, 1, 4, 3, Slide (Back Forward 4)
Cassie Cage (Anywhere)
- Back 1, 1, 4, Back Forward 4 (Shoulder Charge), (amplify), Dash, 1, 1, 2, Back Forward 2 (Projectile)
Note: The real game is constantly evolving, so check out current combo lists on resources like Test Your Might or community discords for up-to-date tech for your main.
Wrapping Up Combo Mastery
Mastering combos isn’t just about memorizing complex strings—it’s about staying calm, reading your opponent, and knowing when to turn a small opening into massive damage. Start simple, get comfortable with timing, and don’t be afraid to drop a combo in a match while you’re learning. As you improve, add in new routes, burners like Krushing Blows, and flashy finishers. Above all, have fun. When your fingers and mind work together, you’ll find yourself winning a lot more matches–and looking good doing it.
Special Moves Overview
Special moves are the backbone of every Mortal Kombat 11 character’s toolkit. These are unique attacks that usually require specific joystick and button inputs, giving fighters access to projectiles, teleportations, grapples, and much more. Mastering special moves is essential—these attacks are often safer, have unique properties like armor or invulnerability, and let you control the pace of a round.
Let’s break down how special moves work in MK11, the different types you'll encounter, when to use them, and how to amplify them for max impact.
What Counts as a Special Move?
In MK11, a special move isn’t just any attack—it’s a move with a unique input beyond basic button presses. Most are triggered with combinations like Down, Forward + Button, or Back, Forward + Button. Every character’s list is a bit different, but you can always view them on the pause menu under the "Move List" tab.
Special moves are split into categories based on their effect:
- Projectile Attacks: Example—Sub-Zero’s Ice Ball, Liu Kang’s Fireball
- Teleport Attacks: Example—Scorpion’s Teleport, Raiden’s Electric Fly
- Trap Moves: Example—Noob Saibot’s Shadow Portals
- Command Grabs: Example—Jax’s Gotcha Grab
- Counters/Parries: Example—Jade’s Dodging Shadow, Geras’ Sand Trap
- Buffs/Debuffs: Example—Kabal’s Speed Buff, Shang Tsung’s Health Regen
Many specials can be "amplified," which adds extra hits, damage, or even different behavior—more on that below.
Input Basics and Notation
MK11 uses a universal input notation—numbers 1-4 represent the attack buttons: 1: Front Punch (Square/X) 2: Back Punch (Triangle/Y) 3: Front Kick (Cross/A) 4: Back Kick (Circle/B)
A typical special move input might look like: Down, Forward, 1 (abbreviated DF1), which would be a short fireball for some characters. The game consistently uses these inputs, making it easy to pick up new fighters without memorizing confusing lists.
Core Uses of Special Moves
Zoning
Characters with strong projectiles, like Cetrion or Jacqui Briggs, use special moves to force opponents to approach. This is known as zoning—controlling space and denying easy advances.
Punishing and Reversal
Teleport-style specials can punish whiffed moves or projectiles. If someone spams fireballs from across the screen, a well-timed teleport can flip the script and put them on the defensive.
Combo Extending
Many combos rely on specials mid-string—either as launchers (like Liu Kang’s flying kick) or as finishers that add extra damage, such as Cassie Cage’s Shoulder Charge.
Defensive Options
Some special moves are designed to get you out of trouble, like wake-up attacks with invincibility frames. Pay attention to which of your character’s specials can help turn a bad situation around.
Amplified Specials
After landing a special move, you can spend a bar of the offensive meter to "amplify" it by pressing the interact button (R1/RB) right after the move connects. Amplified specials, sometimes called EX moves, come with one or more enhancements:
- Extra Damage: Some basic projectiles hit harder.
- Advantage: Moves might leave you safer on block or allow follow-up combos.
- Armor: Some gain armor during startup, blowing through attacks.
Getting comfortable with amplification is a key way to separate basic play from next-level damage.
Krushing Blows and Fatal Blows
Some special moves have a "Krushing Blow" version, which triggers when specific conditions are met (for example, a charged Upwards Spear with Scorpion). These land massive hits and often break through an opponent’s health bar quickly. Fatal Blows, meanwhile, are a comeback mechanic you get when your health is low; many are activated with special move-style inputs.
Check your character’s move list—Krushing Blow requirements are unique to each move and character.
Character Variations and Move Customization
MK11 offers custom move sets—meaning not every special move will be available in every variation you use. Tournament mode restricts you to official variations, but casual and online play lets you mix things up. This flexibility spices up matchups and rewards creative use of specials you like best.
When learning a character, review which version of each special is available in your chosen variation. Some crucial combo tools or zoning moves might be locked away, so plan ahead.
Special Move Examples and How To Practice
Let’s look at a couple of special moves from favorite fighters and how to use them:
-
Scorpion: Spear (Back, Forward, 1) Utility: Excellent for catching opponents at range or ending combos. Can be amplified for bigger follow ups.
-
Sub-Zero: Ice Ball (Down, Forward, 2) Utility: Freezes enemies, giving Sub-Zero a chance for big combos. Be careful—it's punishable if blocked.
-
Jade: Glow (Down, Down, 4) Utility: Temporarily immune to projectiles, making it a strong counter-zoning tool.
-
Sonya Blade: Energy Rings (Back, Forward, 1) Utility: Fast projectile for mid-to-long range harassment. Amplified version launches the opponent.
When practicing, isolate each special at first, then mix them into your basic strings and combos. Turn on frame data in Training Mode to learn which are safe on block and which aren't. Consider practicing amplified versions to see how your meter changes the options. Alternate practicing against an opponent who jumps, blocks, or pressures to get used to using specials situationally.
Reading Opponents and Conditioning
Throwing out special moves constantly makes you predictable. Use them to condition your opponent—throw a few fireballs to test their reaction, or threaten with teleport to keep them on edge. Smart specials force mistakes that you can punish with your bigger combos.
Key Takeaways
Special moves sit at the heart of every character’s playstyle in Mortal Kombat 11. Mastering when and how to use them builds the foundation for higher-level strategies and more creative, damaging combos. Experiment with your character’s specials both solo and in matches so you can add them naturally into your offense and defense—making your game unpredictable and hard to counter.
Character-Specific Strategies
Mortal Kombat 11 features a stacked lineup, with each kombatant bringing unique tools and approaches to the fight. While general mechanics apply across the roster, learning the ins and outs of your chosen character can make all the difference when you’re gunning for consistent wins. This section breaks down practical tips for a selection of MK11 staples, helping you maximize their strengths and work around their quirks.
Scorpion
Playstyle: Aggressive, whiff punishing, mix-up heavy Key Moves: Spear (BF1), Teleport (DF3), Death Spin (BF4)
- Spear Strategy: Use Scorpion’s spear both as a punish tool and to check ranged opponents. On block, avoid immediate follow-ups since it’s punishable. After a successful spear, go for his signature combo strings or mix in throws to keep the pressure up.
- Teleport Usage: Scorpion’s teleport isn’t just for punishing zoning—it’s also a great way to escape corners or reset neutral. Avoid spamming, or you’ll eat a big punish from alert players.
- Mix-Up Potential: Alternate overheads (F4) and lows to keep defenders guessing. Back 1, 4 (B1,4) is a reliable string with a natural stagger.
Sub-Zero
Playstyle: Mix-up, punish, combo-heavy Key Moves: Ice Ball (DF2), Slide (BF4), Rising Ice (DB1)
- Frozen Threat: Ice Ball is the centerpiece of Sub-Zero’s plan. Use it to shut down reckless movement, but don’t throw it out carelessly—opponents expecting it can easily punish.
- Low/Overhead Mix: Strings like Forward 2,1 (F2,1) can cancel into Rising Ice for a safe launcher or go for Slide for a low-hitting punish. Well-timed overheads (F4) set up tricky 50/50s.
- Defensive Play: Sub-Zero’s Slide punishes whiffs and zoners at mid-range. Amplify for added damage and corner carry, but don’t get predictable—savvy players will block low and punish.
Liu Kang
Playstyle: Rushdown, stagger pressure Key Moves: Low Fireball (DF1), Flying Kick (BF3), Bicycle Kick (BF4)
- Fireball Pressure: Liu Kang’s quick low fireball makes him dangerous at full and mid-range, poking opponents and controlling pace.
- Stagger and Stun: Use Forward 3 (F3), and delay the follow-ups to bait out panicked counters. His strings are fast and let you sneak in throws or frame traps.
- Krushing Blow Utilization: Land Bicycle Kicks several times to unlock its Krushing Blow, allowing for high burst damage in crucial moments.
Jade
Playstyle: Defensive, anti-zoning, pokes Key Moves: Glow (DD4), Pole Vault (BF2), Deadly Assassin Boomerang (DF1)
- Counter-Zoning: Activate Glow to pass through projectiles, then rush forward to punish zoners.
- Poke Game: Jade’s long-range pokes keep close-range fighters at bay. Use her back 2 (B2) and down 4 (D4) to check aggressive opponents.
- Safe Pressure: Utilize her boomerang for safe chip and spacing. When amplified, it boomerangs back, keeping opponents guessing.
Geras
Playstyle: Grappler, corner carry, time manipulation Key Moves: Sand Trap (DF1), Quick Sand (DB2), Gauntlet of the Ages (BF2)
- Control the Arena: Geras uses Sand Trap to punish nearly anything from across the screen, shutting down projectile users and jumpers. Amplified traps can catch those trying to get cute with movement.
- Corner Bullies: Force opponents into corners with throws and combo enders that toss them toward the edge. In the corner, Geras’s command grabs and Sand Traps combo into serious damage.
- Krushing Blow Threats: Many of Geras’s grabs feature Krushing Blow requirements—commit them to memory and look for every opening.
Cetrion
Playstyle: Zoning, keepaway, environmental control Key Moves: Natural Barrier (DF1), H2 Puddle (DB3), Bouncing Boulder (DF2)
- Long-Range Dominance: Control space by tossing rocks and summoning walls. Her projectiles keep brawlers and rushdown characters outside their comfort zone.
- Teleport Antics: Cetrion’s teleport offers both offensive angles and defensive escapes—mix these in to frustrate pursuers.
- Chip and Run: Pressure with chip damage through her many ranged specials, then retreat with back dashes or teleports before opponents close the gap.
Jacqui Briggs
Playstyle: Rushdown, mix-up, mobility Key Moves: Bionic Dash (BF2), Grenade Launcher (DB2), Tech Dome (DD3)
- Up-Close Brawling: Jacqui’s fast dashes and plus-on-block strings force blocks and open up throws or pressure resets.
- Air Control: In variations with air moves, Jacqui can punish jumpers reliably and keep her own pressure safe.
- Amplified Mixes: Amplify Bionic Dash to keep combos rolling and cover whiffed attacks safely.
Shang Tsung
Playstyle: Versatile, zoning, morphing Key Moves: Straight Skull (DF1), Ground Eruption (DF2), Soul Steal (Down, Back, 4)
- Soul Steal Mind Games: Stealing a move throws off opponents' muscle memory. Use Soul Steal as a round closer or when you sense hesitation.
- Projectile Layering: Shang’s triple skull projectiles punish attempts at jumping or advancing and control the air.
- Krushing Blow Setups: Many of his specials and throws have specific Krushing Blows—mix these into your combo routes for spike damage.
Bonus: General Tips for Any Character
- Matchup Study: Every fighter has strengths and weaknesses in certain matchups. If you’re struggling, watch high-level play for your character to see how they handle tough enemies.
- Know Your Bread-and-Butters (BnBs): Each character has “go-to” combos and punish strings. Practice these in Training Mode until they’re second nature.
- Meter Management: Some characters are very meter dependent (e.g., Jacqui or Geras); prioritize EX moves and Fatal Blows only when they’ll swing the outcome.
- Adaptation: Be flexible with your approach. If your usual strategy isn’t working (e.g., zoning vs. a Jade with Glow), adjust on the fly.
Conclusion: Mastering Character Depth
Each kombatant in Mortal Kombat 11 rewards time spent learning their nuances. Tinker with different strategies, revisit your favorite move lists, and don’t get discouraged if a matchup feels tough at first. Over time, these character-specific tips can lead to tighter offense, better punishes, and—most importantly—a bunch of K.O.s in your favor.