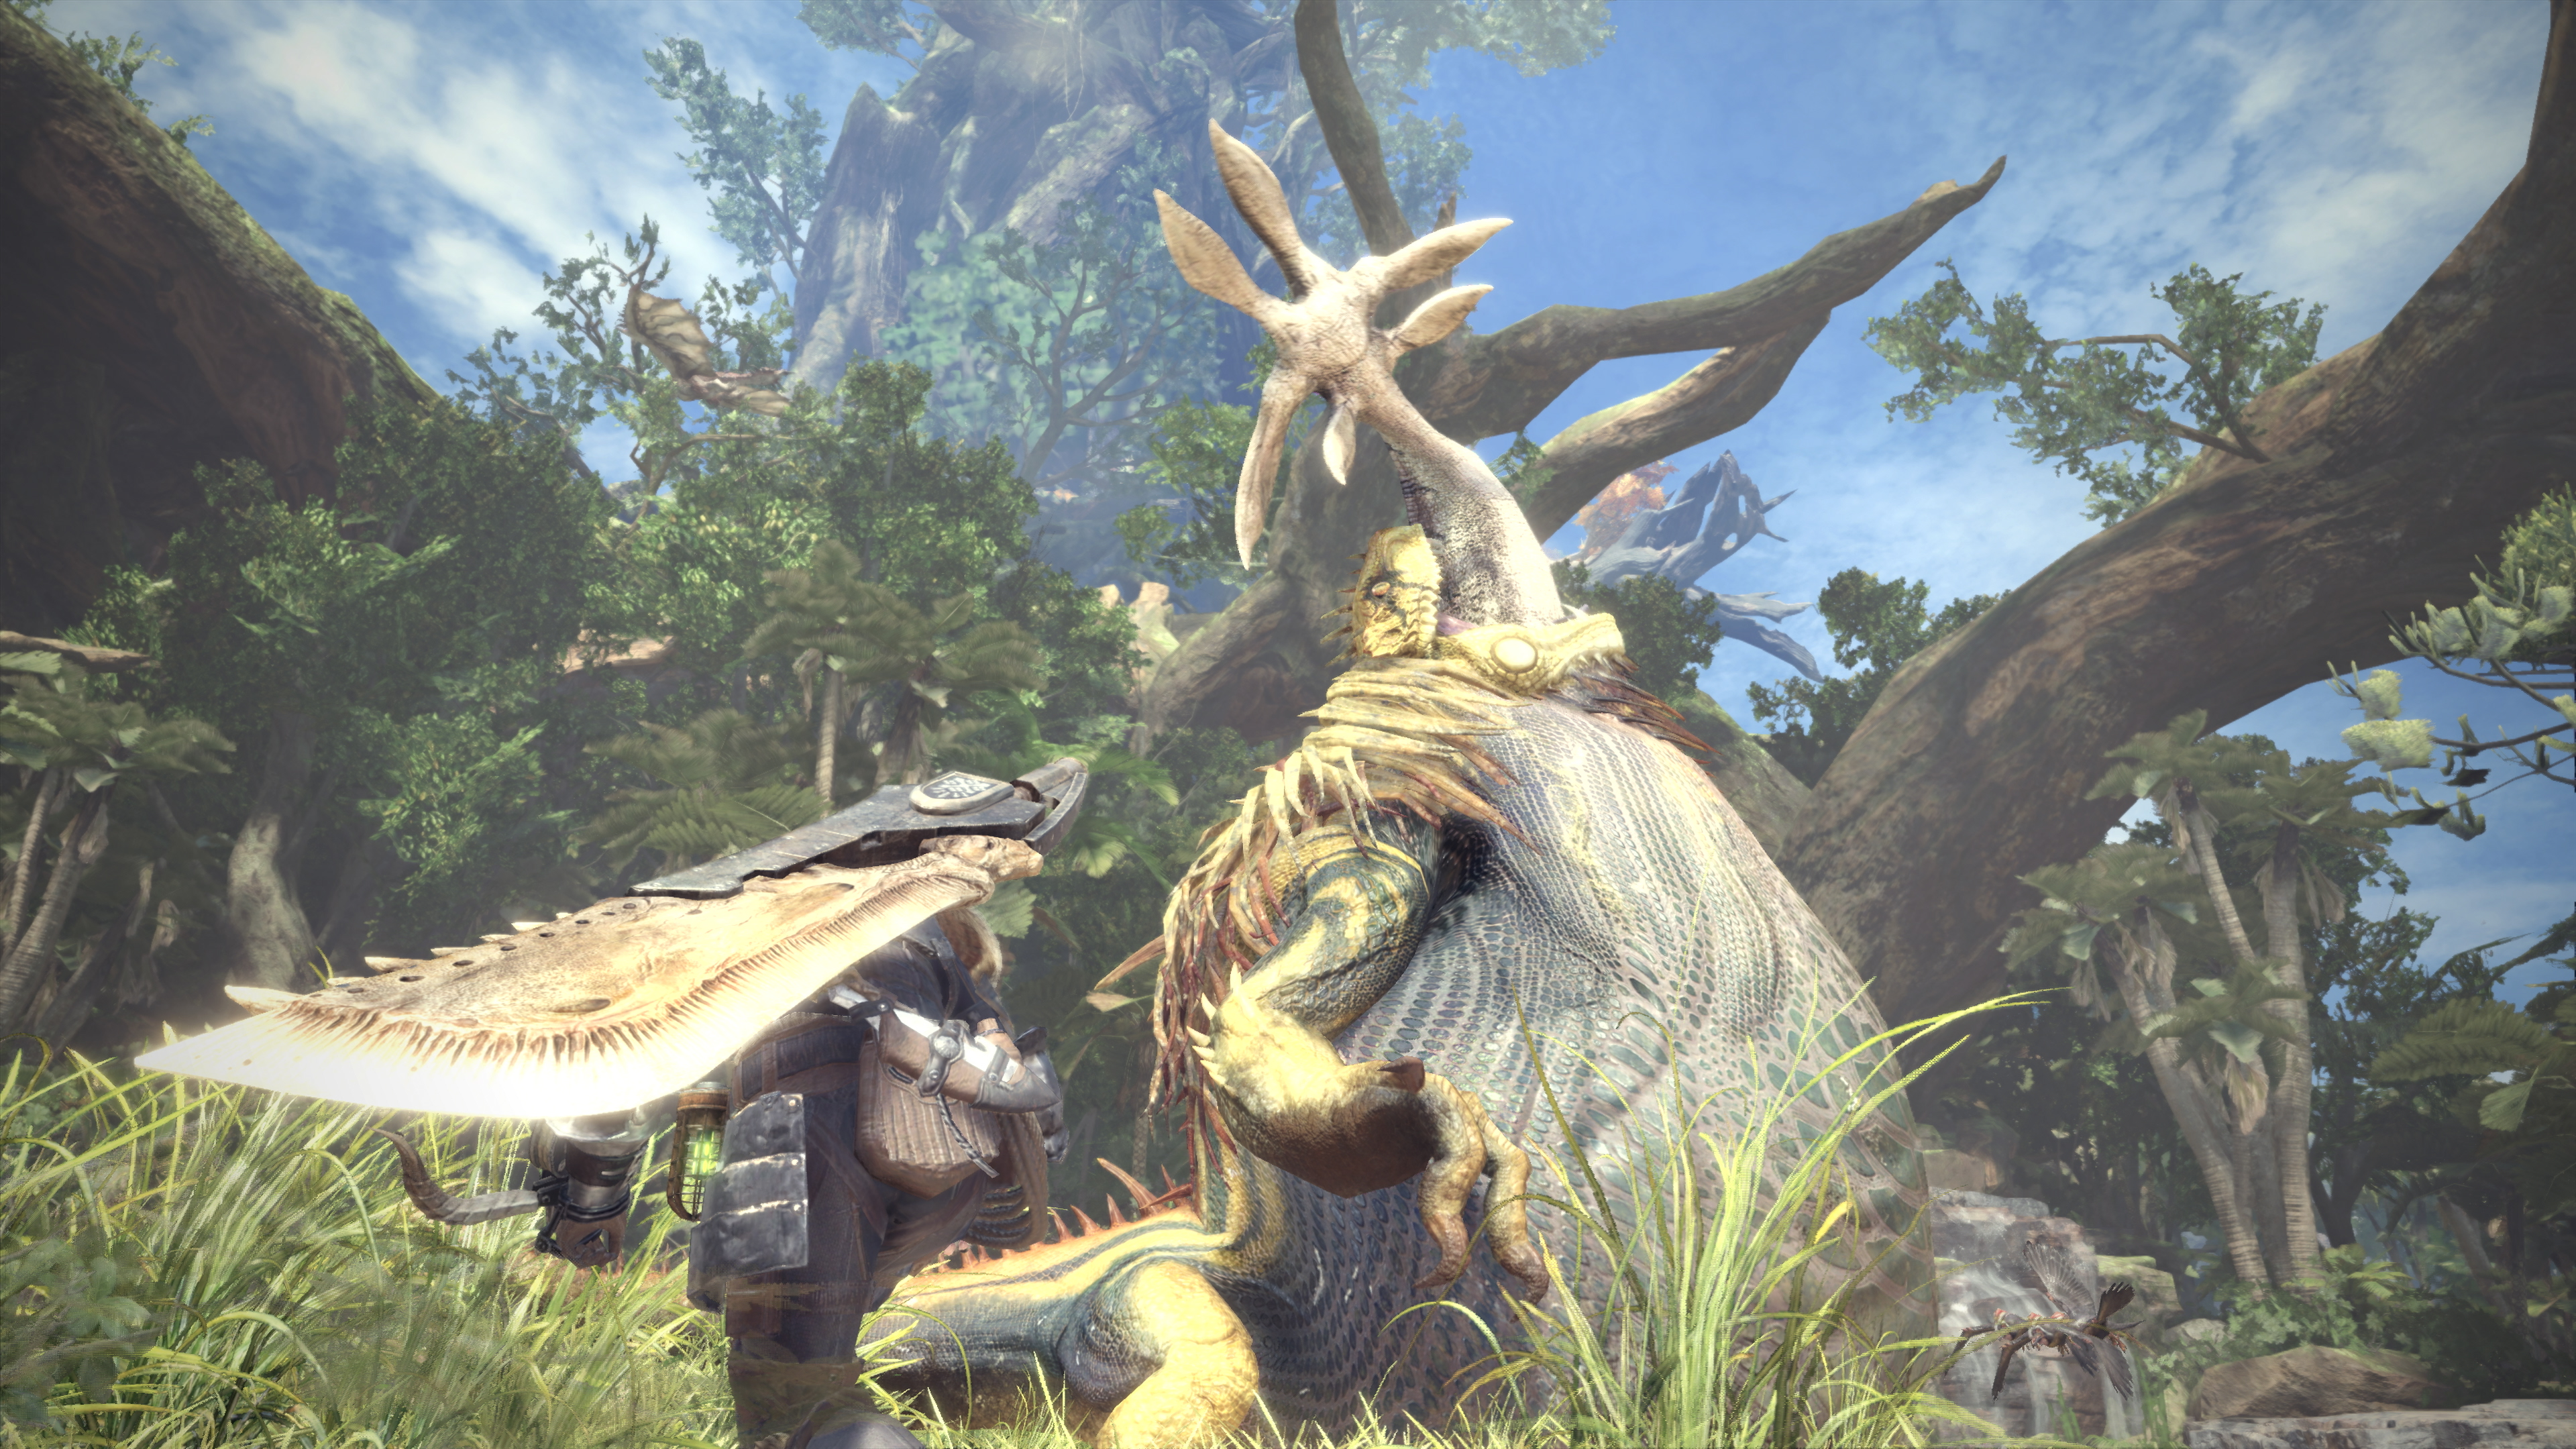
'Monster Hunter: World Advanced Combat Strategies Guide'
Master advanced combat in Monster Hunter: World with tips on weapons, monster weaknesses, gadgets, and tactical environment use.
Hunting the biggest and baddest monsters in Monster Hunter: World can be a blast, but anyone who’s spent time in the New World knows that brute force and button mashing will only get you so far. As the challenges ramp up, so does the need for sharper strategies—from knowing when to hang back and observe a monster’s tells, to squeezing every bit of utility from your gear and environment. Whether you’re running solo or fighting alongside friends, those split-second combat decisions and clever tactics can be the difference between a triumphant carve and a hasty cart back to camp. It’s not just about swinging harder; it’s about hunting smarter.
Weapon Mastery
Knowing every swing, poke, and flourish of your chosen weapon in Monster Hunter: World transforms your hunts. Each weapon isn’t just a tool—it’s a whole playstyle complete with strengths, quirks, and learning curves. Mastering your weapon means understanding its attack patterns, combos, and special moves, and recognizing when to swap tactics mid-fight. Whether you favor light, agile attacks or heavy, punishing blows, mastery is the key to thriving in tough battles.
Understanding Weapon Archetypes
MH:W features 14 weapon types, each with a unique rhythm and purpose:
- Great Sword – Delivers massive hits, but slow and requires careful timing.
- Long Sword – Balanced attack and mobility, known for its Spirit Gauge combos.
- Sword & Shield – Fast, nimble, and perfect for using items on the fly.
- Dual Blades – Lightning fast, ideal for status effects and relentless assault.
- Hammer – Specializes in stunning monsters but has limited range.
- Hunting Horn – Deals blunt damage and buffs teammates.
- Lance – High defense, precise pokes; great for countering.
- Gunlance – Adds explosive firepower to the lance’s stability.
- Switch Axe – Shifts between axe and sword for versatile combos.
- Charge Blade – Switches from sword and shield to a heavy axe with charge attacks.
- Insect Glaive – Acrobatics and Kinsect buffs; excels at mounting monsters.
- Bow – Mobile ranged combat, offers elemental shots and coatings.
- Light Bowgun – Quick, mobile ranged firepower with rapid status shots.
- Heavy Bowgun – Massive ranged power, slow movement, huge damage potential.
Picking a weapon is just the start. The most important part is learning your favorite inside and out.
Mastering Combos and Mobility
Every weapon has a set of core combos—reliable strings of attacks that maximize damage and keep you safe. Here’s how to level up your combo game:
- Practice Inputs: Visit the Training Area to nail down the timing of basic and advanced combos. Muscle memory matters.
- Watch for Openings: Strongest attacks often have long wind-ups. Save them for when monsters are tired, trapped, or knocked over.
- Chain Moves Smartly: Learn which attacks can roll or dodge cancel, letting you avoid danger right after landing a big hit.
Mobility varies widely:
- Light weapons (Dual Blades, Sword & Shield, Insect Glaive) can dash, leap, or roll out of harm’s way.
- Heavy weapons (Great Sword, Hammer, Gunlance) call for reading the monster’s patterns and getting into position early.
Managing Weapon Sharpness and Ammo
- Melee weapon users must keep an eye on sharpness. A dull blade bounces off armor and deals less damage. Use Whetstones during safe moments.
- Gunners rely on managing ammo types and coatings. Carry supplies to reload and switch up your attacks on the fly.
Monster tougher than expected? Take a step back, sharpen, reload, and adjust your attack plan.
Weapon-Specific Tips
Long Sword: Spirit Gauge
Build Spirit by landing hits, then unleash Spirit Slashes. Keep the gauge red for top damage. Fade Slash is great for repositioning between moves.
Great Sword: Charge Attacks
Hold attack buttons for big damage. Use Tackle to absorb light hits without getting knocked out of your charge.
Dual Blades: Demon Mode
Trigger Demon Mode for a speed boost. Archdemon Mode lets you chain even flashier combos. Stay aggressive but watch your stamina.
Hammer: Stun Opportunities
Aim for the monster’s head. After a few charged hits, monsters get stunned, letting you pile on more damage.
Bow: Coatings and Draw Attacks
Mix power, paralysis, or poison coatings as the fight demands. Charge your shots fully—don’t just tap attack for the best effects.
Insect Glaive: Kinsect Management
Send your Kinsect to collect extracts for buffs. White extracts boost speed, red buffs damage, orange improves resistance. Always top off before all-in attacks.
This is just the start. For each weapon, there are advanced techniques, hidden moves, and unique quirks to uncover as you spend more time in the field.
Adapting to Monster Behavior
Pay attention to a monster’s tells—different weapons shine against certain attack patterns or weak points:
- Blunt weapons (Hammer, Hunting Horn) crush heads and stun.
- Cutting weapons (Great Sword, Long Sword) can sever tails.
- Ranged attackers (Bow, Bowguns) pick off monsters from hard-to-reach places.
Switching weapons to fit the hunt or learning them all for flexibility can really stack the odds in your favor.
Building Mastery Through Practice
True weapon mastery comes with time. Use every hunt as a chance to tweak your style: try new combos, experiment with timing, and learn from mistakes. Watch others who prefer your weapon—there’s always a new trick to pick up.
In the end, mastering weapons in Monster Hunter: World isn’t about knowing every single frame of every move—it’s about staying adaptable, recognizing what works, and having the confidence to swing big when it counts. The more you connect with your weapon, the more satisfying those monster takedowns become. Understanding monster weaknesses is one of the fastest ways to shorten hunts and avoid unexpected KOs in Monster Hunter: World. When you know what makes a monster tick—and what knocks it on its butt—you can punch way above your weight class. Here’s everything you need to know about exploiting monster weaknesses, from elements to physical hitzones.
Elements and Status Effects
Monsters in MH:W react differently to various elements and ailments. Using the right elemental weapon or status effect can make a huge difference, sometimes doubling or even tripling your effective damage.
Elemental Weakness Chart
Every monster is most vulnerable to specific elements. Here's a quick reference for the most-hunted big monsters:
| Monster | Best Element | Secondary/Useful Elements | |--------------------|----------------|-----------------------------| | Great Jagras | Fire | Water, Thunder | | Anjanath | Water | Thunder, Ice | | Rathalos | Dragon | Thunder, Water | | Rathian | Dragon | Thunder, Ice | | Legiana | Fire | Thunder, Dragon | | Nergigante | Thunder | Dragon | | Teostra | Water | Ice | | Kushala Daora | Thunder | Dragon, Fire | | Vaal Hazak | Fire | Dragon | | Bazelgeuse | Thunder | Ice | | Kirin | Fire | -- (immune to Thunder) |
Before hunting, check your Hunter’s Notes in-game for updated weaknesses after you encounter a monster, since some subspecies have different weaknesses from their standard forms.
Status Weaknesses
Not every monster cares about being set on fire, but most are vulnerable to at least one status:
- Poison: Slows down monsters and deals ticking damage. Good against Rathian, Legiana, Vaal Hazak.
- Sleep: Knocks out monsters for a short time. First hit on a sleeping monster does double damage, so use barrel bombs for a big opener.
- Paralysis: Freezes monsters in place. Great for cutting tails or stacking more stuns.
- Blast: Explodes after buildup, great all-around for most hunts.
Physical Weak Points
Where you hit matters as much as what you hit with. Each monster has parts—like the head, tail, or legs—that take more damage from certain types of attacks.
Damage Type Breakdown
- Severing: Swords and blades can cut tails or break wings.
- Blunt: Hammers and Hunting Horns deal more stun and part break damage, especially to heads.
- Projectile: Bows and Bowguns target weak spots from afar—some monsters take more projectile damage to wings or tails.
For example:
- Great Jagras: Head and belly are weak—target with cutting or blunt attacks.
- Barroth: Legs and arms are soft points, but its head gets hard and will bounce most weapons unless you soften it with slinger ammo.
- Diablos: Belly is vulnerable after it’s knocked down, horns are breakable with blunt or heavy cutting weapons.
Always check your in-game Hunter’s Notes after breaking a part; it shows which weapon type is effective on each zone.
Elements vs. Raw Damage
A high-element weapon isn’t always the best pick. If a monster is only slightly weak to an element, a raw damage weapon with good sharpness might do more actual damage. Conversely, when a monster’s elemental weakness is marked with three stars in your notes, you’ll want to prioritize elemental builds.
Mix it up:
- Use elemental weapons when fighting elemental-weak monsters (three stars).
- Bring high raw damage for monsters with low or average elemental resistances.
Quick Tips For Exploiting Weaknesses
- Bring the right traps: Shock Traps work better on most monsters than Pitfall Traps, but some are immune—read the notes.
- Adjust your gear: Slot in elemental attack jewels or status jewels matching the monster's biggest weaknesses.
- Use part-breaking: Breaking horns on Diablos, clipping wings on Legiana, or cutting tails off Rathalos makes monsters less dangerous and drops extra loot.
Advanced Tactics for Weakness Targeting
Spotting Break Opportunities
Look for visual cues: cracked armor, missing horns, or scorched wings mean you’re working the right spot. Try to coordinate with your team: one player handles the head with a Hammer, another slices at the tail, and ranged attackers pepper weak zones like wings.
Weakness Exploit Skill
This armor skill boosts affinity (critical hit chance) when you target monster weak spots. It’s insanely helpful for both beginners and advanced hunters:
- Affinity boost: Up to +50% on weak zones
- Stack it with Critical Boost for huge damage jumps.
Flinch Free and Partbreaker
- Flinch Free: Stops you getting knocked around by teammates, letting you focus on weak points without interruption.
- Partbreaker: Makes it faster and easier to break tough parts—vital for hunts like breaking Uragaan’s jaw or Nergigante’s horns.
Conclusion
Understanding monster weaknesses in Monster Hunter: World speeds up hunts, improves survivability, and earns more rewards—all key for both lone hunters and squads. Always check your Hunter’s Notes before setting out, bring the right gear for the job, and focus your attacks on each monster’s most vulnerable spots. Get this right, and those intimidating monsters start looking a lot less scary.
Environmental Tactics
The world in Monster Hunter: World isn’t just a backdrop for epic brawls—it’s a collection of hazards, traps, and tools that hunters can use to tip the odds in their favor. The smartest players pay as much attention to the terrain and wildlife as they do to their weapon loadouts. Mastering environmental tactics means faster hunts, safer encounters, and plenty of those satisfying “did you see that?!” moments.
Leveraging the Map
Every locale, from the dense Ancient Forest to the treacherous Rotten Vale, is packed with features you can use mid-fight:
- Ledges and slopes: Attack from higher ground to get mounting opportunities. Slide down steep slopes and attack mid-slide to perform flashy (and powerful) sliding moves.
- Vines and walls: Knock monsters into climbable vines or walls to stagger them, then race up for aerial attacks or to mount the monster.
- Water, mud, and snow: Monsters move slower in rough terrain, while you can use Ghillie Mantle or dash juice to keep your speed up. Sludge patches in Wildspire Waste can snag tough beasts, leaving them briefly open.
- Foliage and hiding spots: Tall grass and thick shrubs let you hide from monsters if things go south. Pop a stealth mantle and break line of sight to heal, sharpen, or re-position.
Environmental Hazards and Traps
Each map is loaded with natural traps. Here are some favorites:
Flashflies
These glowing bugs act as mini-flashbangs. Hit a Flashfly with your slinger or weapon when a monster gets close—they’ll go off in a burst, stunning most monsters and sometimes knocking flying targets out of the air. Perfect for setting up a heavy attack or for crowd control.
Paratoads and Gasspods
You’ll spot these little creatures hopping around the field. Kick or hit a Paratoad to create a cloud of paralyzing gas that freezes monsters (and players, so don’t get caught yourself). Gasspods come in variants—poison, sleep, blast, and paralysis—so know your icons and use them smartly.
Boulders and Rockfalls
Certain areas have piles of rocks perched on ridges. Wait until a monster passes by, then shoot the pile with your slinger. The resulting rockfall will deal significant damage and often stagger or topple the monster. The classic example is in the Ancient Forest’s northwest nest or the sandfalls in Wildspire Waste.
Spider Webs and Vine Traps
Some spots have spider webs or hanging vines above them. Lure a monster onto a web or near a vine patch and damage the trap to entangle it, leaving it wide open to attacks. Ranged weapons or bombs can trigger these traps from a safe distance.
Environmental Status Effects
Acid puddles, effluvium-emitting vents, and hot/cold zones don’t just damage or debuff the hunter—they affect monsters too. Lure Vaal Hazak through effluvium clouds; drag Radobaan into acidic pools to wear down its armor faster.
Using Endemic Life
Endemic life is more than just window dressing. Frogs, birds, and even cactuses can turn the tide:
- Wedge Beetles: Grapple onto these to quickly close gaps or escape dangerous attacks. Some aerial weapons can mount monsters straight off a beetle swing.
- Scatternuts, Thorn Pods, Crystalbursts: These slinger ammos are scattered throughout the maps. Some (like Crystalburst) can stun monsters with a headshot; others pierce or explode, knocking monsters off balance or exposing weak spots.
- Dung Pods: Not glamorous, but essential for chases. A well-placed Dung Pod will force a tailing or invading monster to leave, giving you breathing room if Bazelgeuse or Deviljho drops in uninvited.
Monster vs. Monster
Monsters don’t just ignore each other—territorial disputes trigger turf wars, which deal massive damage to both creatures. Use these moments:
- Lure via footprints or slinger ammo: If there’s another large monster nearby, lead your target toward it and watch the fireworks. After a turf war, the loser is usually left vulnerable, and you can score some free hits.
- Ride and guide: When you mount a monster, steer it toward hazards or into another monster to trigger additional damage and chances to knock down opponents.
Weather and Time of Day
Some environmental factors are more subtle:
- Rains: Reduce the damage of fire-based moves in some areas and can make monsters like Tobi-Kadachi slower or less “charged up.”
- Night vs. day: Some monsters behave differently at night, or new endemic life appears that you can use or capture.
Quick Environmental Combos
For experienced hunters, stringing together environmental attacks really pays off:
- Blast a monster out of the sky with a Flashfly, roll a boulder onto it for a knockdown, then drive it into a web trap.
- Stagger a Rathian with slinger ammo, forcing her into a Paratoad, then smash the vine trap while she’s stunned.
Combos like these don’t just add style—they also maximize openings for massive damage and keep monsters from going on the offensive.
Wrapping Up Environmental Strategy
No matter your weapon choice or build, using the environment transforms tough fights into manageable victories. Take note of the arena, spot hazards and endemic life as you move, and think creatively when chasing, trapping, or wearing down a monster. The most efficient hunters aren’t just the best at swinging giant swords—they’re the ones who make the world work for them. Mantles and boosters add a tactical layer to every hunt in Monster Hunter: World. These reusable items can protect you, amplify your attacks, or control combat flow when used at the right moment. Getting the most out of them is key to mastering high rank hunts and pushing the limits of your builds.
What Are Mantles and Boosters?
Mantles are wearable cloaks that give you special effects for a short period, with a cooldown before they can be used again. Boosters are placeable devices you plant on the ground, creating a temporary area-of-effect buff for anyone standing nearby (including teammates!).
You can equip any two mantles or a mantle and a booster at the same time. They’re found in your item box in the tent at camp—just pick which ones to slot for the hunt.
Knowing what each one does, and when to use it, often makes the difference between a clutch win and a trip back to camp.
Mantles: The Right Cloak for the Right Job
Every mantle brings a unique effect, perfect for different threats and team setups.
Defensive Mantles
- Temporal Mantle: Absorbs damage automatically by dodging nearly all attacks for a few hits or until its timer runs out. Amazing for new monsters, or any unpredictable fight. The cooldown is long, so save it for risky moments.
- Rocksteady Mantle: Prevents knockbacks or staggers, and lowers damage from roars or wind/quake effects. Great for facing multi-hit moves or when fighting monsters that love to roar. Just watch out—while you won’t get thrown around, you'll still take full damage!
- Ghillie Mantle: Makes you invisible to monsters for a short time—ideal for repositioning, healing, or sneaky captures. Not useful in a brawl, but clutch for setting traps or gathering hard-to-find drops like eggs.
- Glider Mantle: Lets you catch air currents and ride Wedge Beetles more easily. Its main use is map traversal or speedruns with certain shortcuts.
Offensive and Utility Mantles
- Evasion Mantle: Increases your invincibility window when dodging. If you’re familiar with monster movesets, this makes slipping past attacks easier for setting up counters.
- Affinity Booster Mantle: Boosts your affinity (critical hit chance) for a fixed duration. Combine with crit builds for big damage windows.
- Challenger Mantle: Draws monster aggro while boosting your attack when monsters are enraged. Great with coordinated teams or if you want to protect a healer/support hunter.
- Fire/Water/Thunder/Ice/Dragonproof Mantles: Let you tank specific elemental attacks from monsters who spam them. Consider for Kushala Daora (wind), Teostra (fire), or Kirin (thunder).
Status and Element Resistance Mantles
- Vitality Mantle: Absorbs a set amount of incoming damage, like a second HP bar.
- Cleanser Booster (ok, it’s not a mantle, but close): Clears status effects in an area, such as poison or sleep, making it invaluable against monsters like Vaal Hazak or Paolumu.
How to Get Mantles
Most basic mantles are given via story progression, while advanced ones unlock through optional quests or special deliveries. Check your Research Base and NPC quest dialogue regularly for new unlocks.
Boosters: Buffing Your Party and Controlling the Field
Boosters are about map control. Placed at your feet, they generate an effect for anyone standing in the zone:
- Health Booster: Restores health over time. Place it next to the action for free, hands-off healing.
- Affinity Booster: Raises critical hit chance for all attackers in the field. Great to drop before a monster is toppled or paralyzed for a surge of damage.
- Cleanser Booster: Quickly removes elemental blights and status effects like effluvium, fireblight, or stun when players step inside.
Boosters stack with other effects, so you can combine a mantle and a booster for layered defenses or output—Temporal Mantle plus Affinity Booster during a DPS window is always a good time.
Booster Tips
- Most boosters last about a minute before fading.
- They can be destroyed if a monster stampedes over them, so place carefully.
- Only one type of booster can be active per hunter at a time—another of the same kind placed will overwrite the effect.
Advanced Mantle/Booster Combos
Pair mantles and boosters based on the fight:
- Solo survival: Rocksteady or Vitality Mantle plus Health Booster for the highest safety net.
- Aggressive burst: Challenger Mantle plus Affinity Booster for top damage while baiting aggro.
- Status-clear: Cleanser Booster with Ghillie Mantle or Immunity Mantle when facing monsters with strong poison, sleep, or effluvium.
For multiplayer, coordinate with your team—one person popping Health Booster while another uses their Temporal Mantle during a monster’s rage phase keeps everyone fighting at 100%.
When to Use, When to Wait
Timing is everything. Don’t slap on your best mantle at the start. Wait for danger—the monster’s enraged, your health is low, or you’re expecting a big attack. Mantle uptimes are short compared to their cooldowns, so pick moments wisely.
If you cart, both cooldowns reset, but you’ll have to run back from camp. Some hunters save their strongest mantles until a monster is tired, trapped, or about to be capped, letting you maximize that window.
Upgrading and Expanding Your Options
Some mantles and boosters can be upgraded for longer duration and better effects by completing certain high-level bounties or quest chains in Master Rank (Iceborne expansion required).
Check the Smithy and talk to the Resource Center NPCs to see if you have unfinished special assignments—these sometimes unlock or enhance your current gear.
Conclusion
Mastering mantles and boosters lets you play smarter, safer, and with a whole new tactical edge. Try different combinations based on your weapon and target—over time, you’ll get a sense of which loadouts suit your entire hunting squad. Whether you’re struggling to survive a Tempered Elder Dragon or just want more style points on speed runs, these gadgets are as important as your sharpest weapon.
Palico Gadget Guide
Your Palico is more than just a cuddly sidekick—they bring powerful gadgets to every hunt that can tip the scales in your favor. Whether you’re hunting solo or with a squad, having the right Palico tool can mean the difference between limping back to camp and carving up your trophy. Here’s a breakdown of every Palico gadget, how it works, how to unlock it, and which situations make each one shine.
Vigorwasp Spray
What It Does
Heals you or your allies by dropping a Vigorwasp that bursts into healing mist when you get close. Early on, your Palico will run up and squirt you directly, but later upgrades let them toss the wasp, position it further away, or even revive you (once per hunt with the Vigorwasp Revival upgrade).
How to Unlock
You get the Vigorwasp Spray from the very beginning.
Best Use
Great for beginners, solo players, or difficult hunts. If you’re learning monster patterns or grinding without a full healing build, this gadget keeps you healthy between risky moves. Later upgrades improve its reliability, making it a solid choice even for late-game fights.
Flashfly Cage
What It Does
Your Palico places down a trap that flashes, stunning or blinding monsters just like a Flash Pod. As it levels up, it gets extra effects—setting up shock traps, or letting your Palico zap monsters directly.
How to Unlock
Talk to the Grimalkyne in the Ancient Forest and complete their quest (find and return three lost Doodles in Area 17).
Best Use
Effective against monsters that hate being stunned (like Legiana or Rathalos). Bring this gadget when you want extra control for capturing, breaking parts, or escaping dangerous moves. Beware, some monsters (Tempered and many Elders) will resist frequent flashes.
Shieldspire
What It Does
Think of this as a paladin shield—your Palico taunts monsters, drawing their attacks, and blocks damage (sometimes even acting like a mini wall). The shield gets upgrades, turning into a full barricade or allowing bash attacks that can cause KO.
How to Unlock
Finish the Grimalkyne quest in the Wildspire Waste (find three doodles, then bring meat to lure Gajalaka, then chase down and reunite them).
Best Use
Good for aggressive monsters that won’t leave you alone. If you need safe damage windows or time for healing/sharpening, let your Palico play decoy. Especially useful in multiplayer, where drawing attention away can save teammates.
Coral Orchestra
What It Does
Basically, it’s a support horn. The Palico plays tunes, granting your hunter buffs: attack up, defense up, status resistances, and lesser windproof (depends on gadget level, with more effects added over time).
How to Unlock
Finish the Grimalkyne sidequest in the Coral Highlands (find three doodles, chase off Tzitzi-Ya-Ku to reunite the Grimalkyne tribe).
Best Use
If your team is lacking a Hunting Horn user, this fills the gap. Stack extra buffs on top of your meal skills, armor, and mantles. Especially good for tempered hunts, long battles, or when you want extra resistances against status-heavy monsters.
Plunderblade
What It Does
Your Palico throws a blade that makes monsters drop extra materials—sometimes even rare carves like gems or tails. Higher levels increase frequency and quality of drops.
How to Unlock
Go to Rotten Vale and find the hidden Grimalkyne tribe by feeding their leader (carry some Raw Meat to the Central Camp, follow the doodles down, and find the Plunderers in a small bone cave near Area 13/15).
Best Use
Grind-heavy sessions. If you’re farming monsters for rare parts or want to fill your box with materials, always equip the Plunderblade. It doesn’t help offensively or defensively, but nothing beats bonus drops.
Meowlotov Cocktail
What It Does
Turns your Palico into a pint-sized bombardier. They lob explosives that cause good AOE damage and can stagger monsters. At higher levels, the bombs really start to hurt and can hit multiple monsters.
How to Unlock
Complete all other gadget quests, then visit the Lynian Researcher in the Research Base to get the sidequest that leads you to the Meowlotov in Elder’s Recess (Area 8/15).
Best Use
If you want more offense. Against monsters with breakable parts or heavy stagger windows, the extra blasts pile on noticeable damage. Handy for solo players or when damage racing against timers.
Which Gadget is Best?
Each gadget fits different hunts:
- Vigorwasp Spray: Safety net for new hunts, solo play, or if you cart a lot.
- Flashfly Cage: Crowd control for trapping, taming, or fights against monsters that hate being lit up.
- Shieldspire: Taunt tool for distraction or tougher monsters with big aggro moves.
- Coral Orchestra: Buffs for long, grindy fights—especially useful with status-heavy monsters.
- Plunderblade: All about loot—bring when farming.
- Meowlotov Cocktail: Offense-focused for maximum damage in high-risk matchups.
If you’re not sure what to run, Vigorwasp Spray or Coral Orchestra are good bets for learning content, while advanced players often switch between Plunderblade (for farming) and Meowlotov (for raw power).
Tips for Palico Gadgets
- Gadgets level up as you use them more. Rotate regularly to max them all and unlock upgrades.
- You can only bring one gadget on a hunt. Swap at the item box in camp or your room in Astera.
- Some gadgets, like Plunderblade, let your Palico collect drops even from far away—great for monster parts that break off on a remote ledge.
- Against Elder Dragons, some gadgets have reduced effectiveness (like Flashfly Cage's stun). Adjust for each target.
Conclusion
Your Palico isn’t just for show—pick the right gadget for every hunt and see how much easier (or more stylish) your battles become. From soothing heals to bonus loot and surprise KOs, the right tool makes every hunt feel smoother. Mix it up, keep your favorites leveled, and you’ll find there’s always a perfect Palico strategy for every monster in Monster Hunter: World.