Final Fantasy X Aeons Guide: Best Summons and How to Unlock Them
How to unlock FFX's five story aeons plus the optional summon Anima, and what each one does best.
Aeons are the big guns in Final Fantasy X. Yuna prays at a temple, picks up a new summon, and from that point on she can call it into any battle to replace the whole party for a while. Five of them (Valefor, Ifrit, Ixion, Shiva and Bahamut) come with the story, so there's no way to miss those. Anima is the famous optional one, and earning her means hunting hidden chests across every temple puzzle in Spira. There's also Yojimbo and the Magus Sisters if you want the full set, but those are their own projects. Here's what each summon actually does well, where it comes from, and how to squeeze the most out of their overdrives.
Valefor and Ifrit Early Uses
Valefor, your free ride through the early game
Valefor is aeon number one. Yuna receives her at Besaid Temple right after you finish the first Cloister of Trials, and she carries you through the first few chapters. She's quick and tough to hit, though her plain attack runs a little weak early on. Her special move is the sneaky-good part. Sonic Wings damages one enemy and delays its turn, and the recovery on it is so short that you can spam it over and over. Plenty of early bosses just never get a turn.
She also flies, and that messes with enemy AI. A lot of fiends have totally different attack patterns against an airborne aeon, and some of their ground game plain misses her. That stays useful deep into the game (Demonoliths inside Sin, for example, are far less scary when half their kit doesn't work).
One thing to grab before you leave town: Valefor is the only aeon with two overdrives. Energy Ray comes free with her. Energy Blast hits harder and you pick it up on the morning you depart Besaid. Talk to the item shop owner until she mentions her dog, then check the dog in the house on the right side of the village. Do this before boarding the ferry. In the International, PAL and HD Remaster versions, a superboss called Dark Valefor parks itself at Besaid's entrance late in the game, and going back for the dog later means going through it.
Ifrit, the self-healing tank
Ifrit joins after the Kilika Temple trials. High Defense, absorbs Fire, and that absorb is the whole trick: fire spells heal him. Ifrit knows black magic, so he can literally cast Fire on himself to patch his own HP mid-fight. Yuna can top him off the same way. A tank that refills its own health bar for free MP is kind of ridiculous this early.
His special move, Meteor Strike, is non-elemental and ignores Protect, so armored bosses that shrug off your physical attacks still eat full damage. Hellfire, his overdrive, drops fire damage on every enemy at once. Save it for groups, or for ice fiends. The road toward Macalania is crawling with Snow Wolves and Ice Flans, and they all fold to fire.
Both of these summons double as damage sponges. When Yuna summons, the rest of the party leaves the field, and if the aeon dies everyone walks back in untouched. Eating a boss overdrive you can't survive with a disposable summon is a real tactic and it costs you nothing but time. A KO'd aeon just needs a save sphere touch or a set number of battles to come back. Valefor returns after 8 fights, Ifrit after 12.
Ixion and Shiva Elemental Roles
Ixion, your magic wall
Ixion waits at Djose Temple, past the lightning-charged puzzles. He's a unicorn with high Magic and Magic Defense, and he absorbs Lightning, so Thunder spells on himself work like potions. Thor's Hammer, his overdrive, is one of the better area nukes of the midgame.
His special move deserves more love than it gets. Aerospark does non-elemental damage and strips the target's buffs, everything except Auto-Life. Any boss that spends its first turns casting Protect, Shell or Haste on itself gets that undone in one action. It's a free dispel stapled to real damage.
For raw damage, point him at anything watery. Water Flans near Besaid, Sahagins and Piranhas in the drowned sections, that whole family takes bonus lightning damage. The element pairs in this game are simple: fire versus ice, lightning versus water. Enemies built from an element are weak to its opposite, and every elemental aeon heals from its own.
Shiva, the fast one
Shiva arrives at Macalania Temple, just before the story goes sideways. She's the speediest story aeon, with high Evasion and Agility, and she absorbs Ice. Cast Blizzard on her and she gains HP instead of losing it.
Heavenly Strike is her special move. It deals non-elemental damage and stops the target from acting (the in-game text claims it's a delay, but it actually sticks a Threaten effect). Against one big dangerous enemy, that's a lockdown you can repeat. Diamond Dust, her overdrive, freezes the whole field.
The Macalania Seymour fight is her big moment, and it's practically designed around her. Partway through, Seymour summons Anima, and Anima is weak to ice. Keep Shiva in that slot, Heavenly Strike on repeat, and let her cast Blizzard on herself whenever she's hurt. If Anima's overdrive gauge fills up, hit Shield and take Oblivion at a quarter damage. If you Grand Summon her in with a full bar, Diamond Dust chunks Anima hard enough to skip a lot of the pain.
Fire fiends are her food. Bombs on the Mi'ihen Highroad, Flame Flans, Red Elements, anything built of fire takes extra ice damage. Both Ixion and Shiva need 20 battles to revive if they get knocked out.
Bahamut Unlock Requirements
You cannot miss Bahamut, and that's the whole point of this section. He's the last story aeon. The party storms Bevelle to break up Yuna's forced wedding, works through the Cloister of Trials under the temple, and Bahamut joins automatically once you reach the Chamber of the Fayth. No side quest, no timing window, nothing to miss.
His trial is worth a note anyway. Bevelle is the only cloister in the game where using the Destruction Sphere is required to finish, so the hidden chest there (an HP Sphere) opens itself as part of the route. Remember that for the Anima hunt later. It also means you can never screw Anima up at Bevelle, since the game refuses to let you through without the treasure.
In battle, he's the strongest aeon the story hands you. Slow, but tanky, with big stats everywhere. Impulse, his special move, hits every enemy for non-elemental damage. Mega Flare, his overdrive, does the same thing but much harder, and Bahamut breaks the damage limit natively. That last part matters. Your human party caps at 9,999 damage per hit until deep endgame weapon customization, and most aeons are stuck under that same ceiling. Mega Flare can blow past 9,999 the moment you get him, which makes him your answer to any inflated HP bar from Bevelle onward.
His first real job comes right after you get him: the Via Purifico includes an aeon duel against the summoner Isaaru. Mega Flare makes that fight short. One warning for later, though. Seymour Natus and Seymour Flux both carry a move called Banish that destroys any summoned aeon after a single turn. So the play pattern against them is summon, fire the overdrive, dismiss. Don't leave Bahamut standing around to eat a free death. He needs 24 battles to revive if he does go down.
Anima Optional Aeon Trials
Anima is the reward for the game's biggest scavenger hunt. She lives at Baaj Temple, the flooded ruin from the opening cutscene, and the seal on her chamber only breaks if you collected the hidden Destruction Sphere chest from all six Cloisters of Trials. Not used the sphere, actually opened the chest.
| Temple | Chest contents | Notes | | --- | --- | --- | | Besaid | Rod of Wisdom | Do it on your first visit; Dark Valefor blocks the village in International/PAL/HD | | Kilika | Red Armlet | Returnable any time, nothing guards it | | Djose | Magic Sphere | Returnable any time | | Macalania | Luck Sphere | Return only after the story reopens the route; Dark Shiva guards it in International/PAL/HD | | Bevelle | HP Sphere | Automatic, the story forces it | | Zanarkand | Magistral Rod | Only unlocks on a return trip with the airship |
The habit that saves you grief: open every chest the first time through. Four of the six are doable on the spot with the sphere in the room. The Macalania one is a mini-puzzle where you break and rebuild the ice bridge; walkthroughs make it look worse than it is. Zanarkand is the one almost everyone misses, because the Destruction Sphere puzzle simply doesn't exist during the story visit. Come back with the airship, the screens now show solution patterns, and the chest appears.
With all six chests in hand, board the airship and use Search on the world map around X 11-16, Y 57-63 to add Baaj to your destinations. The approach is underwater, so the party locks to Tidus, Wakka and Rikku. Put Stone Ward or Stoneproof armor on them before you jump in.
The boss out front is Geosgaeno, the thing that chased you in the prologue. It has 32,767 HP and, helpfully, a weakness to all five elements, so elemental weapon strikes and your elemental aeons all hit for bonus damage. Its dangerous moves: Stone Punch petrifies, and a petrified character underwater shatters and is gone for the rest of the fight, which is why the Stoneproof armor. Below half HP it adds KO Punch, which inflicts Curse and can kill instantly. Every few attacks it swallows a party member and steals their buffs. Whatever you do, don't kill it while someone is swallowed, because it deals 9,999 damage to everyone on its way out. Get your party member back first, then finish it.
Loot before you leave: the water before the temple hides Lulu's Celestial Weapon (the Onion Knight), and the antechamber holds a Megalixir and 4 Mega Phoenixes. Then touch the six statues around the room. Each one lights up if its temple chest was opened (Bevelle's always does). Approach the fayth, sit through the scene, and Anima is yours. The HD Remaster also pops the "Feel the Pain" trophy for it.
Is she worth the walk? Yes. Pain, her special move, hits one enemy for heavy non-elemental damage with a chance of instant death on top. Oblivion, her overdrive, is one of the hardest-hitting moves in the game, dealing 16 separate hits in the PAL, International and HD versions (the original NTSC and Japanese releases show it as one giant hit). She breaks the damage limit natively and is second only to the Magus Sisters in raw power. One quirk: Pain doesn't charge her overdrive gauge, so build it with her regular attacks and by taking hits.
Overdrive Modes for Aeons
Quick clarification first, because the wording trips people up. The swappable overdrive modes (Stoic, Warrior, Slayer and the rest) are a people thing. Your party members pick those. Aeons don't get that menu at all. An aeon's gauge fills exactly two ways: it deals damage, or it takes damage. Anima's Pain and everything Yojimbo does are the exceptions that charge nothing.
You still have two levers. Boost raises the gauge fill rate by 50% but the aeon takes 50% more damage until its next turn. Shield cuts incoming damage by 75% and freezes all gauge gain. Shield is how you survive a boss overdrive you can't out-damage (think Anima's Oblivion or a Dark Aeon's worst move). Boost is for charging up on weak packs where the extra damage taken doesn't matter. Neither has a cooldown, so swap freely between turns.
The real engine is Yuna's own overdrive, Grand Summon. It calls any aeon in with a full overdrive gauge, ready to fire on its very first turn. The sneaky part: after the aeon uses its overdrive, the gauge drops back to whatever it was before the Grand Summon. Walk in with a full gauge and you get two overdrives back to back. A Bahamut charged up in advance plus a Grand Summon is two Mega Flares on the opening turn of a boss fight, and that deletes most story bosses.
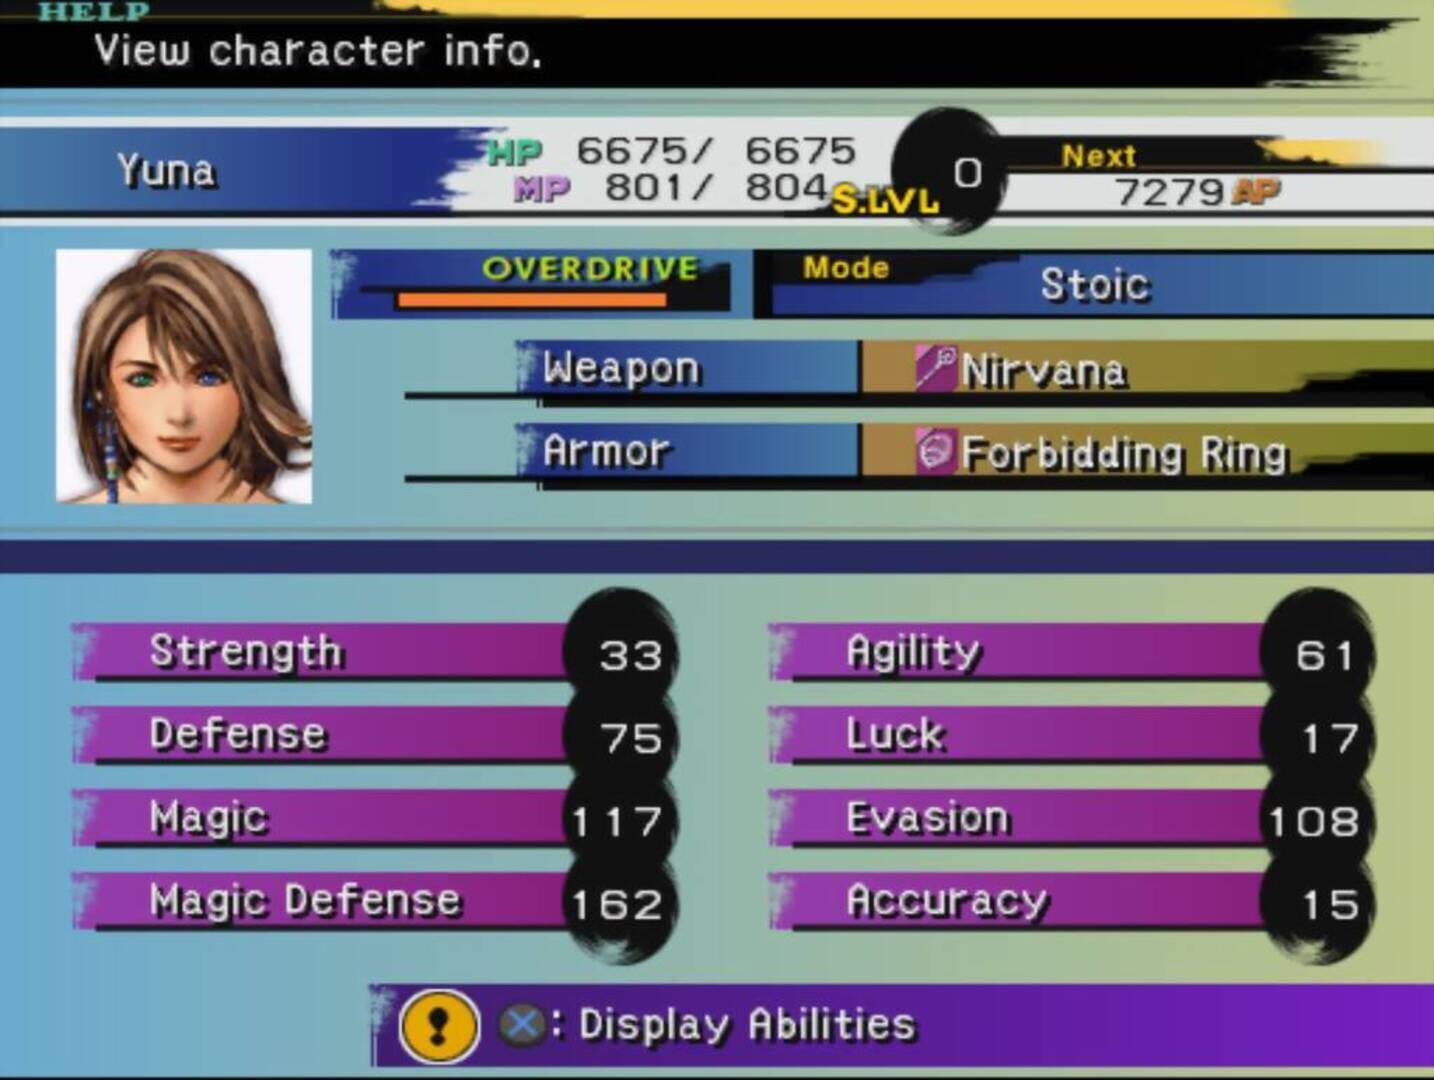
Since Grand Summon runs on Yuna's gauge, her overdrive mode matters more than anyone else's. Everyone starts on Stoic, which fills from taking damage, and you learn new modes by doing their trigger action in battle a set number of times. Yuna's cheapest ones:
| Mode | Gauge fills when | Turns for Yuna | | --- | --- | --- | | Healer | She heals an ally | 60 | | Tactician | She inflicts a status on an enemy | 100 | | Slayer | She lands the killing blow | 110 | | Victor | She's active when you win a battle | 150 | | Warrior | She damages an enemy | 200 | | Comrade | An ally takes damage | 240 |
Healer is the practical pick. Yuna heals constantly anyway, and 60 heals goes by fast; after that every Cure in a random fight is feeding her Grand Summon. One catch worth knowing: battles in the Monster Arena don't count toward learning modes, so do that grinding out in the world.
The loop that pays off from Bevelle onward: park Yuna on Healer, keep her patching people up as you travel, and save Grand Summon for boss doors. Right before a tough fight, summon an aeon against the local trash to charge its gauge, dismiss it, then open the boss fight with Grand Summon for the instant double overdrive. Two free Mega Flares on turn one is the strongest opening the story allows, and it turns the game's scariest health bars into short work.