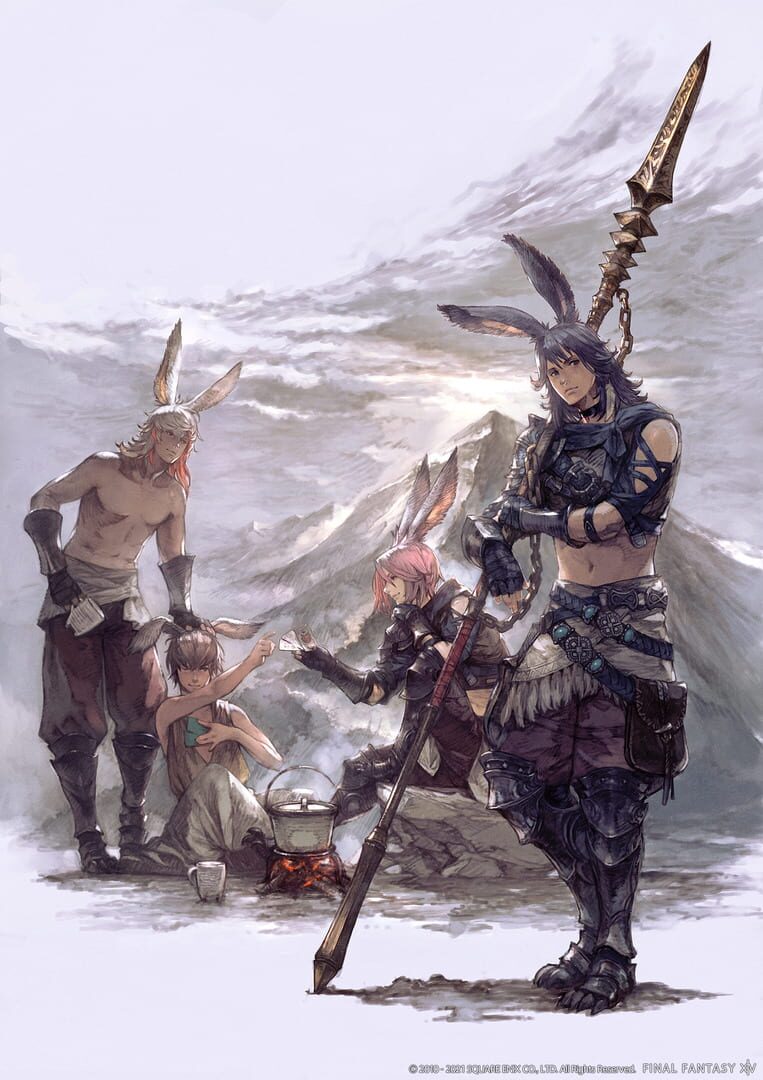
FFXIV Variant and Criterion Dungeons Guide
How the branching Variant Dungeons and hard Criterion dungeons in FFXIV work, from routes and endings to rewards and difficulty.
FFXIV's Variant and Criterion dungeons are a pair of duty types that came in with patch 6.25, and they're built for small groups of four. The Variant side is the chill, story-driven one with branching paths you can poke around in solo or with friends. The Criterion side takes those same maps and turns them into a real fight, closer to an Extreme trial or a Savage raid than a normal dungeon. Here's a rundown of how both halves work, what the branching routes actually do, the special actions you get, and what you can earn from each mode.
What Variant Dungeons Are
Variant dungeons are the casual, exploration-focused half of the system. You can queue in with anywhere from one to four players, and the enemy health scales down or up to match how many people showed up. So a solo run is totally doable, and a full party of four just means the mobs hit a bit harder and have more HP to chew through. There are no role restrictions at all. You don't need a tank, you don't need a healer, and you can even swap jobs mid-run.
That job-swap part is kind of a big deal. As long as you're out of combat, you can switch to any other Disciple of War or Magic that meets the level requirement. Run into a pull that's rough on your DPS? Hop to a tank. Stuck without healing? Switch to a healer for a stretch. There's a short 30-second cooldown after each swap before you can switch again, so you can't spam it, but the freedom is nice. (Limited jobs like Blue Mage are locked out, just so you know.)
All Variant and Criterion duties have an item level sync, and you can't run them unsynced. That "Unrestricted Party" option that trivializes old content doesn't work here, so you're always playing them roughly as the devs intended. You register through the V&C Dungeon Finder, which sits under the Duty menu, and you can go in solo, with a premade party, or flip on matchmaking to get dropped into a group of four. Matching is off by default, so turn it on only if you want randoms.
To get into them at all, finish the Endwalker main scenario and pick up the quest "An Odd Job" from Osmon in Old Sharlayan (X:11.9, Y:13.3). That opens the door to each dungeon's own little quest chain, and you can do them in any order. While you're inside, an NPC tags along for the ride. They don't fight, but they chatter, react to the environment, and feed you the story. Nanamo shows up in the Sil'dihn Subterrane, Hancock in Mount Rokkon, Matsya in Aloalo Island, and so on.
There are four of these dungeons as of the Dawntrail era. The Sil'dihn Subterrane kicked things off in patch 6.25, Mount Rokkon landed in 6.45, and Aloalo Island arrived in 6.51. The Merchant's Tale, the first Dawntrail one, came with patch 7.45 and works a little differently since it's also meant as a leveling tool and syncs your level upward rather than capping you at 90. The older three are straight-up level 90 endgame duties.
Routes and Multiple Endings
This is the part that makes Variant dungeons feel different from everything else in the game. The map branches. Instead of a straight hallway from start to boss, you hit forks, and the path you take depends on choices you make and sometimes pure chance. Pull a lever or leave it alone. Take the left door or the right one. Inspect an object or skip right past it. Each of those decisions nudges you toward a different route, and the route decides which boss you fight at the end and which mechanics show up.
Each dungeon has about a dozen distinct routes, and clearing a route in a specific way fills in a "record" entry in your V&C Dungeon Finder. The Sil'dihn Subterrane has 12 Sil'dihn Survey Records. Mount Rokkon has 12 Mount Rokkon Exorcism Records. Aloalo Island has its own set of conservation records. Finishing all of them is what drops the big cosmetic prize, usually a mount, and you grab it from the achievement menu once the list is complete.
The endings aren't all handed to you on a plate, either. Some routes are obvious, and some are locked behind puzzles or specific actions you'd never stumble into by accident. A few dungeons hide a secret boss behind a chain of interactions. The records you collect double as lore entries and as hints. Read them and they'll point you toward the more obscure paths, or at least nudge you in the right direction. So it pays to actually skim the flavor text instead of clicking past it.
Boss mechanics can shift based on the route, too. Take a certain path and the final boss might pull out attacks you'd never see on another route. That keeps repeat runs from feeling stale, since you're not just memorizing one version of the fight. It also means a guide for "the boss" is really a guide for a few different versions of that boss depending on which door you walked through.
So who actually grinds all 12 endings? Mostly glamour hunters and mount collectors chasing that final record reward. A practical tip: check which endings you're still missing in the V&C Dungeon Finder before each run. The list shows what you've found and what's still blank. Pick a blank one and work backward from the hint. Going in blind is fun the first few times, but once you're hunting the last two or three records, you'll want to be deliberate about your choices rather than relying on luck.
Variant Actions Explained
Because Variant dungeons throw out the usual tank-healer-DPS structure, the game hands you a set of special abilities to fill the gaps. These are called Variant actions, and they're basically stand-ins for real job skills. Variant Cure mimics a heal. Variant Rampart mimics a defensive cooldown. Variant Ultimatum is your provoke. You get to equip two of them at a time, and you pick them from the V&C Dungeon Finder window.
The handy part is that you can swap them whenever you want, even mid-run. Realize your all-DPS party has nobody who can heal? Open the menu and slot Variant Cure. About to pull a big group and want aggro control? Swap in Variant Ultimatum. The only limits are that some actions are role-restricted, so not every job can equip every one, and which ones you can pick depends on your current role.
Here's the full list of Variant actions and what they do:
| Action | What it does | Who can use it | |---|---|---| | Variant Cure | Big heal plus a regen on the target | Tanks and all DPS | | Variant Rampart | Cuts damage taken by 20% for 60 seconds and slaps on a barrier | Healers and all DPS | | Variant Ultimatum | AoE provoke with a stun, plus extra enmity generation | Everyone | | Variant Raise | Resurrects a downed ally into a weakened state | Tanks and all DPS | | Variant Spirit Dart | Damage-over-time on a target and anything nearby | Tanks and healers | | Variant Eagle Eye Shot | A chunky ranged single-target attack | Everyone (added in patch 7.45) |
The potency of several of these scales with the dungeon, so the heal and the DoT get beefier in the higher-level duties. Variant Cure also does double duty when the target has a certain buff effect, which matters more than you'd guess during a messy pull.
On top of the actions themselves, the game quietly tunes your stats to make weird party comps viable. Some attributes get nudged up to smooth out the gaps between roles, and jobs that lean on party-wide buffs, like Bard, get a little extra love since those buffs are normally balanced around an eight-player group. The upshot is that you don't have to stress about a "correct" team. A party of four DPS can clear, a solo tank can clear, a healer-and-three-DPS mess can clear. You just need to pick actions that cover what your comp is missing.
For a solo run, Variant Cure and Variant Rampart cover a lot of ground and keep you alive through the rough pulls. For a group with no tank, Variant Ultimatum lets someone hold aggro on the big packs. The Raise action is your safety net in any comp, since there's no real limit on how often you can raise in Variant mode, just a recast timer to respect. A fun combo is Spirit Dart plus Eagle Eye Shot on a pseudo-DPS setup, cranking out extra damage on bosses when your group already has healing and tanking sorted.
Criterion Mode and Its Difficulty Jump
Criterion is where the training wheels come off. Same maps, same bosses, but everything is tuned way harder and the rules change. The biggest shift is that Criterion is built around a proper party. You need exactly four players: one tank, one healer, and two DPS. The map is fixed, so no more branching paths. You walk a set route through three bosses with a couple of trash pulls in between, and the bosses are no joke. They hit like Extreme trials or Savage raid fights, just shorter, usually five or six minutes apiece instead of the ten-plus you'd see in a real raid.
Resurrection is where things get spicy. Normal raise spells are turned off. The only way to bring someone back is Variant Raise II, a duty action every player gets one charge of. Once you spend your charge, it's gone until you clear a boss objective or the party wipes and resets. So your healer can't just spam raise through mistakes. You've got four total charges for the whole group, and that's it for each stretch. Each boss also has an enrage timer, so if your damage is too low, it'll wipe the party on its own schedule.
To soften the strict role requirements, Criterion borrows the same party composition bonus from Variant. Your group gets a damage boost based on who's in it, with extra compensation for jobs that buff the whole party. It won't save you from standing in the bad stuff, but it keeps an unusual comp from being dead on arrival.
You can queue for Criterion through matchmaking, but in practice almost nobody does outside the first week a dungeon drops. North American and European players pretty much all use Party Finder, the same way they do for Savage and Ultimate raids. Matchmaking splits into Practice and Duty Completion options like the Raid Finder, so there's no penalty system, but expect to assemble your own group.
Then there's Criterion Savage, and this is where it stops being a good time and starts being a grind. The mechanics are identical to normal Criterion, but the numbers are cranked way up. Bosses have more health and hit much harder, and the trash mobs between bosses will flat-out kill you if you flub a mechanic. A lot of the ground AoE indicators from normal mode are removed or shortened, so you're dodging attacks you can barely see, and getting clipped usually means instant death.
The real kicker is the death rule. In Savage, revives are completely disabled. No Variant Raise II, nothing. If one person dies, the run is effectively over, because you have to beat all three bosses and every trash pull in a single clean go. Wipe once and you restart the entire dungeon from the front. There's also a global enrage timer, somewhere in the 20-to-25-minute range, that ticks from the moment you engage the first enemy. Miss it and everything powers up into a guaranteed wipe.
Savage has no matchmaking at all, premade parties only, and you're expected to show up in near-best-in-slot gear at the dungeon's item level sync. It's commonly compared to Ultimate raids in terms of the consistency it demands, since you can't carry a weak link and one mistake tanks the whole run. The upside is that you can practice every mechanic in normal Criterion first, then carry that muscle memory over once the stakes get real.
Patch 7.45 shook the structure up a bit. The old Criterion and Criterion Savage tiers got reshuffled into Variant (Advanced) and Criterion. Variant (Advanced) is the new middle ground, where you fight buffed versions of the three route bosses in any order, with no role restrictions and Variant actions still available. The new Criterion is the boss-rush hardest mode, fixed order, all three in one run, with the same raise limits as before. The classic Variant mode is left untouched, and the Sil'dihn, Rokkon, and Aloalo duties still keep their original Variant, Criterion, and Criterion Savage tiers.
Rewards From Both Modes
For all the talk about challenge, the rewards here are mostly cosmetic, which is either refreshing or frustrating depending on what you're after. There's no best-in-slot gear hiding in these duties. What you do get is mounts, glamour, minions, orchestrion rolls, and titles.
The Variant side pays out through its completion records. Finish all the routes and you claim a mount from the achievement menu. The Sil'dihn Subterrane hands you the Silkie, a fluffy little sheep-like critter. Mount Rokkon gives you the Burabara Chochin, a glowing paper lantern you ride inside. Aloalo Island awards the Spectral Statice, a fairy mount. Each dungeon also has its own glamour set bought with a run-specific currency, the potsherds you pick up along the way: the Noir set from Sil'dihn, the Shishu set from Rokkon, the Free Spirit set from Aloalo. Minions and Triple Triad cards drop from chests too, so there's a steady trickle of small goodies even before you finish a record list.
Criterion rewards run on coins. Every clear of a normal Criterion dungeon drops four of that dungeon's coins into the end chest. You trade them in with an NPC in Old Sharlayan for combat materia, the orchestrion roll of the dungeon's theme music, and an exclusive mount that costs 100 coins. That's roughly 25 clears per person, give or take, if you want the guaranteed mount. The mount also has a small chance to drop straight from the end chest, and here's the useful bit: Criterion mounts can be sold on the Market Board. So if you don't want to grind Another Mount Rokkon for the Shishioji or Another Aloalo Island for the Quaqua, you can just buy one with gil once someone else puts it up for sale.
Criterion Savage is stingier but offers the real flex rewards. Each clear gives one manuscript, which trades for combat materia, glamour, and furniture. The big draw is the exclusive title, basically a badge proving you cleared the thing. The third dungeon, Aloalo, goes a step further: its manuscripts can be exchanged for Elevated Esters that upgrade certain weapons into Exquisite versions. These match the item level of the patch's Savage raid weapons and have a unique look when drawn, filling roughly the same trophy-weapon role as Ultimate rewards.
Both modes also hand out Allagan Tomestones, the current endgame currency, so you're at least making real gear progress while you chase the shiny stuff. Because nothing in here is required for main progression, you can treat the whole system as optional. Knock out Variant for the story and a free mount, dip into Criterion if you want a small-group challenge that doesn't need a full raid team, and only bother with Savage if you genuinely enjoy the punishment. For most people, the smart play is to grab the Variant mounts for glamour and just buy the Criterion mount off the Market Board rather than grinding out 100 coins yourself.