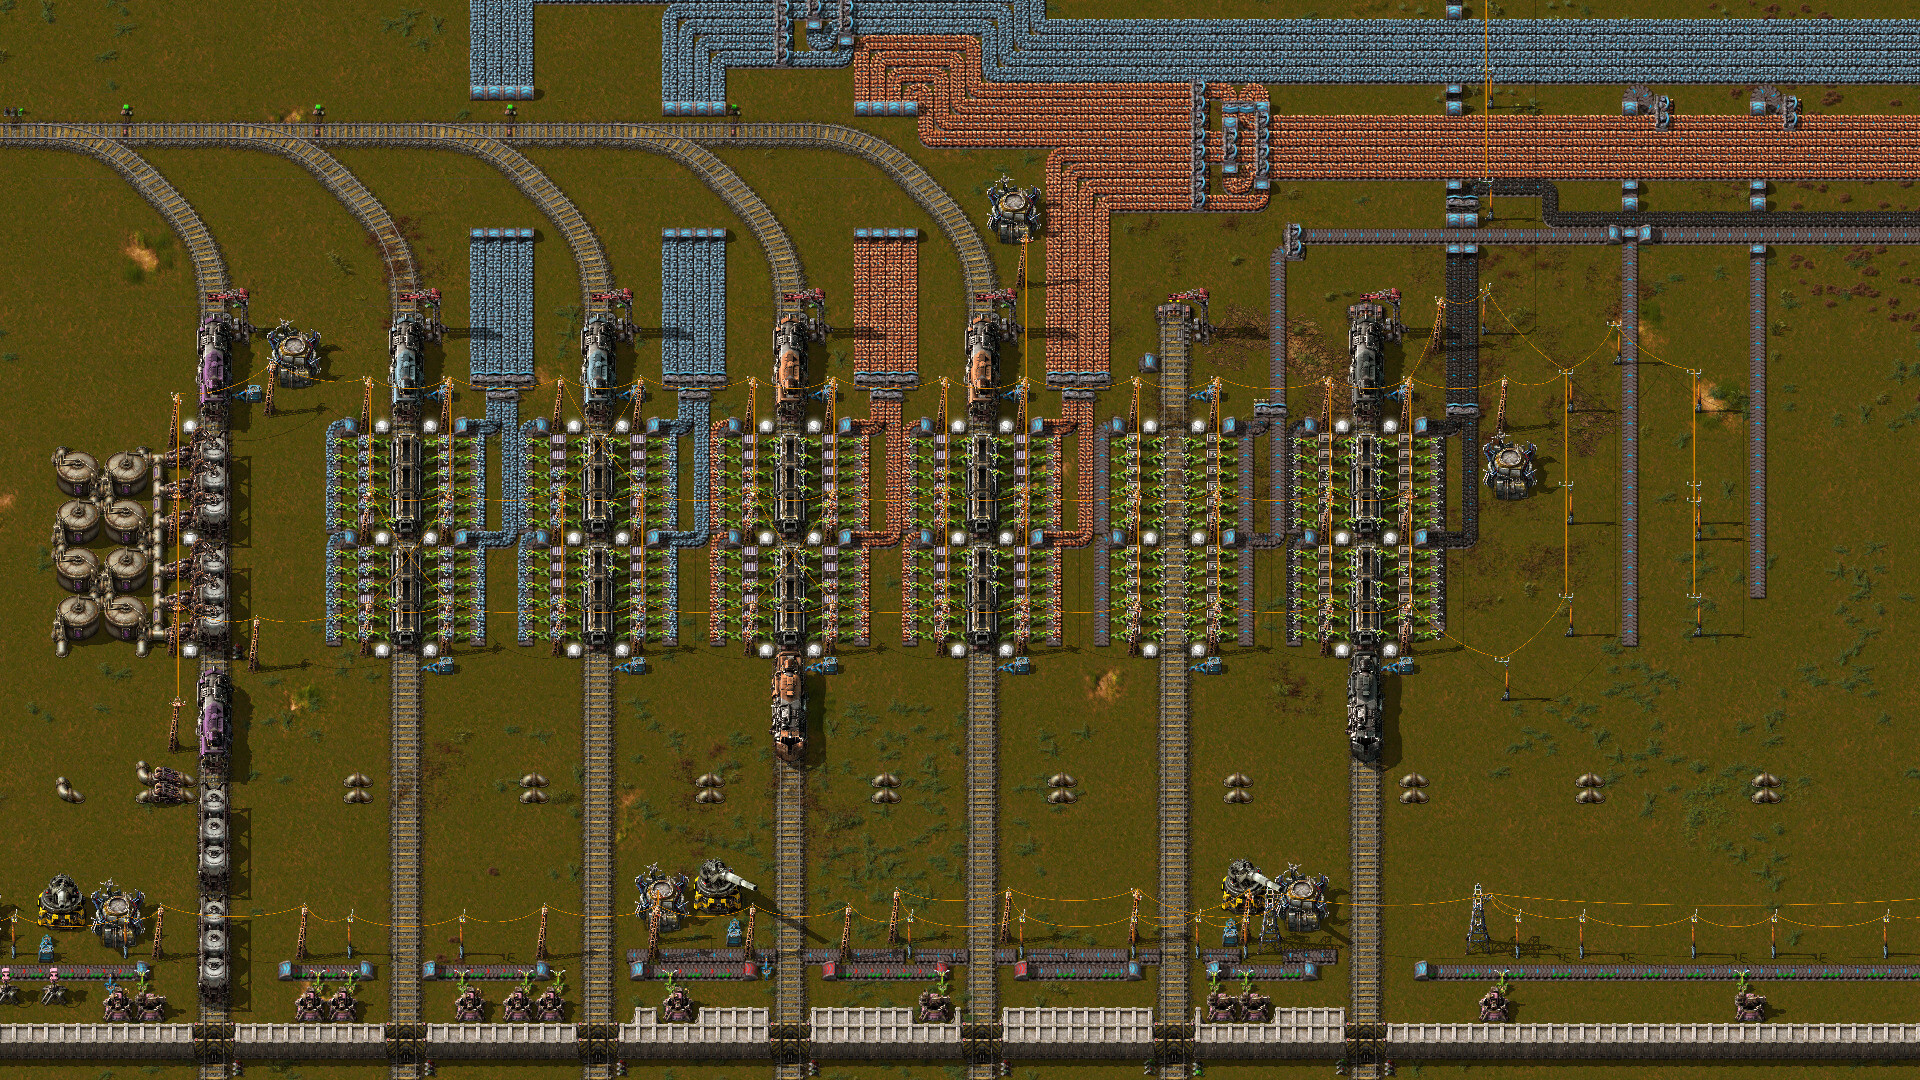
Factorio Train Network Guide: Signals, Stations, and Logistics
Covers rail blocks and signals, chain signal rules, station naming and train limits, drive-side conventions, and fixing deadlocks.
Trains are the moment Factorio clicks for a lot of people. Belts choke over long distances, bots eat your uranium on power, and neither scales past a certain point. Rails scale almost forever. The catch is that a rail network has real rules, and the game explains maybe a third of them. The other two thirds you learn from jams, wrecks, and the sinking feeling of watching eight trains frozen in a circle nobody can leave. This covers the parts that actually break networks: how blocks and signals work, where chain signals go, how to name and limit stations so traffic spreads out, which side of the track to drive on, and how to untangle a deadlock once you've built one.
Rail Basics and Track Layout Fundamentals
Everything about signaling comes back to one idea: blocks. Signals cut the track into chunks, and only one train is allowed inside a chunk at a time. A block isn't a fixed size, it's just whatever stretch of rail sits between two signals. Big gaps between signals means long blocks, and long blocks means your trains spend a lot of time parked waiting for the guy ahead to clear out.
Grab a signal and hold it in your hand sometime. The rails light up with colored overlays showing every block on the network, which is honestly the single best teaching tool the game gives you. Those colors have nothing to do with whether a signal shows green or red, they just outline the blocks. Rail signals and chain signals both cut blocks. Train stops do not, which surprises people the first time.
Two placement facts that trip up newcomers:
- Signals only work on the right side of the track, from the direction the train travels. A signal on the left does nothing on its own.
- A track with signals on just one side is one-way. Automatic trains refuse to path against it, so a "no path" error on rails that clearly connect usually means part of your route runs the wrong way.
For two-way running you either build a pair of parallel one-way tracks, or you put signals on both sides of a single track. The parallel pair is the better call for anything beyond a couple of trains. A single bidirectional line works fine with exactly one train on it, and pretty much guarantees a head-to-head standoff the moment you add a second.
Before you lay anything serious, pick your maximum train length and write it down. A common early choice is one locomotive plus four cargo wagons, usually written 1-4. This matters more than it sounds, because every junction, every stacker, and every signal gap on the network has to fit that length or the whole thing jams later. Retrofitting a base full of 1-4 junctions to run 2-8 trains is a bad weekend. Pick once, stick to it, and space your signal blocks so a full train fits between them.
A couple of building details worth knowing:
- Rails snap to a two-tile grid, so you can't nudge a track over by one tile to make something line up. Plan around it.
- To make a switch, lay a new rail so it overlaps an existing one and the two merge. Two straight tracks crossing in an X is not a switch, since trains can't turn sharply enough to use it. It's still an intersection for signaling purposes though, and it still needs signals.
Chain Signals vs Rail Signals Explained
Here's the whole distinction in one breath. A rail signal looks at the block right behind it. A chain signal looks at the block behind it AND the next signal down the line, and it only lets a train through if there's room to come out the other side.
That difference is why the famous rule exists: chain in, rail out. Chain signals go before and inside junctions, regular signals go on the exits. A train stopped at a rail signal will happily sit there. A train stopped at a chain signal is one that was never allowed to enter in the first place, because it couldn't leave. If a stopped train would sit in the middle of a crossing and block traffic going other directions, that entry needed a chain signal.
Signal colors, for reference:
| Signal | Color | What it means | | --- | --- | --- | | Rail signal | Green | Next block is empty | | Rail signal | Yellow | A train reserved the block and is coming in | | Rail signal | Red | A train is sitting in the block | | Chain signal | Green | Path clear into a block past a regular signal | | Chain signal | Blue | Some paths open, some blocked | | Chain signal | Red | Every path out is blocked |
Blue is the sneaky one. It shows up where the track splits and one branch is clear while another is occupied. The game checks each train's actual route, so two trains can roll up to the same blue signal and one goes through while the other waits. You couldn't drive on that ambiguity, but the automation handles it fine.
A nice side effect of chains: trains can't stop between a chain signal and the next regular signal. Reserve the whole path, roll through, done. A whole row of chain signals means the train commits all the way to a block past a rail signal, or to its destination station if that comes first.
Where each one goes
The practical placement routine for any junction:
- Chain signals on every entrance.
- Regular signals on every exit.
- Optionally, more chain signals inside the junction to slice it into smaller blocks.
That third step is optional but cheap. Slice a crossing into several blocks and two trains whose paths don't touch can use it at the same time, one going east-west while another goes north-south. Throughput goes up and you spent nothing but signals to get it.
One warning on the other end: don't chain-signal the whole planet. Chain signals reserve long paths, and a train holding reservations across a dozen blocks locks out everyone crossing any of them. The wiki says it plainly, use regular signals wherever you can get away with them and chains only where waiting would block somebody. Long straight runs between junctions should be plain rail signals spaced a train-length apart, so multiple trains can pipeline down the same stretch.
Stackers and waiting areas flip the rule on purpose. A stacker is a parking lot for trains heading to a busy station, and you want trains to wait there. So the signals letting trains into the stacker lanes are regular ones, and the signals letting them out toward the station are chains. That way a parked train never creeps forward into track it can't clear.
Setting Up Train Stops and Station Naming
A train stop is what turns a piece of track into a place trains go. It has to sit on the right side of the track relative to the direction trains arrive, same as signals. Hover a placed stop and the game shows you exactly where each vehicle will line up, which saves a lot of guesswork when you're positioning inserters.
The physical station is simple. Up to twelve inserters can work a single cargo wagon, six to a side, and a fluid wagon takes at most three pumps. Fuel works the same way, with inserters loading locomotives while the train is parked. Note the catch there: trains only take fuel while parked at a station or being driven manually, never while waiting at a signal. So build refueling into a stop trains actually visit, or give fuel its own stop on the schedule.
Naming, and why same-name stops are the trick
Every stop you place shows up in the schedule picker. Name two stops the same thing and they become one logical station to the trains, and that's the foundation of a scalable network.
When a train heads to a name, it picks among all stops carrying that name. The choice isn't straight-line distance, it's pathfinding distance, which counts other trains on the route and penalties. Empty stops win over occupied ones unless the occupied one is a lot closer. Stops also add a 2000-tile path penalty for trains that would cut through them in passing, so your network naturally avoids rat-running through somebody else's station.
The payoff is outposts. Name every iron ore pickup "Iron Ore Load" and every iron drop "Iron Ore Unload", and ten trains on that one schedule spread themselves across the map with zero micromanagement. Add a new mine, name its stop the same thing, and the fleet finds it on its own.
A naming scheme that reads well in the schedule list is worth five minutes of thought. Common patterns look like [Item] Load and [Item] Unload, or Iron Outpost 1 / 2 / 3 for pickups that each get dedicated trains. Stops accept rich text too, so you can drop an item icon right in the name and read schedules at a glance. Icons in names also do real work in 2.0, more on that below.
Train limits and priority
Two controls decide how trains distribute across same-name stops.
Train limit caps how many trains may reserve a stop as a destination. A limit of 1 means one reservation, including whichever train is currently parked there. Set it with the slider in the stop's GUI or drive it from the circuit network, which is the good version: wire the stop to your chests and raise the limit only when there's room to unload a full train. A limit of 0 acts the same as disabling the stop outright.
Priority is the tiebreaker when several valid stops are open, settable from 0 to 255 with a default of 50. Higher numbers win. Use it to make trains fill the near smelter row before sending ore across the map to the far one. One quirk to remember: priority only gets consulted when the train picks its destination. A train already en route won't re-path just because a nicer stop opened up.
Disable a stop via circuit and trains skip it, falling back to other stops with that name. If none are available, the train sits in a "destination full" state until something opens. That's normal behavior and not a bug, though it looks alarming the first time a train parks mid-track with no station highlighted.
Schedules, groups, and interrupts
Schedules are the ordered list of stops plus wait conditions telling the train when to leave. There are fifteen wait conditions, from "full cargo" to "inactivity" to circuit conditions read off the stop, and you can combine them with AND and OR logic. A typical ore run is something like: Iron Ore Load, wait until full cargo or 5 seconds inactivity, then Iron Ore Unload, wait until empty cargo.
Train groups copy one schedule across a whole fleet. Assign every iron train to a group, edit the schedule once, and all of them update. This is the difference between managing ten trains and managing one.
Interrupts are the 2.0 feature that quietly replaced half the circuit tricks people used to build. An interrupt is a condition plus a target station, and when the condition fires it shoves the target into the schedule as a temporary stop. The classic use is fuel: set an interrupt for "fuel < 20 in any locomotive, go to Depot", and every train in the group refuels itself without a fuel stop cluttering the main schedule.
Wildcard signals push it further. Inside interrupts you get four special signals, item, fluid, fuel, and a generic signal, that match whatever the train is carrying. Combined with icons in station names, a single generic schedule can send a train to whichever unload matches its cargo. It's the closest thing to a full logistics network you can build in vanilla, and it runs on stop names.
Building a Left-Hand or Right-Hand Rail Network
Pick a side of the road for your trains before you build anything you'd have to undo. Both conventions work, and neither is faster, but mixing them across one network is how you get a base where half the junctions are unusable.
The difference comes down to signal placement, since signals always sit on the right of the track from the train's point of view:
- Right-hand drive, the northbound train rides the east track. Its signals sit east of that track, on the outside of the pair. Tracks can run directly adjacent and everything still fits.
- Left-hand drive, the northbound train rides the west track. Its signals end up between the two tracks, so you need a two-tile gap in the middle to fit them.
Plenty of players pick left-hand purely for looks, since tucking the signals in the middle of the corridor keeps the outside edges clean for big power poles and roboports. Right-hand drive is the more common default, especially among players copying popular blueprint books, and it saves you a tile of width per corridor. Neither advantage is decisive. The real rule is that your junction blueprints assume one convention, so choose once and build everything in it.
One-way loops or two-headed trains
There's a second structural choice stacked on top of drive side: whether trains run loops on one-way track, or run point-to-point with locomotives on both ends.
An automatic train can only drive forward, unless it has locomotives facing both directions. So a train with engines at front and back can go out on a single track and come home the same way. Two-headed trains need way less track, which makes them great for early outposts and for cramped bases, and the penalty is speed, since you're hauling dead weight in one direction and the train is slower overall.
One-way loops cost more rail and force you to think about circulation, but every locomotive pulls in the direction of travel, so trains run faster and the network throughput ceiling is much higher. Most large bases end up here: dedicated two-way corridors with right-hand or left-hand traffic, and stations built as side spurs off the main line rather than stops planted right on it.
A station sitting directly on a main line is a traffic trap, since a parked train there blocks everything behind it. Build stations on a branch, leave a full train-length of clearance, and signal the branch entrance with a chain so nobody pulls in unless they can get back out.
Blueprint the repetitive parts. A straight corridor segment, a T-junction, a four-way crossing, a station, and a stacker, all built to your train length and drive side, covers about 90 percent of what a rail network needs. Stamp them out and the network stays consistent even when you build it tired. Testing a junction blueprint in a sandbox save before you commit it across the map is cheap insurance against propagating a signaling mistake into forty copies of itself.
Troubleshooting Deadlocks and Train Jams
A deadlock is a loop of trains each waiting on the next one, with the last train waiting on the first. Nothing moves and nothing will ever move, because the thing each train needs is held by a train that needs something it can't get. Every train that arrives afterward piles onto the pile.
Jams are softer. A jam is congestion, trains crawling or queuing because a junction or a station can't keep up. A jam clears itself eventually. A deadlock doesn't. Figuring out which one you're looking at is step one.
The four usual causes
| Cause | What it looks like | Fix | | --- | --- | --- | | Rail signal where a chain belongs | Trains stopped inside junctions | Swap entrance signals to chains, keep regulars on exits | | Loop with too many trains | Ring of trains, each facing the back of the next | Fewer trains on the route, or break the circle with more track | | Junctions too close together | Train's tail sits in one crossing while its head waits at the next | Space them out, or chain the signals between them | | No room after an exit signal | Train clears a junction and immediately blocks it with its rear | Next signal after every exit should be at least a max-train-length away |
The first one is by far the most common. If a train is parked inside an intersection, the signal that let it in was a regular one where a chain should be. The wiki's tutorial shows a deadlock fixed by exactly that swap, converting the eight signals before and on the crossing to chains and leaving the exits alone.
The second one is the painful one, because the signals are correct and the track is correct and it jams anyway. A circle in the network jammed with more trains than fit in the circle will grid itself, and it can happen with as few as two trains. Two fixes: run fewer trains on routes through the loop, or add track so the loop has slack. Setting the offending station's train limit to 1 usually stops trains from stacking into it in the first place.
The third is sneaky since each junction is signaled right in isolation. The dead train's tail is still fouling the last crossing while its nose waits at a signal past the next one. Treat the pair as one big junction, chain everything from the first entrance to the last exit, or just pull them apart.
Diagnosing one when you find it
Trains tell you what they're waiting on. Click a stuck train and read its state. "No path" means the track genuinely doesn't connect for a train of that facing, almost always a one-way section running the wrong direction. "Destination full" means every stop with that name is at its train limit or disabled, so the train is holding position until a slot opens. "Waiting at signal" with a long queue behind it means look upstream for the actual blockage.
Also remember that trains repath after sitting at a chain signal for five seconds. That's usually good, since they reroute around trouble, but occasionally a train decides to wait forever for a shortcut that'll never clear instead of taking the longer way around. If one train is stuck while an obviously longer alternate route exists, that's probably what happened, and dragging it a tile or toggling it to manual and back will force a fresh decision.
Preventing the next one
Stackers are the main tool. Build a set of parallel parking lanes ahead of a busy station, regular signals on the way in, chains on the way out, and trains queue in the stacker instead of backing up onto the main line. A parallel stacker is easy to extend and several stations can share one, which beats the sequential kind that only serves a single stop. Pair it with a train limit on the station itself, so only as many trains roll up as the station can actually accept.
Watch your fleet size against your network. Adding trains raises throughput right up until it suddenly doesn't, and past that point every extra train makes the jam worse rather than better. A stacker with N lanes serving a limit-1 station supports roughly N+1 trains cleanly, and pushing beyond that just fills your parking lot and spills onto the track.
Radars near major junctions help more than they get credit for, since you can't fix a jam you can't see coming. And when a deadlock does lock up, the fastest manual fix is usually setting a couple of the stuck trains to manual and driving them out of the way, not rebuilding signals with the whole network frozen behind you. One parked manual train off to the side breaks the loop, and the rest untangle themselves.
Keep the exit-signal spacing rule in your head and most of this never happens: after every regular signal, there should be room for the longest train on the network before the next one. That single habit prevents the tail-fouling deadlocks, and the chain-in-rail-out rule prevents the rest.