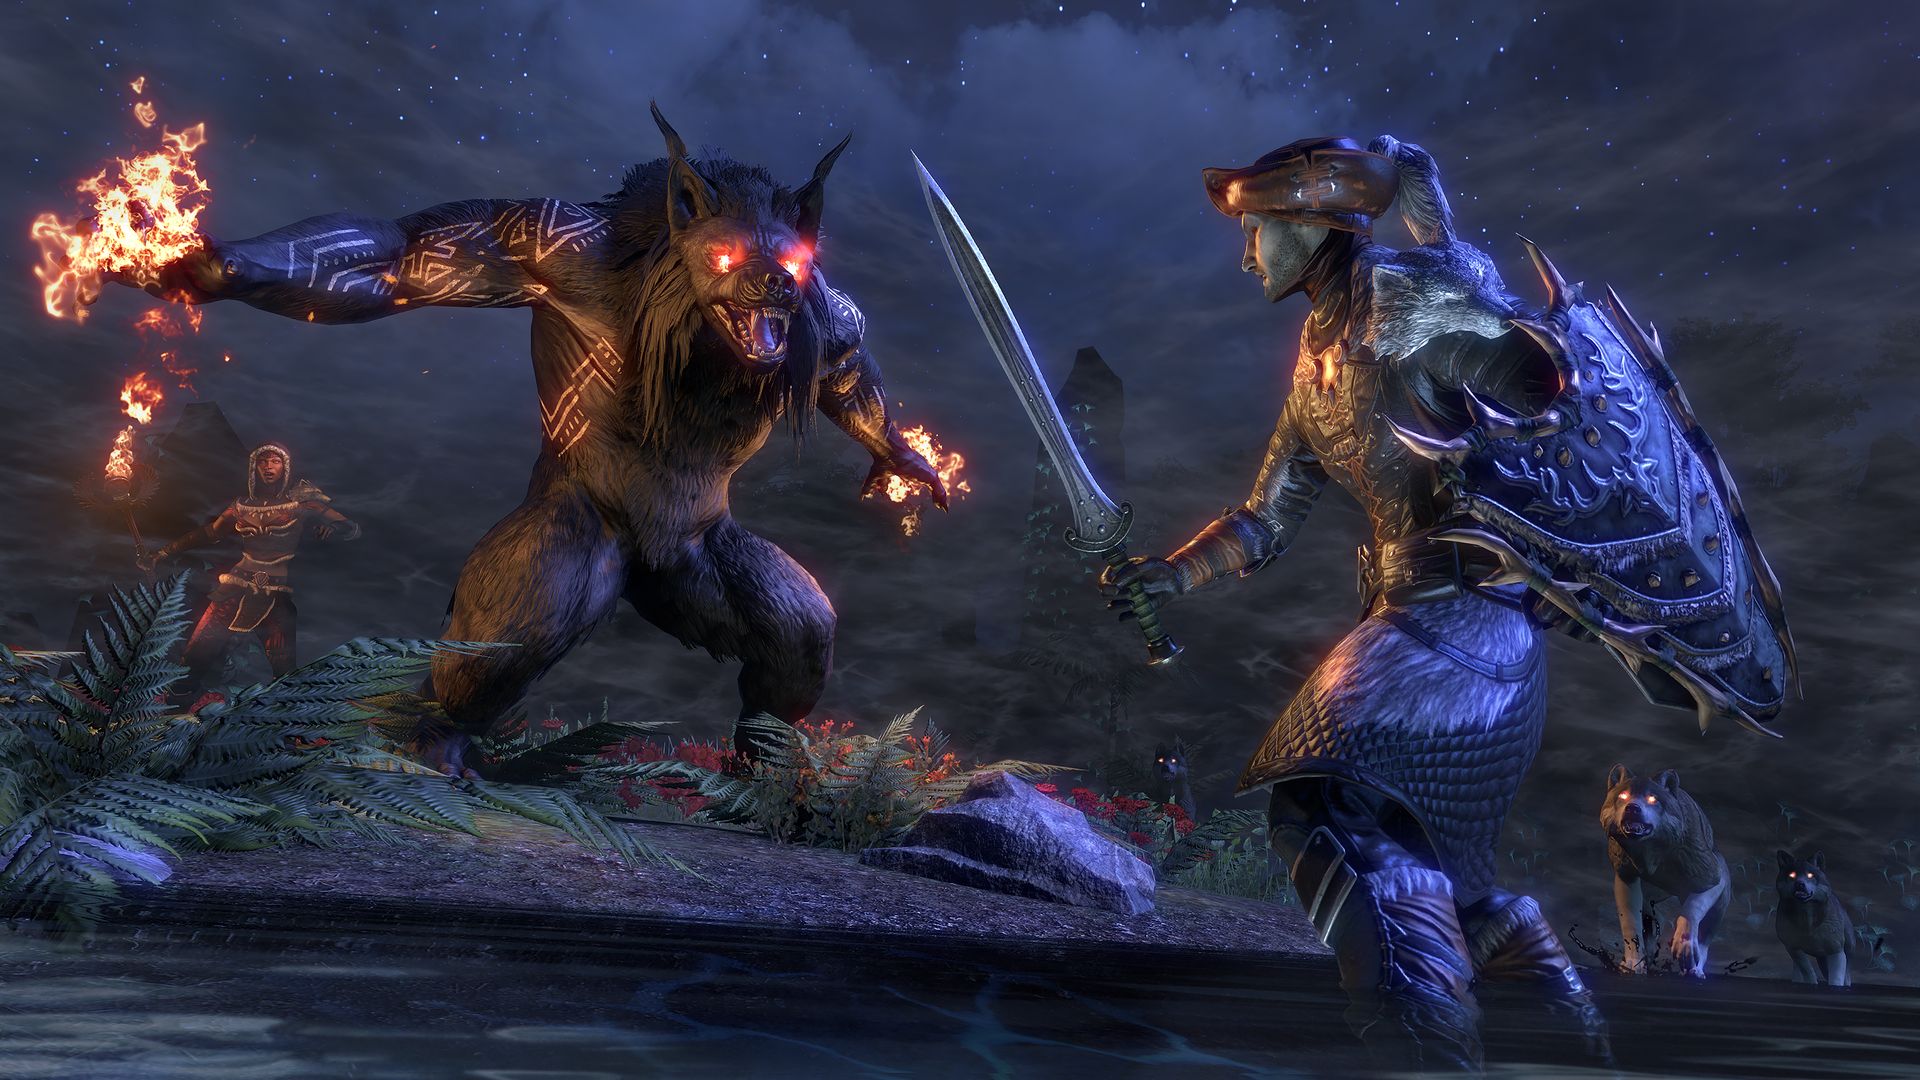
ESO: Darkshade Caverns I Dungeon Guide
Navigate the challenges of Darkshade Caverns I with this comprehensive guide to conquering Head Shepherd Neloren, Foreman Llothan, and more.
Unleash the secrets of Darkshade Caverns I with our ultimate ESO dungeon guide! Dive into the depths of one of Tamriel's most treacherous mines, where danger lurks at every corner. Whether you're a seasoned adventurer or a brave newcomer, this guide will equip you with essential strategies to conquer the formidable foes ahead. Discover how to triumph over Head Shepherd Neloren, navigate the challenges posed by Foreman Llothan, outsmart the menacing Hive Lord, and finally face the transformed terror, Grobull the Transmuted. Get ready to power through the perils of Darkshade Caverns I and emerge victorious with this must-read guide!
Head Shepherd Neloren: The Guardian of Darkshade Caverns
Welcome to the realm of Darkshade Caverns I, adventurers. As you prepare to face the challenges within, one name stands out among the combatants - Head Shepherd Neloren. This boss might seem unassuming compared to her daunting Daedric counterparts, but do not underestimate her keen wit and elemental prowess.
Encounter Overview
Head Shepherd Neloren can be found deep within Darkshade Caverns I, a bustling site filled with Dwemer relics and hostile creatures. She serves as the second boss encounter and brings some unique mechanics to the table.
The Environment
Before you get into the nitty-gritty of the battle, take a moment to observe your surroundings. The open arena allows for plenty of movement, but it’s essential to remain aware of Neloren’s magic, which can quickly narrow down your available space. The cavern is filled with Dwemer machinery, offering an ominous backdrop that fits her sinister capability to control the very elements of Nirn.
Abilities and Tactics
Head Shepherd Neloren is not your average healer. Her abilities combine elemental attacks that can turn the tide of battle if you're not prepared. Here’s what you need to watch out for:
-
Healing Totems: Neloren will periodically summon healing totems that restore her health rapidly. DPS players must prioritize taking these out as soon as they're up to prevent her from regaining too much health and dragging the fight into a lengthy slog.
-
Fiery Explosion: This spell forces a burst of fire into the arena, damaging everyone caught in its radius. Keep a vigilant eye and dodge roll out of its way, or risk taking significant damage.
-
Electric Shock: Neloren’s surprise attack; it targets a single player, causing a quick burst of lightning damage. Healers should be ready to top off the affected member and players should be prepared with self-heals or mitigation if needed.
-
Summon Elementals: Adding to the chaos, she can summon Earth or Storm Atronachs. These need to be focused down quickly by your damage dealers to avoid overwhelming the party.
Role-Specific Tips
-
Tanks: Your primary task is to hold Neloren’s attention and position her away from the group, minimizing the chances of the damaging AoEs hitting multiple people. Keep an eye on the elementals but let the DPS handle them unless they start causing significant trouble.
-
DPS: Swift and decisive action on the healing totems is your top priority. Assign one or two DPS to focus on totems while others deal with the Atronachs. Keep up consistent damage on Neloren to hinder her regeneration.
-
Healers: Maintain a keen awareness of your team’s health levels. Neloren’s magic can be unpredictable, and quick reactions are necessary to counteract unexpected bursts of damage. Conserve resources for when Fiery Explosion hits multiple members.
Conclusion
Conquering Head Shepherd Neloren requires coordination and quick reflexes. This encounter is a testament to strategic planning, reacting to the situation swiftly, and making the most of your team's abilities. Every member’s contribution can make or break this battle. With perseverance and sharp tactics, Neloren will be powerless to stop you on your journey through Darkshade Caverns I.
Remember, it's not just about brute strength but understanding and adapting to your opponent’s tactics. Stay vigilant, and may the Divines bless your path as you continue your exploration through Tamriel.
Foreman Llothan
Deep within the shadowy depths of Darkshade Caverns I, one of the many dungeons in The Elder Scrolls Online, lurks a formidable boss known as Foreman Llothan. This character is a central figure in the storyline as well as a significant challenge that tank-and-spank strategies won't easily bypass. Understanding his mechanics and how to tackle them can be the key to keeping your group alive and victorious.
Setting the Scene
When you first encounter Foreman Llothan, you'll realize he's not your typical boss. This Dreugh overlord has been twisted by the sinister experimentations of the Dwemer, resulting in a unique enemy, both visually and in combat terms. His lair, a wide expanse with plenty of room to maneuver, begs for tactical thinking rather than just brute force.
Combat Mechanics
1. Heavy Attack:
Llothan's primary move is a heavy attack that's telegraphed clearly. It's a massive swing that can take a chunk out of unsuspecting players, particularly if you're not a tank. Make sure your tank is aware and ready to block these devastating hits. Everyone else should keep a safe distance.
2. Poison AoE:
At regular intervals, Llothan unleashes a toxic cloud that quickly covers a wide area. This bright green AoE is a warning sign - any players caught within will suffer damage over time. It's crucial to move out of the cloud quickly to minimize damage. Healers should pay particular attention during these phases, as players caught off-guard can take serious health hits.
3. Tunneling Smash:
This ability sees Llothan slam the ground with such force that fissures appear, sending shockwaves along specific paths. These fissures are predictable and can be avoided with quick footwork. Players should be ready to dodge roll or sidestep judgments to evade the impending damage.
Strategy Tips
-
Positioning is Key:
Make sure your team spreads out to limit exposure to Llothan’s AoE attacks. Healers and DPS should find a balance between staying close enough to perform their roles effectively and far enough to dodge his powerful area attacks. -
Interrupts and Stuns:
Some attacks are susceptible to interrupts. Smart use of these can buy precious time for your group to heal up or unleash damage. Keep a close eye on Llothan's cues. -
Communication and Coordination:
With the hazards involved, clear and concise communication is a must. Designate roles clearly: tanks to hold aggro, DPS to unload during safe periods, and healers to focus on AoE heals when the team is forced to bunch up during certain phases.
Loot and Rewards
Defeating Foreman Llothan not only brings the satisfaction of overcoming a tough foe but also rewards players with valuable loot. Expect to find set pieces, jewelry, and other valuable items aligned with the dungeon’s theme. Specifically, gear like the "Netch's Touch" or "Argonian Behemoth" sets could be worth your while, especially for builds leaning on magic or stamina.
Conclusion
Mastering the fight against Foreman Llothan in Darkshade Caverns I is not just a test of might but also one of teamwork and strategy. By paying careful attention to his attack patterns and ensuring your group is coordinated, you can turn this formidable foe into a stepping stone on your journey through Tamriel. Happy dungeon crawling, and may your loot be ever shiny!
The Hive Lord: A Creepy Crawly Challenge in Darkshade Caverns I
Welcome, adventurer, to the murky depths of Darkshade Caverns I, one of the exciting dungeons in Elder Scrolls Online. If you've navigated this cavern's treacherous paths, you know you're leading up to a face-off with one of the dungeon's crawliest baddies: The Hive Lord.
Who is The Hive Lord?
The Hive Lord ain't your average oversized bug. This giant kwama warrior is the muscle of the subterranean bug operation down in the caverns. He likes to make his presence known with loud, thunderous stomps and is accompanied by his minion swarms. This boss tests not only your combat skills but your patience, as the fight is more about control and avoiding chaos more than anything else.
Team Setup and Strategy
To squash this insect-sized Goliath, a well-rounded team is your greatest ally. Here's what you should aim for:
-
Tank: The tank should hold The Hive Lord’s attention front and center, keeping his devastating melee attacks away from your more squishy teammates. Position the boss away from your group to prevent those large cone-swipe attacks from becoming a problem for everyone else.
-
Damage Dealers (DPS): Focus on burning down the kwama warriors quickly. These little creeps can overwhelm if left unchecked. AOE (Area Of Effect) skills will be your best friend here.
-
Healer: Stay on your toes! The Hive Lord’s attacks pack a punch, and teammates caught in his heavy hits will need your healing love ASAP. Make sure to wear protective gear that can keep you in the fight longer.
Mechanics to Watch Out For
-
Stomping Shockwaves: Once in a while, the Hive Lord will rear up and send shockwaves out in a cone. Be ready to dodge-roll out of the way. If you get caught, it can reduce your health significantly.
-
Minion Mayhem: Throughout the fight, expect waves of smaller kwama warriors joining the fracas. These guys need to be managed quickly. They can distract DPS, so handle them swiftly to keep the focus on the main target.
-
Venom Spray: The Hive Lord occasionally sprays a venomous cloud. Stay out of the goo, unless you’re fond of watching your health bar melt faster than ice on a summer day.
Tips for First-Timers
-
Communication is Key: Make sure everyone's on the same page when handling The Hive Lord's mechanics. Teams that call out minion spawns and stack for heals tend to have better survival rates.
-
Keep Your Eye on The Prize: It's easy to get flustered when there's a swarm of kwama inching closer, but don't lose sight of managing the main event. The Hive Lord's the big bug you need to take down.
-
Test Your Gear: Prior to entering Darkshade Caverns I, ensure your equipment is top-notch and repaired. This isn’t the time you want your best sword to be hitting like a wet noodle.
Conquering The Hive Lord not only brings pride and bug-squashing bragging rights but also rewards you with some sweet loot that'll make the whole ordeal feel worth it. So prep your team, ready those weapons, and dive into those caverns brave and unflinching. Happy adventuring!
Grobull the Transmuted: A Boss Battle Guide
In the depths of Darkshade Caverns, you’ll face the gruesome challenge of Grobull the Transmuted, a boss that’s one part beast, one part science experiment gone very, very wrong. Whether you’re a seasoned adventurer or a fresh recruit to the Elder Scrolls Online dungeon-diving life, knowing what’s coming can mean the difference between sweet victory and a soul gem-bound fate.
Location and Backstory
Before you even see Grobull, you’ll feel the shift in the air--it’s the culmination of Deepmire magic and surface ingenuity but horribly warped. Grobull resides deep within the dwemer ruins, part of the Darkshade Caverns I dungeon, lurking within the eerie Greenblood Slaves for company. He’s a tragic tale of a bull turned abomination, thanks to some questionable transmutation experiments. His horned shadow looms large, so be ready as he demands teamwork and strategy to conquer.
Abilities and Attack Patterns
1. Trample:
Grobull’s hefty frame isn't just for show. When he charges, you’ll want to beat a quick retreat. Trample sees him using his size to barrel through your team, causing massive damage if caught in his path. Keep a sharp eye and stay mobile to sidestep this attack.
2. Earthquake:
Possibly Grobull's trickiest move. He stomps the ground to send shockwaves throughout the room. You’ll notice the ground rumbling under your feet, so time your dodges and be prepared to move. Staying clumped together can spell disaster, with multiple players potentially being flattened by this AoE (Area of Effect) attack.
3. Bull Call:
Grobull isn’t fighting alone. During your clash, he’ll summon a group of stoneskin adds to his aid. Don’t ignore these creatures; they might seem minor, but they’ll quickly overwhelm an unprepared team. Assign one or two DPS members to handle them while the others focus on toppling Grobull.
4. Slowing Poison Cloud:
Occupying prime real estate in Grobull’s arsenal, the poison gas clouds form spots across the battlefield. Standing in these will sap your health and slow movement. Watch where you step, and communicate positions with your team to avoid straying into danger zones.
Strategies for Success
Team Coordination
The golden rule of any boss fight: communicate! Assign roles before diving in; ensure that everyone knows when and where to attack. A well-timed heal or a taunt can mean the world when Earthquake hits or Bull Call adds start to swarm. Stick together enough to support but not too tight that you become easy targets for AoE attacks.
Mobility is Key
Grobull’s large frame can make the space feel cramped, but dynamic movement can help. Keep an eye on his telegraphs to dodge effectively--rolling away from Trample or anticipating an Earthquake can save your bacon (or mutton, if that’s your thing).
Manage the Adds
Assigning DPS to manage the stoneskin adds Grobull calls will make the fight significantly more manageable. These guys aren’t just a side annoyance; left unchecked, they can disrupt the rhythm of your fight. A tank or melee DPS can be handy to break away and clean them up quickly.
Loot Galore
Defeating Grobull not only clears a hefty roadblock but rewards the diligent with glory and gear. These treasures might land you some chunky armor or trinkets with glowing enchantments. Keep an eye out for set pieces that boost your power, such as the sturdy Netch's Touch or the magical power of the Gear of the Council.
With these tips in hand, head into your next Darkshade Caverns I run with purpose. Confronting Grobull the Transmuted might seem daunting, but with teamwork and a healthy dose of strategy, victory is within reach. Now go, brave adventurer, and may your blade stay sharp and your spellbook fire bright!