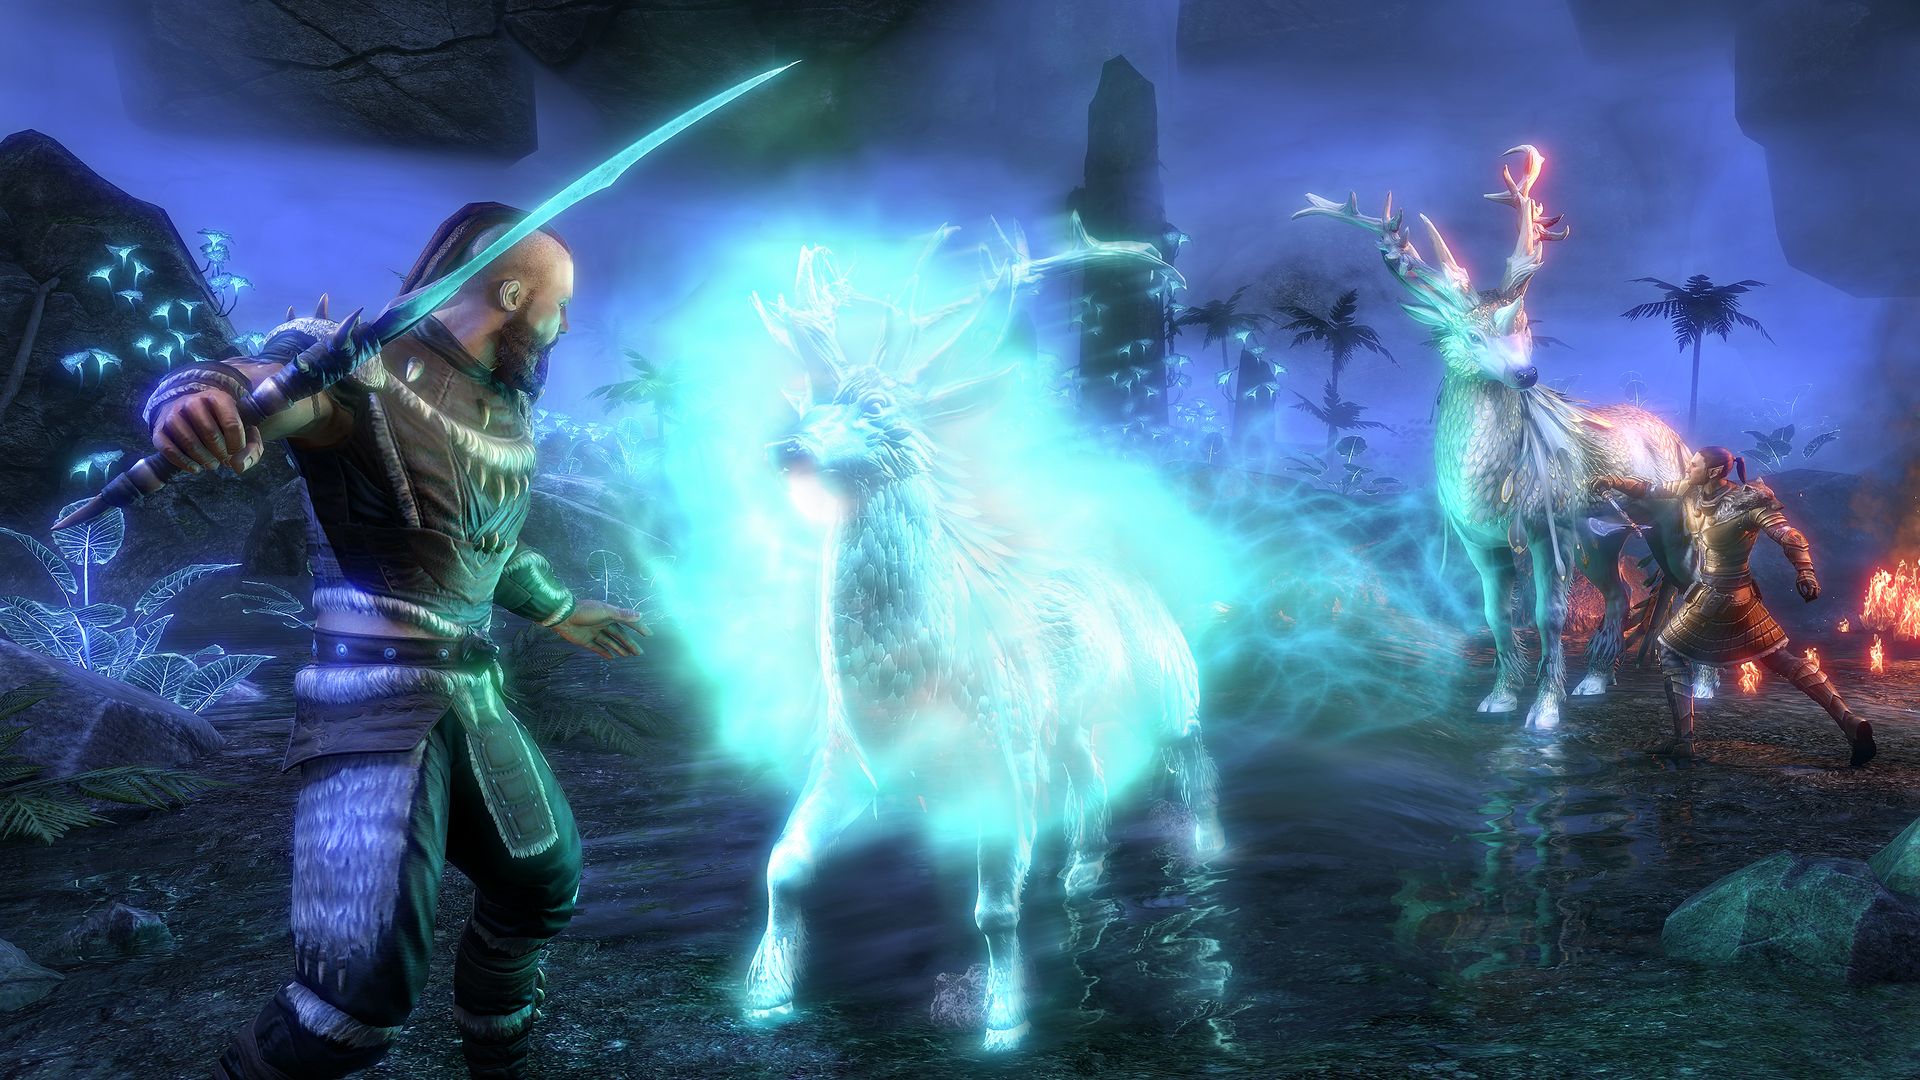
ESO: Crypt of Hearts I Dungeon Guide
Discover tips and strategies for conquering Crypt of Hearts I in ESO, featuring bosses like The Whisperer and Uulkar Bonehand.
Step into the haunting depths of the Crypt of Hearts I with our comprehensive ESO dungeon guide, designed to equip adventurers with the knowledge they need to conquer this challenging Skyrim dungeon. Unravel the mysteries and overcome the sinister bosses that await within. Navigate through the ominous lair of The Whisperer, cross paths with the cunning Archmaster Siniel, stand against the might of Death’s Leviathan, and face the formidable Uulkar Bonehand. Whether you're new to the Elder Scrolls Online or a seasoned player, this guide will enhance your journey and prepare you to emerge victorious. Get ready to delve into the shadows and let the adventure begin!
The Whisperer: Understanding the Threat
The Whisperer stands as one of the memorable entities within Crypt of Hearts I. Known for sowing chaos and confusion among adventurers, this boss demands strategic thinking from those brave enough to engage. Let's break down what you need to know about The Whisperer and how to effectively counter its challenges.
Encounter Overview
The Whisperer isn't just a straightforward fight; it requires coordination and awareness. This enemy constantly shifts the battlefield, keeping players on their toes. Strong teamwork and attentive play will make this encounter much more manageable.
Abilities and Mechanics
Before diving into battle, knowing The Whisperer's abilities is crucial. Here's a rundown of the main attacks and hazards:
-
Spiderlings Summon: The Whisperer will periodically call forth Spiderlings to swarm the area. These minions, though individually weak, can overwhelm if ignored. Prioritize eliminating them to maintain control of the battlefield.
-
Web of Confusion: This ability does exactly what it sounds like - it confuses players by impairing vision and movement briefly. When you notice the web's visual cue, spread out to avoid overlapping with teammates. Navigate through this disorienting web to maintain your advantage.
-
Poison Spray: A toxic attack launched in a cone direction. Players caught within this area will suffer ongoing damage over time. Tanks should diligently reposition to minimize group exposure, keeping this harmful spray away from squishier party members.
-
Fearsome Personas: The Whisperer occasionally adopts different personas, modifying its attack patterns and intensifying the fight. Understanding the cues for each persona shift will give your team an edge, allowing you to anticipate and adjust to each phase effectively.
Battle Strategy
To handle The Whisperer with precision, consider the following strategies:
-
Stay Mobile: Mobility is key in this encounter. Constant movement helps evade dangerous abilities like Poison Spray and Web of Confusion.
-
Communication is Crucial: Keep communication lines open with your teammates. Announcing incoming threats and coordinating kills on Spiderlings can vastly improve your group's efficiency.
-
Position Wisely: Tanks should draw aggro and conduct The Whisperer's damaging fronts away from the group, giving ranged players room to execute their powers without interruption.
-
Manage Resources: Healers must balance their resources thoughtfully, ready to counter unexpected damage bursts while maintaining stamina and magicka reserves.
Rewards and Loot
Overcoming The Whisperer is rewarding in both experience and treasure. Expect to find valuable loot, including gear that complements various character builds as well as crafting materials. Successfully conquering this foe not only progresses you through the dungeon but also bolsters your inventory.
In conclusion, The Whisperer presents a formidable challenge but remains conquerable with the right approach and sufficient preparation. Embrace the eerie atmosphere of the Crypt of Hearts I, strategize with your group, and aim to turn this supernatural nemesis into a stepping stone on your journey through Tamriel. Safe travels, adventurer!
Archmaster Siniel: Mastering the Encounter
Archmaster Siniel is a boss that demands respect within the Crypt of Hearts I. With a calculated blend of magic and strategy, he represents a significant challenge for those daring to push through his defenses. Understanding Siniel's behaviors and tactics is essential to overcoming this cunning adversary. Let's break down the encounter with Archmaster Siniel.
Understanding Siniel's Role
Known for his mystical prowess, Archmaster Siniel serves as a gatekeeper within the dungeon, challenging adventurers with an array of magical assaults. He deftly combines intricate spellcasting with disruptive field tactics, requiring players to stay vigilant and adaptive.
Abilities and Tactics
Facing Archmaster Siniel means familiarizing yourself with his key abilities. His attacks are varied and need different responses to mitigate their impacts:
-
Elemental Barrage: Siniel assaults players with a series of elemental attacks that chain fire, frost, and shock damage. Recognize the distinct casting animations to anticipate and sidestep these hazardous zones.
-
Conjured Minions: Throughout the fight, Siniel summons spectral constructs to assist him. These beings should be quickly dispatched to reduce chaos on the battlefield.
-
Teleportation Blink: One of Siniel's more frustrating abilities is his constant repositioning using teleportation. Staying aware of his whereabouts will help in promptly adjusting your strategy.
-
Glacial Prison: This debilitating spell encases a player in ice, temporarily removing them from the fight. Allies need to focus their efforts to shatter the icy prison, freeing their trapped comrade.
Strategic Guide
Conquering Archmaster Siniel requires both tactical prowess and teamwork. Here’s how to rise to the challenge:
-
Awareness and Mobility: Keep a constant eye on Siniel's location and his casting animations. Quick reflexes will allow you to avoid his elemental assaults, minimizing unnecessary damage.
-
Minion Control: Delegate some party members to focus on the spectral minions. Rapid elimination of these distractions ensures the team can concentrate efforts on Siniel himself.
-
Teleportation Tracking: Make a habit of mentally marking Siniel’s last seen location. His teleports can generate confusion, but maintaining focus can mitigate the disarray.
-
Free Your Allies: Glacial Prison demands immediate response from the team. Focus efforts on liberating any frozen adventurers to maintain group strength and morale.
Preparing for Battle
Before engaging Archmaster Siniel, consider employing these preparatory steps:
-
Equip Resistance Gear: Items that enhance resistance to elemental damage will significantly mitigate the threat posed by his elemental barrage.
-
Skill Selection: Opt for skills that offer immunity or quick recovery from crowd control effects, helping to counter Glacial Prison and similar hindrances.
-
Resource Management: Consciously manage your magicka and stamina reserves, as the fight’s demands are punishing. Efficient use of recovery abilities can sustain your advances.
Rewards for Defeating Siniel
Success against Archmaster Siniel garners an array of rewards. Loot from this encounter can include potent gear with magical bonuses and rare crafting materials that will prove valuable in your journey through the Elder Scrolls Online. Overcoming Siniel not only showcases your skill as an adventurer but ushers you further into the depths of Crypt of Hearts I.
With thoughtful preparation and dynamic execution, Archmaster Siniel can transform from an overwhelming hurdle into a gratifying conquest. Rally your team, harness your abilities and prove your mettle against one of the dungeon's most formidable foes.
Death's Leviathan: Conquering the Colossus
Death's Leviathan stands as a formidable obstacle within the Crypt of Hearts I. This boss requires a blend of strategy, coordination, and quick reflexes. If you've come this far, you're ready for a battle that tests your limits in ways that previous foes did not. Let's dive into how you can face this monstrous challenge and walk away victorious.
Understanding Death's Leviathan
The Death's Leviathan is not just a large enemy with high health; it’s an intricate boss with unique mechanics that demand attentiveness and agility. Its sheer size is intimidating, making spatial awareness a crucial part of survival. Prepare your team to be on the move - this is not a stationary fight.
Key Mechanics and Abilities
When facing Death's Leviathan, being familiar with its primary attacks is key to survival. Here’s a thorough breakdown:
-
Colossal Slam: The Leviathan raises its massive arm and slams it down, causing a devastating area-of-effect (AoE) attack. Look for the telltale animation, and quickly dash out of its imminent path to evade significant damage.
-
Corporeal Surge: Periodically, the boss channels a surge of dark energy, increasing its attack speed and damage. Interrupting this ability can prevent it from gaining the upper hand.
-
Necrotic Smash: This attack targets an individual player, dealing high damage while leaving a damaging pool on the ground. The targeted player should lead this attack away from the group to avoid unnecessary casualties.
-
Torrent of Souls: A chilling specialty where the Leviathan summons spectral entities that swarm the field. Swiftly dispatch these specters to avoid being overwhelmed.
Execution Strategy
To succeed against Death's Leviathan, adhere to these strategies:
-
Maintain Movement: Constant movement is vital to dodge attacks such as Colossal Slam and Necrotic Smash. Establish a rhythm where your group can fluidly transition around its area of influence.
-
Effective Crowd Control: When Torrent of Souls is activated, be prepared with crowd control techniques to manage and swiftly eliminate the summoned entities.
-
Prioritize Interruptions: Assign a team member to focus on interrupting Death's Leviathan during its Corporeal Surge. This role is crucial to mitigate increased damage output and to maintain pressure on the boss.
-
Positioning Matters: Similar to previous encounters, tanks must lure Necrotic Smash away from the bulk of the group, ensuring those perilous pools are left in less-trafficked areas.
Gathering Necessary Resources
Before engaging Death's Leviathan, consider the following preparations:
-
Defensive Gear: Equip gear that will bolster your defenses, focusing on abilities that minimize incoming damage or that increase your resilience under assault.
-
Communicate Constantly: Open lines of communication are imperative. Coordinate movement patterns, call out the boss's attack phases, and keep everyone aligned to prevent chaotic dispersal.
-
Cooldown Management: Manage your defensive and crowd control abilities carefully. Timing your cooldowns can mean the difference between surviving Leviathan’s attacks or being overwhelmed.
Post-Battle Rewards
Defeating Death's Leviathan is no small feat and yields rewards befitting such a monumental task. Expect to receive valuable loot that can upgrade your equipment significantly and provide a useful array of crafting components.
Emerging triumphant against this giant requires effort and unity, transforming your group from dungeon explorers into seasoned veterans of the Elder Scrolls Online. This monstrous entity may seem daunting, but with resourceful tactics and teamwork, you’ll conquer this colossus and move deeper into the enigmatic Crypt of Hearts I. Ready your weapons, focus your minds, and meet Death's Leviathan head-on. Good luck, adventurers!
Uulkar Bonehand: Facing the Undead
Venturing further into the Crypt of Hearts I, you will eventually face off against Uulkar Bonehand, one of the crypt's most persistent adversaries. This boss, clad in necromantic mastery, challenges players with both his substantial durability and an array of undead-enhancing tactics. Understanding his abilities and the best strategies for taking him down is key to progressing through this harrowing dungeon.
Encounter Overview
Uulkar Bonehand presents an intriguing and complex battle, utilizing a variety of moves to bolster his sinister power. He excels in augmenting the undead around him, making it essential for adventurers to keep both their wits and weapons sharp. Awareness and adaptability are crucial in this fight, as failing to neutralize his undead support can quickly lead to an overwhelmed party.
Abilities and Mechanics
Let’s take a closer look at the core abilities that make Uulkar Bonehand a formidable foe:
-
Summon Skeletons: Uulkar conjures a legion of skeletal minions to assail the group. While individually brittle, these skeletons pack a punch in numbers. Swift elimination of these aides helps maintain control over the skirmish.
-
Bone Shield: When feeling threatened, Uulkar casts a protective barrier that absorbs a portion of incoming damage. Focus fire on the shielded skeleton minions to destroy the barrier faster.
-
Necrotic Blast: This powerful area attack projects necrotic energy in a radius around Bonehand. Recognizable by its casting animation, players should quickly vacate the vicinity when triggered.
-
Soul Drain: A more sinister technique where Uulkar siphons health from his summoned undead to heal himself. Cutting down his summons can prevent him from regaining too much strength through this ability.
Battle Strategy
Defeating Uulkar Bonehand takes a coordinated effort, relying on a well-executed strategy:
-
Minion Management: A priority for any battle involving Uulkar is taking down his skeletal allies. Designate party members especially for this task to prevent the skeletons from swarming and aiding him.
-
Overcome Bone Shield: Break through the Bone Shield by quickly eliminating its sustainers. This allows you to directly damage Uulkar without wasted effort.
-
Avoid AoE Damage: During Necrotic Blast, stay vigilant and evade the area as soon as you notice the animation cue to sidestep overwhelming damage. Always be prepared to shift and reposition.
-
Disrupt Soul Drain: Anticipate Uulkar's healing attempts through Soul Drain. Ensure his summoned creatures are taken out promptly to minimize his chance to regain health, weakening his overall effectiveness.
Preparation and Gear
Before challenging Uulkar Bonehand, it helps to consider some preparation tactics:
-
Equip Damage Mitigation Gear: Tackle the encounter with gear that reduces damage from necromantic sources. This preparation aids in surviving his bursts of magical power.
-
Speech is Key: Maintain transparent communication with your team. Alert each other of incoming minion waves or casting animations for abilities like Necrotic Blast and Soul Drain.
-
Resource Conservation: Use magicka and stamina judiciously, ensuring your party stays efficient in combat without exhausting resources prematurely.
Victory and Spoils
Conquering Uulkar Bonehand rewards you with both experience and valuable loot. Expect gear pieces that enhance your stats and possibly crafting materials to further benefit your adventure. Overcoming Bonehand is a testament to your teamwork and strategic prowess, propelling you deeper within the Crypt of Hearts I and closer to unraveling its secrets.
Facing Uulkar Bonehand with a solid plan transforms this intimidating boss from a stumbling block into a rewarding achievement. Stay alert, manage his minions, and exploit his weaknesses for a satisfying victory. Equip yourself for the challenge and step confidently into the battle. Happy adventuring!