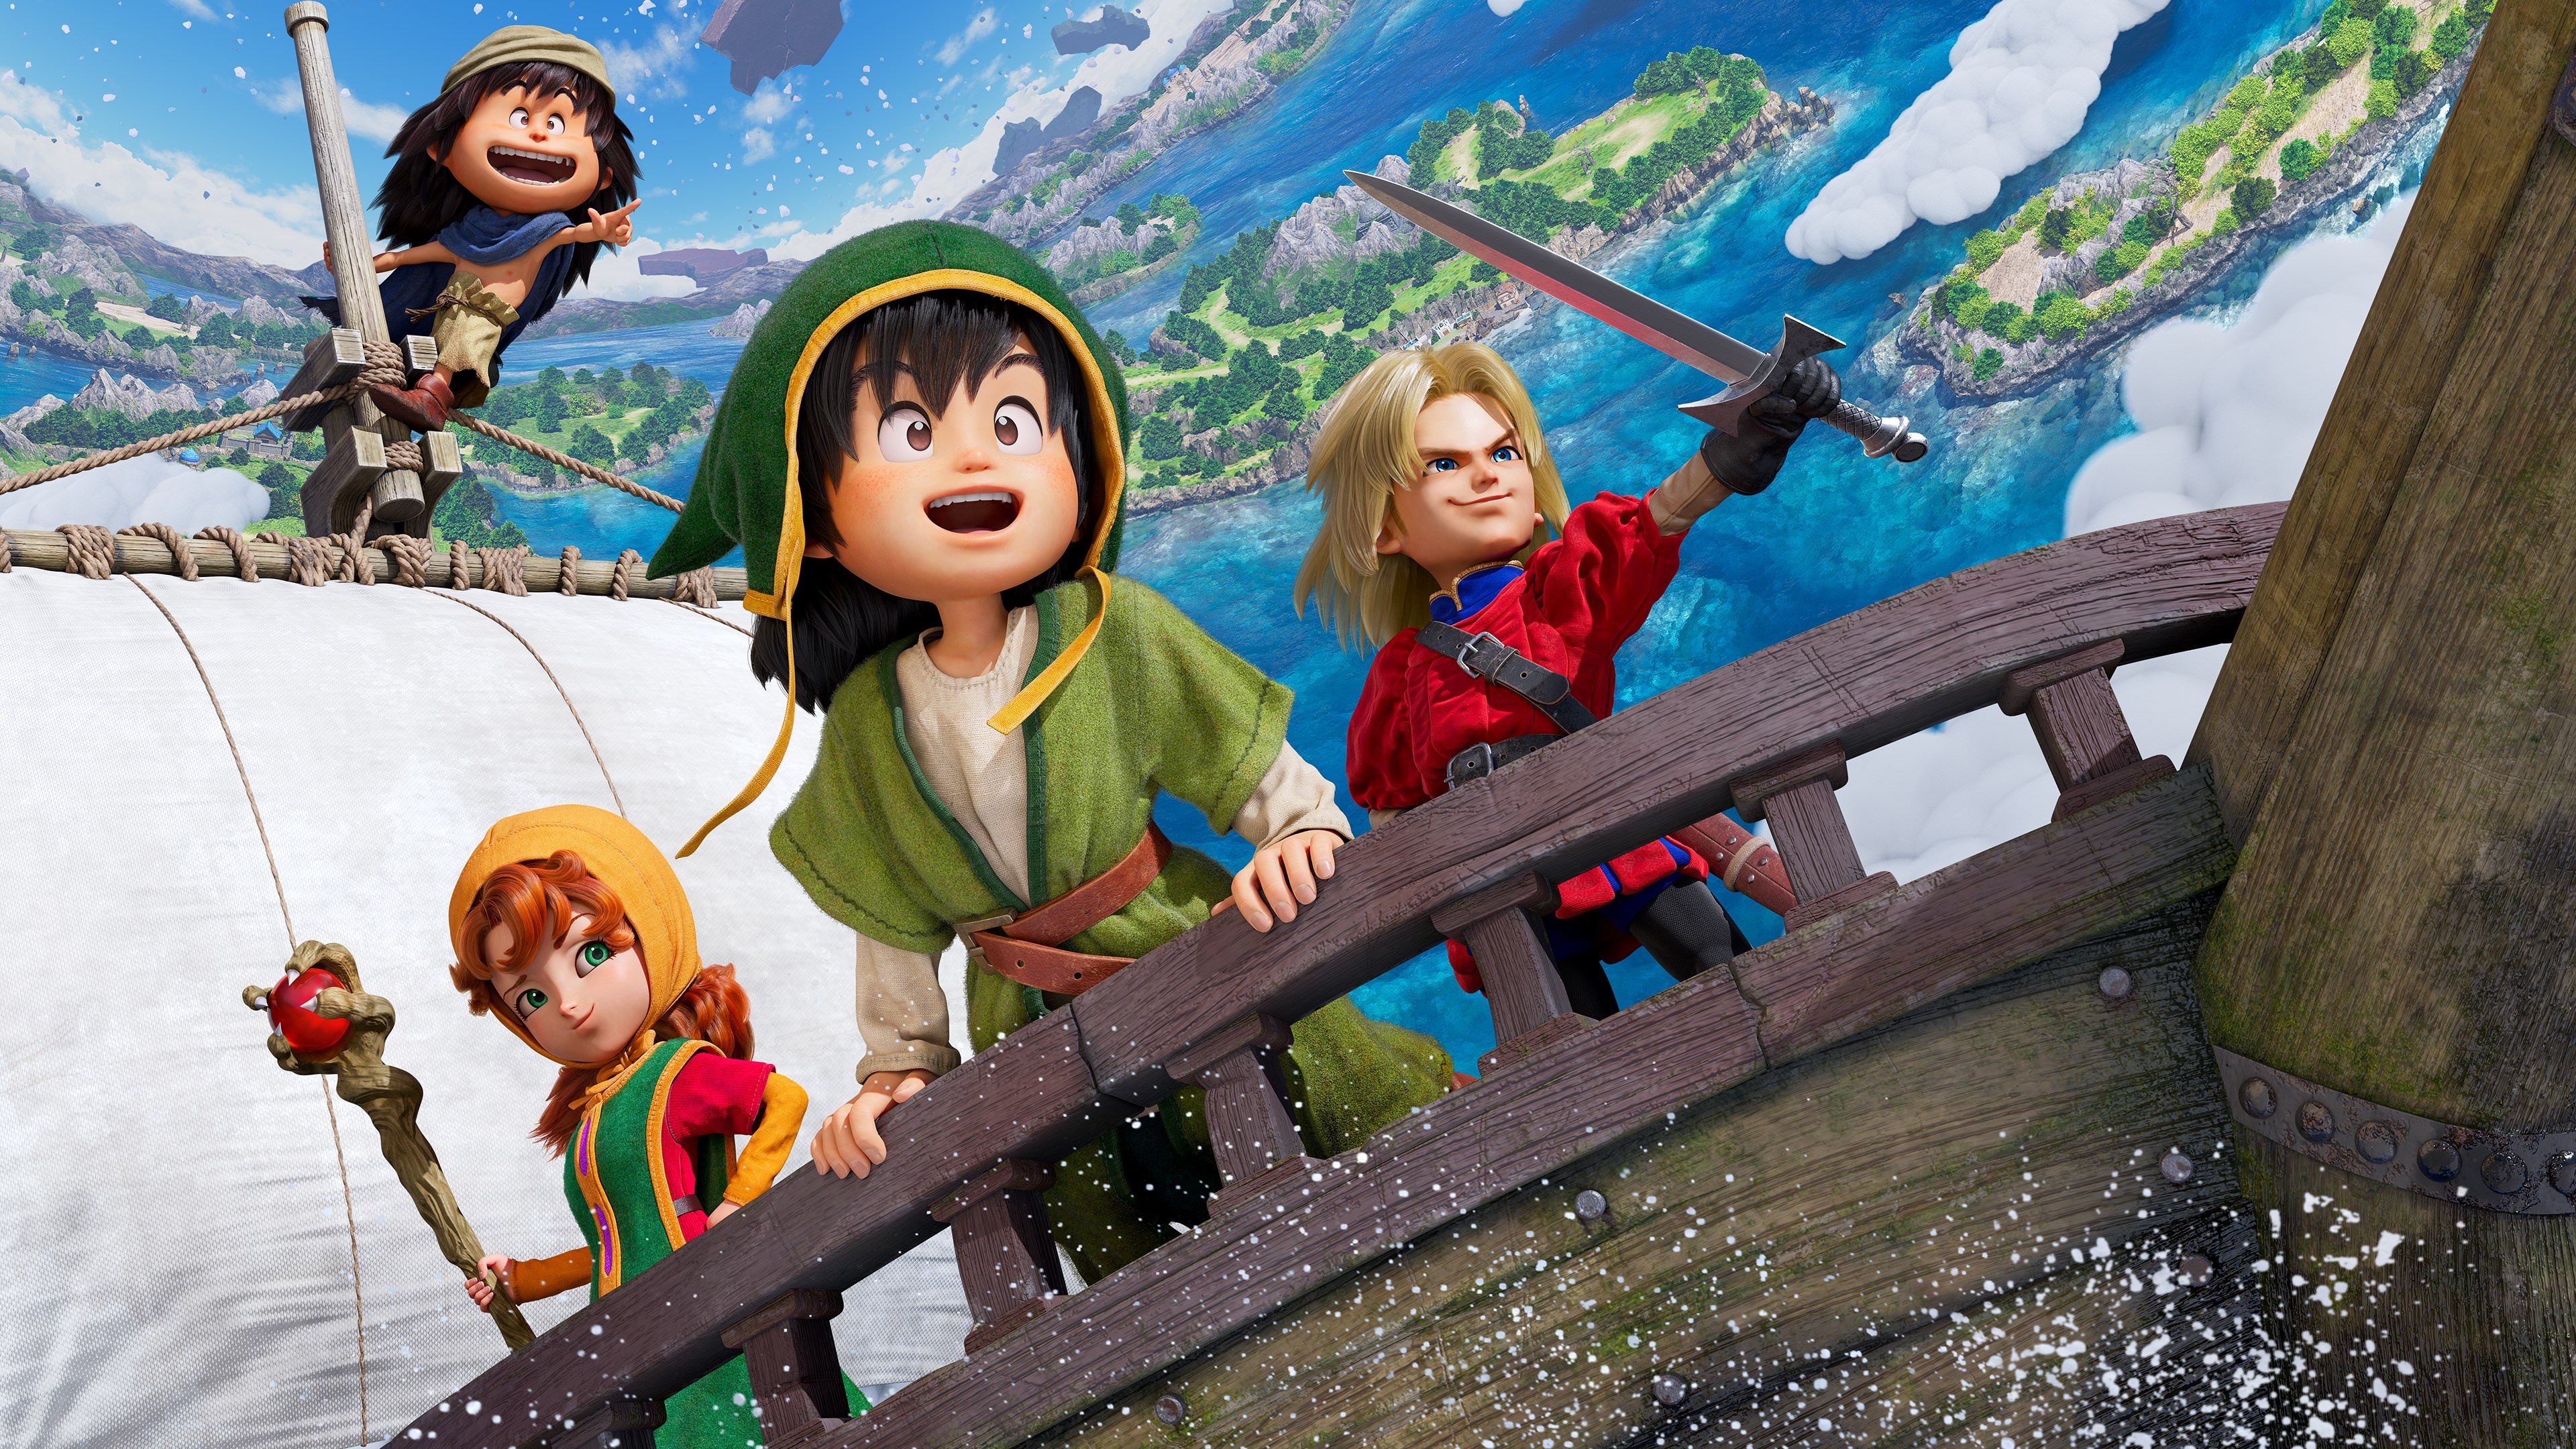
Dragon Quest VII Reimagined Monster Medals Guide: Where to Find Every Rare Monster
Where monster collecting actually lives in Dragon Quest VII Reimagined: monster heart locations, mini medal rewards, and the toughest rare fights.
Heads up before anything else: if you came here looking for the Monster Park from the PS1 and 3DS versions, it's gone. Square Enix cut the Monster Meadows sidequest (along with the casinos and the Immigrant Town) when they rebuilt the game, so there's no Monty, no beef jerky, and no medal drops to hand over. What you get instead is arguably better - a set of 46 Monster Hearts that work as wearable accessories, plus a 100-medal trade-in counter that pays out some of the best gear in the game. This guide walks through all of it: what replaced the medals, where the rare monsters actually live, and how to take them down without wasting your one shot.
How Monster Medals Work and Why They Matter
They don't, because they don't exist. That's the short version, and it's worth being blunt about it so you don't burn an afternoon hunting for a park that isn't in the game. In the older releases you'd beat a monster last with jerky in your bag and hope it joined your meadow. Reimagined removed that whole loop - monster vocations got cut too. The monster-collecting energy got folded into two systems that are actually in this version.
The first is Monster Hearts. There are 46 of them, and each one is an accessory any character can equip. Beat the right rare monster or open the right chest and you get a heart that permanently changes how a character fights. The Hammerhood Heart bumps your crit chance by 10%. The Grody Gumdrops Heart nullifies every attack thrown at you once every three turns, which is as silly and as strong as it sounds. The Malroth Heart casts Fullheal on its bearer whenever they start a turn at a quarter HP or less. Slap that on a tank and they basically stop dying.
The second is the mini medal exchange. The old Castle Estard bank got swapped for a medal counter, and turning in mini medals now buys you equipment tiers you used to get from the casino and the Immigrant Town. At 45 and 60 medals the prizes are actual Monster Hearts, so the two systems feed each other.
So why should you care? Because hearts are build-defining, not flavor. A party with the right four hearts equipped fights way above its level, and a few of them (the ones that summon help, or auto-heal, or make metal slimes show up more often) change how you play the whole game. They're the closest thing Reimagined has to "catching" a monster - you beat it, keep a piece of it, and it fights for you forever after.
Best Islands for Farming Common Medals Early
The heart trail mostly follows the island order, so you can start collecting on your very first trip to the past. None of these early ones need a guide-level party - just don't ignore them, because a couple of the fights are one-time deals.
The starter islands
- Ballymolloy region (past): Vicious Hammerhood is waiting on the field here, and it's your first Menacing Monster. Beating it drops the Hammerhood Heart (+10% crit chance). Easy fight, great payoff.
- Rainbow Mines (past): The Slime Heart (+10% evasion) sits in a chest on Underground Level 5. Free grab while you're down there for the story.
- The Tower (past): A chest near the Red Fragment holds the Golem Heart, which lets the wearer survive a killing blow at 1 HP. That's a rescue effect that wins boss fights.
- Emberdale region (past): Vicious Bodkin Archer patrols here and drops its heart - 20% more damage while you're worked up. Pairs nicely with the Let Loose mechanic.
- L'Arca (past): Vicious Meowgician gives a heart that adds +10% critical spell chance. Maribel will thank you.
The middle stretch
Past Frobisher you start finding hearts in dungeons as often as on the field. Vicious Brownie shows up in the Frobisher region, and the Roamer Encampment region has Vicious Bubble Slime (attacks gain a 10% chance to poison). Inside the Dungeon of Descent, a chest on Underground Level 2 holds the Goon Heart - its wearer pops a medicinal herb automatically at half HP. Over in the Bandits' Base (present), the Swagman Heart sits behind a locked door, and the key for it is hidden in the same dungeon, which is a nice touch.
Al-Balad (past) is the next field stop: Vicious Cactiball drops a heart that reflects 100% of physical damage back at the attacker. You still take the hit yourself, so it's more of a mutual-destruction charm than a defense, but on a high-HP character it melts bosses that only punch.
Medal farming alongside the hearts
While you're island-hopping, mini medals are everywhere if you're rude to the furniture. Smashing drawers in Estard Castle, pots behind the church in Ballymolloy, the inn's cabinet in Emberdale, a crater jump in Burnmont - that's your first handful before the story's even warmed up. One gift worth knowing about: in Vogograd in the present, a tombstone near the church hides five mini medals at once. There are exactly 100 in the game, and almost every milestone reward from 45 onward is something you'll genuinely want.
Locations for Rare and Elusive Monster Medals
Here's the late-game stuff, the hearts people miss. A few come from fights you cannot repeat, a couple sit behind the Ultimate Key, and three of them are locked behind paid DLC. Know what you're chasing before you commit.
The medal-counter hearts
The two metal hearts are exchange prizes, and this is where a lot of players get burned by bad info. The Liquid Metal Slime Heart is the 45-medal reward, and the Metal King Slime Heart is the 60-medal reward - some guides swap these, and at least one player report confirms the in-game counter pays the Liquid Metal heart at 45. The Liquid Metal heart sometimes drops incoming damage straight to 1. The Metal King heart makes metal monsters show up more often while it's equipped, which turns late-game level grinding into a joke. Between the two, the 45-medal one is the bigger deal for a first playthrough.
One-shot field and boss hearts
- Time Being Heart - Vicious Time Being haunts Level 5 of the Malign Shrine (past). The heart makes positive status effects last one extra turn. If you're running a buff-heavy party this is quietly one of the best trinkets in the game.
- Grody Gumdrops Heart - drops from beating Grody Gumdrops, the cave custodian boss. Once every three turns it nullifies every attack against the wearer. Absurd on a healer.
- Numen Heart - the reward for taking down The Almighty, tied to the third secret boss of the postgame in Yet Another World. Its bearer starts every battle already worked up, which is a free Let Loose enabler in every random fight.
- Drakulard Heart - Another World, Level 3, behind a jail door that needs the Ultimate Key. Cuts max MP in half but adds 30% max HP. A fair trade for a frontliner who never casts anyway.
- Xenlon Heart - rounds out the boss-tier set; all attributes climb once five turns pass in a fight. Slow burn, huge finisher for long battles.
The DLC trio
Buy the DLC (or own the Digital Deluxe Edition) and the Buccanham arena's Road of Regal Wretches opens up, with three classic final bosses and three hearts guarded by turn limits:
| Battle | Recommended level | Heart | Turn limit | | --- | --- | --- | --- | | The Original Demon | 60+ | Dragonlord Heart | 25 turns | | Master of Destruction | 70+ | Malroth Heart | 50 turns | | The Lord of Darkness | 75+ | Zoma Heart | 40 turns |
The Dragonlord Heart makes Summon Dragon occasionally call in the Dragonlord himself. The Zoma Heart wraps you in a Cloth of Darkness at the start of every fight, cutting incoming damage hard. Miss the turn limit and you can just restart, so these are patience checks more than anything. One player-favorite trick: grab Erdrick's Sword from the first Regal Wretches win and use it to make the Zoma time limit comfortable.
Trading Medals at the Monster Park for Rewards
There's no park, but the trading part survived. The medal counter lives inside Estard Castle - talk to the Attendant, and your first chat gets you the Medal Handbook, which tracks every medal you've grabbed and shows question marks for spots you haven't visited yet. Two more counters open later at Alltrades Abbey and King Maximo's Mansion, though you'll need to have finished those regions in the past before they'll deal with you. Progress is shared across all three, so there's no wrong place to cash in.
Here's the full payout ladder:
| Medals | Reward | | --- | --- | | 5 | Poison Needle | | 10 | Kerplunk Bracer | | 15 | Windcheater | | 20 | Magic Shield | | 25 | Seed of Proficiency | | 30 | Canny Cap | | 35 | Glombolero | | 40 | Lucky Pendant | | 45 | Liquid Metal Slime Heart | | 50 | Silver Fragment | | 55 | Miracle Sword | | 60 | Metal King Slime Heart | | 65 | Sage's Stone | | 70 | Extra-Elevating Shoes | | 75 | Mad Cap | | 80 | Sacreder Armor | | 90 | Uber Gringham Whip | | 95 | Metal King Shield | | 100 | Metal King Sword |
Read that table like a shopping list for the endgame. The Sage's Stone at 65 is a free full-party heal item every fight, forever. The last three - Uber Gringham Whip, Metal King Shield, Metal King Sword - are top-tier gear you'd otherwise grind bosses for. Getting all 100 medals takes real backtracking, since a chunk of them hide behind the Thief's Key, the Magic Key, and the Ultimate Key, and some show up in present-day versions of islands you cleared hours earlier. The Handbook makes it painless, mostly.
One habit worth forming: turn medals in at every milestone instead of hoarding. The counter pays each reward once at each threshold, and the mid-list gear (Miracle Sword, Magic Shield) carries you through the middle of the game instead of rotting in a menu.
Tips for Recruiting Tough Monsters Efficiently
You can't recruit anyone in the classic sense, but there's one vocation that gets you most of the way there, plus a pile of practical tricks for the one-shot fights the hearts hang on.
The Monster Wrangler is your recruiting stand-in
Master the Thief and Shepherd beginner vocations on one character and the Monster Wrangler class unlocks for them. Its whole kit is calling monsters in to fight for you: Summon Slime at the first star, Summon Zombie at the third, Summon Beast at the sixth, and Summon Dragon at the eighth. Its Let Loose ability, Positive Reinforcement, makes stronger monsters answer the summons. Between that and the Dragonlord Heart upgrading your dragon summons, this is as close to a monster party as Reimagined gets - and honestly, a free extra attacker every turn holds up fine.
Respect the one-time rule
Menacing Monsters don't respawn. Beat them once and they're gone, and their heart comes with the kill, so the stakes on a bad fight are low (you can't lose the heart by finishing badly) but the fight itself deserves respect. Save before you touch one. If you limp through at half strength, fine - the heart is the heart. Just don't wander into Vicious Green Dragon or Vicious Cyclops underleveled expecting a rematch later.
Turn the fight before it starts
Open the monster list and check weaknesses before engaging - Reimagined shows resistances for everything you've scanned, and the vicious versions keep their base monster's elemental profile more or less. You can also whack field monsters outside battle for chip damage, and even one-shot weaklings that way. Every point of HP you shave off before the menu opens is a turn you save. On that note: striking a monster from behind helps you seize initiative, and the Wight Watchman Heart (The Beacon, present, Level 5) makes back-attacks even more reliable.
Arena-specific speed tactics
The Battle Arena runs the Hero solo, and HP resets between rounds - so healing and buffing are wasted turns there. Just attack, reset if a fight goes sideways, and aim for the turn limits. For the Road of Regal Wretches, pack Magic Barrier against the Original Demon's spells, let the Swagman Heart's auto-heal carry you through Master of Destruction, and bring ice-resistant armor plus a big critical hitter to shatter Zoma's Cloth of Darkness quickly.
Watch the calendar
Hearts are tied to a specific time period, and this bites people constantly. The Togre Heart only shows up in The Beacon in the present; the Golem Heart only exists in the past version of The Tower. If you're poking around an island through a tablet instead of properly visiting, you're in the wrong place - exit and re-enter through the right era.
Stack those habits and the whole 46-heart set comes down to route planning. Worth it too: finishing off the metal slime pair (45 and 60 medals) and strapping the Metal King Slime Heart on your lead means metal encounters everywhere you walk, which is exactly how you get a level 99 party prepped for Rampage Roads and its Hypernova Sword.