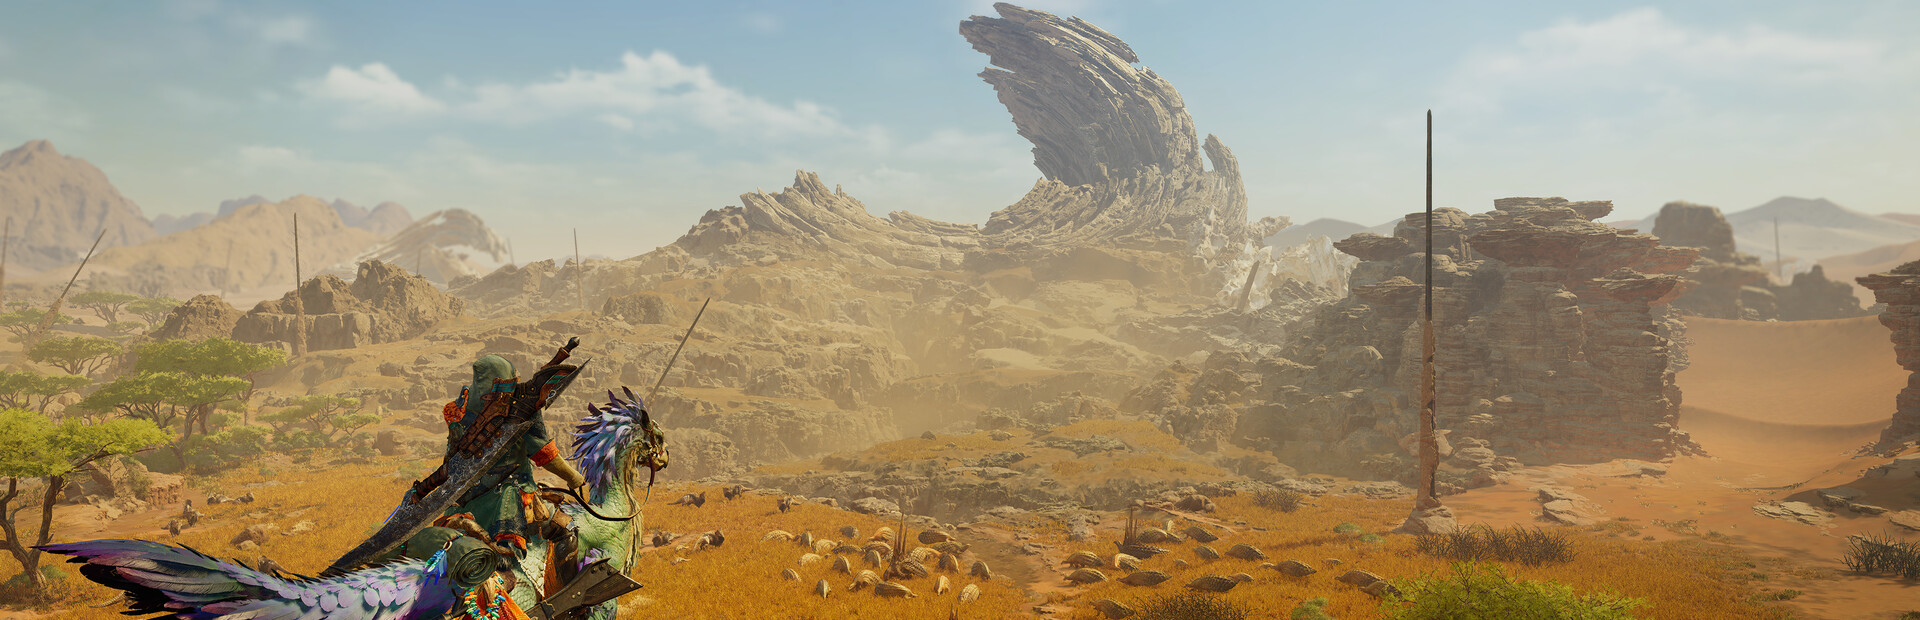
Monster Hunter Wilds Arkveld Guide: How to Beat the Elder Dragon
How to beat Arkveld in Monster Hunter Wilds: attack tells, weak points, gear and resistances, wound punishes, and drop rates.
Arkveld is the fight that trips up a lot of hunters in Monster Hunter Wilds. It hits hard, moves fast for its size, and covers a huge chunk of the arena with those chainblade sweeps once it gets going. Everyone talks about it like the big endgame boss, and it sure plays like one, even though it's technically a flying wyvern rather than an elder dragon. Try telling that to anyone who's been clipped by its one-shot slams.
The chainblades are the whole fight, honestly. They reach out and whip the ground from across the map, then snap back so it can dive on you up close. The bright side is that almost every move has a wind-up you can learn to read. Get the tells down and Arkveld turns from a wall into a loot piñata.
Arkveld Attack Patterns and Tells
Two ranges it flips between
Arkveld bounces between long range and close range all fight. Far away, it whips those chainblade tendrils into the ground. Up close, it uses wings, head, and tail to ram and sweep you. The classic mistake is treating it as a ranged-only monster, then getting bodied when it suddenly leaps across the screen. Assume it can close distance on you at any second, because it can.
Normal-state moves to learn
- Tendril strikes are the bread and butter. It pulls an arm back, then slams the chainblade down. This comes as a single slam, a double with both arms, a backhand, or a backwards spin. The wind-up cue is the arm pulling back. Dodge at the peak of the pullback and you're usually safe. These moves leave the chainblades sitting on the ground for a beat, which is free hit time.
- Ground Scrape shows up a lot when you're wailing on its head. It lifts a wing, buries it, and yanks backward. Dodge out at the top of the wing lift.
- Lunging Charge has it cover its head with a wing and barrel at you. Block it or get sideways.
- Leap Attack gives itself away with a red lightning cloud building under the wings right before it launches. That cloud is your cue to move.
- Upward Sweeping Twist is a hop back, then a forward twisting sweep. Dodge to the side opposite where its head faces during the forward motion.
- Tail spin and tail upswing only really threaten you if you camp at the rear. Cutting the tail off kills most of these.
The Unleashed State
Once it rages out, Arkveld powers up. The tendrils get charged with Dragon element, and they split from two to four, so each swing covers way more ground. Some empowered slams leave Dragon explosions on the floor that pop on a delay, and there's a sweeping variant too. You suppress this by dumping damage into the chainblade wings, Dragon damage in particular, until the energy organ overloads and it drops back to normal. Until then, assume every swing is bigger than it looks.
The moves that can one-shot you
Two you really have to respect.
Dual Claw Slam is sneaky. It looks like a normal one-arm tendril strike at first, but then both arms slam straight down and the hit zone is huge out front. The giveaway is the head tilting up right before both arms come down. See the head pop up, get out of the front arc.
Nuclear Wyvern Strike is the big one. It roars and glows while charging up, then punches the ground for a chain of three explosions that grow bigger each time. The frontal arc is a death zone. The play is to run behind it the second the charge starts. Get behind Arkveld and you get a fat, uncontested window to dump damage while it's stuck finishing the move.
A note on Arch-Tempered Arkveld
There's a souped-up Arch-Tempered version that lives as a permanent event quest called Freedom from Solitude, locked to Hunter Rank 100 and up. Same core tells, but it strings longer combos and adds new moves. Watch for the Chain Hook-Slam, where it shoots a chainblade forward and yanks itself to you before slamming, and the Charged Wylk Blast, which keeps a safe pocket right up close to its front. Some of its hits scatter Wylk crystals on the ground, and those blow up the moment any elemental damage touches them. You can pop them yourself with elemental slinger ammo, or bait Arkveld into setting them off. The arena helps too. Grab Wyrmsbane in Area 15 for free dragon slinger ammo, and look for the Entangled Rock in Area 9, which drops on the monster for a big chunk of free damage. AT Arkveld can be captured, same as the normal one, so a trap at the end still works.
Sound like a lot to track? It is, at first. The tells repeat, though, and after a few hunts you'll read them without thinking.
Weak Points and Breakable Parts
Where to hit
Arkveld's soft spots are the head, both wings, both chainblades, and the tail. Those all take full physical damage, the three-star rating in your Hunter's Notes. The torso and legs are middling, so avoid parking on them. Aim for the head when it's safe, the chainblades and tail whenever you can reach them.
The chainblades are the star
Both chainblades take full damage from cut, blunt, and ammo. They're the part you want broken, and breaking each one drops a guaranteed Arkveld Callousshell. Here's the catch. The chainblades are flat-out immune to every element. Fire, water, thunder, ice, dragon, none of it matters on them. Only raw damage gets through. So when you're grinding those Calloushells, bring your hardest-hitting raw weapon, not an elemental one.
The element thing, honestly
The Hunter's Notes list Arkveld as weak to Dragon. Every body part still has a low elemental hitzone, though, so elemental builds underperform here next to a strong raw setup. Players have tested it side by side and the difference between elements is basically noise. Why bother with element at all on this thing? Mostly, you don't. Treat raw as your default. Dragon is fine if you already own a great Dragon weapon and can keep Dragonblight off yourself, but don't grind one just for this fight.
Breaks and the tail
- Head break gives a guaranteed Arkveld Horn+, plus a decent shot at extra horn materials. Worth doing for the rewards, and it makes head shots a touch safer after.
- Tail sever lets you carve the tail separately, about a 93% chance at an Arkveld Tail. Cutting it off also stops most of the tail whip and upswing attacks, which is a nice survivability bonus on top.
- Both chainblades hand over one Callousshell each, guaranteed. Priority number one for farming.
For Insect Glaive users, the extract colors are red off the head, orange off the wings, white off the tail.
Recommended Gear and Resistances
Beat Dragonblight first
Arkveld slaps Dragonblight on you constantly, and Dragonblight kills your weapon's element and status. If you're running a Dragon or elemental weapon, that's your damage gone. Two clean fixes exist. Get Dragon Resistance to 20 and you become immune to Dragonblight outright, plus you take less from its dragon hits. Dragon Resistance at level 3 gives +20 Dragon Res and +10 Defense. The other option is Blight Resistance at level 3, which blocks every elemental blight, Dragonblight included. Either one solves the problem. Pack Nulberries too as a quick cleanse if you get tagged anyway.
Don't skimp on raw Defense
Dragonblight is the annoying part. The thing that carts you is the physical damage. Arkveld's slams can one-shot if your Defense is low, so max out your armor with Armor Spheres and don't show up under-geared. Divine Blessing is a great comfort pick here because it randomly chops a chunk off big hits, and against one-shot-range damage, that random save lands at exactly the right moment.
Skills worth slotting
- Dragon Resistance (push it to 20) or Blight Resistance 3 to cover Dragonblight
- Divine Blessing as your safety net on big slams
- Stun Resist so a bad hit doesn't snowball into a cart
- Weakness Exploit, since your damage lives on those three-star parts and critting there is huge
- Flayer and Partbreaker for more wounds and faster breaks, covered in the wound section
Evade Window is a solid comfort pick if you'd rather dodge than block the chainblade swings. Your call which style fits you better.
Weapon choice
Raw beats element here, plain and simple. Your best bet is a high-raw weapon, ideally something that hits hard per swing since the chainblades only care about raw. Gogma Artian weapons are the go-to for endgame players thanks to the flexible stats and strong set bonus. A shielded weapon like Lance or Gunlance makes the long combos way more comfortable, because you can block the chain swings and poke during recovery. For farming your own Arkveld gear, the Arkvulcan set and its Guardian Arkveld cousin carry the Arkveld's Hunger lifesteal bonus that heals you when you pop wounds. Comfy for repeat runs, even if pure meta sets edge it out on damage.
Pre-hunt prep
Don't skip the meal. Eat for a Defense or Dragon Resistance buff before you head out, since those food skills stack with your armor and soften the one-shot threat. Load up on Mega Potions, Max Potions, and Nulberries, plus Flash Pods and the traps if you want to capture. In multiplayer, Dust of Life is a lifesaver for topping off the squad after a wide chainblade swing. Mantles have their uses too. A Ghillie Mantle lets you walk up safely for a capture without eating a slam, and a Health Booster dropped under your feet patches you up through the long combos. Little things, but they add up over a long farm.
Wound Mechanics and Flinch Punishes
What wounds are
Smack a body part enough and a wound opens up, shown as a glowing red scar. Pop into Focus Mode with L2 and those wounds light up bright so you can see exactly what's primed. Land a Focus Strike, which is L2 plus R1, on a wound and you destroy it for a chunky hit of damage. Sound complicated? It's not, once you make Focus Mode a habit.
The flinch is the real prize
Destroying a wound triggers a flinch, as long as the monster isn't stuck in some move it can't be interrupted out of. That flinch is gold against Arkveld because its combos are long. You can spend half a chain string just waiting for it to finish swinging. Pop a wound mid-combo and you jam the whole thing, buying breathing room and a punish window in one move.
Best punish windows
The big slams are your friend. After Arkveld lands a heavy chainblade slam, it sits there for a beat with the tendrils stretched out on the ground, wide open. That's when you Focus Strike the wound on a chainblade and snap off a break. Same deal after any big move that leaves it recovering. The Unleashed State suppression runs through here too. Keep hammering wounds on the chainblade wings and you overload the energy organ faster, knocking Arkveld back to normal.
Skills that juice the loop
- Flayer makes wounds open faster and show up more often, so you've always got something to pop.
- Weakness Exploit piles crit chance onto those three-star weak parts, which is where you want to be hitting anyway.
- Partbreaker speeds up the chainblade and head breaks.
- Decimator, from the Guardian Arkveld set bonus, heals you every time you destroy a wound. That turns the wound loop into a self-sustaining heal engine on long fights.
Use your tools
Arkveld is weak to Flash Pods, and a good flash cancels whatever it's doing, a free get-off-me when it's mid-combo. Shock Traps and Pitfall Traps both work on it too, so you can trap it for a free beat of damage or set up a capture near the end. Sonic Bombs do nothing here, so leave those at home.
Carves and Guaranteed Rewards
The guaranteed stuff
A few drops are basically free if you play for them. Break a chainblade and you get an Arkveld Callousshell, every time, no roll. Break both and that's two. Break the head and you get an Arkveld Horn+ guaranteed. Cut the tail and you get a separate tail carve, about a 93% shot at an Arkveld Tail. Those three breaks should be the plan on every farm run. Not glamorous, but reliable.
The drop table
Here's what you can pull, High Rank only since Arkveld has no Low Rank version.
| Material | Target | Body Carve | Tail Carve | From Wounds | Part Break | |---|---|---|---|---|---| | Arkveld Callousshell | - | - | - | - | Chainblade (100%) | | Arkveld Scale+ | 20% | 30% | - | 45% | - | | Arkveld Horn+ | 8% | 13% | - | - | Head (100%) | | Arkveld Tail | 8% | 11% | 93% | - | - | | Arkveld Armorplate | 20% | 23% | - | 43% | - | | White Arkveld Pelt | 15% | 18% | - | 12% | - | | Monster Hardbone | 18% | - | - | - | - | | Arkveld Certificate S | 8% | - | - | - | - | | Arkveld Gem | 3% | 5% | 7% | - | - |
Notice the wound column. Popping wounds gives strong returns on Scale+ at 45% and Armorplate at 43%, so a wound-focused build farms the common mats a lot faster than plain carving.
The chase: Arkveld Gem
The Gem is the rare one, and it's pure RNG. Three percent as a target reward, five percent per body carve, seven percent off the tail. That tail carve is the reason you always cut the tail. It's your best single shot at a Gem, on top of being a guaranteed-ish Tail. Beyond that, just stack the odds. Cut the tail, break both chainblades and the head, and run it as an Investigation if you've got a good one, since Investigations can add extra reward slots.
Capture or kill
Capturing usually hands you more total reward rolls than three body carves, but they pull from the same rates, so the bump to your rare-drop odds is small. Capturing saves time, which adds up over a long farm. If you're chasing a specific common material like Armorplate or Scale+, killing and carving three times plus the tail gives you more total pulls. For Gem hunting, the tail carve matters more than the capture versus kill choice.
What it all builds
The mats go into the Veldian weapon line, where the greatsword is the Veldian Gladius and the longsword is the Veldian Ensis, along with the Arkvulcan armor set in Alpha and Beta flavors. Arkvulcan carries the Arkveld's Hunger set bonus that heals you as you deal damage, a comfy pick for tougher fights down the line even if raw-meta sets beat it on pure damage. So even after you've beaten Arkveld, farming it pays off in gear that helps you handle the harder monsters waiting after it. Break both chainblades every run, cut the tail, and the mats stack up fast.