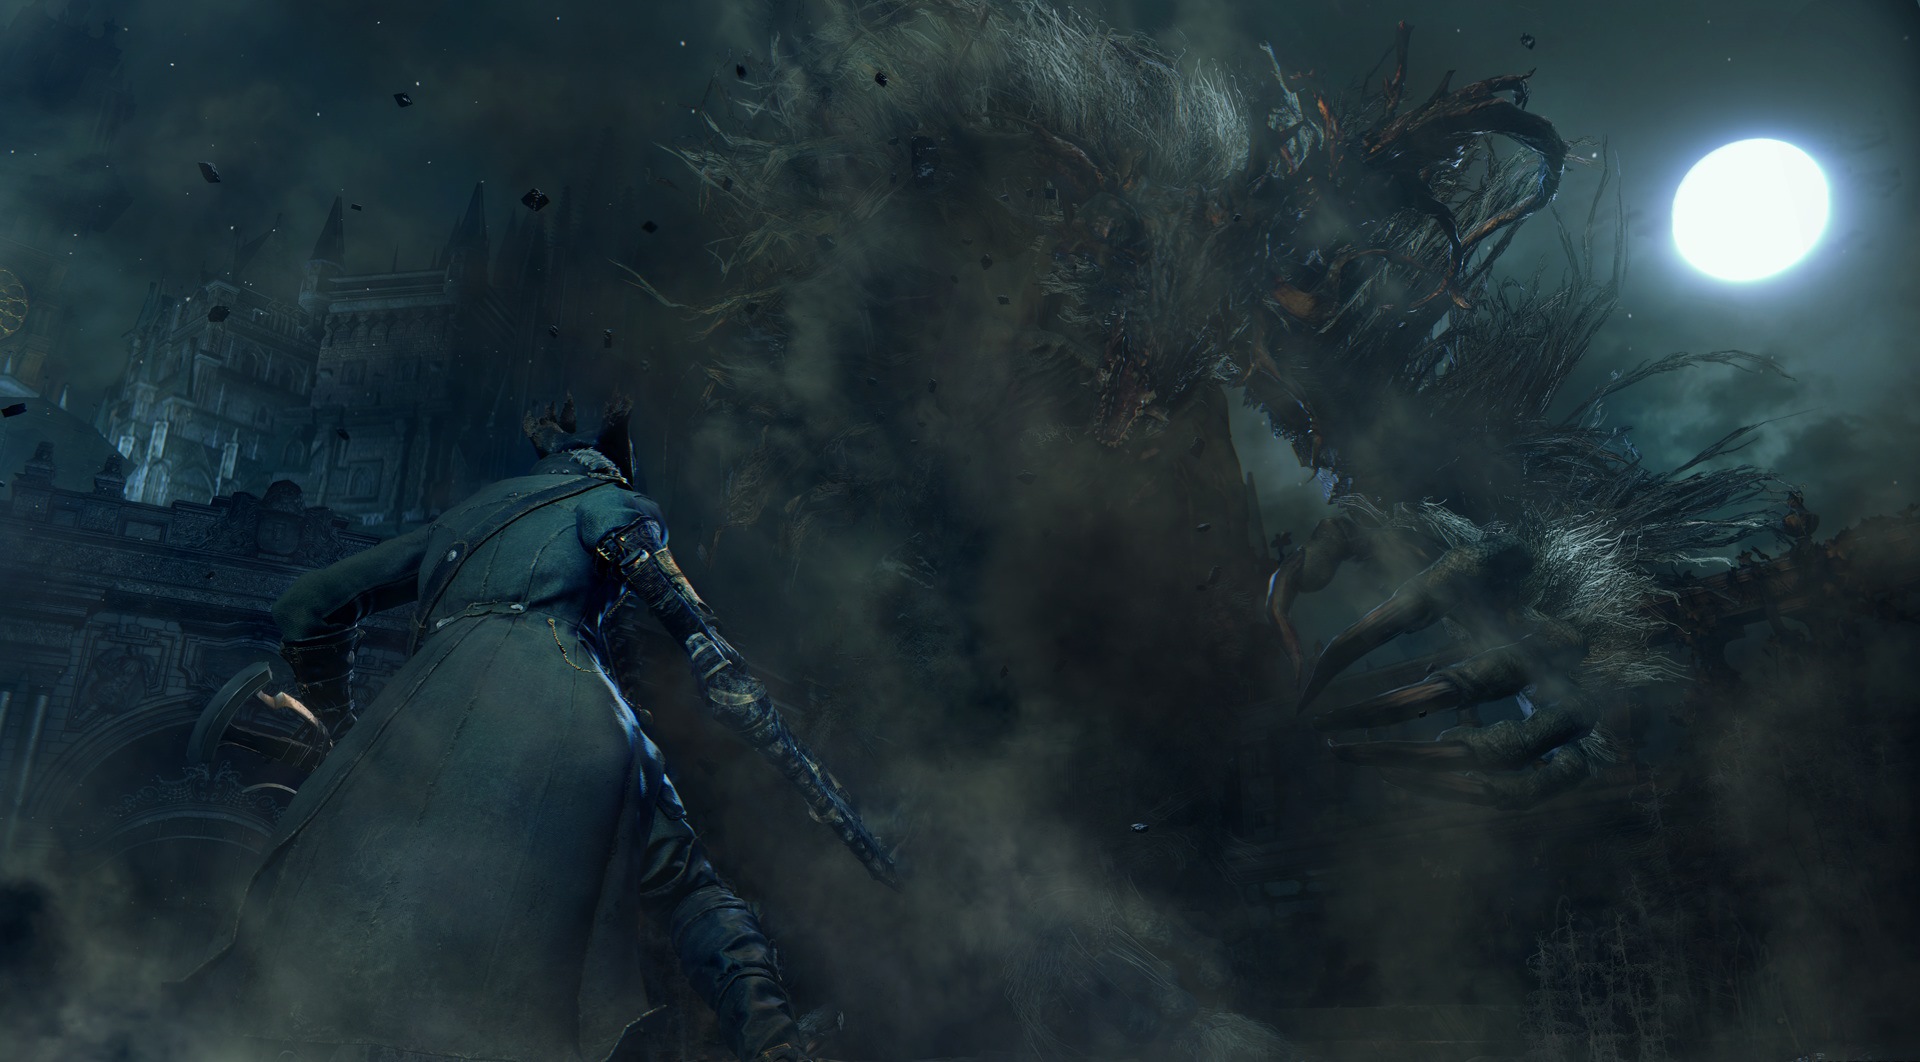
Bloodborne: Advanced Combat Techniques Guide
Master your battles in Bloodborne with expert tips on visceral attacks, trick weapons, gun parrying, blood vial strategies, insight, and frenzy control.
Bloodborne has a reputation for being unforgiving, rewarding careful timing and precise positioning in combat. Even if you've overcome the basics, you'll find there's still much more depth waiting beneath the surface. Mastering some of the finer points of movement, parrying, and weapon techniques can genuinely elevate your performance in both PvE and PvP scenarios. At higher-level play, subtle adjustments to your approach and a deeper understanding of enemy behavior can make even intense battles seem manageable. The difference between surviving and thriving often rests in the details, and refining these advanced combat tactics is the key to becoming truly confident in Yharnam.
Mastering Visceral Attacks in Bloodborne
Visceral attacks are high-damage, decisive counterattacks capable of staggering and devastating foes. These brutal maneuvers reward timing, observation, and patience, turning daunting enemies into manageable victories. Let's get you comfortable pulling these off regularly and maximizing your hunter’s ability to handle combat situations efficiently.
What Exactly Are Visceral Attacks?
In basic terms, a visceral attack is Bloodborne’s version of a "critical hit," but executed under specific conditions. Instead of just doing slightly extra damage, a successful visceral attack can deal massive amounts to an enemy while also briefly protecting you from harm. When properly performed, you'll deliver a satisfying visual animation--often plunging your hand deep into an opponent’s flesh--that leaves enemies either badly weakened or instantly defeated.
How to Perform a Visceral Attack
You can't just walk up and deliver a visceral attack anytime. They're available only when you've landed a well-timed gunshot to stagger your target or after interrupting specific enemy actions. Follow these steps:
-
Watch your enemy closely. They telegraph certain moves, and that's your moment. When an enemy begins launching an attack, fire your gun at just the right moment--during their winding-up animation, immediately before they strike you. This part is often referred to as a "parry” or “gun parry.”
-
Look for the stagger. If you've executed the shot effectively, your enemy reels back, briefly stunned and vulnerable. You'll hear a distinct sound effect, and they'll visibly flinch or drop to their knees.
-
Quickly approach your stunned enemy. Immediately move close to them and press the attack button (R1 by default) at close range. Done correctly, your character initiates a vicious visceral attack animation that will do tremendous damage.
The timing takes practice, obviously, but becomes second nature with repetition. Every enemy type has particular moves that are easier or harder to parry, so try to recognize their patterns as early as possible. Consistency comes from keeping your cool and learning through trial and error. It might be challenging at first, but it'll become your instinctive response after a bit of sweat and practice.
Maximizing Your Visceral Damage
Visceral attacks naturally deliver major punishment to your foes, but certain upgrades can push that damage even higher. Leveling up a specific stat called Skill directly boosts the damage output of visceral attacks, meaning hunters prioritizing skill as a primary attribute will benefit most from integrating these counters into their playstyle.
There are also special blood gems--items enhancing weapon strength--that specifically increase the damage visceral attacks inflict. Keep an eye out for these gems, particularly named "Clawmark Runes." These offer significant multiplicative boosts to the power behind your visceral hits. Stack them wisely, and you'll quickly see tough bosses crumble before your precise execution.
Picking Targets: The Perfect Timing
Not all enemies are created equal when it comes to visceral vulnerability. Many of Bloodborne’s intimidating bosses and larger creatures have particular attacks that are easily predictable once learned. For instance, the towering Church Servants have wide, slow sweeps that signal exactly when to fire off a quick pistol round to stagger and open them up. Similarly, early-game bosses like Father Gascoigne or powerful late-game foes like Martyr Logarius provide clear-but-narrow windows during particularly heavy swings. Identifying those moves makes bosses far less daunting and much more manageable, even at low levels.
In PvP situations, visceral attacks remain just as powerful--but harder to execute. Your real opponents will typically know the same tricks, which means they'll dodge more frequently, bait out your attacks, and vary their patterns. Still, anticipating and successfully performing a visceral attack during PvP battles delivers massive payoff and makes you a far deadlier hunter.
Common Pitfalls and How to Avoid Them
Performing visceral attacks seems straightforward--until it isn't. Common mistakes include:
-
Firing your gun too early or late: You need to hit that sweet spot exactly as the enemy’s attack is about to hit. Earlier or later attempts usually end in failed staggers--and painful retaliation.
-
Not closing distance quickly enough: It's common to hesitate after you see an enemy stagger. Speed is crucial here--dashing immediately after your gun parry is key.
-
Using the wrong attack button: Beginners try pressing R2 instead of R1. Remember, close-range R1 activates visceral attacks; anything else leads to frustration.
Practice consistently, and you'll iron out these mistakes, making visceral strikes reliable parts of your combat toolkit.
Final Tips: Practice Makes Your Hunter Perfect
Your success ultimately comes down to repetition. Visceral attacks are among Bloodborne’s most satisfying mechanics, turning potentially tough combat encounters into manageable situations and saving your life frequently if mastered. Work steadily on timing these parries, memorize boss attack tells, upgrade your Skill stat, and equip suitable runes. Eventually, visceral attacks will become second nature, and you'll handle challenging scenarios in the streets and alleys of Yharnam with confidence.
Don't shy from experimentation. Play around, adapt, and use death as a learning experience. Soon, you'll become a pro at assertively dismantling Bloodborne's deadliest foes with visceral finesse.
Trick Weapon Mastery: Becoming a Virtuoso Hunter
Bloodborne sets itself apart from other combat-heavy action RPGs in one major way: its inventive Trick Weapons. Each weapon is two stylish instruments of death rolled into one, seamlessly shifting from agile, rapid attacks to slower, deliberate strikes with unusual properties. Knowing when--and how--to effectively switch between transformations marks the difference between a competent hunter and a master of the streets of Yharnam.
Understand Your Weapon's Dual Roles
Every Trick Weapon in Bloodborne leverages two distinct fighting styles. Usually, one mode is close-range, delivering quick flurries ideal for controlling battles at your fingertips. The other tends to focus on reach, crowd-control, or raw power, dealing higher single-hit damage at the cost of speed and stamina.
Take the iconic Saw Cleaver, a starter favorite. Its closed form provides speedy, efficient combos perfect for dueling fast-moving foes, while its extended form sacrifices speed, trading off with better distance and horizontal sweeps to clear away small mobs. Recognizing the best circumstances for each form will ramp up your efficiency dramatically.
Transformation Attacks: Combos with Style
Trick Weapons let you transition fluidly mid-combo, opening up unique possibilities. When transformed at the perfect moment, they deliver a special "transformation attack"--landing high-damage, visually impressive strikes.
For instance, imagine you're fighting an agile enemy who backs away constantly. You’ve tried multiple quick stabs with Ludwig’s Holy Blade and just can't land a good hit. Never fear--pressing L1 mid-combo lets your hunter swing downward mightily, shifting seamlessly into the greatsword form. This transformation attack closes the distance when standard attacks can't. Mastering these mid-combat changes keeps your movesets varied and unpredictable.
Experimentation is key here. Learn exactly how your weapon moves during transformations, and practice chaining regular attacks into these special moves. Soon, you'll effortlessly toss in effective, stylish combos that devastate your adversaries.
Pairing Playstyles and Weapons
Matching Trick Weapons with your favored combat style makes your gameplay smoother and more enjoyable. If you're naturally cautious and calculated, heavier weapons like Kirkhammer or Hunter Axe reward patience, precise timing, and methodical strikes. Alternatively, hyper-aggressive play meshes beautifully with nimble dual-weapons such as the Blade of Mercy, perfect for lightning-quick dashes and offensive pressure.
Classifying weapons into broad groups helps discover your sweet spot:
-
Fast, combo-oriented weapons: Saw Cleaver, Saw Spear, Blade of Mercy, Threaded Cane (untransformed form)--great for players who value mobility and aggression.
-
Heavy hitters and reach-intensive tools: Hunter Axe, Kirkhammer, Ludwig's Holy Blade (transformed form), Whirligig Saw--ideal for careful, deliberate approaches or aggressive, heavy-damage play.
-
Range-focused hybrids: Threaded Cane (transformed whip form), Burial Blade, Rakuyo--excellent for controlled spacing and versatile strategies.
Pick something that feels just right--Bloodborne’s world is unforgiving enough without wrestling with your own arsenal.
Gems, Upgrades, and Optimizing Your Damage Type
Maximizing Trick Weapon effectiveness also depends heavily on weapon upgrades and gem customization. Fortifying your weapon at the workshop using Blood Stone Shards and Chunks significantly boosts strength and scaling attributes--don’t overlook this simple advantage.
But where real customization shines is found in Blood Gems. Some gems directly raise raw damage, valuable most of the time, but don’t forget specialized elemental gems or gems focusing on a specific enemy property. Blood Starved Beast giving trouble? Gems boosting your fire damage can cut its defenses down quickly, provided your weapon supports elemental infusion.
Gems are interchangeable, meaning no one setup permanently locks you in. Test different gem builds frequently, tweaking freely until you're dealing optimal damage against the toughest opponents Yharnam throws at you.
Mastering Complementary Weapons: Guns and Trick Weapons in Unison
Bloodborne incorporates firearms as off-hand utilities: great for parrying, yes, but there's more. Guns also open up combat sequencing leading smoothly into your chosen trick weapon strikes or transformation combos. Staggering an enemy pistol-shot can seamlessly chain into your extended-form heavy attack. A single staggered enemy can provide openings for transformation attacks that dish out devastating damage where regular hits fail.
Timing your gunshots alongside Trick Weapon transformations is an advanced skill worth mastering. It dramatically broadens your strategic options, reduces incoming damage, and shortens encounters--sometimes even outright avoiding tough exchanges entirely.
Common Mistakes to Avoid with Trick Weapons
Hunters sometimes fall victim to easily fixable missteps when learning Trick Weapons:
-
Overusing transformations randomly: Although transformation attacks are powerful, mashing L1 relentlessly without understanding their range or purpose leads nowhere. Selectively employ transformations to open enemies up or capitalize on openings rather than spamming needlessly.
-
Forgetting the stamina cost: Trick Weapon attacks drain stamina--larger swings and powerful strikes especially. Don't chain reactions without minding your stamina gauge carefully--running out mid-combat can prove disastrous. Smart stamina management helps transition smoothly between attack, defense, and positioning, keeping you alive longer.
-
Ignoring individual enemy weaknesses: Each weapon handles situations differently. Using a slow heavy Hammer against highly agile beasts might bring frustration. Matching weapon choice to enemy type drastically alters combat experiences, minimizing frustrations and setbacks across entire runs.
Keep Practicing, Keep Experimenting
Nothing in Bloodborne arrives without some trial, error, and perseverance--Trick Weapon mastery included. Every weapon is approachable upfront, but nuance reveals itself as you repeatedly return to familiar streets, facing both new and previously conquered foes. Expanded knowledge comes from weapon experimentation and experience, fostering confidence to tackle punishing enemy encounters.
Be persistent--the hunt rewards patience and determination. Most importantly, have fun experimenting and changing your loadout regularly. The ideal Trick Weapon isn't the one everyone suggests online; it's whatever suits your hunting instincts perfectly.
Bloodborne's Trick Weapons are about versatility, unpredictability, and fluidity. Embracing these concepts fully transforms casual hunters into masters, slicing gracefully through Yharnam's most fearsome inhabitants and leaving you a force to reckon with. Keep sparring with shadows, perfect your style, and make those Trick Weapons sing.
Gun Parrying: Mastering the Art of Risk and Reward
If you've spent any time at all battling through Yharnam’s gloomy streets, you've probably noticed your firearm isn't packing the kind of punch that'll mow down beasts single-handedly. So what's the big deal about carrying a gun instead of a shield? Simple: timing. Bloodborne trades defensive blocking for a high-stakes tactical tool called gun parrying, and it's one trick every seasoned Hunter swears by. Here's how you can learn it yourself and start handing out some righteous punishment.
Understanding Gun Parrying and Visceral Attacks
Gun parrying is basically about timing a gunshot perfectly against an enemy's incoming attack. If you pull it off at the right moment--typically just as your opponent is in mid-swing--you'll stagger them temporarily, opening them up to a powerful follow-up attack called a "visceral attack." Visceral attacks deal huge damage compared to your regular swings, which makes it worth the practice.
To trigger a visceral attack, position yourself right in front of the stunned enemy and quickly tap R1. If done correctly during this tiny opening, you'll see your character dramatically thrust their hand into your foe's insides, tearing them apart for massive damage.
Getting the Timing Right
The trickiest part of learning gun parrying is timing your shot. Each enemy type has its own set of moves, so figuring out when exactly the parry opportunity appears is crucial. The general rule of thumb: shoot just as your opponent's attack animation begins its forward swing toward you--a split-second moment that'll feel like risky business at first.
For instance, take those hulking Brick Trolls lingering around Central Yharnam--their massive overhead strikes provide one of the easiest opportunities to practice your parry timing. Wait until their weapon starts moving downward and immediately shoot; you'll make short work of these brutes. Quick enemies require quicker reflexes, so pay attention and adapt your reaction time accordingly.
Choosing Your Parry Tools Wisely
Although any gun can technically perform a parry, each firearm behaves differently, affecting speed, range, and reliability:
-
Hunter Pistol: Accurate and reliable, this trusty pistol grants excellent timing with steady precision. A great starting option.
-
Hunter Blunderbuss: Fires a spread of bullets making it very forgiving--and ideal for beginners--but its short range means you need to be closer to danger.
-
Evelyn and Repeating Pistol: More powerful than your standard Hunter Pistol but cost more bullets. High risk, high reward.
Starting with a pistol or blunderbuss helps you get a comfortable grasp of the timing. Later, experiment with stronger firearms to boost visceral damage when your reflexes are sharpened.
Ammo Management: Keeping Your Guns Loaded
Unlike swinging your trusty Saw Cleaver, firearms require quicksilver bullets--limited ammo you must manage carefully. You'll carry 20 at a time (with extra stored in your stash back at Hunter’s Dream). A simple trick: pressing up on the D-pad sacrifices a small amount of your health for five emergency blood bullets, helpful if you're low mid-fight.
Remember to restock bullets frequently. Excess gunshots against regular enemies can quickly deplete reserves, leaving you vulnerable when tougher opponents appear. Focus on precision over recklessness, especially during your early hunts.
Common Mistakes Hunters Make With Gun Parrying
To save frustration, watch out for these newbie pitfalls:
-
Panicking and shooting too early: Don't waste precious bullets firing before the enemy commits to their attack. Patience rewards accuracy.
-
Backpedaling too far: Staying at medium-to-close range is critical for landing your parries. Guns lose effectiveness quickly at longer distances.
-
Misjudging enemy strength: Bosses and larger foes usually give fewer clear parry windows. Practice extensively on standard enemies before attempting parries against bigger challenges.
Practicing with Specific Enemy Types
Not all enemies have equally generous parry timings. Here's how a few infamous foes stack up:
-
Cainhurst Knight: Easily parried right before they slash. A great enemy for practicing parry timing thanks to obvious, telegraphed moves.
-
Scourge Beasts (wolves): Fast and aggressive, their rapid swings may intimidate, but they're still susceptible to parrying if you shoot precisely as their claws extend.
-
Chalice Dungeon Watchers: These giant cleaver-wielders swing hard but slow. Parry timing here is forgiving, rewarding Hunter patience extensively.
Practice makes your reflexes second nature, giving you confidence--even when facing bosses like Father Gascoigne and Martyr Logarius, who themselves can fall prey to carefully timed parries.
Integrating Gun Parries into Your Combat Rhythm
Gun parrying isn't purely defensive--it's a tactical offensive tool. Successfully staggered opponents provide not only massive damage potential but also crucial breathing room during crowded battles. By consistently landing visceral attacks, you'll dramatically shorten fights, conserve precious resources, and minimize incoming damage.
As you become accustomed to Yharnam's monstrous residents, gunshots naturally sync with your strikes, establishing a steady rhythm that feels downright satisfying. With skillful gunplay, you'll overpower entire mobs singlehandedly, turning dangerous duels into stylish victories.
Practice parry timings diligently--success is genuinely rewarding. Soon enough, you'll stand among Yharnam's fiercest Hunters, calmly waiting for the perfect opening to dish devastating viscerals.
Blood Vial Management
Blood vials are your lifeline in Bloodborne, and managing them smartly decides whether you'll prevail in tough battles or endlessly repeat frustrating runs. As you're honing your combat skills, resource management becomes equally important--especially when confronting Bloodborne's relentless enemies and punishing bosses. So let's talk about keeping your blood vial stash healthy and making the most out of each precious vial.
Understanding How Blood Vials Work
A Blood vial isn't complicated--it's your main healing item, available for quick use by pressing the Triangle button. Each vial restores a chunk of lost health instantly, giving Hunters immediate recovery during intense fights. You carry a max of 20 vials at a time, with additional extras going straight into your stockpile at Hunter's Dream. Whenever you die or rest at lanterns, your bloodstream refills directly from your reserve supply.
Despite the initial abundance, reckless play easily wipes your vials out, and running low during key moments is a recipe for game's sudden end. Good vial management keeps your reserves stocked and helps save echoes by avoiding unnecessary purchases at the Messenger shops.
Effective Strategies to Stockpile Your Vials
To maintain healthy reserves, develop vial-gathering habits early:
-
Farming Familiar Areas: Central Yharnam early-game enemies often drop vials reliably. Brick Trolls and Ogre-like foes are especially dependable sources for drops. Routinely revisiting these foes for quick farming sessions quickly tops off your storage.
-
Echo-Efficient Purchasing: Should your supplies run low, messengers sell blood vials at increasing echo costs throughout the game. To minimize excessive spending, farm echoes in safe areas specifically to replenish vials, keeping combat echo-runs separate from regular progress.
-
Routine Loops: Establish regular runs where enemies reliably drop multiple vials--Cathedral Ward's hulking Church Giants or Forbidden Woods peasants can net several blood vials per run, making it easy to replenish before challenging bosses.
Commit these routines into your regular gameplay loop early to prevent ever facing empty vials during critical moments.
Maximizing Health to Avoid Wasteful Use
Many players fall into the habit of immediately popping vials after each hit. Impatient vial use wastes resources fast. Make sure to first use Bloodborne's "Rally" mechanic effectively:
-
Using the Rally System: After taking damage, you briefly have a few seconds to strike back at enemies and recover lost health. Aggressively responding to enemy damage by attacking can restore significant chunks of your health, massively cutting down vial reliance.
-
Strategically Delay Healing: Don't pop vials instantly at minor wounds. Wait until your health reaches approximately half or lower to maximize each vial's healing potential.
Becoming comfortable with the Rally system and judicious timing keeps vials reserved for true emergencies, stretching your resources significantly further.
Increasing Your Blood Vial Carrying Capacity
Initially, Hunters carry a maximum of 20 blood vials at once. Thankfully, specific runes found later let you carry additional vials, further easing inventory management:
- The Communion Rune: Equipping one or more Communion runes increases blood vial capacity. By stacking different Communion runes, you can carry far beyond the usual limit--up to an impressive total of 24 to 28 vials. Communion runes appear as you advance into mid and late-game, usually hiding deep within Chalice Dungeons or tricky side-areas.
Be on the lookout for Communion runes during your journeys. The payoff--increased carry capacity--is well worth the trouble and greatly reduces your need to constantly refill.
Avoiding Common Blood Vial Mistakes
All Hunters make mistakes, but awareness prevents costly vial missteps:
-
Overhealing: Panic-healing when your damage is minimal or when natural regen could occur burns through your stash. Stay calm and ration usage wisely.
-
Ignoring Your Reserve Count: Regularly checking your reserve supply at Hunter's Dream prevents unexpected situations during boss runs. Awareness avoids frustrating moments when you suddenly realize you've run dry after repeated attempts at a boss.
-
Underestimating Resource Runs: Thinking you'll always find vials ahead leaves you with few resources during sudden tough areas. Establish farming runs early so vials remain plentiful throughout your entire playthrough.
Adjusting your habits avoids these common pitfalls, making sure vial shortages rarely catch you off guard.
Preparing for Boss Fights and Difficult Encounters
Boss battles often dramatically shrink your vial counts, especially since inexperienced players panic-heal more often during the pressure. Before taking on a boss, refill your inventory completely and build up a healthy stock in reserve. It saves enormous frustration, especially if you need repeated attempts to master new encounters.
A simple rule: always fill up before bosses. Take a few quick farming runs prior to challenging fights like Gascoigne, Amelia, or Rom, saving you repeated loading screens and wasted echoes purchasing expensive Messenger vials.
Keeping these strategies firmly in mind helps keep blood vials plentiful during your Bloodborne journey. Smart vial management means your resources stretch further, combats feel less stressful, and Yharnam's toughest challenges stay within confident reach.
Understanding Insight and Frenzy in Bloodborne Combat
Surviving Yharnam isn't just about being handy with weapons; it's about managing mental endurance as well. Bloodborne introduces players to two interconnected yet mysterious mechanics: Insight and Frenzy. Both aspects directly impact combat situations, requiring players to navigate the careful balance between knowledge and madness.
What Exactly is Insight?
Think of Insight as your Hunter's awareness or knowledge of the true horrors hiding behind Yharnam’s bleak streets. It's measured numerically--the little eye icon displayed beneath your Blood Echo count.
As your Hunter gains Insight, subtle shifts occur throughout the world. You might begin hearing unsettling whispers or notice fresh visual horrors populating familiar haunts. Some enemies become tougher or even unlock new abilities as your Insight creeps higher.
Gaining Insight: How it Happens
Insight increases in multiple ways:
- Discovering New Areas and Bosses: Spotting bosses typically earns at least one Insight, with another boost after beating them.
- Consuming Madman's Knowledge and Great One's Wisdom: You'll find these throughout Yharnam. Crushing these items instantly rewards you additional Insight.
- Multiplayer Interactions: Invading or assisting other players provides Insight per encounter, encouraging online play.
At certain thresholds, your game subtly transforms--for example, hitting fifteen Insight reveals the game's intimidating, ethereal creatures known as Amygdala hanging over certain areas like Cathedral Ward.
Spending Insight Wisely: Where and Why
Insight functions like a secondary currency, exchanged at the Bath Messengers inside Hunter's Dream. Purchases made here range from rare items like Fire Paper or Bolt Paper, weapons outfits, or essential resources like Bloodstone Shards.
But keeping insight levels moderate rather than excessively high benefits your journey. Managing Insight ensures enemies and bosses don't reach their deadliest forms prematurely. Periodically spending Insight at the dream's messenger bath maintains this careful balancing act.
Remember, having zero Insight puts you at another disadvantage--you'll lose access to multiplayer functions online. Aim to hold some Insight (roughly five to fifteen points) for an ideal blend of multiplayer convenience and enemy difficulty balance.
Frenzy: When Insight Goes Too Far
As Insight rises, Hunters unlock more truths--but knowing the truth can drive them mad. That's Frenzy in a nutshell. Frenzy behaves similar to status effects like poison, building rapidly upon various enemy attacks or environmental hazards, and delivering massive damage once the meter fills up entirely.
Frenzy isn't subtle--the bar fills fast, and if not managed, it can nearly or outright kill your Hunter instantly. Your Insight level directly influences susceptibility to Frenzy. High Insight means Frenzy builds far quicker, making certain enemy encounters considerably riskier.
Surviving Frenzy: Tips and Tactics
Frenzy is dangerous, yes, but manageable once you become familiar with a few tips:
- Sedatives: The primary cure for Frenzy buildup, Sedatives quickly lower your Frenzy meter. Stocking plenty is crucial, especially during late-game areas full of frenzy-inducing foes.
- Clothing & Runes: Equipping armor and runes specifically designed to reduce Frenzy resistance helps tremendously during high-risk encounters. Gear with solid Frenzy resistance greatly slows the buildup.
- Breaking Line-of-sight: Some late-game mobs and bosses rely on sight to fill the Frenzy gauge quickly. Ducking behind obstacles or breaking visual contact briefly halts or greatly reduces buildup speed.
In encounters against the sinister Winter Lanterns in Nightmare Frontier or Nightmare of Mensis, smart tactical play--keeping out of sight, using terrain, and having lots of Sedatives handy--protects against sudden deaths from massive Frenzy hits.
Striking a Balance: Insight Levels and Frenzy Management
Maintaining Insight at moderate levels (around five to twenty) coupled with proper Frenzy preparedness keeps Hunters versatile and minimizes needless difficulty spikes. Monitoring Insight and Frenzy resistance proactively manages scenarios, turning potentially lethal mistakes into calculated risk-taking steps.
High Insight elevates your vulnerability, adding dangers, but yields significant rewards. You see--and sometimes purchase from the Messengers--rare resources and upgrades unavailable elsewhere. Conversely, low Insight favors safety but reduces multiplayer activity and certain crucial item availability.
Experiment carefully. Finding your comfortable Insight range depends heavily on personal playstyle preference, cautious management, and experience gained amidst Bloodborne's relentless nightmare.
Mastering these intertwined elements--Insight and Frenzy--turns Hunter novices into seasoned veterans, ready for the intense psychological and combat threats filling Bloodborne’s sinister avenues.