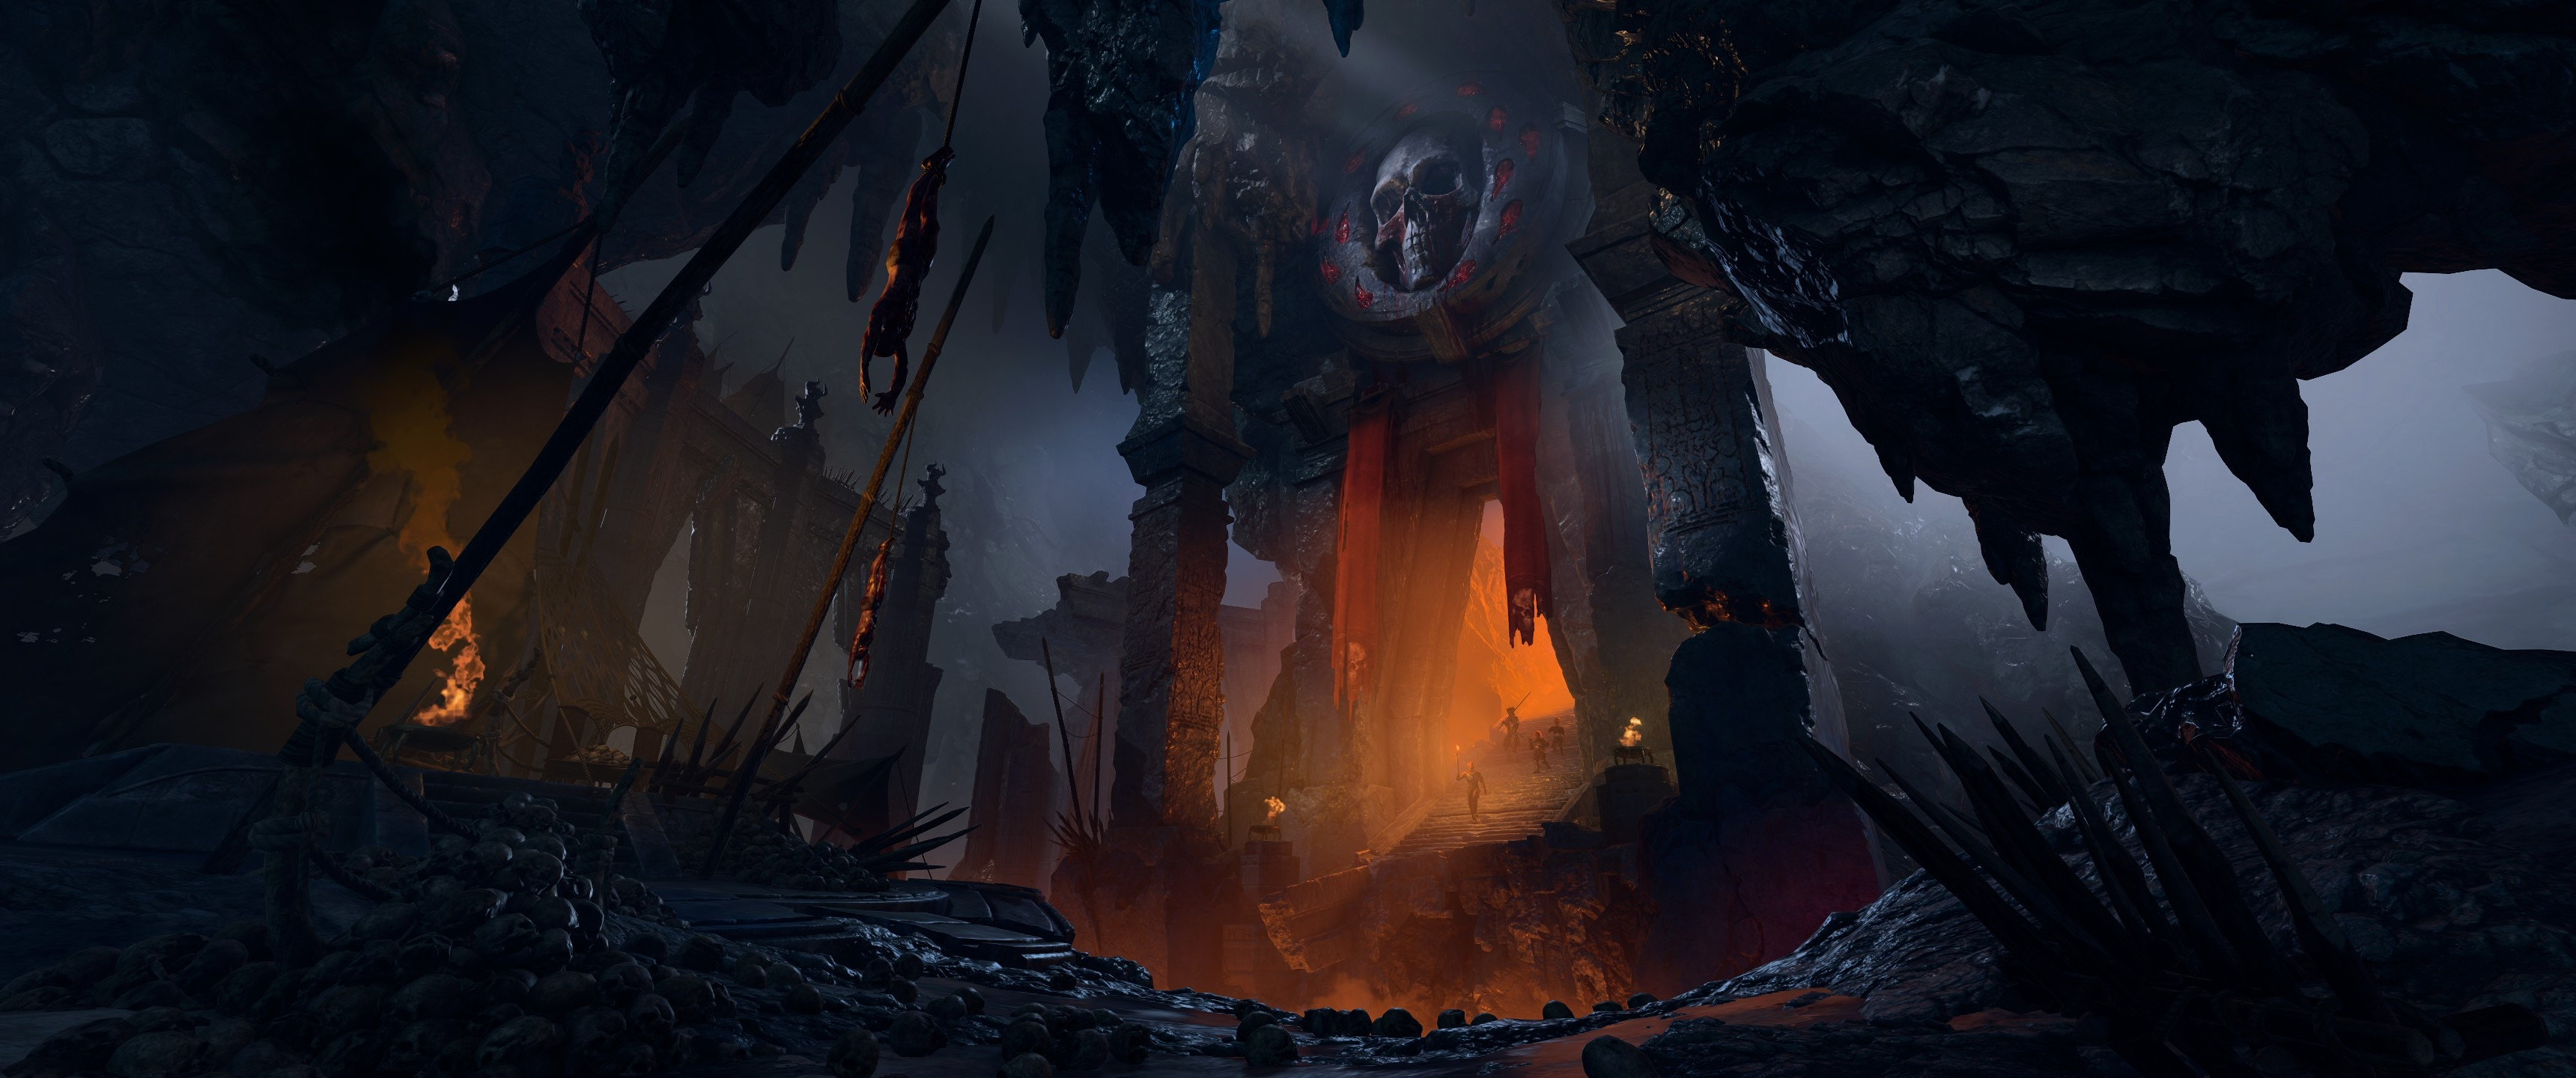
Baldur's Gate 3 Githyanki Creche Guide: Inquisitor Choices and the Astral Prism
Walkthrough of Creche Y'llek: the monastery puzzles, the Zaith'isk saves, the Vlaakith choice, and all the loot worth grabbing on your way out.
Creche Y'llek is a whole military base tucked under a ruined monastery in the Mountain Pass, and it's where the Act 1 tadpole story takes its first big turn. One trip gets you a legendary mace, a run-in with a fake god, and a boss fight that kicks off no matter how polite you are. Show up around level 5, bring Lae'zel if she's with you, and plan on a solid chunk of time.
Quick timing note first. The game flashes a "the story will move on" warning when you travel to the Mountain Pass, and it's softer than it sounds. You can still fast-travel back to the Act 1 map whenever you like, grove and goblins and Underdark included. The hard cutoff is the drop into the Shadow-Cursed Lands, so finish the pass and the creche before you ride down there.
Entering Rosymorn Monastery
The road in has its own speed bump. Early in the pass you'll get a cutscene with Kith'rak Voss and his red dragon, and he's hunting a certain cube-shaped artefact. Don't tell him you're carrying it and don't confess to the tadpoles, and the chat ends with him pointing you toward the creche. Blab about either one and you're fighting a dragon knight way before you're ready.
Near the trail's end there's a cable car, and turning its wheel takes a DC 15 Strength check. Ride it up, walk the last stretch, and you'll catch a gith patrol marching three halfling cultists toward the front doors for a talk with their "Captain". One halfling bolts and gets shot in the back for it. You can jump in and fight, or stay quiet and let them all go inside. Here's the catch: if the patrol gets through, they lock the gates behind them, and those gates can't be picked. There's a lever on the inside that reopens them, so no choice here is wrong, it just picks your first door for you.
Either way, the main doors are locked and warded, so most parties slip in through the broken window just west of them. That drops you into the old firewine cellar, now home to a mob of drunk kobolds. Several are passed out cold, but a few hide inside the wine barrels. Give any barrel that goes glug a whack before you walk past it. One of these little drunks is carrying the Ceremonial Mace. Take it, because it matters in a few minutes.
The monastery is three layers of rubble: ground floor, upper floor, roof. The upper floor holds the other two keepsakes for the puzzle downstairs. The Ceremonial Battleaxe sits in a small chamber past a crumbly wall (a DC 15 Perception check helps you spot it), watched by a Guardian of Faith. That glowing sentinel ignores you until you touch the skeletons at its feet or pick up the axe. Loot the chest in there first, then decide how badly you want the axe. The Ceremonial Warhammer is up on the roof, dead center of a giant eagle's nest. You can talk the old bird around with a DC 18 Animal Handling check (or plain persuasion if Speak with Animals is active), sneak the hammer out under a Fog Cloud, or kill the eagles and take it. Killing the Ancient one calls three more birds in, so bring real damage if you go that route.
Once you've got the goods, head to the Dawnmasters' Memorial: a round room with a stained-glass floor and four stone altars. Each altar has a name plaque, and the glass shows which Dawnmaster carried which weapon. The longsword altar is already done for you. The rest is:
| Altar | Weapon it wants | | --- | --- | | Dawnmaster Seed | Warhammer | | Dawnmaster Stockhold | Mace | | Dawnmaster Vaseid | Battleaxe |
Drop each weapon on the right altar and a hidden compartment pops open with the Dawnmaster's Crest inside. Any mace or warhammer of the matching type works, so the rusty one from the robbed grave southeast of the building is fine too. Solving it also hands everyone Morninglord's Radiance, which adds 1d4 radiant damage to all weapon attacks. That lasts until your next long rest and can never be earned again, so do this before you scrap with the eagles or the Guardian if you can. A lockpick shortcut exists (spot the compartment with a DC 10 Perception check, crack it open with a DC 30 Sleight of Hand check), but that route skips the buff, and the buff is the good part.
Before you head below, swing east along the roof to a Painted Chest holding the Holy Lance Helm. Solid pickup for a cleric or paladin, and it's really easy to walk right past.
Finding the Creche
The way down is through the big open hall with the statue of Lathander on the ground floor. Flip the wall lever in there to reopen the front doors if the patrol locked them, then follow the spiral stairs west and down. You'll come out in the creche's front hall, where a gish named Far'aag stops you for a chat.
So how do you get past her? Honestly, the boring answer works: say you're looking for a cure for the parasites. She softens right up and points you at the infirmary. If you met Voss peacefully, you can instead claim you're carrying "the weapon" he wanted, but that route means checks (a DC 18 Persuasion, or a wild DC 30 Performance where you impersonate an avatar of Vlaakith), and failing any of them starts a fight in the lobby. Lae'zel being gith smoothes a lot of this out if she does the talking. There's also a second, quieter way in through the cliffs on the east side that only has one or two guards on it, nice for a sneaky party.
Past the front hall, the base is one big corridor with a waypoint in the middle. Hatchery to the northwest, infirmary to the southwest, classroom to the north, trade post to the southeast, and the Captain's Quarters in the northeast corner with the Inquisitor's Chamber beyond it. A few detours are worth your time:
- The classroom has Sa'varsh Kethk beating on a youth named Varrl. Step in and handle it well and you can walk out with a book about Prince Orpheus. Sounds like flavor now, but that lore pays off huge in Act 3.
- The hatchery is a cave of shin-deep acid, repulsor mines, and glyphs that teleport you into a cage, so watch your step. It's also the heart of the Steal a Githyanki Egg quest for Lady Esther, who's camped out on the trail above.
- The trade post is run by A'jak'nir Jeera, and her stock is genuinely good for this point in the game: Knife of the Undermountain King, Gloves of Dexterity, Unseen Menace, Witchbreaker, Larethian's Wrath, plus Arrows of Aberration Slaying. Buy before anything loud happens.
- There's a big portrait of Vlaakith at the west junction. You can doodle a new face on it. Do it for Lae'zel's reaction alone.
The Captain's Quarters is where the story gears grind. Walk in and you'll catch Kith'rak Therezzyn, who runs the creche, arguing with Inquisitor W'wargaz, who just showed up from the queen. When it's over, Therezzyn seals the northern archway with a barrier disruptor, and the only key is the Gith Shard she carries. Three ways through: show her the artefact and the Inquisitor himself waves you in (the normal route), pickpocket the shard off her, or just kill her for it. She's carrying the Soulbreaker Greatsword, a rare +1 blade with +2 Initiative and a Soulbreaker action that adds psychic damage and can stun. If you never fight or rob her, you never get it. Worth knowing before you decide to be peaceful.
Using the Zaithisk
The infirmary's back room is the Doctor's Office, and in the middle of it sits the Zaith'isk, the mind flayer "cure" Lae'zel has been chasing since the beach. Talk to Ghustil Stornugoss, then lie down in the machine. Now here's what the thing actually does: it rips out your memories and then kills you. Purification was never on the menu. Partway through, your Dream Visitor shouts "Enough!", wrecks the device, and saves your bacon.
So who should sit in the chair? Whoever has the best saves. The procedure throws three of them at you, and the last one is nasty:
| Stage | Save | If you fail | | --- | --- | --- | | First | Intelligence, DC 12 | -2 Intelligence | | Second | Wisdom, DC 15 | -2 Wisdom | | Third | Constitution, DC 18 | -2 Constitution |
Pass all three and the parasite knits itself tighter instead of dying, and you pick up the Awakened buff: every illithid power you've unlocked can now be used as a bonus action instead of a full action. That's a permanent, excellent upgrade, basically a free extra action every turn for the rest of the run. The -2 debuffs from failed saves don't heal off with rest either. The fix is swallowing a spare Mind Flayer Parasite, which strips them right off.
If Lae'zel's in the party she'll demand to go first, and this bit has teeth. Letting her have the machine earns a fat +10 approval, but if you stand back and let it play out without steering the dialogue, she fails all three saves and eats every debuff. Pulling her out mid-procedure is a series of brutal checks, DC 30 Persuasion or Wisdom at first, easing to DC 21 in the later stages if you keep at it. Passing any of them stops the machine, racks up approval with half the party, and cracks her faith in gith institutions for the first time. One dialogue option, where you shove past Lae'zel and insist on purging your own parasite first, makes her turn on you along with the doctor. Don't pick that one unless you want a brawl.
When you climb out, Stornugoss gets suspicious about the exploded machine. Pass a DC 15 Deception check (Performance, if your own character was the one strapped in) and you walk away clean. Fail, and she locks the door and comes back with muscle. That fight only pulls in the infirmary crowd, not the whole base, and you can honestly just leave the room and skip it. If you'd rather kill her, do it after using the Zaith'isk, because the machine goes dead the moment she does. She drops the Aberration Hunters' Amulet, which gives advantage on Intelligence saves and makes aberrations attack the wearer at disadvantage. Given what's waiting in this building, that's close to a tailored prize.
The Inquisitor Encounter
The chamber past Therezzyn's barrier is a long bridge into a sunken arena, and W'wargaz is waiting with four cronies (two Ardents, a Raider, and a Warrior). Talk to him and he gets around to demanding the artefact fast. Hand it over in dialogue and a projection of Queen Vlaakith blooms out of the planecaster. She's the gith god-queen, she's an undead lich, and she tells you there's a mind flayer agent locked inside your prism and orders you to enter it and kill them.
Whatever you do here, don't spend the scene mocking her godhood. Push that line too many times and she casts Wish, the actual 9th-level spell, and your party just dies. Game over, reload, no drama. It's one of the few instant-kills in the game hiding behind dialogue.
Your real choice has two branches, and they end in the same place. Refuse her order and W'wargaz and company attack on the spot. Agree, and you get pulled into the Astral Prism for a chat with your Dream Visitor, who explains the truth: the power protecting you from the Absolute was stolen from the githyanki, and Vlaakith wants the prisoner dead because that prisoner is living proof her rule is a lie. The Visitor kneels and offers you a blade, saying you can strike them down if you truly believe you should. Take the swing and they die, come right back, and act deeply disappointed in you. Nothing mechanical changes either way; it's a trust test, and the fallout lands later in the story. Then you pop back to the Material Plane, and W'wargaz attacks anyway, because the whole summons was a trap. Going in first is the better branch, since you get the lore and a look at your protector before the swords come out. Either way, expect the entire creche to be hostile on your way out.
Lae'zel's arc turns on this fight. Getting betrayed here starts her slow break from Vlaakith, which is the good version of her story. Two warnings, though: jump W'wargaz without going through the dialogue and she may turn on you mid-fight, and if you sneak through the creche without resolving the storyline at all, she'll later demand to go back unless you shut it down with an Intimidation check.
The fight itself. W'wargaz is level 6 with 112 HP and AC 17 on Balanced (145 HP plus three charges of Legendary Resistance on Tactician, and nasty Mind-Claw summons twice a round on Honour). His kit: a greatsword dealing 2d6+4 slashing, Extra Attack, Astral Step teleports, and Mindsteal Link, an Intelligence save that drops your AC by 2 and makes you vulnerable to psychic damage while buffing his. The Tempest version hits everyone near him, so spread out before it lands. He also parries weapon attacks for 10 less damage using his reaction, so bait an opportunity attack with someone moving away, then unload once his reaction's spent.
The escorts are the real danger early. The Ardents heal and buff, so drop or crowd-control them first if you're struggling. W'wargaz is a humanoid with no immunity to Hold Person, and a paralyzed Inquisitor eats automatic critical hits from every melee swing in range. That's the fastest kill button you have at this level. Play it patient, use the bridge as a choke point, and don't clump.
The payoff: he drops the Circlet of Psionic Revenge, his Githyanki Greatsword and Half Plate, and a Potion of Angelic Slumber. The Skinburster, a +1 halberd that stacks Force Conduit on every hit, is leaning against a display case in this same room, so grab it while you're looting. For getting out, you can fight down the corridor, sneak, or take the Secret Stairway in the west hallway, which drops you right into the Blood of Lathander route. That last one is worth doing anyway, and it's next.
Leaving Without Missing Loot
The monastery's Secret Chamber hides the Blood of Lathander, a legendary +3 mace, and this is the whole reason you grabbed that crest. In the west hallway of the Inquisitor's Chamber, rotate the southern statue to face west (a DC 25 Athletics check, or grease it up or smash it if your muscles fall short) and the northern one to face east. The wall opens onto a trapped stairway: shoot out the glowing energy crystals, disarm the Dawnbreaker turret with a DC 14 Sleight of Hand check, and climb past the last energy sources on the rocks. At the bottom, the mace waits on a locked altar.
Put the Dawnmaster's Crest in the altar's slot first and you take the weapon clean and safe. Skip the crest and grab the mace anyway, and a trap triggers that's built to level the entire monastery, the creche under it, and you. You get four turns. Whoever grabbed the mace is stuck behind a forcefield (Misty Step or Dimension Door break you out, and there's an energy portal up to the roof), and the rest of the party either sprints for the exit or destroys the four Solar Machines powering the trap. Fail, and the creche is a crater, along with a chunk of your experience and shopping. The crest also defuses the trap if you slap it in after the fact, so there's a rescue if someone panics.
The mace is worth all the fuss. One-handed, 1d6+3 bludgeoning, and it never stops glowing: Lathander's Light blinds fiends and undead in a 6 meter radius on a failed DC 14 Constitution save, Lathander's Blessing once per long rest picks you back up with 2d6 HP (nearby allies get 1d6) when you hit zero, and you can cast Sunbeam, a level 6 spell, once per long rest. That light even burns away the Shadow Curse in Act 2, so your cleric can ditch the torch.
Run this checklist before you call it a day:
- Blood of Lathander, with the crest method, plus the Skinburster and W'wargaz's drops from the arena.
- Jeera's shop, especially Knife of the Undermountain King and Gloves of Dexterity, since traders like her don't carry that stock forever.
- The hatchery egg run for Lady Esther, and the Orpheus book from Varrl in the classroom.
- The Holy Lance Helm on the monastery roof, the Guardian of Faith's chest, and the dirt mounds scattered around the ruins.
- The Aberration Hunters' Amulet off Stornugoss, and the Soulbreaker Greatsword if you decided to relieve Therezzyn of it.
Depending on how things went, you can still fast-travel back here for a chunk of Act 2, but treat it like your one shot and you won't get burned. Turn the crest in before the mace, buy before you brawl, and don't sass the lich queen.