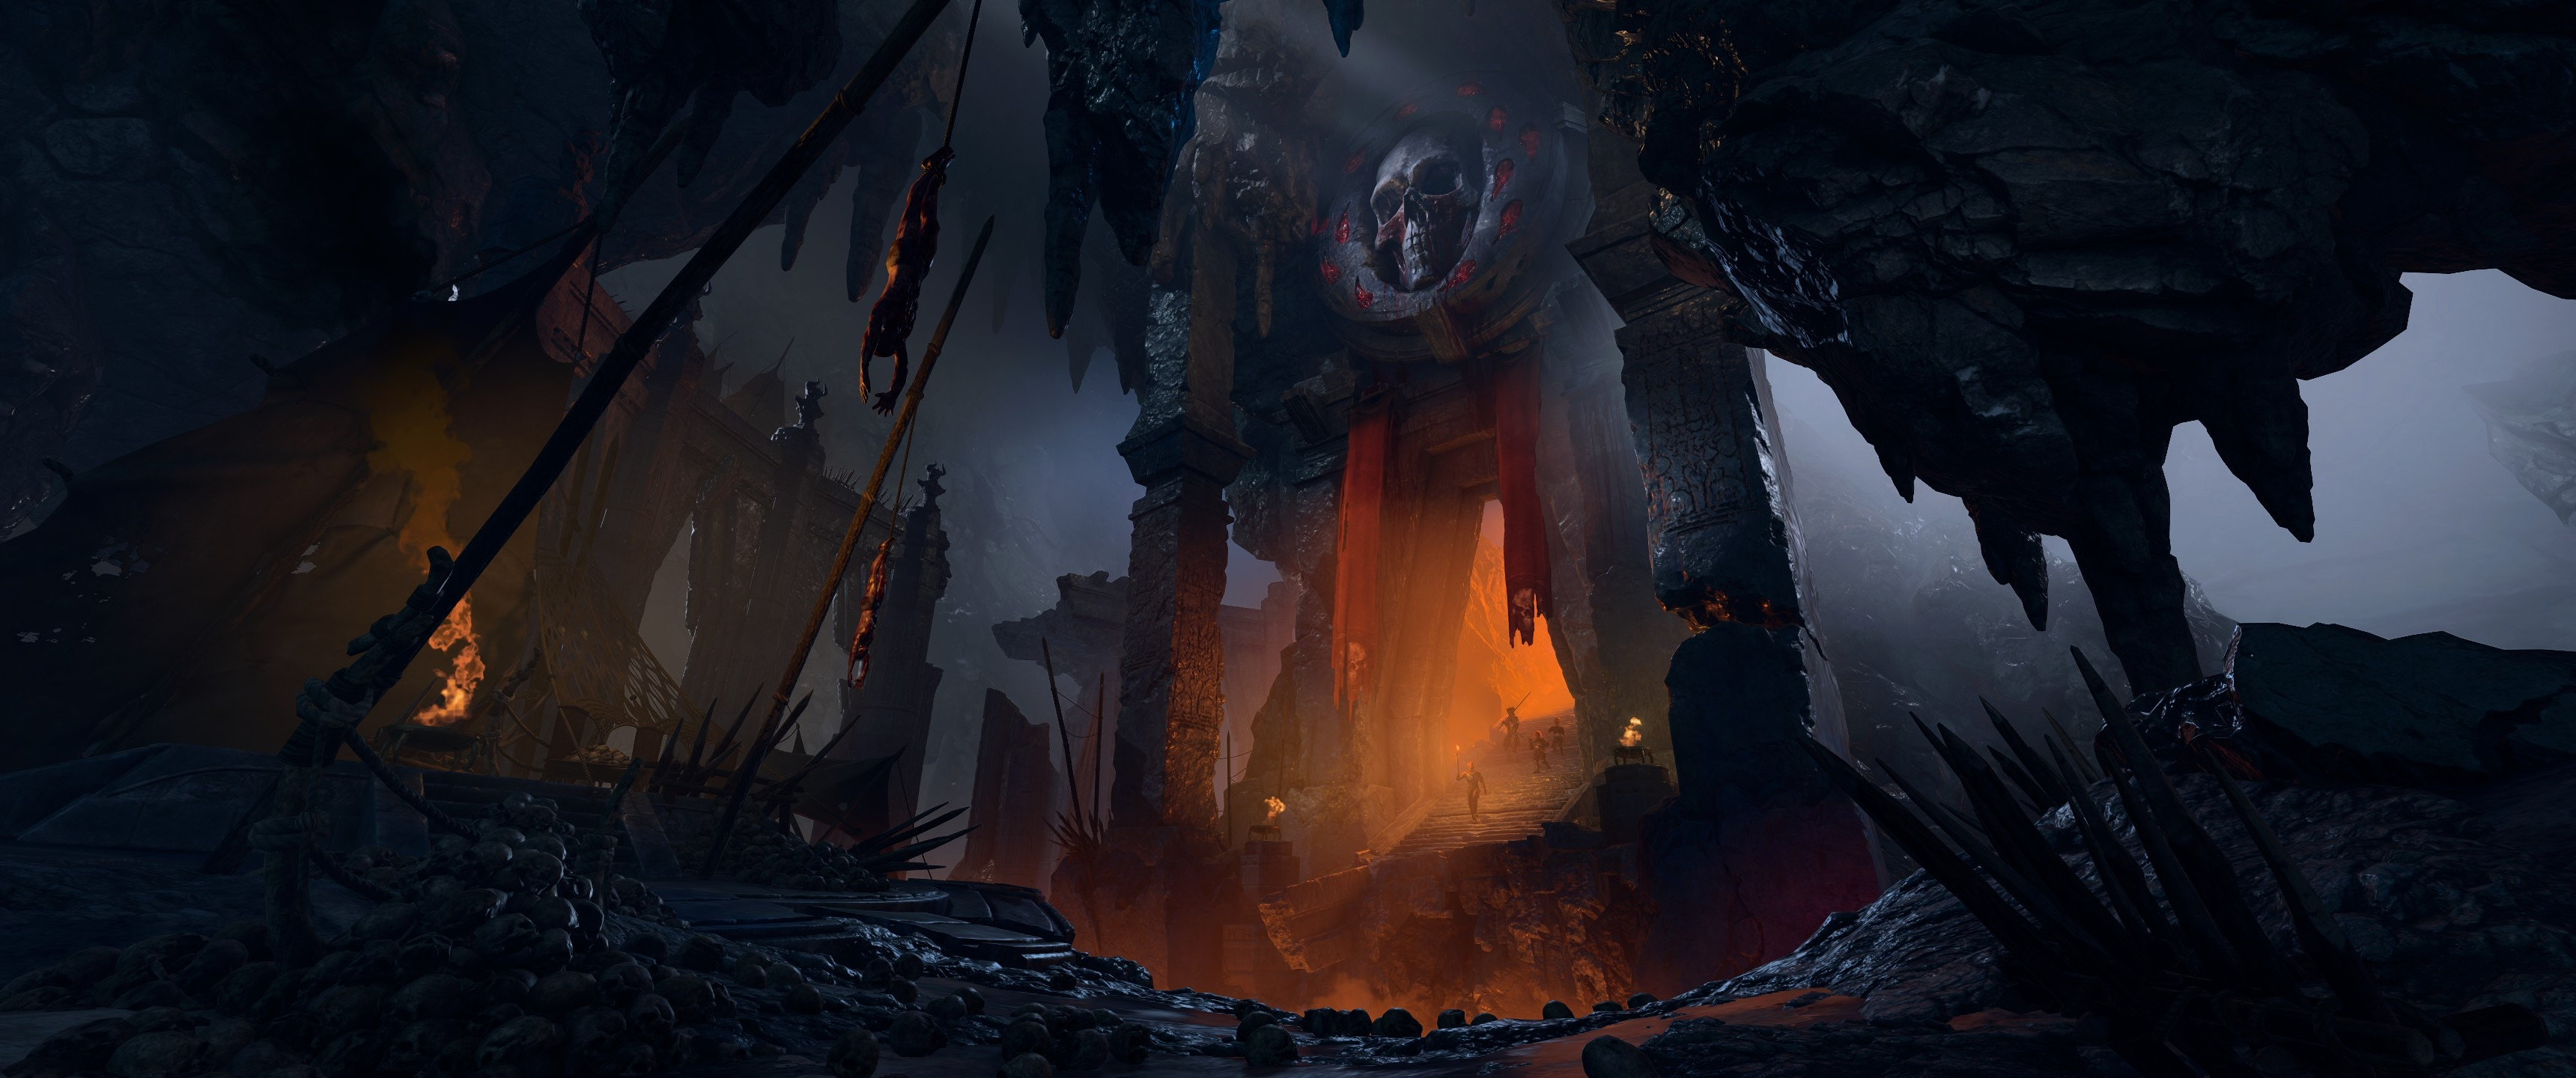
Baldur's Gate 3 Act 2 Walkthrough: Shadow-Cursed Lands Guide
A step-by-step walkthrough of Act 2 in the Shadow-Cursed Lands, from entering the curse to beating Ketheric Thorm.
Act 2 drops you into the Shadow-Cursed Lands, and it's a meaner zone than the Act 1 wilderness. The curse chews on anyone caught in the dark, the cult of the Absolute runs the show, and Ketheric Thorm apparently can't die. The order you do things in actually matters here. Skip the safe haven at Last Light Inn or fumble the Gauntlet of Shar and whole questlines can fall apart. Here's how to handle the five big beats in an order that keeps the most people alive.
Entering the Shadow-Cursed Lands
There are two ways into the Shadow-Cursed Lands, and either one works. The Mountain Pass route drops you in through the northwest, while the Grymforge elevator from the Underdark spits you out at a Sharran worship site. Both land you on the Ruined Battlefield, and both hit you with the same headache the second you arrive.
The shadow curse is a damage-over-time effect that ticks necrotic damage on anyone standing in the dark. Near the edges, a regular lit torch or a Light cantrip is enough to shrug it off. Push deeper and plain torches stop cutting it. You'll need a Moonlantern, or better yet, the pixie's blessing.
The Two Routes In
If you come in by the Mountain Pass, a goblin flags you down and sends you to a rendezvous point. To call the drider guide Kar'niss, you play the Spider's Lyre, which is a DC 16 Performance check. No lyre? You can also summon him with illithid powers (a DC 14 Wisdom check), and a handful of classes like Bard, Cleric, and Paladin get their own special options. Kar'niss carries a working Moonlantern and walks your group to Moonrise Towers as long as you hug his light.
Halfway there, Harpers ambush the convoy, and you pick a side. Help the Harpers and they take the Moonlantern, then point you at Last Light Inn. Stick with the convoy and Kar'niss walks you right up to Moonrise's front door. Either path works, but the Last Light route is the friendlier one for a first run.
The Grymforge route is the quieter entry. You pop out near two braziers, grab the torches, and head west. Pretty soon you bump into a Harper patrol led by a woman named Lassandra. One of her scouts, Yonas, gets snatched by a shadow and turns on the spot, which kicks off a scrap with a handful of Shadows. Win that and Lassandra tells you about Last Light Inn and marks it on your map.
The Moonlantern and the Pixie
Here's the part that saves you a ton of grief. If you grabbed Kar'niss's Moonlantern, there's a pixie trapped inside named Dolly Dolly Dolly. Talk to the lantern and let her out. She hands you a weightless little item called the Filigreed Feywild Bell, which grants the whole party the Pixie's Blessing. That's complete immunity to the shadow curse, no lantern required.
That blessing beats every other form of protection, including the Blessing of Selûne that Isobel hands out at Last Light. (Balthazar's moonlantern, the one you grab on the evil route, has no pixie inside, so don't go hunting there.) Free Dolly and you can wander the deep curse zones without babysitting a light source the whole trip.
Last Light Inn Defense
Last Light is the one patch of safe ground in the whole region, and keeping it that way mostly comes down to one fight. When you walk up, Jaheira the Harper leader stops you with vines and tests whether you're a True Soul by waving a mind flayer tadpole at you. If you saved the tiefling refugees back in Act 1, little Mol shows up and vouches for you. If you didn't, things get trickier, but a Flaming Fist named Marcus talks Jaheira around.
Jaheira offers you wine. Smell it first (a DC 10 Medicine check) and you'll catch the Klauthgrass, which is a truth serum. Drinking it or not doesn't change much. What matters is your answer to her question about the tadpole. Tell her you're resisting it and she'll believe you. Then she lays out the situation: the man running Moonrise is Ketheric Thorm, and he's immortal.
The Abduction Fight
Head upstairs and talk to Isobel, the cleric of Selûne who holds up the wards around the inn. She gives you the Blessing of Selûne for extra curse resistance. The second you finish talking to her, a Flaming Fist named Marcus outs himself as a True Soul and tries to kidnap her for the Absolute. You either defend Isobel or side with Marcus.
Defending her is the way to go if you want Last Light to survive. The fight is genuinely nasty, and it's the first real difficulty spike of Act 2. Show up around level 7, because the winged horrors Marcus brings are no joke at lower levels.
The one rule that matters: keep Isobel on her feet. If she gets knocked out, Marcus grabs her and flies off, the wards drop, and every NPC in the inn either dies on the spot or turns into a hostile shadow. Jaheira survives it, but pretty much everyone else is gone. (A winged horror also snatches Mol during the chaos if she's alive, so losing Isobel stings twice.)
A few tricks make this fight way easier. The inn has tight doorways, so treat them like chokepoints. Lock the main double doors at the start, park a tough frontliner like Karlach in the gap, and pile area spells behind her. A scroll of Hold Monster is gold here. It can lock Marcus down cold while you clean up his adds. Control spells and AoE do most of the heavy lifting, since the winged horrors flutter all over the room. And here's a quirk: if you never talk to Isobel at all, the abduction never triggers, which some players use to skip it. Not really recommended, since you'd lose Jaheira and a pile of quests along with it.
Moonrise Towers Infiltration
Once you're inside Moonrise, the game turns into a talking-and-sneaking mission for a while. Walk into the main audience chamber and you'll see Ketheric Thorm on his throne while his disciple, Z'rell, interrogates some goblins about what happened at the Goblin Camp in Act 1. During the scene, a goblin stabs Ketheric with what should be a killing blow. He shrugs it off and heals almost instantly, which is your first big clue that something is keeping him alive.
Ketheric strolls off and leaves Z'rell to deal with you. She tells you to handle the goblins however you like. Kill them, free them, your call. Then you report back to her upstairs.
Passing Z'rell's Test
Z'rell doesn't just take your word for anything. She links up telepathically and searches your mind for proof you actually serve the Absolute. There are a pile of ways through this. Most romance-based and Deception checks sit around DC 14, while the trickier ones (like a Rogue thinking in Thieves' Cant) run up to DC 21. Monks get a free pass by just emptying their mind, and True Souls can lean on their hunger for power. Pick whatever your party is built for.
Pass, and Z'rell gives you a real job: track down a necromancer named Balthazar, who went to the Thorm Mausoleum and dropped off the map. She hands you a key to his room and tells you to grab a Moonlantern and leave the rest alone. Naturally, you'll want to poke around his room anyway, since there's a hidden area that kicks off a side quest (Balthazar's Experiment). More importantly, his diary points you toward the relic he was hunting. It's something called the Nightsong, which turns out to be the source of Ketheric's immortality.
The Prison and the Captives
Before you chase Balthazar, it's worth swinging by the Moonrise prison. There's a clutch of tiefling and gnome prisoners in there, plus a separate optional scrap where Flaming Fist captives fight a pack of undead led by a Death Shepherd. You can free the prisoners through a mix of talking, keys, and a sneaky boat route out the back. Just be careful about going loud in the tower itself. If the whole place turns hostile before you're ready, you'll be fighting every cultist in the building at once.
This is also the window where you can recruit Minthara, if she survived Act 1 and ended up in the prison. Either way, once you've milked Moonrise for loot and leads, the breadcrumb trail leads north to the Thorm Mausoleum and the Gauntlet of Shar.
Gauntlet of Shar Puzzle Solutions
The Gauntlet of Shar sits under the Thorm Mausoleum, northwest of the Reithwin Town waypoint. Bring Shadowheart if she's in your party, since this place is her whole backstory, though it's not required. The gauntlet is mostly a chain of puzzles, and each trial drops an Umbral Gem. Collect enough gems and you can reach the Inner Sanctum and the Nightsong.
Getting In: The Mausoleum and the Statue Room
The mausoleum itself has one light puzzle. Disarm the trap plates on the floor first, then find the three murals along the north wall. Press the buttons under them in this order: Moonrise Towers, then Grief, then General. (The Stained Book on the east side spells this out if you'd rather solve it the legit way.) Do it right and two doorways slide open. Head through, grab the Traversal Gem on the platform, and ride it down to the gauntlet.
Down below there's a statue room with another light trick. The voice of Shar whispers that "the answer lies in darkness," and it means it literally. Pull the four levers in the corner alcoves as you disarm the marble plates and dodge the vents. Each lever lowers a lantern from the ceiling. Once all four are down, turn every lantern off and unequip anything that glows on your characters, the Moonlantern included. With the room dark, a hidden maze of glowing runes appears around the statue. Walk that path without brushing the runes to reach the Umbral Gem, then clear out the Umbral Tremors and Dark Justiciars that spawn.
The Three Trials
Each trial sits behind its own door off the main corridor, and you bleed into a Sacrificial Bowl to start them.
The Soft-Step Trial is the stealth one, marked "Her Most Vaunted Treasure." It's a maze patrolled by shadows, and getting spotted boots you back to the start. Run this with a single sneaky character, not your whole party. Grab the Invisibility scroll off the skeleton by the south wall if you need a crutch. The clean path is to slip along the left side, hit the button on the north wall to open a passage, then lockpick the final gate for the gem. There's a popular cheese too: take the far-right door, drop into turn-based mode, and use Misty Step boots to blink past the gate for a straight shot to the button.
The Self-Same Trial ("Her Most Hallowed Mercy") is the combat one. Bring your whole party, because you'll fight mirrored copies of all four of them. The catch: if a character attacks a reflection that isn't their own, they get slapped with Cheater's Folly, which drops every ability score by 1 until your next long rest. So keep everyone on their own twin. The mirrors can't be shoved or restrained either, so just out-damage them. Loot the gem off one of the bodies when it's over.
The Faith-Leap Trial ("Her Most Sacred Path") is the jumping one. You cross a pit of darkness on hidden platforms, and one character is plenty here too. Pull the lever by the door to outline the safe path on the floor, then hop across. If your character has a long jump or a fly effect, you can mostly skip the path and leap straight to the gem.
The Silent Library and Yurgir
Two side areas are worth your time. The Silent Library hits you with a riddle: "What can silence the Nightsong?" The fix is to find the specific Sharran teaching book about the Nightsong (dig through the shelves) and set it on the altar. That lifts the darkness and cracks open a hidden room with loot.
Yurgir, the big grumpy Dark Justiciar in the central hall, is the target Raphael wants dead. You can brute-force the fight, but talking is smoother. With the right rolls you can talk him into a deal, or even con him into wiping out his own minions and then himself. Skipping the brawl is nice, since he swings hard.
Take your Umbral Gems, the three from the trials plus any extras you dug up, to the Inner Sanctum and slot them into the pedestals. That powers the lift to the Shadowfell.
The Nightsong's Fate
Down in the Shadowfell you'll find Balthazar hovering over his prize. The "relic" isn't an object at all. It's Dame Aylin, a living aasimar who's been chained there for a hundred-odd years, and her life is what's keeping Ketheric unkillable. You get a choice: kill her or free her. Free her and she strips Ketheric's immortality, flies off to Moonrise to crash his party, and signs on for the assault. Kill her and Ketheric stays immortal, which makes the finale a whole lot uglier. Freeing Aylin is the better play for almost every run.
Ketheric Thorm Boss Fight
This is the Act 2 finale, and it's a multi-phase marathon, so don't blow all your biggest spells in round one. If you freed Dame Aylin, you'll assault Moonrise alongside Jaheira, the Harpers, and the Flaming Fists. Fight your way up through the cultists to the rooftop, where Ketheric is waiting.
Phase One: The Rooftop
Ketheric starts the fight invulnerable, and pounding on him does nothing until you deal with that. The trick is Dame Aylin. She's chained up in the arena, and breaking her free is the whole key to the phase. Send one character sprinting, or invisible, straight to her on turn one and Help her out of the chains. The instant she's loose, Ketheric's invulnerability drops.
While one person handles Aylin, the rest of your team should be mopping up. He's got necromites, undead, and a mind flayer backing him, and those adds are what actually threaten you. Burn down the mind flayer fast, since it can stun and wreck a squishy caster, then sweep the necromites with area spells. Keep everyone spread out a little so his AoE doesn't clip multiple people at once.
Once his shield is gone, dump damage into Ketheric until his health bottoms out. He doesn't die there. A giant tentacle bursts out of the floor, snatches him, and drags the whole fight down into the Mind Flayer colony beneath the tower. Aylin gets grabbed too. Jump down the hole and chase them.
Phase Two: The Avatar of Myrkul
Down below, Ketheric finishes his transformation into the Avatar, or Apostle, of Myrkul, the god of death, and now he hits like a truck. This is the phase that walls people. He keeps a lot of his old buffs and he summons fresh necromites as the fight drags on.
Same plan as before, just meaner. Aylin is back in the fight (she's basically immortal and loves smacking Ketheric around), so lean on her as a damage sponge and frontliner. Keep clearing the necromites with AoE so they don't overwhelm you, and re-kill the mind flayer the second it shows its face.
For damage on Myrkul himself, radiant builds are the pick. A Cleric or Paladin running Spirit Guardians and stacking Radiant Orbs chews through him, and those orbs also tank his attack rolls so he starts whiffing. The classic wet-and-lightning combo works too. Douse him with a thrown water bottle and Call Lightning hits a lot harder. If he's wrecking you, drop a Darkness cloud on him. A boss that can't see you can't delete your back line.
Spread your melee out around him so his big swings and AoE don't catch more than one or two of you. Grind him down and you'll finally end Ketheric for good, close out Act 2, and roll into the cutscene that sets up Act 3.
One last thing. The persuasion checks to make Ketheric surrender mid-fight are brutal, in the DC 30 range, but if you read the Letter to Ketheric from the general's quarters beforehand, one of them drops all the way to DC 10. He still has to be fought either way, but landing it softens the rooftop phase and pays off again later. Grabbing that letter is one of the highest-value things you can do before the assault.