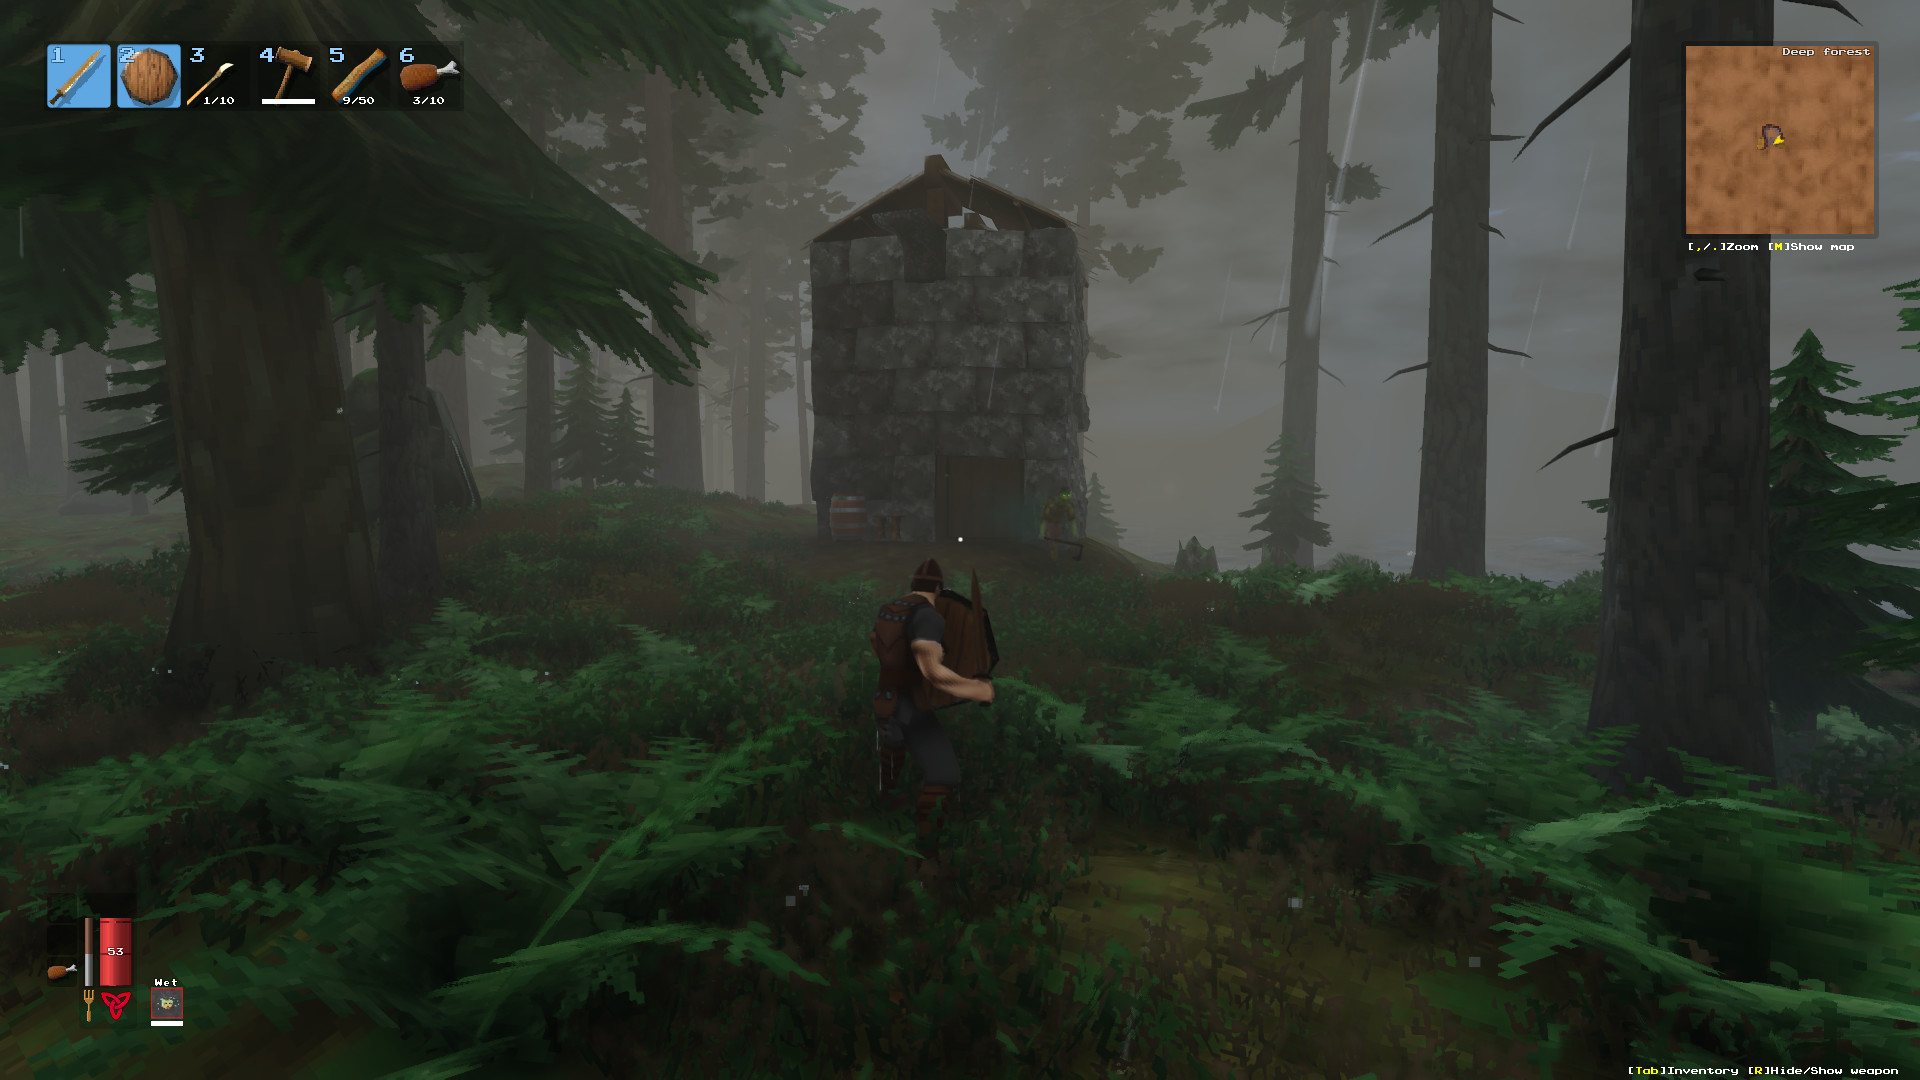
Valheim Beginner Guide: Surviving Your First Nights in the Meadows
How to get tools, a shelter, food, deer hide armor, and the boss altar marked on your map during your first days in Valheim's Meadows.
You wash up on a Meadows beach with nothing. No tools, no food, no plan, just a circle of old stones nearby and a whole lot of forest. The first two in-game days basically decide how painful your first week is, and most new players lose them to stupid stuff: no axe by nightfall, no roof over the campfire, no food in their belly when a boar gets pushy. This covers the boring fundamentals that fix all of that. None of it is hard, it just has to get done in a rough order.
Starting Inventory and Stone Age Tools
You start with 25 max health and empty pockets. That's it. So the first twenty minutes is a scavenger hunt, not a fight.
Wood and stone are lying all over the ground when you land. Walk the beach and the treeline and press E on the loose branches and small rocks. You can also punch the little beech saplings for wood if you're desperate, though it's slow and it hurts a little. Grabbing sticks off the ground is faster and free.
Once you have a handful of each, open your crafting menu (Tab, then the hammer icon on the right). Three things can be made right there in your inventory with no station at all:
| Item | Cost | What it's for | |------|------|---------------| | Stone Axe | 5 Wood, 4 Stone | Chopping trees, weak weapon | | Club | 6 Wood | Your first real weapon | | Hammer | 3 Wood, 2 Stone | Enters build mode, places crafting stations |
Make all three. The stone axe does 20 chop damage on trees and 15 slash on enemies, which is enough to handle boars and the occasional neck while you get going. The club is the better fight-starter honestly, since blunt damage swings a little friendlier for new players, and it hits harder per swing against the small stuff than the axe does. Neither one is good. Both work.
A couple of things about the axe that trip up new players:
- Trees can land on you. A full beech tree falls hard enough to kill a fresh character. Watch which way it's leaning and step to the side while it drops.
- Durability drops fast. The stone axe starts at 100 durability and chews through it quickly. Once you have a workbench, repairs are free, so there's no reason to ever craft a second one.
The axe only chops beech, fir, and pine. Birch and oak trees need a bronze axe much later, so don't waste ten minutes whacking a white-barked birch wondering why nothing is happening. (Everyone does this once.)
Flint is the quiet upgrade in this stage. It spawns as smooth white stones along the Meadows shoreline, in the shallows and on the beach, and it respawns after about four real-world hours. Pick up everything you see. Ten flint plus 5 Wood and 2 Leather Scraps makes a Flint Spear once you have a workbench, and it's a way better hunting tool than the early bow, with 20 pierce damage and the ability to be thrown. Flint also goes into arrows and into workbench upgrades, so a beachcombing trip or two early on saves you a lot of walking later.
Building a Basic Workbench Shelter
Night in the Meadows isn't usually lethal on its own. Wet, cold, and tired is the real problem, and that's what a shelter fixes.
Equip the Hammer and right-click to open the build menu. The first entry to place is a Workbench, which costs 10 Wood. Two things happen the second you put it down: you can craft the bigger recipe list at it, and it claims a circular area around itself as your base. Enemies won't spawn inside a workbench radius, which is a bigger deal than it sounds when you're sleeping in a shack with 25 health.
Your first shelter does not need to be pretty. Something like this is plenty for day one:
- Flat-ish 3x3 spot near trees and water
- Wood floor, four walls, a door, a thatched roof
- Workbench inside or right against a wall
- Campfire inside with a Cooking Station over it
- Bed in the corner
Costs for the useful bits: Campfire is 5 Stone and 2 Wood, Cooking Station is 2 Wood, Bed is 8 Wood. The bed needs a workbench nearby to place. Keep the fire actually inside, or at least under a roof edge, because rain will put out an exposed campfire and leave you cold and cooking-less mid-storm.
That fire-plus-roof setup does more than keep you dry. Standing near comfort sources for about 20 seconds grants the Rested buff, which boosts your health regen, stamina regen, and skill gain. The duration runs 7 minutes at base comfort plus another minute per comfort level, capping out at 24 minutes. A fire alone is comfort 1. A fire under a roof is comfort 3, so about 10 minutes of Rested from standing there a moment. Sleeping in the bed skips the wait and gives you the buff instantly, plus it sets your spawn point so a death doesn't put you back at the beach stones.
The bed is cheap insurance. Dying in Valheim drops a grave with everything you were carrying, and getting back to it without a spawn point nearby can mean a very long wet walk. Set the bed the same day you place it.
The other thing your workbench wants is upgrades. Two structures placed within a couple meters of the bench push its level up, and the bench level determines what you can craft and how far you can upgrade gear:
| Upgrade | Cost | Bench level | |---------|------|-------------| | Chopping Block | 10 Wood, 10 Flint | 2 | | Tanning Rack | 10 Wood, 15 Flint, 20 Leather Scraps, 5 Deer Hide | 3 |
Bench level 2 is the one that matters early, since the leather armor pieces and a bunch of weapon upgrades need it. The Tanning Rack is more of a day-three-or-four project because of the hide cost. After those come the Adze (10 Fine Wood, 3 Copper) and the Tool Shelf for levels 4 and 5, but both of those are Black Forest problems, not Meadows ones.
One last bench habit worth forming immediately: open the workbench and hit the hammer icon to repair, often. Repairs cost nothing and restore every piece of gear you're carrying. A lot of new players let a nearly-broken axe snap mid-fight and then get chased around a tree by a boar. Repair whenever you walk past.
Finding Food Before Hunger Drains Stamina
Quick correction to the section title, because it matters: Valheim has no hunger bar. Nothing drains while you stand still. Food instead works as a temporary buff that raises your max health and max stamina, and both bars slowly regenerate up to whatever your current food set allows. When the buff timer runs out, your caps drop back down.
So the real reason to eat isn't "don't starve," it's "don't be a 25 HP pushover." Three food slots is the cap, three different foods at once, and the difference between running empty and running full is enormous. Full food means you can actually sprint from a fight, swing more than four times, and survive a hit or two.
Here's what's available in the Meadows on day one, with real numbers:
| Food | Max HP | Max Stamina | Duration | |------|--------|-------------|----------| | Raspberries | 7 | 20 | 10 min | | Mushroom | 15 | 15 | 15 min | | Grilled Neck Tail | 25 | 8 | 20 min | | Cooked Boar Meat | 30 | 10 | 20 min | | Cooked Deer Meat | 35 | 12 | 20 min |
Raspberry bushes grow in clusters all over the Meadows and you'll pass a dozen in your first walk. Mushrooms sit on the forest floor and also respawn after about four hours. Necks are the little lizards hopping around pond edges and shorelines, they only have 5 health, and about 70% of them drop a tail. Boars wander the same woods you're chopping in and each one drops a boar meat plus a leather scrap guaranteed. None of that requires gear beyond a club.
Raw meat should get cooked before you eat it. Build the Campfire, put the Cooking Station (2 Wood) over it, then press E on the station with raw meat in hand to hang it. It cooks in a few seconds. Pull it off promptly though, because food left on the fire too long burns into Coal. Coal isn't a disaster, you'll want it later for the smelter, but charred dinner when you're at 25 HP is annoying.
A decent day-one spread is cooked boar meat, grilled neck tail, and raspberries. That's around 62 max HP and 38 max stamina, which triples your starting health pool. Swap the boar meat for deer meat as soon as you're killing deer and you're at roughly 67 HP.
Keep an eye on the small timers on your food icons. New players often eat once, forget, and then wonder why a greydwarf two-shot them an hour later. Top up before a fight, not after.
Deer Hunting and Early Leather Armor
Deer are the whole early economy. Each one drops 2 Deer Meat and 1 to 3 Deer Hide guaranteed, plus a Deer Trophy about half the time. Meat goes in the food rotation, hide goes into your armor, and trophies go somewhere you'll want later. Nothing else in the Meadows pays out like a deer does.
The catch is that deer have 10 health and the situational awareness of a paranoid rabbit. They bolt the instant they hear you, they're faster than you, and chasing one across the biome is a great way to get lost. The fix is sneaking.
Hold Ctrl to crouch. A small visibility meter appears under your crosshair showing how exposed you are, and it fills up more in daylight and open ground. Approach from behind their sightline, staying in grass and trees, and let your stamina refill before the last stretch. Deer will sometimes stand still and look around, and that's your window. So who actually wants patience here? You do, because one clean hit kills one.
Two tools make the job reasonable:
- Crude Bow - 10 Wood, 8 Leather Scraps at a workbench. Does 22 pierce. It's pretty inaccurate even at full draw, so get close before releasing.
- Flint Spear - 5 Wood, 10 Flint, 2 Leather Scraps. 20 pierce, and you can throw it. Throw damage is solid but the spear stays where it lands, so you have to go pick it up.
Arrows are cheap: 8 Wood makes 20 Wood Arrows. Once you're collecting feathers (kill the birds strutting around the Meadows, or knock them out of fallen trees), 8 Wood, 2 Flint, and 2 Feathers makes 20 Flinthead Arrows, which hit noticeably harder. Either way, don't take a shot you haven't sneaked into.
Watch the antlers. A deer with big antlers is a starred deer, and starred ones drop a lot more meat and hide. If you spot one, that's the deer to spend your stamina on. Plain deer are fine filler, but a two-star payout equals a whole hunting trip.
Once hides are stacking up, turn them into the leather set. It's the first real armor tier above the rag scraps you can make from boar leather, and the full set is 7 armor with no movement penalty:
| Piece | Cost | Armor | |-------|------|-------| | Leather Helmet | 6 Deer Hide | 2 | | Leather Tunic | 6 Deer Hide | 2 | | Leather Pants | 6 Deer Hide | 2 | | Deer Hide Cape | 4 Deer Hide, 5 Bone Fragments | 1 |
So 22 hides for everything, plus 5 Bone Fragments if you want the cape. The helmet, tunic, and pants all need a workbench at level 2, meaning a Chopping Block next to it. Skip the cape at first. Bone Fragments come from skeletons over in the Black Forest, usually in burial chambers, and that biome is not a fresh-character errand. Three pieces is 6 armor and completely fine for your first boss.
You'll need roughly 6 to 8 deer for the set depending on hide rolls, plus whatever boars you culled for the leather scraps on the bow. It sounds like a grind but goes faster once your Bows skill stops making every arrow fly sideways.
The set gets replaced by Troll Leather armor from the Black Forest before too long, so don't sink hides into upgrading it past quality 1. Base leather is a bridge, not a destination.
Reading the Boss Altar Runestones
Back at the beach where you spawned, there's a circle of large stones around an old platform. That's the Sacrificial Stones, and near them is a small glowing rock with red runes on it. That's a Vegvisir, and interacting with it puts a marker on your map showing the location of the first boss's altar.
That boss is Eikthyr, a huge chained stag, and his altar sits somewhere in the Meadows, usually not crazy far from spawn. The Vegvisir by the spawn stones is free intel sitting ten feet from where you landed, so grab it on day one even if you're weeks away from fighting him. It costs nothing and you'll want to know which direction the thing is before you build your base right next door.
A few things about runestones generally, since they come in two flavors and the game never really explains it:
- Vegvisirs are the glowing red ones. Each marks the closest altar of one specific Forsaken boss. Ones you find later in dungeons and ruined structures do the same job for later bosses.
- Plain runestones are big grey rocks with red runes. Those just hold lore and creature tips when you read them, no map markers. Useful detail though: the animal a stone describes tends to spawn nearby, so a boar stone means boars in the area.
To actually summon Eikthyr, you need two Deer Trophies. Trophies drop from roughly half of all deer kills, so plan on hunting four or five of them before you have a pair. The drop is random, which is genuinely the most annoying part of the whole first-boss sequence.
At the altar, put the trophies on your hotbar, select them with the number key while looking at the altar, and use them. Two trophies consumed, one angry stag appears.
Know what you're walking into. Eikthyr has 500 health and three attacks, all telegraphed: an antler swipe that hits in a short arc in front of him, a lightning beam that sweeps out in a fan to about 20 meters, and a stomp that shocks everything within 10 meters. The beam and the stomp both hurt, and the stomp is the one that catches melee players who stand under him. Also note that axe and pickaxe damage types do nothing to him, so bring the spear, the bow, or an upgraded club. A wood shield and the parry timing you practiced on boars will carry a lot of this fight.
Beat him and he drops his trophy plus 3 Hard Antlers. The antlers craft the Antler Pickaxe, and that pickaxe is the actual reward here, because it's your first mining tool. Copper and tin in the Black Forest, then bronze, then the entire metal progression of the game, all of it sits behind that pickaxe.
His trophy goes on the Sacrificial Stones back at spawn. Mounting it and activating the stone gives you Eikthyr's power: 60% less stamina cost on running, jumping, and swimming for 5 minutes, and it affects nearby allies too. That buff makes every exploring trip and ore run cheaper for the rest of the game, which is a pretty good trade for two deer trophies and a fight you were going to pick anyway.