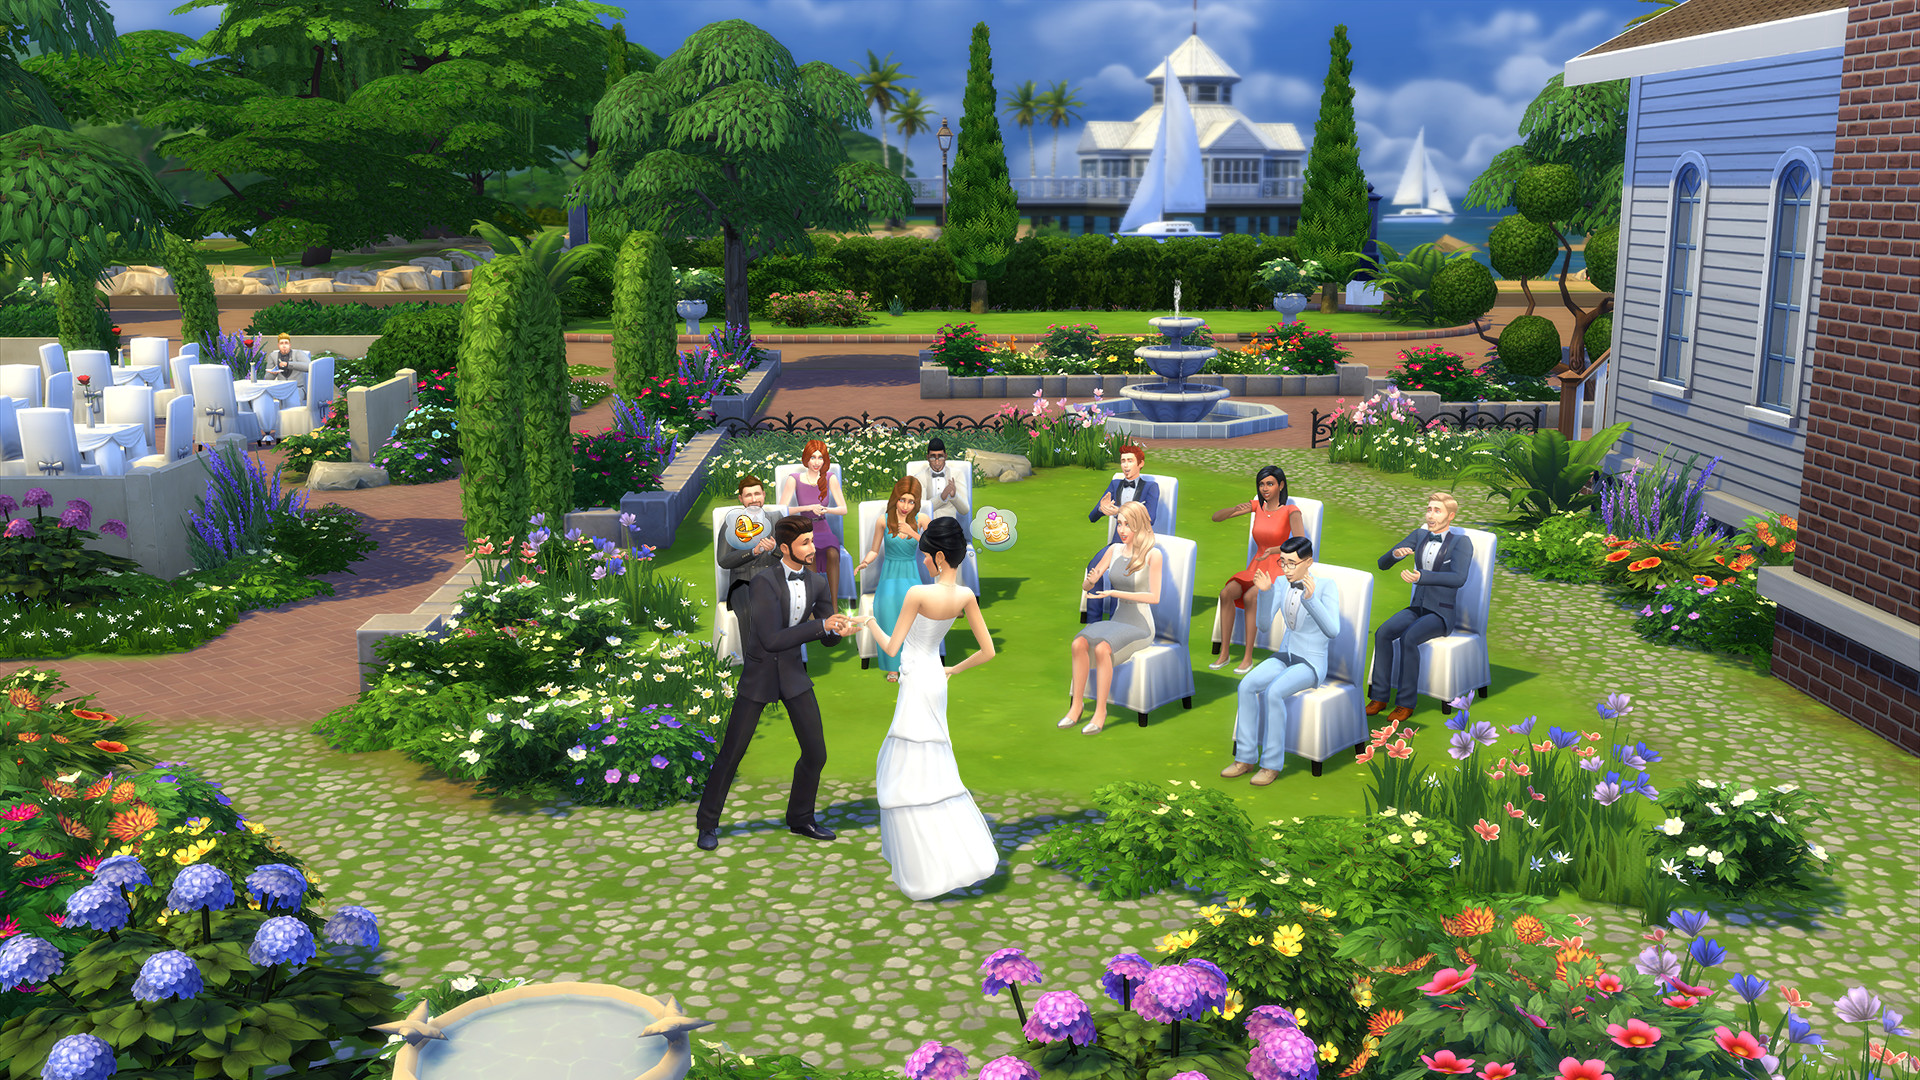
The Sims 4 Build Mode Guide
Master The Sims 4 Build Mode with tips on room layouts, roofing, landscaping, furniture placement, and essential cheat codes.
Whether you’re designing a cozy starter home or constructing a sprawling mansion, Build Mode in The Sims 4 is where your creativity really comes to life. With a wide range of tools and features, you can shape every detail of your Sims’ living spaces—from the layout of the rooms to the smallest decorative touches. While some options might seem overwhelming at first, a little guidance can make all the difference, especially when it comes to building efficiently and making your virtual home look just right. Knowing how to get the most out of Build Mode can help transform any empty lot into something special, no matter your experience level.
Room Layout Guide
Getting your room layout right in The Sims 4 is all about balancing function and style. The way you arrange rooms shapes how your Sims move, interact, and feel in their home. A smart plan can prevent your Sims from running around in circles just to get to the fridge, while also making your builds look more realistic and inviting. Here’s how to approach things, from the basics to some layout tips the pros use.
Where to Start: Sketch Out the Essentials
Before you place a single wall, think about what kinds of spaces your Sims need. At the very least, most Sims require:
- Bedroom
- Bathroom
- Kitchen
- Living/Dining Area
Ask yourself: How many Sims are using this house? Do you expect to host parties or just provide for a single Sim? Answering these questions helps you decide how many of each room type you’ll need and how big they should be.
Square Rooms vs. Unique Shapes
Square and rectangular rooms are the easiest to build and furnish, but they can look plain. Don’t hesitate to play with L-shaped living rooms, small alcoves for reading nooks, or open floor plans where two areas blend together. Use the eyedropper and sledgehammer tools to experiment until you find a flow that feels right.
Flow Matters: Connecting Spaces
The way your rooms connect makes all the difference. Open-concept designs—like having the kitchen flow directly into the living area—can make small homes feel bigger. Meanwhile, separating bathrooms and bedrooms can give busy Sims more privacy and less stress when roommates all need the toilet at once.
- Hallways: Keep them short and purposeful. Too many hallways eat up space and can frustrate Sims with detours.
- Doors: Avoid placing doors directly across from each other in narrow spaces; Sims tend to bump into each other or get stuck.
- Pathing: Make sure furniture isn’t blocking doorways or high-traffic routes, or else you’ll get “route failure” pop-ups.
Room Size Guidelines
You don’t have to follow exact standards, but here are some good sizes to keep things comfortable for your Sims:
- Bedroom: 4x4 tiles for a single, 5x5 or larger for doubles/kids
- Bathroom: 3x2 minimum (just enough for a toilet & shower), 3x3 for a little style
- Kitchen: 5x3 or larger, depending on appliances and counters
- Living Room: At least 4x4, bigger if you want space for entertaining
Adjust these according to your needs and lot size. Sometimes, squeezing in an extra tile makes a world of difference for the overall feel.
Zoning With Style: Defining Spaces
Use different flooring or wall colors to visually separate areas in an open plan. Rugs, half-walls, or room dividers help set up “zones” for dining, relaxing, or working, even when there’s no actual wall in the way.
Accessibility Tips
Make sure all room entries are accessible. Double doors look fancy, but can take up precious wall space. Use archways for open plans, or sliding doors for tight areas like compact bathrooms.
If you’re building a two-story house, line up stairs somewhere central (not just off to the side), so Sims aren’t stuck walking all the way across the house just to go up.
Multi-Functional Rooms
Especially in smaller builds and apartments, you’ll want some rooms to pull double or even triple duty:
- Bedroom/Office Combo: Add a desk under a window for homework or remote work.
- Living/Dining: A corner dining table with a cozy sofa setup makes the most of tight spaces.
- Loft Spaces: Use half-walls or platforms to create levels, great for stylish builds or maximizing vertical space.
Outdoor Access & Windows
Whenever possible, let rooms connect directly to the outside. That means back doors in kitchens, patios off living rooms, or balconies from bedrooms. Big windows or sliding doors add tons of natural light, making spaces feel bigger and more lively.
Pay Attention to Lighting
Windows near desks, kitchens, and reading nooks are helpful for the Sim moodlets, not just the look. Try not to stick the bed right next to a huge window, though—privacy matters in-game, too.
Trouble-Shooting Common Layout Problems
Here are a few layout issues many builders face and how to fix them:
- “Why can’t my Sim move here?”
- Check for blocked paths, missing doorways, or jammed furniture.
- Rooms look boxy and boring
- Add bump-outs, bay windows, or angled walls, and don’t be afraid to rearrange furniture diagonally.
- No space for hobbies or skills
- Plan ahead for an easel, chess table, or instrument area. Even a balcony or landing can work for these.
- Too many unused rooms
- Keep it simple; more rooms mean longer routes and more upkeep. Add only what your Sims actually use.
Final Thoughts
Layout isn’t just about what looks nice—it's about keeping the game playing smoothly. Take inspiration from real houses, but don’t let reality limit your fun. Play around with room shapes and connections until both the look and the “flow” feel right for your Sim family. If things feel cramped or your Sims keep getting stuck, tweak your floor plan until everything clicks.
Good layouts make your Sim’s lives easier—and keep you from tearing your (virtual) hair out when everyone lines up for the bathroom at once. Experiment, adjust, and have fun turning that empty shell into a true home.
Roofing Techniques
Getting roofing right in The Sims 4 can take your build from plain box to eye-catching masterpiece. Whether you're just throwing up a quick starter home or crafting a sprawling mansion, the roof is the cherry on top—and it can make or break your curb appeal. Here’s how to get your roofs looking sharp, plus some tips and tricks to avoid common mistakes.
Roofing Tools and Basic Roof Types
In Build Mode, the roof tools are found in the upper right section, separate from walls and floors. You get a range of auto-roof shapes:
- Gabled Roof
- Half-Gabled Roof
- Hipped Roof
- Half-Hipped Roof
- Mansard Roof
- Shed Roof
- Curved Roofs
Most houses use a mix of these. The gabled and hipped options work for simple homes, while shed and curved pieces are great for modern or quirky styles.
Moving, Resizing, and Adjusting Roofs
Select a roof piece, and you’ll see white arrows and balls. Drag these to:
- Change the length and width: Use the flat arrows on the sides.
- Adjust the pitch: The white balls on top raise or lower the slope.
- Edit eaves (overhangs): Curved arrows at the ends make the edge stick out or tuck tight.
Hold Shift while dragging eaves to adjust just one side—super handy for porches or when roofs butt up against walls.
Fitting Roofs to Awkward Shapes
Not every house is a perfect rectangle. When you’ve added bump-outs, wings, or L-shaped sections, you might need to use multiple roof pieces:
- Start with the biggest rectangle—roof this main section first.
- Add smaller roof chunks over side rooms or porches.
- Tuck or pull eaves until the roof lines look smooth. Try not to let bits poke weirdly through walls.
If you get a roof bit cutting into a wall, swap to a different shape, lower the pitch, or try half-hipped or half-gabled pieces to finish off corners.
Layering Roof Pieces
Stacking or layering roofs helps when you want that multi-tiered look—think Tudors or Victorian houses. Place a roof, then add another (maybe smaller or with a different pitch) on top or next to it.
- Use ctrl+9 and ctrl+0 to raise or lower objects—this trick also works for some roof decorations.
- Copy and duplicate (eyedropper tool) to match existing roof pitches and sizes.
Avoiding Common Roof Mistakes
- Boxy roofs: A single, high-pitched roof over the entire build makes the house look cartoonish. Use multiple roof pieces to break up the silhouette.
- “Bleeding” roofs: If part of the roof is showing inside, lower the roof or tweak the eaves.
- Overhanging weirdness: Eaves too long can block windows or look odd—shorten them for modern homes, go longer for traditional styles.
Adding Details: Dormers, Skylights, and Decorations
Roofs feel more complete with a little extra love:
- Dormers: Fake these using small room pieces and small gabled roofs in front. Not functional in the game, but they add major curb appeal.
- Skylights: Remove a section of roof, then use glass floor tiles or window objects to give the effect of a skylight.
- Roof decorations: Chimneys, vents, solar panels, and spandrels bring character. Some packs offer extra roof trims and objects for more customization.
Tips for Roofing Different Home Styles
Modern Builds
- Use low-pitched or flat pieces.
- Asymmetrical shed roofs can make things look unique.
- Play with glass roofs for sunrooms or greenhouses.
Classic Suburban
- Mix gabled and hipped styles.
- Medium pitch keeps things homey, not cartoonish.
- Balance large roofs with small ones over porches or bump-outs.
Tiny Houses
- Stick with simple gabled or hipped roofs.
- Minimal overhang keeps the house compact.
Mansions and Estates
- Layer roof pieces for texture and visual interest.
- Mansard or multiple hipped/gabled combinations look ornate.
Matching Roof Color and Features
Choose colors and textures that match your home’s style. Sims 4’s roof swatches now include textured tiles, shingles, metal, and green (grass) roofs. Don’t forget roof trims—these change the outline color and thickness, which can really finish off the look.
- Classic homes: Black, gray, or brown shingles.
- Midcentury or modern: Sleek metals, whites, or bold primary colors.
- Cottages: Thatched or textured tile looks.
Learning By Copying
If you’re stuck, shift to a pre-built gallery lot and look at their roof choices. Practice copying them—see how breaking up big areas or adjusting eaves can make a simple build feel intentional and finished.
Conclusion: Practice Makes Perfect
Roofing can seem frustrating at first, but with patience and experimentation, your skills will grow fast. Try different shapes, play with roof heights, and notice how little tweaks transform your build. Don’t worry about making mistakes—that’s the best way to figure out what works. Over time, you’ll be able to shape the perfect roof every time, no matter what wild floorplan you’ve cooked up for your Sims.
Landscaping Guide
A house in The Sims 4 isn't truly finished until the yard feels like part of the home. Good landscaping does more than look pretty—it frames your build, boosts curb appeal, and brings your lot to life. Whether you want a manicured garden, wild backyard, or just a couple of shrubs to hide those wall seams, here’s how to make landscaping work for you.
Landscaping Tools and Basics
All landscaping objects can be found in Build/Buy Mode under the Outdoor Plants and Trees section. You'll find a huge variety: trees, flower beds, shrubs, rocks, fountains, and fences. Most items can be resized and moved freely with the game's placement tools.
Moving, Rotating, And Resizing
- Move: Just grab and drop. Hold Alt while dragging for free placement without the grid.
- Rotate: Right-click, or pick up and use the < and > keys.
- Resize: Use Shift+[ (smaller) and Shift+] (bigger) for any object that’s scalable.
- Elevate: Ctrl+9 raises, Ctrl+0 lowers an object—great for stacking rocks or adjusting terrain.
Planning Your Yard Layout
Before spamming bushes everywhere, step back and look at your lot’s layout. Think about how Sims will use the yard:
- Paths: Place paths from the front door to the street, and connect patios to garden features or pools.
- Gathering Spaces: Add patios, decks, or a firepit with outdoor seating for social areas.
- Garden Zones: Divide space between flowerbeds, vegetable patches, play spaces, and open lawns.
Framing the House
Anchor the house with trees at the corners or larger shrubs near the foundation to visually “attach” it to the landscape. Use low plants right against the walls to soften the edges without blocking windows.
Choosing Plants: Size, Style, and Seasons
Pick plants that fit your house’s style. The Sims 4 offers everything from tidy hedges to wildflowers and tropical palms. Here’s how to make your choices count:
- Match shapes/height: Tall hedges for privacy, low flowers for colorful borders, climbers for cottage-y feels.
- Color harmonies: Stick to a few colors for a calm, organized look, or go wild with varied flowers for a bohemian vibe.
- Seasonal spice: If you have Seasons, plants change with the weather—evergreens for year-round green, deciduous trees for dramatic fall color, etc.
Layering and Clustering
For a professional look, cluster plants in groups of three or five. Mix heights—put taller plants or trees in back, with ground cover in front. Overlap objects slightly for a fuller, lush effect, rather than lining things up like soldiers.
Rocks and Terrain Paint
- Scatter rocks at the base of flowerbeds or under trees for a realistic touch.
- Use terrain paints (dirt, mulch, gravel) under plant groupings to “ground” them. Blur edges with the softest brush for a natural fade.
Landscaping Features and Extras
Give the yard personality with additional details:
Fences, Gates, and Edging
Fences can separate the backyard, create front garden borders, or keep the llamas in check (Eco Lifestyle!). Low fencing or trimmed hedges make neat flower bed borders. Gates offer access points—match the style to your home.
Water Features and Ponds
Fountains and ponds add drama and movement. Place a pond by shaping the terrain, then use the pond tool to fill it with water. Add lilies, reeds, fish, and rocks for realism. Fountains work well in formal gardens or courtyards.
Lighting
Outdoor lights guide Sims at night but also highlight the best parts of your yard. Place ground lights along walkways, fairy lights on fences, and lanterns by patios to keep things cozy.
Functional/Decorative Items
- Planters: Grow actual harvestables or use decorative flowerpots to add color near the front door.
- Statues and Sculptures: Add a centerpiece to a garden bed or a whimsical gnome for humor.
- Playground and Activities: Jungle gyms, pools, picnic tables, bee boxes, or hamster habitats for active or nature-loving Sims.
Tips for Different Lot Styles
Suburban Homes
Keep it neat with trimmed hedges, blooming flowers, a couple of shade trees, and a small patio.
Modern Builds
Use geometric hedges, ornamental grasses, succulents, big boulders, and gravel—keep flowers to a minimum for a minimalist look.
Cottages and Farmhouses
Go wild—layer flowers, add climbing vines, scatter rocks, and use plenty of terrain paint. Throw some wildflowers or a small veggie plot in for charm.
Community Lots
Define uses: playgrounds for parks, benches and topiaries for museums, fountains and statues for city spaces.
Common Mistakes and How to Avoid Them
- Too much symmetry: A little wonky is more natural. Avoid mirroring too closely.
- Floating plants: Always check from all angles—resize or lower plants so they look rooted.
- Boring lawns: Big open grass areas look empty. Use flowerbeds, shrubs, or rocks to break things up.
- Overcrowding: Leave space for Sims to walk, especially near doors, paths, and patios. Playtest if you’re unsure.
Final Thoughts On Landscaping
Landscaping brings your Sims’ world together. It’s not just decoration—it’s an important piece of the build that frames the home and characterizes the lot. Don’t stress about nailing it first try. Play around with clusters, layering, and color until you find something that clicks. Sometimes plopping down a few rocks and adding some dirt paint is all it takes to make a basic yard feel alive. Just like with roofing, patience and experimentation go a long way.
Furniture Placement
Building your dream house in The Sims 4 doesn’t stop at walls and wallpaper—the way you arrange furniture has a huge impact on how the space feels and works. A smart layout can make your house feel open, stylish, and actually usable by your Sims. If you’ve ever watched your Sim stomp their foot and complain about not reaching the fridge, you know how important it is to place things thoughtfully.
Start with Function, Not Just Looks
Every room needs to function for your Sims’ needs first. Think about what Sims will do in each area—cooking meals, watching TV, working on homework, or crashing for a nap. Map out where the key items go (like beds, fridges, toilets), then layer on seating, storage, and décor. Getting the basics in place will save a lot of frustration later, especially when Sims can’t get to an object you worked hard to pick out.
Using the Grid—and Breaking It
The Sims 4 gives you a placement grid by default, snapping items to tidy squares. This makes rooms look organized, but can also feel a little stiff and robotic.
- Turning off the grid: Hold Alt while dragging furniture. This lets you move objects freely, nudge things closer together, tuck chairs under tables, or push a plant into a corner for a more natural look.
- Fine-tuning placement: For precise control, zoom in tightly and hold Alt as you rotate and slide objects. Try angling things slightly or offsetting them for a more lived-in vibe.
Doorways, Pathways, and Playability
If there’s one secret to perfect furniture placement in The Sims 4, it’s always leaving enough space for Sims to walk around objects. Sims need a path—they won’t sidle through tiny gaps between chairs and tables!
- Minimum spacing: Leave at least a full tile (or the equivalent in free placement mode) around beds, couches, and tables.
- Chairs: Make sure dining chairs and desk chairs are pulled out enough to “activate”—otherwise Sims won’t use them.
- Doors: Don’t block doorways with tall shelves or decor. If a Sim can’t open a door fully, they’ll refuse to go through.
To check your work, switch to Live Mode and watch a Sim move around. If they wave their arms or turn back, tweak your placement until everything flows.
Zoning and Room Flow
Smart furniture placement isn’t just about making things look neat—it’s about making each space feel logical.
- Create zones: Even in open concept layouts, you can “zone” the living, dining, and kitchen areas using rugs, couches, bookcases, or even counters. These dividing lines help a space feel organized rather than chaotic.
- Line of sight: Position TVs so Sims sitting on sofas have a clear view. Avoid blocking the TV with coffee tables that are too large or placing potted plants in the way.
- Multi-use rooms: For smaller builds, double-duty furniture (like Murphy beds or combo bookshelves/desks) save space and let you squeeze extra function out of each room.
Height and Layering with Decor
Walls aren’t just for paint. Wall-mounted shelving, artwork, mirrors, and curtains pack personality into blank space. Here’s how to make elevating your room’s style easy:
- Shelves: Evaluate the height by pressing Ctrl+9 to raise, or Ctrl+0 to lower, wall decor and shelves. Floating shelves let you add clutter above dressers or desks, maximizing storage and interest.
- Curtains and Wall Panels: Shift their height to suit window placement—don’t just accept their auto-placement.
Clutter objects (plants, books, candles) placed on tables, mantels, and entryway consoles make spaces cozy. Use the 9 and 0 keys to stack items at different elevations and Alt for precise placement.
Grouping and Focal Points
Rooms need a focal point. This could be a fireplace in the living room, a giant bed or art piece in a bedroom, or a kitchen island.
- Group seating: Angle chairs and couches toward the focal object, with a coffee table or rug connecting the area.
- Bedrooms: Let the bed “star” in the room, flanking it with nightstands or lamps. Accent walls or big headboards also help anchor the layout.
- Dining rooms: Put the table front and center, then add a buffet or hutch along a side wall.
Tips for Cozy and Realistic Touches
- Mix furniture styles: Rooms feel more alive when you pair different sets, colors, or decades—try old chairs with a modern table, or mismatched bedside lamps.
- Diagonal placement: Putting furniture on a diagonal (using the < and > keys or holding Alt) softens a blocky room, especially with couches or beds.
- Rug rules: Most furniture pieces should “touch” the rug in a group—like the front legs of a couch, or all chairs in a dining area.
- Don’t overstuff: Leave breathing room between large pieces for easier Sim movement and a lighter look.
Common Mistakes
- Overcrowding: Packing too much into a small room slows down Sims and makes things hard to find.
- Blocking objects: Place objects so Sims can reach and use them; otherwise, they’ll complain or “forget” to use a feature.
- Ignoring light: Windows count as furniture! Place sofas or study desks near natural light; keep beds away from harsh direct sunlight if you want realism.
Quick Fixes with Move Objects Cheat
Want to get truly creative? The “bb.moveobjects on” cheat lets you place any item anywhere—even overlapping, floating, or squished together. While powerful, this can break functionality, so test everything in Live Mode.
- How to use: Open the cheat box (Ctrl+Shift+C), type bb.moveobjects on, and press Enter.
- What it does: Removes all placement restrictions. Great for building complicated kitchens, stacked bookshelves, or layered gardens.
- Watch out: Some objects won’t be usable (fridges may get blocked, beds won’t work if things are too close).
Wrapping Up Furniture Placement
Arranging furniture is both creative and practical in The Sims 4. Balancing style and function leads to cozy homes your Sims enjoy living in. Experiment with layouts, mix things up, and remember: there’s no one “right” way, just the way that works for you and your Sims. Watch how they use the space and be ready to tweak until it feels just right.
Cheat Code Guide
Cheats in The Sims 4 are a builder’s secret weapon. Whether you're unlocking hidden build features, adjusting your household funds, or breaking normal placement rules, cheats save time and open up fresh possibilities. Let’s walk through the cheat codes you’ll actually use in Build Mode, how to enter them, and a few pro tips to keep things running smoothly.
How to Enter Cheats in The Sims 4
Before using any cheat, you’ll need to bring up the cheat console:
-
Open the Cheat Console:
- Press Ctrl + Shift + C (Windows/Mac) or All Four Triggers (on console: L1 + L2 + R1 + R2).
- A white box will pop up in the top-left corner.
-
Enable Advanced Cheats:
- Type
testingcheats trueand hit Enter. You’ll see a confirmation message. - Now all advanced cheats (including Build Mode ones) are unlocked.
- Type
-
Enter a Cheat:
- Type the cheat code, then press Enter.
Essential Build Mode Cheats
These cheats take your builds from simple to stunning. Here are the ones you’ll use the most—and why they matter:
1. Move Objects Anywhere
- Cheat:
bb.moveobjects on - What it does: Lets you place any object wherever you want, even if it overlaps another item or seems to "float" in space.
- Pro Tip: After turning it on, hold Alt (PC/Mac) to freely move and rotate objects off the normal grid.
2. Ignore Build Restrictions
- Cheat:
bb.enablefreebuild - What it does: Unlocks the ability to build or change lots that are usually locked—think hidden or career lots. Especially handy in The Sims 4: Get to Work and other packs with special locations.
3. Show All Hidden Objects
- Cheat:
bb.showhiddenobjects - What it does: Reveals tons of secret/developer items in Buy Mode, like collectibles, debug goodies, and more.
- How to see them: After entering the cheat, search for “debug” in the Buy Mode search bar.
4. Show All Live Edit Objects
- Cheat:
bb.showliveeditobjects - What it does: Adds even more objects—usually things seen around neighborhoods but not normally placeable (mailboxes, street signs, cars, landscaping, etc.).
- Mix it with moveobjects: You'll be able to place giant sculptures, plants, and world objects inside your lot.
5. Unlock All Building Items
- Cheat:
bb.ignoregameplayunlocksentitlement - What it does: Instantly unlocks all CAS/build items that are usually locked behind career progression—think exclusive furniture and décor.
6. Adjusting Lot Size and Traits (Not a true cheat, but still helpful)
- Changing lot size isn't possible directly via cheat, but you can use the Gallery to place lots of different sizes.
- Lot traits can be tweaked by clicking the "Traits" panel on the lot info and using
testingcheats trueif some options are acting buggy.
Money and Household Cheats for Builders
Sometimes you need more cash to achieve your vision. Cheat your way to unlimited funds with:
- Give Simoleons:
motherlode(adds §50,000)kachingorrosebud(adds §1,000)
- Set Money:
money [amount](ex:money 15000sets the household funds to exactly §15,000)
- Pro creators typically use
freerealestate onbefore moving Sims into a furnished dream home they couldn’t afford otherwise.
Using Build Mode Shortcuts
Cheat codes aside, quick keyboard shortcuts speed up everything:
- 9/0: Raise and lower objects up/down the wall.
- Alt: Place objects off the grid for finer control.
- Shift: Quickly buy multiple clones of an item.
- [ / ]: Shrink or enlarge certain objects (if you use bb.moveobjects).
Cheat Warnings
Some cheats make it possible to place objects in impossible spots, or unlock items that don’t always work right. Here’s how to avoid headaches:
- Test in Live Mode: After you build, always check if Sims can use everything (sinks, beds, doors).
- Save before big changes: Cheats can break or bug out lots. Back up your save before major builds.
- Turning cheats off: Type the cheat again substituting "off" instead of "on" (ex:
bb.moveobjects off) to restore default behavior.
Handy Cheat Shortlist (Copy and Keep)
testingcheats truebb.moveobjects onbb.enablefreebuildbb.showhiddenobjectsbb.showliveeditobjectsbb.ignoregameplayunlocksentitlement- Money cheats:
motherlode,kaching,money [amount] freerealestate on
Final Tips
Most builders use cheats for creativity, accuracy, and control. When paired with moveobjects and hidden objects, even tiny starter homes can look like they jumped out of a magazine spread. Keep your favorite codes nearby and don’t be afraid to experiment—you can always undo anything you don’t like.
Cheats turn you from a standard builder into a Sims 4 architect with way more freedom and style. Happy building!