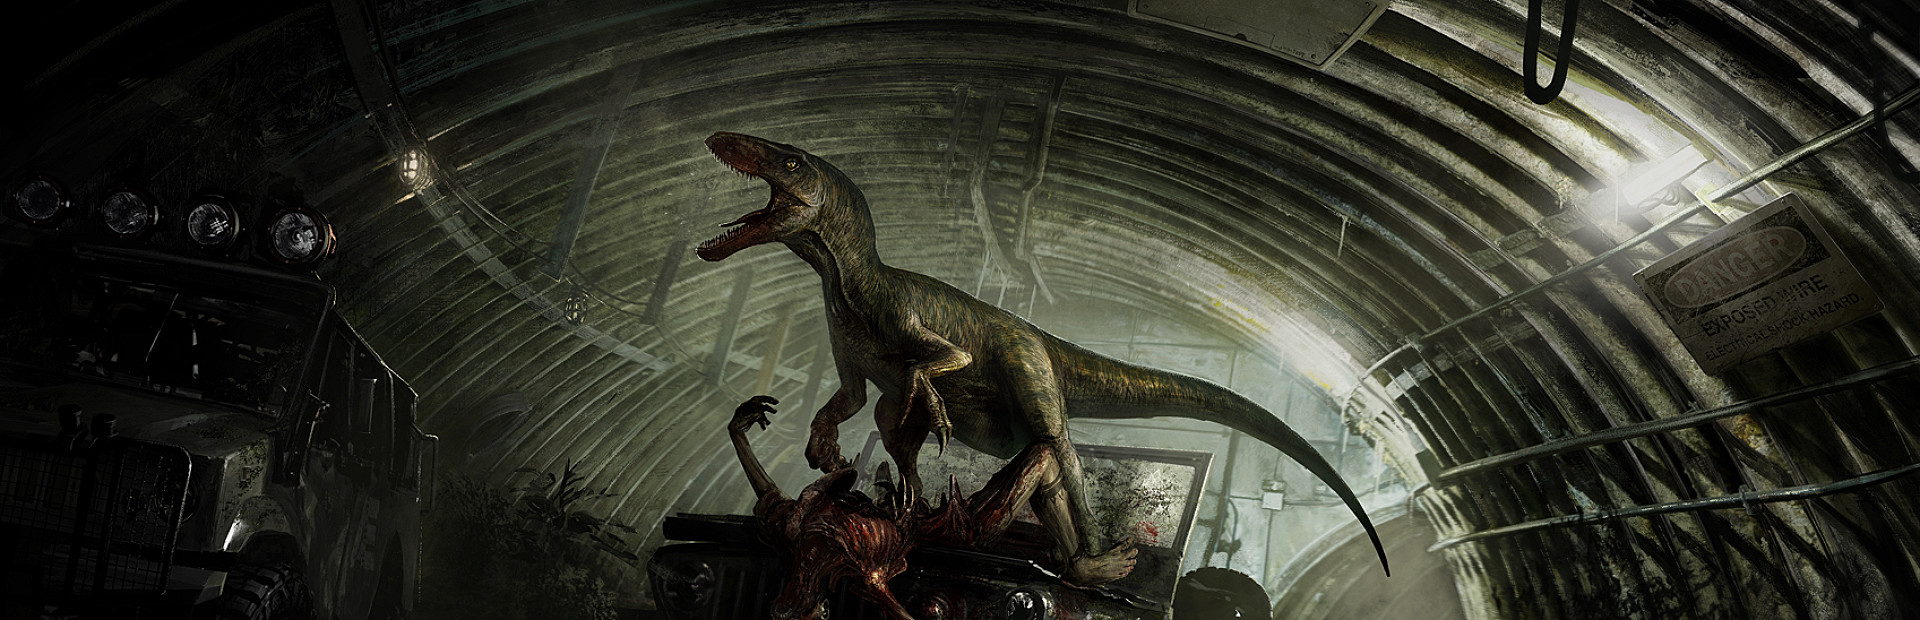
The Isle Beginner Guide: How to Survive Your First Hour as a Dinosaur
How to pick a starter dinosaur, read your survival meters, and stay off the menu during your first hour in The Isle.
The Isle doesn't hold your hand. You spawn as a small dinosaur on a big island full of things that want to eat you, and the game explains basically nothing. Most new players die inside the first twenty minutes, quit, and never find out what the game actually offers. That first hour is the wall. Get past it and the game opens up.
The good news is that dying early is almost always the same four or five mistakes, and they're all fixable. Pick the right dinosaur, find water before you need it, keep your food bars topped, and stay quiet. Do those things and you'll probably live long enough to grow.
Choosing Your First Playable Dinosaur
This is the decision that makes or breaks your first session, and the answer surprises people. You want something small that eats plants.
Why a herbivore first
Carnivores have to learn hunting, the bleed system, organ harvesting, and the diet system all at once, while starving if they fail. Herbivores can graze. Grass and bushes are everywhere, so food is one less thing trying to kill you. That lets you actually learn the map and the meters instead of panicking about your next meal.
Community guides keep landing on the same short list, and it's a good one. Rough grow times below are for the current Evrima build at default server rates. Community servers usually run faster growth, so your real numbers will often be shorter.
| Dinosaur | Diet | Rough grow time | Why it works | | --- | --- | --- | --- | | Hypsilophodon | Herbivore | ~1h 50m | Fastest grow in the game, can climb and jump out of trouble | | Dryosaurus | Herbivore | ~4h 25m | Free dodge button, forgiving diet, classic tutorial pick | | Gallimimus | Omnivore | ~5h 25m | Fastest thing on two legs, nearly uncatchable as an adult | | Tenontosaurus | Herbivore | ~5h 40m | Huge toolkit, 1600 HP as an adult, can actually fight back | | Pachycephalosaurus | Herbivore | ~6h 15m | Bone-breaking headbutt, punishes small predators |
Dryosaurus, the safe default
If you're not sure, pick Dryo. It's small, quick, and its right-click dodge has two charges that refill every ten seconds and cost no stamina. That dodge is your get-out-of-jail card. Something charging you? Dodge sideways, ideally through trees. Dryo's diet is easy too. Chanterelle mushrooms, sumac, horned melons, russula, wild potato vine and root, red currant. All of that grows in forest areas, which is where you should be hanging out anyway.
Hypsilophodon if you're impatient
Hypsi grows to adult in under two hours, which is the fastest of anything playable. Great for a first taste of the full loop, since you'll reach adult size in one sitting instead of across three. It's also got tricks nothing else this size has. Hold left-click to spit stomach bile that blinds whatever's chasing you, and hold right-click plus space to latch onto rocks and branches that ground predators can't climb. Fair warning, it's made of paper. One clean hit from a mid-size carnivore and it's over.
What to skip for now
Skip the apexes. Tyrannosaurus takes around 35 hours of vanilla grow time, and you'll lose all of it the first time a pack finds you as a juvenile. Skip Deinosuchus too, since it's semi-aquatic and plays like a completely different game. Even the mid carnivores like Ceratosaurus and Carnotaurus are a rough first pick. You'll have more fun with them once you know the map.
Pteranodon gets an honorable mention. Some veterans suggest it because it flies away from danger and learns the map fast from the air. The catch is that it's a fish-eater with a restricted spawn, so it's kind of its own learning curve. Try it second or third.
Spawning In and Getting Your Bearings on the Map
The current Evrima map is called Gateway. It replaced the older Isla Spiro map, so any tutorial video showing Spiro place names is out of date for official servers. Gateway is big, with a mix of dense forest, open plains, swamp, rivers, and coastline. Big enough that crossing it on an empty stomach is a real way to die.
You spawn as a juvenile
Skip the hatchling option if you even see it. Hatchlings only come from player nests, and they're near-helpless. A fresh spawn is a juvenile at around 25% growth. Small, weak attacks, low health, but mobile. From there you grow through subadult (roughly 55% to 95%) and hit adult at 100%. Your one job as a juvenile is to not get noticed.
The first sixty seconds
Don't stand still on the spawn screen exit. Big open sightlines are where Carnotaurus and Ceratosaurus spot little dinosaurs from a long way off. Your opening moves look like this:
- Look around before you take a step. Note any big dinosaur, any water, and the nearest trees.
- Move to cover first. Bushes and forest beat standing in a meadow.
- Hold Q to sniff. Scent marks nearby food and water on your compass so you're not wandering blind.
- Press Tab to open the character screen. It shows your location and the time of day.
Scent also matters for reading danger. Lots of bone and meat-chunk icons clustered near water usually means something got killed there recently. Maybe the killer is still around.
Day, night, and getting found
A full day-night cycle runs about 60 minutes of real time, with day starting at 6:00 and night at 18:00. Night is genuinely dark, and it's when Dilophosaurus does its best work. You can toggle nightvision with X, and a good diet actually improves how well you see at night. Early on, just treat nightfall as a reason to be in cover rather than out traveling.
One more thing. Each dinosaur species has spawn areas it's allowed to use, so you can't pick a spot on the map directly. If you want to spawn near a friend, one of you sends a spawn code through the Group tab and the other enters it under Eggs and Spawn Codes on the character screen.
Finding Water, Food, and Safe Growth Spots
Your first real goal after hitting cover is a water source. Not food, water. Hydration drains quicker than hunger and kills you quietly while you're busy looking at bushes.
Water first
Hold Q and look for the water-drop icon on your compass. If nothing shows up, walk downhill. Fresh water collects in valleys, river channels, and lake basins, so downhill is the reliable direction. Once you find it, drink until full and then actually remember where it is. You'll be back.
Drink from shallow edges when you can. Deinosuchus, the giant croc, hunts from deep water near banks and it will take a juvenile in one bite. Rivers and lakes are lifelines and ambush points at the same time. Never drink ocean water either. It doesn't hydrate you and it makes your thirst drain faster, which is a brutal trap for new players who spawn on the coast.
The three nutrients
Above your hunger bar sit three smaller indicators marked with Greek symbols. Beta (β) for protein, gamma (γ) for lipids, alpha (α) for carbs. Carnivores fill them from different organs, hearts for protein, intestines for lipids, lungs for carbs. Herbivores pull them from different plants and fruit, so you want to eat from a few different sources rather than camping one bush.
Why bother? Growth speed. One nutrient filled is a 100% growth rate, two is 200%, all three is 300%. On top of that, each filled nutrient gives a small regen buff, beta helps health regen, gamma helps fracture regen, alpha helps bleed regen, and the full three-way combo adds a stamina regen bump. Getting all three bars filled roughly cuts your time to adult by two thirds compared to one. That's the whole early game in one paragraph.
Filled the wrong bar? Find a salt lick, press Tab, select the nutrient you want to drain, and lick the rock until that bar empties. Annoying, but it's the only way to fix a bad diet.
Sanctuaries are your best friend
Sanctuaries are marked juvenile-safe zones, and they grow special mushrooms that fill all three nutrients at once. One bite of a three-combo mushroom takes you from a 100% growth rate to 300% if you were missing two bars. As a fresh juvenile, sniff for the sanctuary icon and head there. It's the single best growth move available to you.
Two catches. The foliage inside is thick and easy to get stuck on, and once you hit subadult the bees turn on you and chase you out. That's the eviction system working as designed, so when the bees come, leave. Lingering just gets you stung.
Migration zones for later
Migration zones are big roaming areas that boost how much nutrition you get per bite of food. Good stuff, but they're crowded, and crowds mean eyes on you. As a fresh juvenile in your first hour, the sanctuary is the better bet. Migration corridors start making sense once you're a subadult with some size on you. Food left at an old migration spot despawns about thirty minutes after a new zone opens, so don't camp a dead one.
Reading the Hunger, Thirst, and Stamina Meters
Three bars run your life, and each one tells you it's failing in a different way. Learning the warning signs buys you the minutes you need to fix things.
Hunger
You spawn with a full stomach, and it drains from there. Drain speed depends on your size. A Hypsi empties fast, a Stego takes ages. When hunger gets critical, the icon flashes red and you've got a minute or two before starvation damage starts ticking. Eat before that, not after.
Hunger also straight-up pauses your growth at zero. You can sit at 89% growth for an hour if you let yourself starve, because the bar just stops moving. Growth and food are the same system, so treat the stomach bar as your progress bar's fuel.
Thirst
The water-drop icon is greyed out when you're full. As it drains it fills with soft blue and starts to wiggle. Push it further and the icon visually cracks apart as you close in on dehydration damage, then red, then health loss. Letting it bottom out also applies a Fluid Deficient debuff and stops your growth like hunger does.
The habit that saves you is drinking on a schedule instead of waiting for the wiggle. Swing past water whenever you're near it. It costs you ten seconds and removes the single most common dumb death in the game.
Stamina
Stamina is the one that gets you killed, because an empty stamina bar means you can't sprint and a caught herbivore is a dead herbivore. The trick is that stamina only refills up to a ceiling set by what you're doing, and that ceiling drops the faster you move.
| What you're doing | Regen range | Rough full-refill time | | --- | --- | --- | | Resting | 0 to 100% | fastest option, varies by species | | Standing still | 20 to 100% | ~5m 35s | | Walking or crouching | 40 to 100% | ~4m 10s | | Trotting | 60 to 100% | ~2m 50s |
Read that again, because it's backwards from what you'd guess. Trotting regenerates stamina faster in real time, but it can only refill up to 60%. So trotting is great for topping off a mostly-full bar while you travel, and terrible for recovering from empty. If you've burned everything in a chase, you have to actually stop and stand still to get back above 60%. Timings vary a bit by species, and a good diet buffs them, but the pattern holds.
Practical version. Don't sprint unless something is chasing you. Trot between spots, sprint only in emergencies, and if you do dump the bar, get to cover and stand there while it climbs back. A tired dinosaur in the open is a free meal.
Avoiding Apex Predators While You Grow
Everything bigger than you is a threat until proven otherwise, and a few things smaller than you are too. The apex list is short but nasty. Tyrannosaurus hits like a truck, Allosaurus brings heavy bleed, Carnotaurus is the fastest thing on land, Ceratosaurus has a bacteria bite, and Deinosuchus owns the water. None of those are fights. They're weather. You avoid them the way you'd avoid a storm.
Silence is survival
Don't call. The vocalization keys broadcast your position a very long way, and an unnecessary call is the fastest possible way to invite an apex to your bush. Plenty of first-hour deaths start with a curious new player testing the call buttons in an open field. Save calls for grouping up with players you actually trust, and even then keep it short and do it from cover.
Pick your cover
Not all bushes are equal. The small palms with a few yellow leaves hide a small dinosaur's back really well, and dense forest breaks line of sight from anything big. Open plains are where Carnotaurus lives, so crossing a plain means crossing it with a plan. Know where the treeline is and move tree to tree instead of beelining. Rocky ground and elevation help too, since big carnivores don't handle steep terrain as well as you'd think.
Trust the herd, cautiously
Other players of your species are usually safer than being alone, and groups of Pachys or Tenontosaurus will absolutely chase off a lone predator. But this is The Isle, and "usually" is doing a lot of work in that sentence. Some players bait juveniles in close and eat them. If a stranger waves you over to a spot that feels exposed, don't go. Group up on your own terms.
If something does attack
Run toward cover, not across open ground. Weave between trees. A chasing carnivore has to slow down to pick its way through, and you don't. Small dinosaurs are surprisingly nimble as juveniles, which is your one physical edge over something three times your size.
If you take a hit and start bleeding, the rules change. Bleed ticks even while you stand still, and moving or sprinting makes it worse. So the moment you're bleeding, stop sprinting. Press H to lie down and rest once you're hidden, which actively heals bleed rather than just slowing it. Better yet, find a wallowing hole and get in the mud. Mud clots the wound and masks your scent, which matters because carnivores track by smell and a blood trail leads them right to your hiding spot.
Last thing worth knowing. Resting recovers stamina fastest and heals bleed, but a resting dinosaur is a defenseless one. Get hidden first, then rest. The order matters more than the timing.
Your first hour in The Isle is really just patience with a to-do list. Cover, water, food variety, sanctuary mushrooms, and a closed mouth. Do that and you'll wake up tomorrow a subadult with real options instead of another corpse on the plains.