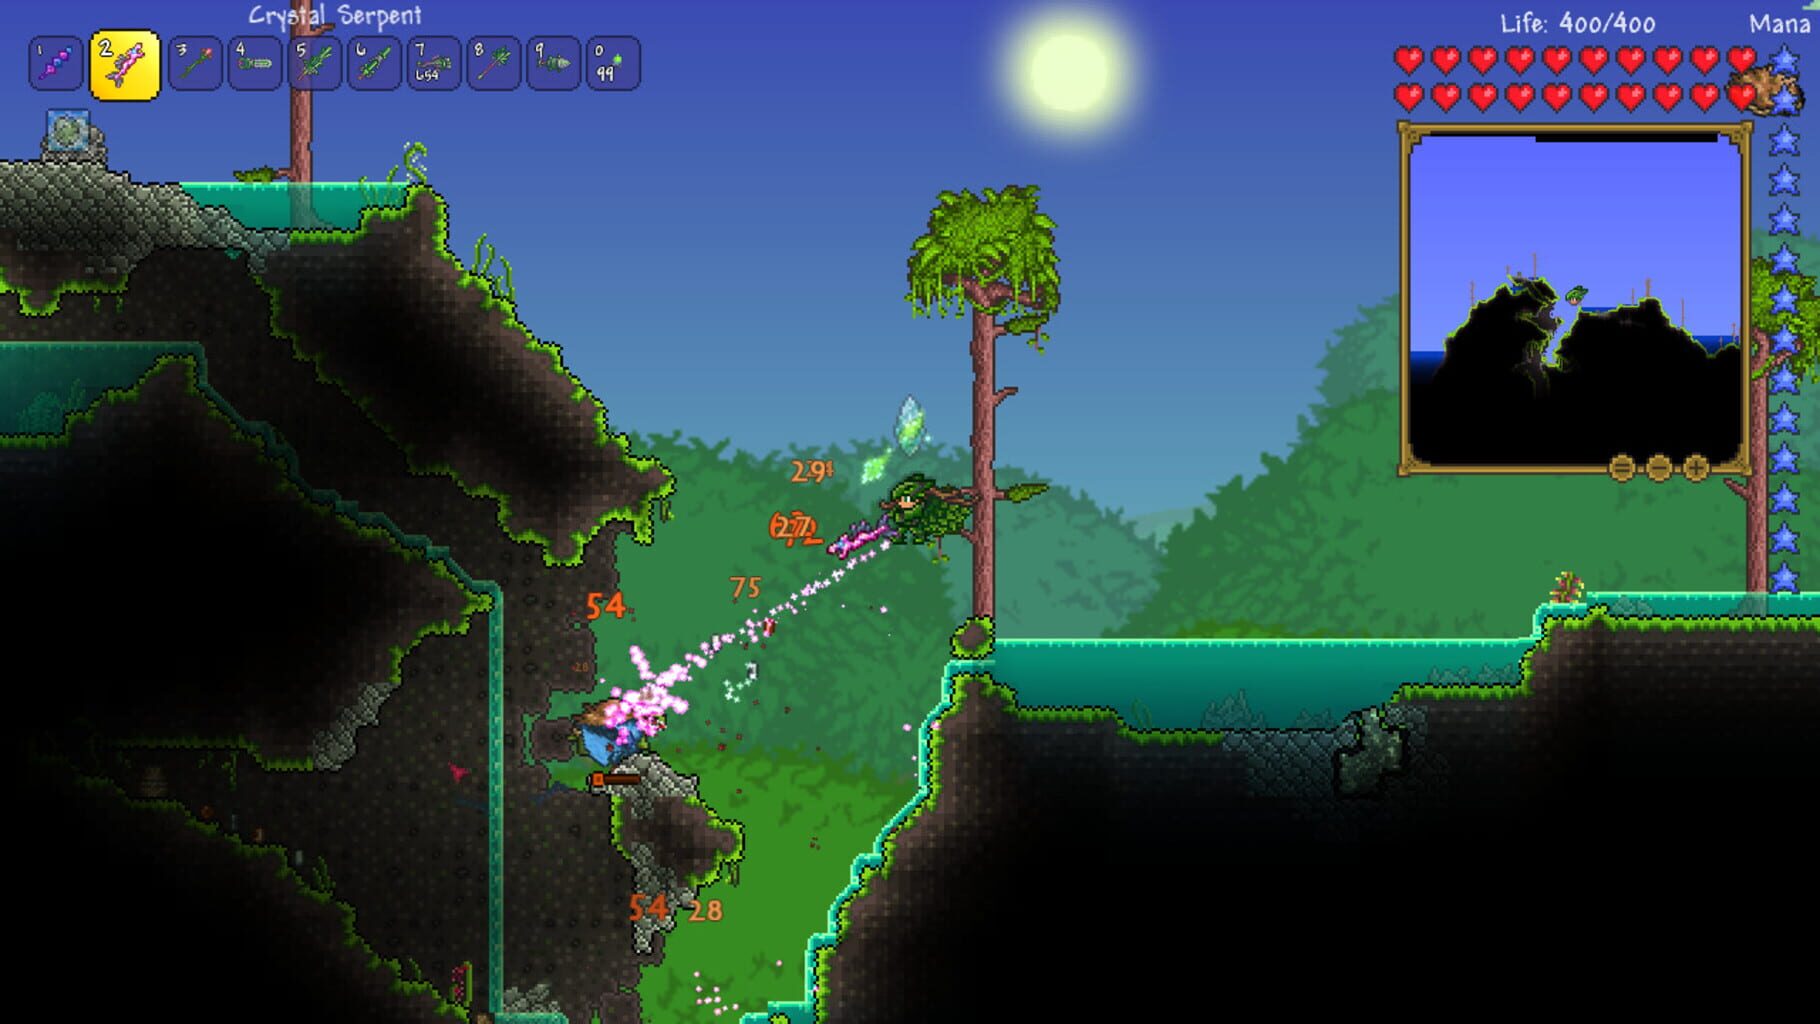
Terraria Money Making Guide: Farming Gold and Rare Drops
How to build gold income in Terraria, from selling early junk to happy NPC shops, statue farms, pirate invasions, and automated trap setups.
Money in Terraria disappears faster than you'd expect. Reforging alone can eat a platinum coin before you notice, and the Goblin Tinkerer never sends a warning first. The upside is that the game starts handing you cash around minute one, and most players just throw it away without realizing. Early on, making money is mostly about selling the right junk to the right person. Later it becomes statue setups, pirate invasions, and trap farms that grind out gold while you're off doing something else.
Selling Junk Items Early Game
Your first real income is already sitting in your inventory. Ores and bars are the workhorse here, because they're common and they sell for a lot. Smelt before you sell where it makes sense, since some bars go for more than the raw ore that went into them. If you're saving up for a specific pickaxe though, keep the metal. Don't sell the stuff you actually need for crafting.
Gems are the sleeper pick. They stack up fast once you start paying attention, and the payout gap between types is bigger than most people think:
| Gem | Base sell value | |---|---| | Diamond | 30 silver | | Amber | 30 silver | | Ruby | 22 silver 50 copper | | Emerald | 15 silver | | Sapphire | 11 silver 25 copper | | Topaz | 7 silver 50 copper | | Amethyst | 3 silver 75 copper |
Those are neutral-happiness numbers. Sell to a maxed-out NPC and diamonds and amber push toward 40 silver each. A stack of 99 diamonds is close to 30 gold base, so gem stashes and gemstone caves are absolutely worth going out of your way for.
A few other early sellers worth knowing about:
- Extra Life Crystals. Each one sells for 1 gold 50 silver. Once you've hit your 15-crystal cap and maxed health at 400, every crystal you dig up is pure profit. They show up in the Underground and Cavern layers, just not in the Dungeon or Underworld.
- Duplicate accessories and weapons. Chest loot gives you a lot of repeats. Test them once if you're curious, then dump the losers.
- Food items. Fruit from shaking trees and cooked critters both sell. Not huge money, but it's free.
- Bomb and chest drops you'll never use.
The Extractinator
Don't overlook Silt, Slush, and especially Desert Fossil. Feed them into an Extractinator and you get coins directly, plus ores and gems on top. Extractinators show up in Gold Chests in the Underground and Cavern layers (roughly a 1 in 20 to 1 in 15 chance) and in Frozen Chests. Desert Fossil is the best feedstock of the three, and the desert is loaded with it.
The gems you pull out can go two ways. Sell them, or turn them into gemcorns and plant a gem tree farm underground. Selling pays right now. Gemcorns take a while to beat raw selling, but they scale up forever, so early gems are often better spent planted than cashed.
Keep your coins somewhere safe
Get a Piggy Bank early. The Merchant moves in once your world has 50 silver total across player inventories, and he sells the Piggy Bank. Deposit your coins into it or a Safe on the regular. When you die you'll drop most or all of your loose coins depending on difficulty, but storage is safe. Better yet, NPCs happily take payment straight out of your Piggy Bank, so there's literally no downside to banking constantly.
Setting Up a Profitable NPC Shop Chain
Here's the thing a lot of new players miss: the price you get isn't fixed. Every NPC has a happiness score, and it swings the numbers hard. A maximally happy NPC sells their stuff to you at 75% of normal price and buys your items at 133% of normal. That makes your money worth about 1.33x more, and the items you're selling worth about 1.78x more. Nearly double payout just for arranging your town correctly.
Happiness comes from a few sources that stack:
- Biome preference. Loved biome gives a 12% bonus, liked gives 6%. Hated and disliked biomes do the reverse.
- Neighbors. Same deal with who lives next door, within about 25 tiles. NPCs have opinions about each other, and they're not always mutual.
- Crowding. More than three NPCs nearby and you take a 5% penalty for each extra one. Big apartment blocks are bad.
- Solitude. A 5% bonus for having two or fewer roommates and no more than three other NPCs within 120 tiles.
So the play is small clusters, not one giant tower.
The best early setup
Before you've beaten anything major, put the Arms Dealer and Nurse together in the desert. Easy to do, gets you about a 1.26x sell multiplier, and unlocks the Desert pylon since both of them need to be housed near it. If you want the full 1.33x, the Golfer living with the Angler and either the Zoologist or the Painter in the forest gets you there. Takes more setup, since you have to find the Golfer and unlock the Zoologist at 10% Bestiary completion.
The setup that matters most
Once the Mechanic shows up, move her, the Goblin Tinkerer, and the Dye Trader into the underground snow biome. That maxes out the Goblin Tinkerer, and he's the one worth pleasing. Reforging is the biggest money sink in the game by a wide margin, and his prices scale directly with his mood. Getting a specific best modifier on an accessory runs about 38 times its sell value on average. For weapons with full modifier access, it's 68 to 70 times. Those numbers assume neutral pricing, so a happy Goblin Tinkerer cuts a genuinely enormous cost.
Willing to accept second-best modifiers helps a lot too. Armored instead of Warding, or Demonic instead of Legendary, drops the average reforge cost to a third or less. Demonic still gives you about 1.2x damage versus Legendary's 1.3x. That trade's usually fine while you're still building wealth.
The Tax Collector
In Hardmode you can throw Purification Powder on a Tortured Soul in the Underworld and turn him into the Tax Collector. He then collects 50 copper per minute for every housed NPC, base rate. In a normal world with 20 NPCs that's 10 silver a minute, or about 2 gold 40 silver per in-game day. His happiness raises both the rate and the cap, somewhere between 33 and 66 copper per NPC depending on mood, and his storage tops out between roughly 16.5 and 33 gold before he stops collecting. It's not going to make you rich, but it's free money that accumulates while you do anything else. Bring the powder with you on your first Wall of Flesh run and you can recruit him before you even head back to the surface.
Pylons tie it together
Each pylon needs two NPCs housed within a 169 by 124 tile rectangle to work. Build your little happiness clusters around pylons and you get cheap teleport travel on top of the pricing. Nine times out of ten, the desert pair is your first one.
Farming Coin Drops from Statues
Here's the honest truth, because a lot of older guides get this wrong: statue-spawned enemies do not drop coins. At all. That's been true for a long time. The Lucky Coin used to print money off statue farms, and that got patched out back in 1.2.0.3. These days statue enemies never drop coins, food, souls, or biome keys, and they'll never spawn a Dungeon Spirit either.
So if you're wiring up a Slime Statue hoping for a coin fountain, that's not coming. What statues do give you is items, at a reduced drop rate, and that's still worth building around.
How statue farms actually work
A few rules govern the whole thing:
- Statues have a 30 tick cooldown after activating, so a 1/2 Second Timer is the right wiring. Any faster and the extra signals just get ignored.
- There's a spawn cap. No more than 3 of an enemy within 12.5 tiles of the statue, 6 within 37.5 tiles, and 10 anywhere in the world. That cap is per enemy type, so stacking different statues multiplies your output.
- You have to personally damage the enemy for it to drop loot. Kill something with only lava, traps, or NPC attacks and you get nothing. Minions and sentries count as player damage, which is the loophole that makes AFK statue farms possible.
That drop rate reduction is real. A Skeleton normally drops a Bone Sword 1 in 200 times. From a statue it's 1 in 1000. Every statue has its own reduction factor, and some are zero.
What's worth farming
The classic is gel. Slime Statues on a timer, slimes die in lava or to a minion, gel accumulates. Raw gel is nearly worthless. But with a Solidifier you can craft gel plus one wood per 6 gel into Slime Candelabras, and that works out to roughly 5 gold per 1000 gel. That's the actual statue money machine, and it runs while you're fishing or building.
Skeletons are decent for a different reason. They drop hooks, and a hook plus chains crafts into a Grappling Hook that sells for about 12.5 times the material value. That's one of the best craft-to-sell flips in the game.
Statues are found in Underground Cabins and scattered through caves. A Metal Detector helps you locate the chests that often sit near them. Slime, Bat, Skeleton, and Crab statues are sometimes pre-wired to pressure plates as natural traps, so watch for those.
The realistic verdict: statue farming isn't a primary income source. Each statue earns very little per second. But it stacks with everything else and requires nothing from you once it's built, so it earns its keep as a background trickle rather than a main hustle.
Selling Rare Drops and Vanity Items
This is where the real money lives, and it all centers on one Hardmode accessory.
The Lucky Coin
The Lucky Coin drops from pirates during a Pirate Invasion. Rates as of 1.4.4: 1 in 2000 from regular pirates, 1 in 500 from the Pirate Captain, and a much friendlier 1 in 15 from the Flying Dutchman. Farm the Flying Dutchmen if you're hunting one. Get event progress to about 50%, then float high enough on a platform that only Dutchmen and Parrots can reach you, and you can force around 10 Dutchmen per invasion.
Once you have it, every hit you land on an enemy has a 1 in 5 chance to drop 1 to 10 extra coins. The coin type rolls 89.1% copper, 9.9% silver, and 1% gold. Averaged out, that's about 1 silver 22 copper per strike. That per-strike figure is the whole trick.
Because it pays per hit and not per kill, you want a weapon that hits weak and fast. The standard setup is a Broken-modifier Slime Staff with Tiki armor. The baby slimes chip Mimics and other tanky enemies for 1 damage a hit, over and over, and every one of those ticks is another coin roll. Run that during a Pirate Invasion and you'll walk away with 2 to 3 platinum. During a Solar Eclipse, 4 to 5 platinum. On Expert it can hit 10 to 15, though enemies pick up dropped coins there, so anything that escapes takes your money with it.
Two things shut the party down. Statue enemies are excluded, which is why the statue section above can't use this. And thorns-type reflected damage doesn't trigger it, along with mount contact damage and Solar armor dashes. Player-placed traps do work in singleplayer but not multiplayer.
Other rare drops worth selling
- Gold critters. Rare golden versions of critters have a 1 in 400 chance to spawn instead of the normal one. A Lifeform Analyzer spots them. They sell for serious money and you need a Bug Net, so keep one on you.
- Flask of Gold. Crafted from Gold Dust, it applies Midas, which boosts coin drops from affected enemies by at least 10%. The dust pays for itself fast, and it stacks independently with the Lucky Coin. Great for boss reruns and events.
- Vanity sets and boss drops you don't want to display still sell, and duplicate accessories from Mimics add up over a farming session.
Craft before you sell
Some materials are worth way more after a quick craft. A few of the best flips:
| Craft | Rough value multiplier | |---|---| | Jungle Spores into Jungle Hats | about 56x | | Hellstone plus Obsidian into Hellstone Bars | about 5.3x | | Meteorite into Meteorite Bars | about 2.3x | | Souls of Flight plus Beetle Husks into Wings | about 1.8x to 2.7x | | Stingers into Flasks of Poison | 11x |
The Jungle Hat one is the standout, since jungle spores are free for the taking and the recipe needs nothing else. Check the sell value of a craft against its materials before you dump a stack, because a few seconds at a work bench sometimes doubles your money.
Automating Gold Farms with Traps
Once Skeletron is dead and you've rescued the Mechanic from the Dungeon, wiring opens up and you can start building things that kill without you. You'll need a wrench, wire, and timers from her shop.
Getting the traps
Dart Traps are everywhere in the Underground and Cavern layers, usually wired to pressure plates meant for you. Harvest them with a pickaxe once you've cut the wire. They're the only trap type not found in the Jungle Temple.
The rest live in the Jungle Temple, and mining them there needs a Picksaw from Golem:
- Super Dart Traps hit almost twice as hard as regular ones.
- Spiky Ball Traps drop a ball that bounces around for a long time. Great over a walkway enemies have to cross.
- Spear Traps punch a long spear out of the block with a shorter cooldown than most.
- Flame Traps breathe fire 20 blocks horizontally. Rarest of the lot, and some worlds don't get one at all.
Geysers sit deep underground near lava and fire through blocks.
The honest limitation
Traps have long cooldowns, several seconds between shots for most of them, and that makes them kind of a pain as a primary killing floor. An optimized farm spawns about one enemy per second, and traps struggle to keep up with that throughput. So in practice the best automated farms use lava or minions for the actual killing and keep traps for specialty jobs, like poking a Nymph that refuses to move until it takes damage. Dart Traps wired to a 3-second timer at the far ends of a walkway handle that nicely.
Lava is the real workhorse. It needs no input from you and doesn't count as a kill source problem for natural spawns, unlike statue enemies. One warning that matters a lot for a money farm: lava deep enough to pool will destroy coins and other low-rarity drops. Use one bucket of lava per 4 tiles of surface. That's shallow enough to hurt enemies without eating your payout.
The volcano farm
The standard design is a mound with lava on top, built in the Cavern layer. You sit in a safe room below as bait. Enemies path toward you, march up the sides, and cook. Fliers usually fly straight into it too. Clear an open area a bit bigger than the spawn window first, ideally around 168 by 104 tiles, so nothing spawns where you don't want it. A walkway running at least 84 tiles out each side gives the spawner room to work.
Then layer on the spawn rate boosts. The base spawn interval is 600 ticks, and the floor is 60, so there's a 10x range to chase. A Battle Potion halves the interval. A Water Candle takes off another 25%, and you can grab those from the top of the Dungeon even before Skeletron. Underground Desert and Jungle biome multipliers stack on top of that if you build in the right place. A Blood Moon or Solar Eclipse on the surface pushes it even harder, which is exactly why eclipses pair so well with the Lucky Coin.
Keep the farm away from NPC housing and sunflowers, both of which suppress spawns. Drop a Garden Gnome and the right biome torches nearby for luck, since every 0.1 luck is worth about 4% more drops on average. Unsummon any minions if you want loot to land in your inventory directly rather than scattering, or leave them up if you'd rather not press anything at all.
The AFK checklist
A finished setup looks like this: spawn surface sized right, shallow lava doing the killing, conveyor belts optional for sweeping drops toward you, a chest in the safe room to offload into, and a Water Candle plus Battle Potion running. Stand there with your Lucky Coin and a weak fast weapon and the platinum stacks while you watch something else.
One last thing. That 400-item cap on dropped items is real. Once it's hit, new drops start deleting the oldest ones, so swing by and collect periodically instead of letting a farm run for an hour untouched.
Start with the gem table and a Piggy Bank, because those two alone fund your first real reforge spree. The statue gel operation is what quietly pays for everything after that.