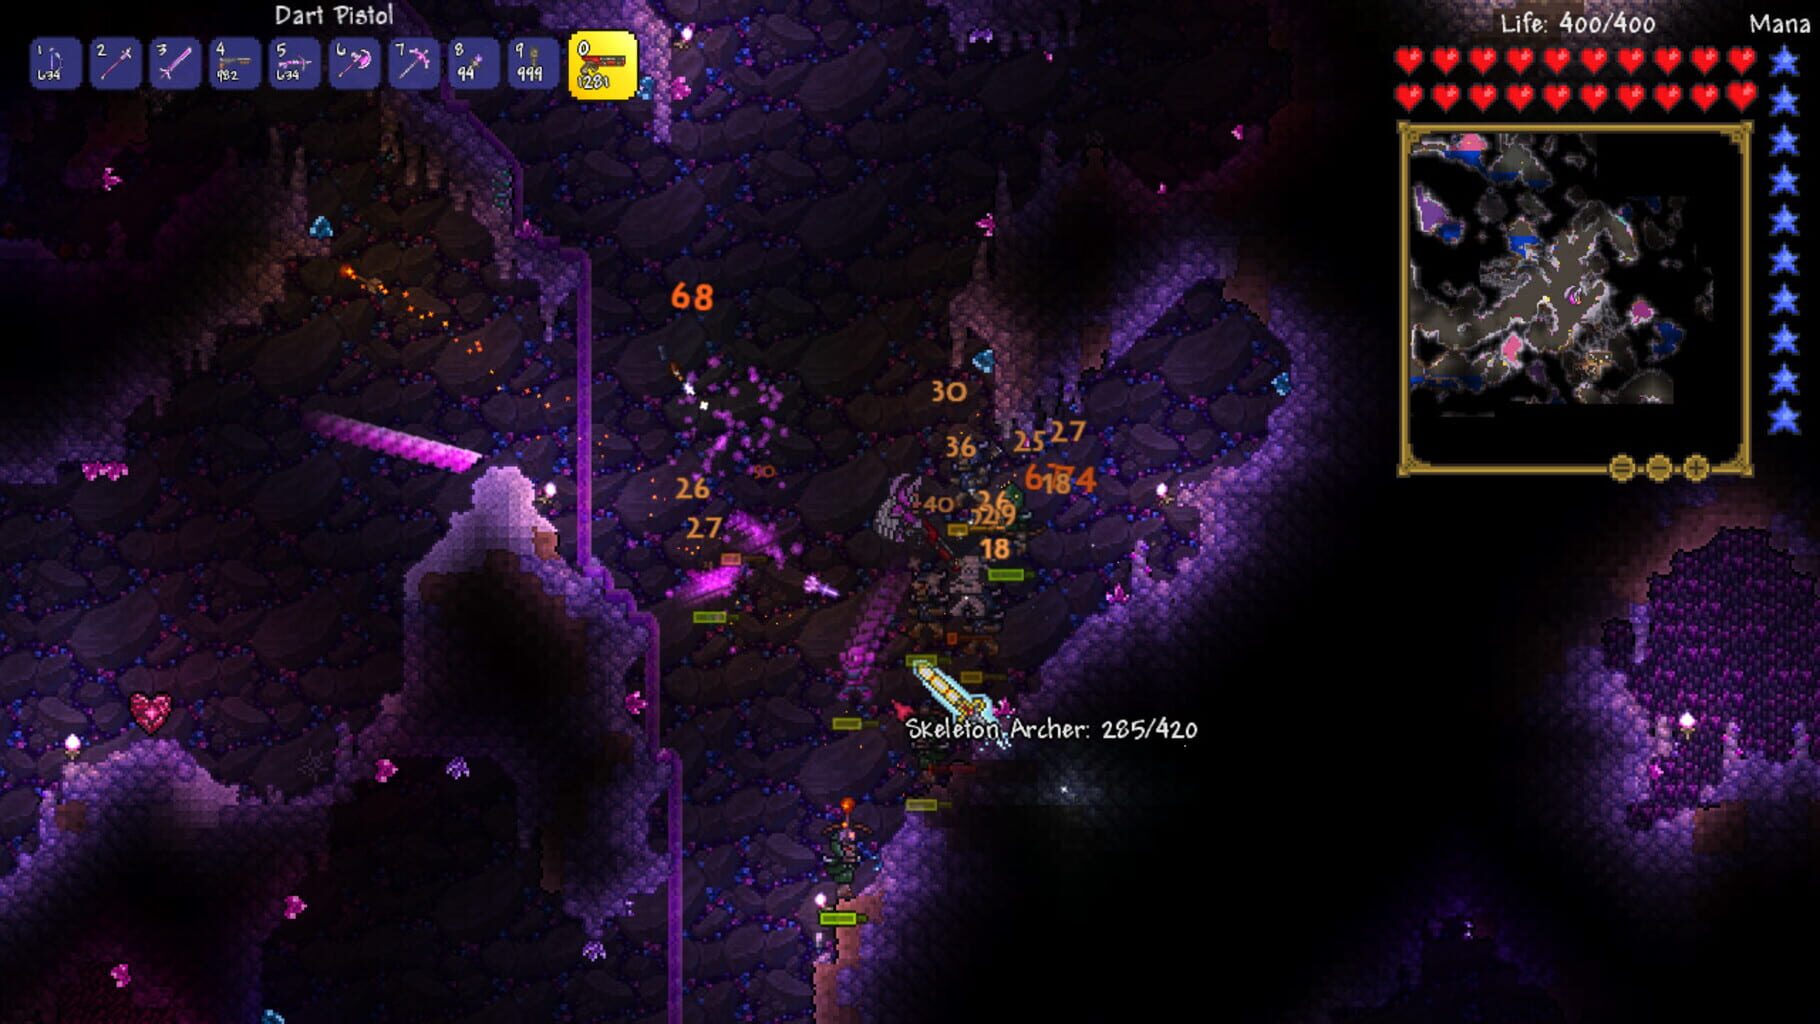
Terraria Housing and Building Guide
Master Terraria housing with tips on NPC happiness, building in biomes, gathering materials, and defending your creations effectively.
Setting up a home base is one of the first big steps in any Terraria adventure. It might seem simple at first—a few walls, a door, maybe a torch or two—but as your world grows, so does the importance of good housing and thoughtful building. Whether it's making sure your NPCs have somewhere safe to stay, understanding what makes a structure suitable for tenants, or finding ways to design a space that's practical and looks good, there’s a lot more to building in Terraria than meets the eye. Creating functional and appealing structures can make daily life a lot easier, and even protect you when things get dangerous. With a bit of planning and creativity, your builds can become one of the highlights of your journey.
Basic Housing Rules
Housing in Terraria isn’t just about slapping down some blocks and calling it a day. If you want to attract NPCs and keep them happy, your structures have to meet certain criteria. You’ll need to meet these rules for every room you want an NPC to move into, whether you’re setting up a cozy starter hut or an elaborate multi-story apartment.
Here’s the checklist every successful house needs:
Size Requirements
A house must fit within specific size boundaries:
- Minimum size: 60 tiles (including walls, floor, and ceiling). The smallest setup is 3 tiles high by 10 tiles wide.
- Maximum size: 750 tiles. Think of a tile as one block, not one screen-sized area. If your room is too small or too big, an NPC won’t move in.
Walls, Floor, and Ceiling
Every house needs:
- A solid floor and ceiling: Any blocks will work, just keep it continuous—no gaps, or NPCs will refuse to stay the night.
- Fully enclosed walls: Background walls (not the naturally-occurring ones underground) are a must. Craft and place them manually.
- At least one entrance: A door, trap door, tall gate, or platforms count. Windows (vertical gaps) do not.
Light Source
You need enough light for it to count as a home. One torch, lamp, candle, lantern, or similar item will do. Place it inside and make sure it works at night, too.
Comfort Item
At least one comfort item is needed. Most folks just throw in a wooden chair since it’s cheap and easy to craft, but benches and sofas count, too.
Flat Surface
There has to be something for your new resident to put things on. Tables, workbenches, and desks all fit the bill.
Free from Danger
NPCs only move in if everything is safe. Here’s what to watch out for:
- No enemy spawns: Make sure there are no evil biome blocks (like Corruption, Crimson, or Hallow) touching or inside the room. If too many “bad” tiles are nearby, it’s considered unsafe.
- No liquid: Water, lava, or honey inside blocks out NPCs.
- No open holes: NPCs want protection, so patch up any gaps in the background and make sure there’s no one-tile-wide opening to the outside.
How to Check if a House Works
Unsure if you’ve built it right? Terraria gives you a tool for that:
- Open your inventory, select the Housing Query tool (the little house icon), and click inside the room.
- You’ll get a message—“This housing is suitable” means you’re good to go. Any other message tells you what’s wrong so you can fix it.
Advanced Housing Considerations
Getting the basic requirements down is the first step, but a few extra details can make your village run smoother and your NPCs happier.
Sharing Walls
Rooms can share walls (and even roofs and floors) with each other to save space and resources. Just make sure each room is fully enclosed and has its own light, comfort, and flat surface items.
Stacking and Compact Towns
Stacking rooms directly vertically or horizontally lets you fit lots of NPCs in a smaller area. However, it’s wise to space out houses later in the game for increased happiness (and cheaper prices from NPCs).
Biome Requirements
Some NPCs prefer certain biomes (like the Nurse favoring the Forest). If you want the best deals (or unlock certain NPCs like the Truffle), you’ll need to build suitable housing in those biomes.
Resist the Temptation: Prison Boxes
Slapping down tiny houses just for function works—but it’s not much fun to live in a cell. Try to give each NPC at least a bit of personality with unique layouts, decorations, or themed furniture.
Common Mistakes and Quick Fixes
- Forgotten walls: Place background walls manually—or it doesn’t count.
- Evil spread: Keep watch on Corruption, Crimson, or Hallow, especially as your world progresses. Clean up evil blocks regularly.
- Liquid leaks: Block off or drain any water, lava, or honey inside.
- Tiny, dark rooms: Add a torch and make sure your layout meets the minimum size.
Summary
Good housing keeps your NPCs safe, brings your base to life, and keeps everything running smoothly. Now that you know what every house needs, you’ll have an easier time expanding your town, unlocking cool features, and keeping prices low. Clean, safe, and functional houses are key to success in Terraria—so set up those rooms and watch your town thrive!
NPC Happiness Guide
Managing NPC happiness in Terraria isn't just about giving everyone a roof over their head. If you want the best shop prices, unique pylon items, and a thriving community, you’ll need to pay attention to the likes, dislikes, and living conditions of your townsfolk. While it might seem complicated at first, once you learn what each NPC prefers, you’ll find it much easier to keep them cheerful... and your wallet a little heavier.
Why Does NPC Happiness Matter?
Happiness directly affects a few important parts of your game:
- Shop Prices: Happier NPCs sell items at lower prices and buy your stuff for more.
- Pylons: You need two or more happy NPCs in a biome to buy a pylon, making fast travel between towns possible.
- Unique Items: Some vendors sell special inventory based on happiness.
Ignoring happiness means you pay more, miss out on conveniences, and have crankier NPCs overall.
Basic NPC Happiness Rules
Here’s what influences happiness:
- Neighbors: NPCs want some company but dislike crowds.
- Biomes: Most have a preferred and a disliked biome.
- Specific Friends/Foes: Many have favorite or least-favorite NPCs nearby.
Each factor raises or lowers the hidden “happiness meter.” Too many negatives, and you’ll see higher prices and less content NPCs. Keep things positive, and the perks show up quickly.
How Many NPCs per Area?
NPCs want community, not a mob. Keep these pointers in mind:
- Two NPCs together is great. Three is okay. Four or more, and everyone's mood takes a nosedive.
- The “area” is about 120 tiles in all directions from an NPC’s home—that’s a pretty big circle.
Too crowded? Spread your houses out, or build themed outposts in different biomes.
Biome Preferences
Most NPCs have a favorite biome. Here are a few common examples:
- Forest: Merchant, Guide, Zoologist, Nurse
- Desert: Dye Trader, Steampunker
- Snow: Mechanic, Cyborg
- Jungle: Witch Doctor, Dryad
- Ocean: Angler, Pirate, Stylist
- Hallow: Party Girl, Wizard
Set up a few homes in each major biome so you can match preferences. Not all biomes are “liked” by every NPC—some actually hate certain spots, so avoid placing them in their least favorite locations.
Who Likes (or Dislikes) Whom?
NPCs are a picky bunch. Here’s a streamlined way to keep track:
- Loves: The best possible friendship. Puts both NPCs in a fantastic mood.
- Likes: Happy to be neighbors, but not ecstatic.
- Dislikes: Minor grumbling, but not terrible.
- Hates: Avoid pairing these together unless you absolutely must.
A few group examples:
- Merchant: Likes Nurse and Golfer, dislikes Tax Collector.
- Nurse: Likes Arms Dealer, dislikes Dryad.
- Arms Dealer: Likes Nurse, dislikes Demolitionist.
- Demolitionist: Likes Tavernkeep, dislikes Arms Dealer.
- Zoologist: Likes Witch Doctor, dislikes Angler.
A full NPC preference chart (see Terraria Wiki here) can help with advanced setups.
Setting Up for Maximum Happiness
The Basic Setup
Start by pairing two or three NPCs who like (or at least don’t hate) each other in their favorite biome. For example:
- Forest: Guide, Merchant, Zoologist
- Desert: Steampunker and Dye Trader
Build simple houses with the standard requirements, leave enough space between clusters, and avoid putting too many NPCs in one spot.
Avoid Common Pitfalls
- Don’t pack them too tight. Skip the apartment complexes and go with scattered houses or themed “villages.”
- Mind the neighbors. Keep enemies apart (like Truffle and Dryad).
- Match biomes when possible. If an NPC hates where they live, happiness tanks.
Fast Travel with Pylons
Once you have two happy NPCs in a biome, you can buy a pylon specific to that area (Forest, Desert, etc.) from their shop. Set these up across the world for easy teleportation. Only happy NPCs offer pylons, so keep everyone content.
Checking NPC Happiness
You can check on an NPC’s mood:
- Open their shop menu.
- Hover over the price of any item. You’ll see if there’s a price cut (good), or markup (bad).
NPCs will also make comments that hint at their feelings—grumpy NPCs complain about crowds, wrong biomes, or annoying neighbors.
Example Town Layouts
Forest Village
- Houses: Guide, Merchant, Zoologist, Nurse (space these out)
- Pylon: Forest Pylon buys from Merchant or Zoologist
- Layout Tip: Use paths or bridges to “spread” your town but keep everyone within a screen’s distance.
Beach Outpost
- Houses: Angler, Stylist, Pirate
- Pylon: Ocean Pylon from Stylist
- Layout Tip: Build on stilts, docks, or above water for extra style and safety.
Jungle Bungalow
- Houses: Witch Doctor, Dryad
- Pylon: Jungle Pylon from Witch Doctor
- Layout Tip: Place houses on platforms or among the vines for atmosphere.
Quick Reference Do’s and Don’ts
Do
- Pair happy neighbors in preferred biomes.
- Keep settlements to 2-3 NPCs.
- Check prices regularly.
Don’t
- Dump all your NPCs in one “skyscraper.”
- Ignore biome preferences.
- Overcrowd your bases.
Conclusion
Keeping your NPCs happy unlocks better shop deals, convenient pylons, and makes your villages much livelier. When you match NPCs with friends and favorite biomes while avoiding overcrowding, you’ll notice the benefits right away. Tinker with setups and see what works best for your world—and don’t be afraid to relocate your townsfolk. They might grumble, but your Terraria economy (and travel options) will thank you!
Biome-Specific Builds
Tailoring your houses and towns to the biome isn’t just about pleasing picky NPCs—it unlocks unique design tricks, boosts survival odds, and helps you get more out of each area. Every Terraria biome presents its own surprises and dangers, but also a chance to create living spaces that actually fit the place. Below, we’ll break down practical tips for building in each biome, highlight what materials work best, and give ideas for making each spot feel truly “at home.”
Forest Builds
The forest biome is your Terraria starter zone. It’s safe, has plenty of trees, and lets you use basic materials. For buildings here:
- Materials: Wood planks, wooden walls, and simple stone blocks feel natural.
- Defensive Tips: Even though the forest is tame, early Blood Moons or Goblin Armies can catch you off guard. Add a small moat or a sturdy fence to slow down monsters.
- Style Ideas: Sloped roofs, fences, and overgrown gardens fit right in. Use glass windows for a “cabin in the woods” effect. Porches and swings add personality.
Desert Builds
Sandstorms, mummies, and cacti mean the desert is a challenging neighborhood.
- Materials: Sandstone, smooth sandstone, cactus wood, and palm wood match the local look. Use glass from melted sand for windows.
- Weatherproofing: Sandstorms send projectiles everywhere. Build houses up a little higher, add double doors, or surround homes with cactus fences for protection.
- Style Ideas: Go with flat roofs, arched doorways, or even a buried “underground house” design. Courtyards and shaded patios match the arid mood.
Snow Biome Builds
Snow and ice mean extra dangers like slimes, and you’ll need to think about warmth (or at least the illusion of it).
- Materials: Boreal wood (from pine trees), ice blocks (decorative, not practical for walls; they melt!), and stone with snow brick.
- Insulation Tips: Avoid using too much ice in houses—NPCs don’t react, but it looks cold! Add plenty of torches, fireplaces, or even a working chimney.
- Style Ideas: Sloped roofs with thick “snow” on top, cozy cabins, or even a small lodge with barrels and shelves inside. Icicle decorations from underground caves look great here.
Jungle Builds
Dense with growth and full of monsters, the jungle is tough but homey for some NPCs.
- Materials: Rich mahogany, bamboo, mud bricks, and lots of leafy decorations.
- Monster Defense: Everything from hornets to man-eating plants wants a piece of you. Elevate your builds on platforms or stilts and add rope bridges between houses.
- Style Ideas: Treehouses fit the theme—think suspended walkways and “jungle gym” layouts. Use jungle torches, vines, and potted plants for authenticity.
Ocean and Beach Builds
Open water brings unique threats (and fishing opportunities).
- Materials: Pearlwood, palm wood, coral blocks, seashells, and glass.
- Flood Safety: Build on stilts or create floating docks to avoid flooding when waves crash in or when events like Pirates attack.
- Style Ideas: Pirate shacks, beach houses with hammocks, and light-up piers. Don’t forget lanterns and tiki torches for nights.
Underground Builds (Caverns and Underworld)
Some biomes extend below the surface, needing different tricks.
- Materials: Stone, obsidian brick, and mushroom blocks (for glowing Mushroom biomes).
- Enemy Defense: Underground enemies typically spawn in darkness. Keep interiors well-lit and consider barriers or traps.
- Style Ideas: Caves with haphazard platforms, columns, and mining gear. For Mushroom biomes, add weird glowing décor.
Hallow Builds
Bright and magical, the Hallow comes after defeating the Wall of Flesh and spreading purity.
- Materials: Pearlstone bricks, crystal shards, rainbow bricks, and funky colored glass.
- Protection: The area is safer than the Corruption/Crimson but can still spawn Pixies and Unicorns. Raised platforms or short fences help.
- Style Ideas: Fairy-tale castles, glowing towers, and weird crystal mosaics. Using pearlwood for ornate doors and trim really sets things off.
Corruption & Crimson Builds
These biomes are filled with hostile mobs—NPCs rarely want to live there, but sometimes you’re forced to set up a base for tactical reasons.
- Materials: Ebonstone or Crimstone bricks, shadewood, and related crafting materials.
- Safety First: Monsters here can break down doors and swarm you at night. Reinforce entrances, add lava pits, or use actuators to toggle walls and doors.
- Style Ideas: Cursed towers, ruined temples, or gothic horror vibes fit these stressful areas.
Mushroom Biome Builds
Unique—and necessary—for fans of the Truffle NPC.
- Materials: Mushroom grass blocks, mud, glowing mushrooms, and mushroom bricks.
- Spawn Rules: To house the Truffle NPC, your home must be built on the surface with at least 100 mushroom grass tiles.
- Style Tips: Blue-tinged walls, “fungus roofs,” and whimsical mushroom shapes make the area feel right.
Tips for Biome Builds
- Blend Roots into the Environment: Use local plants, trees, and decorative objects to tie houses into their biome.
- Use Biome Furniture: Most materials have matching furniture sets—these help “sell” the theme and make NPCs’ homes feel special.
- Think Safety First: Design houses to keep out area-specific monsters—double doors, moats, platforms, and traps work wonders.
Final Thoughts
Matching your building style to each biome in Terraria isn’t just for looks. It helps with NPC happiness, gives your world personality, and can give you a real edge against whatever the game throws at you. Try mixing materials, experiment with layouts, and pay attention to defensive needs—soon you’ll have a world full of villages that actually feel like they belong, each one with its own strengths and quirks. Material gathering in Terraria acts as the backbone of any serious building project. Unlike some games where you buy or fabricate every resource through menus, here you get your hands dirty: swinging axes, hauling ores, and juggling inventory stacks. Whether you’re aiming for a cozy forest cabin or an extravagant Hallow palace, understanding where and how to gather building supplies streamlines the whole process.
Types of Building Materials
Terraria splits materials into several main categories, each with its own quirks and gathering strategies.
Wood Types
Every world spawns with multiple tree species, each dropping its own type of wood. Common varieties include:
- Regular Wood — Grows in Forest biomes, used for basic building and furniture.
- Boreal Wood — Found in Snow biomes (pine trees), slightly darker with unique furniture recipes.
- Rich Mahogany — Exclusive to Jungle biomes, deep red color.
- Cactus Wood — Harvested from cacti in Deserts; spiky, light-toned furniture.
- Palm Wood — Found by the Ocean, grows on beaches.
- Ebonwood, Shadewood, Pearlwood, Mushroom, and Dynasty Wood — Each with a special recipe source or biome.
Chopping a tree with any axe automatically delivers both wood planks and a random handful of acorns. You can plant these for regrowth anywhere with open grass and light.
Stone and Bricks
Stone is everywhere underground. It’s a foundation block early on and a stepping stone (no pun intended) for fancier bricks. Hit stone blocks with a pickaxe; you’ll fill your inventory fast. Smelt stone alongside other resources at a furnace to create variations:
- Gray Brick — Smelted from stone, looks nice for castles and basement walls.
- Sandstone/Smooth Sandstone — From Desert sand, needs a furnace and a sawmill.
- Mud Bricks — Mix mud from the Jungle with stone at a crafting station.
Some biomes add unique stone types (e.g., Ebonstone in Corruption, Pearlstone in Hallow), used for biome-themed bricks if you bring them back to your main crafting hub.
Ores and Metals
Ores such as copper, iron, lead, gold, etc., are mined with a pickaxe underground and are vital for:
- Crafting bars, chains, and locked builds.
- Decorative metal blocks when smelted and combined at a furnace.
- Special event furniture (e.g., golden furniture drops during Pirate Invasion).
Later in the game, Hardmode ores (Cobalt, Palladium, Mythril, etc.) add swanky new building options.
Sand, Glass, and Paint
Sand is mostly found in the Desert but also appears in Beaches and Underground Caverns. Use a pickaxe or explosives for bulk harvesting.
- Glass: Throw sand into a furnace to make glass. Glass blocks and panes create clear windows or decorative touches. Combine glass with dyes or gems for colored windows.
- Paint: Buy the paintbrush and paint from the Painter NPC. Paint tweaks any wall or block to suit your color scheme, vital for intricate or themed builds.
Special and Rare Materials
Some top-tier homes use rare resources, requiring extra effort:
- Gems and Gemstone Blocks: Mined underground or crafted from cut gems. Use them for glowing walls or luxury bathroom floors.
- Marble and Granite: These two rock types show up as themed mini-biomes. Mine with a pickaxe, craft into smooth blocks or furniture.
- Obsidian and Hellstone: Found in the Underworld. Obsidian needs water to meet lava; mine with a strong pickaxe (comes with risks!). Hellstone needs at least a nightmare pickaxe and grants a fiery effect to bricks.
Gathering Strategies
Early Game
Start with wood—plenty of it. Basic tools, torches, and planks come from trees. Don’t clearcut everything: leave stumps for trees to regrow. Stone, sand, and dirt are also plentiful and stack up quickly with simple mining.
Another trick: Keeping spare axes and pickaxes helps during long tree-cutting or mining runs, in case tools break or to speed up collecting.
Mid and Late Game
Better pickaxes open up rare materials. Create tunnels across biomes for easy access to new woods, stones, and unique blocks. Consider building a “warehouse” at your base for sorting blocks by type.
Events and boss fights drop unique furniture, statues, and blocks. Seasonal events like Halloween and Christmas provide limited-time building supplies—stockpile these if you like their look.
Efficient Farms and Automation
Certain resources benefit from farming setups:
- Wood Farms: Plant rows of acorns on flat grass. Chop down and replant for an endless wood supply.
- Mushroom Grass or Glowing Mushrooms: Spread mushroom grass seeds on mud blocks underground, then harvest the mushrooms for specialized blocks.
- Slime and Gel: Useful for crafting torches and some traps. Slammer statues, when wired and triggered, can generate infinite slime blocks.
Mining potions, spelunker potions, and mining helmets make gathering faster. Some players wire up traps or use bombs to clear stone or sand quickly—just be careful near your own builds.
Managing Your Inventory
It’s easy to get overloaded. Using piggy banks or safes, accessible from anywhere, takes the stress out of long gathering trips. Use chests to organize: one for wooden items, another for stone, another for paint and decoration.
A stack of building materials in your piggy bank or safe means you never have to trek home to finish a project—keep these storage tools handy!
NPC Vendors and Trades
Some supplies only come from NPCs:
- Painter: Paints, brushes, and rollers to recolor blocks and walls.
- Demolitionist: Bombs for fast sand or stone clearing.
- Dryad: Sells rare seeds for biome grass.
- Merchant/NPC Events: Periodic sales of special bricks, statues, or wallpapers.
Visit them often, especially after world updates or events—they may stock seasonal goodies not found elsewhere.
Wrapping Up Material Gathering
Snagging the right supplies in Terraria lets your creativity run wild. Pay attention to what’s around you, dig deep for rare treats, and try automating repeat harvests. Keep your inventory tidy and stash extras with NPCs or in chests. Building bigger or better homes always starts with the silliest tasks—chopping trees and smashing rocks—but knowing where to look and how to collect turns it into something satisfying. Soon you’ll have every block you need—no waiting, no grinding, just good old-fashioned Terraria progress. Terraria throws danger at you from every angle, but smart defenses around your base keep you—and your NPCs—safe. Whether you’re fending off a Blood Moon or prepping for Hardmode invasions, a well-built house acts as your first fortress. Here’s how to keep monsters out and your residents happy.
Monster-Proof Housing Layouts
Door Placements and Entryways
Monsters love breaking down doors, especially during Blood Moons or events. A simple fix: swap out regular doors for platforms or trapdoors raised a block off the ground. Zombies, slimes, and most critters can’t jump up to open these. If you stick with normal doors, double up (two side-by-side), or use inward-opening designs—monsters can't open doors pushed against an object.
Elevated Bases and Sky Access
Building your house several blocks off the ground blocks non-flying enemies entirely. Place rope or platforms for easy access but make sure NPCs can safely path inside. Sky islands above ground level? Even better. Just don’t forget vertical mobility: add rope, stairs, or a grappling hook.
Thick Walls and Materials
Upgrade thin wood walls to stone or brick for stronger defense, especially in Hardmode where clowns throw bombs. A two- or three-block thick outer wall shields you from most explosions and prevents corruption/crimson from spreading during world evil invasions. Reinforcing with layers of stone, ebonstone, or hellstone bricks adds durability.
Defending Against Specific Threats
Blood Moons and Goblin Invasions
Blood Moons spawn monsters that can open doors and leap at NPCs. Before night falls, block ground-level doors or replace them with platforms. Goblin invasions bring enemies that open gates but struggle with stairs or vertical drops. Sloping your entryway or adding drop-offs makes invading goblins fall into easily controlled kill zones.
Hardmode Dangers
Higher-tier enemies can pass through blocks (wraiths/ghosts during Hardmode). In this case, interior defense comes into play: create choke points—narrow hallways or entryways where enemies can’t swarm you. Honey pits (slow movement) or barriers of spike traps stop most monsters short.
Invasion Events and Bosses
Events like Pirate Invasions or Pumpkin Moon throw flying enemies and ranged attackers your way. Building walls five or more blocks high, adding ceilings, and reinforcing with brick stops most direct assaults. Keep windows small or covered for ranged boss fights.
Traps, Turrets, and Automated Defense
Traps and Wiring
Terraria’s wiring system lets you rig traps all around your house. Dart traps, flame traps, spear traps, and boulders can all be wired to pressure plates or timers. Position these near choke points or entry paths for maximum effect. Just watch your step—players and NPCs can trigger them!
NPC-Safe Zones
To avoid NPC casualties, set up living quarters away from heavily trapped areas. Use background walls to cover every tile so no enemies spawn inside. Block cramped rooms with platforms or small gaps monsters can’t cross—but NPCs can hop over.
Sentries and Summonables
Late-game gear provides sentry turrets (like the Ballista or Flameburst from the Tavernkeep), which auto-target enemies. Place these strategically near entrances or high-traffic invasion zones. Summon minions as extra protection; they automatically target threats ignoring closed doors and walls.
Moats, Pits, and Surface Barriers
Liquid Moats
Lava moats wipe out weaker enemies instantly. Dig a trench 2-3 blocks wide in front of your base, fill with lava, and bridge with platforms for safe passage. Just make sure you don’t leave NPCs or yourself vulnerable to accidental lava burns.
Spike Pits and Anti-Jumping Barriers
Adding a pit filled with spikes, or just a deep drop, stops enemies from reaching your main doors. Slimes, zombies, and goblins often fall in and can’t get out. Line the pit with platforms to walk across without risk.
Keeping NPCs Protected
NPCs panic and run from monsters. Place NPC rooms in the inner, upper levels of your house. Separate them with doors or platforms, but keep them near enough that you can defend in a hurry. The further your NPCs are from entrance points, the less likely they’ll take damage.
Safe House Designs
- Stack NPC flats in vertical towers surrounded by stone.
- Link rooms with platforms instead of doors.
- Add escape hatches—trapdoors or teleports—so you can reach NPCs fast if needed.
Boss-Proofing Your Base
Bosses rarely target houses unless you’re inside during a fight, but their projectiles and summons can hit from afar. Use reinforced brick for the boss arena ceiling and walls. Hide NPCs below or on a distant floor during battle. For surface fights, set up boss arenas away from your main housing cluster to limit collateral damage.
Defense Recap
Defenses in Terraria come in layers: physical barriers, clever entryways, traps, and safe zones for your valuables. Upgrade wood to stone or brick early, keep doors off the ground, add defensive traps, and prioritize protecting your NPCs. Taking a little time to fortify means you spend a lot less time fixing damage (or reviving NPCs). With the right setup, you can shrug off most threats—including Hardmode’s nastiest invaders—without breaking a sweat.