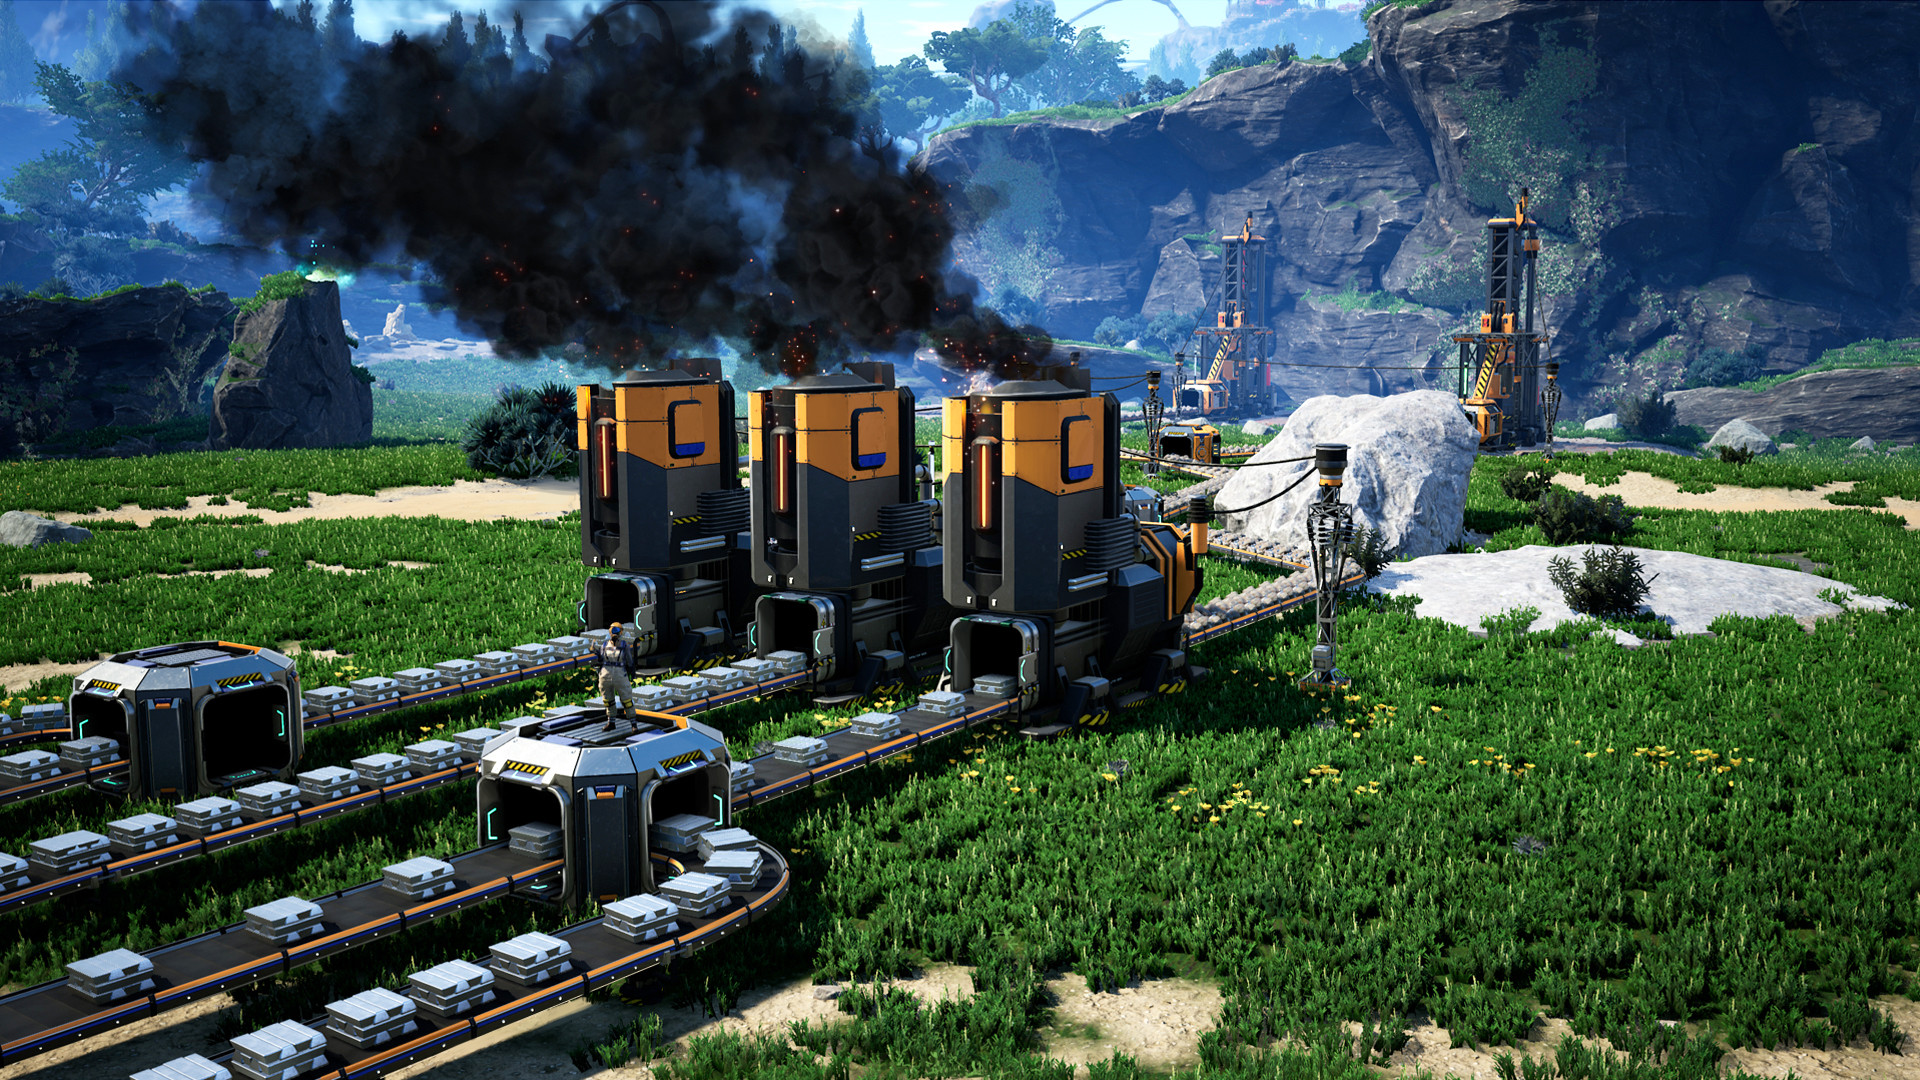
Satisfactory Blueprint Designer Guide: Reusable Factory Layouts
How to unlock Satisfactory's Blueprint Designer and build reusable factory modules you can stamp anywhere.
Building the same row of constructors for the tenth time gets old. That's what the Blueprint Designer is for. You build a chunk of factory once inside its big square frame, save it, and from then on it's a stamp you drop with the Build Gun. One click places a whole production block, belts and splitters and power poles included.
The Designer unlocks in Tier 4, and it's probably the biggest quality-of-life jump in the middle of the game. Here's the whole loop, from paying the milestone cost to stamping modules that actually line up with each other.
Unlocking the Blueprint Designer
The Tier 4 milestone
The Mk.1 Designer lives in Tier 4, milestone one, named FICSIT Blueprints. Tier 4 opens once you've finished Space Elevator Phase 1, so this lands right around the time your steel production is settling in. Feed the HUB these parts:
| Part | Amount | |---|---| | Modular Frame | 100 | | Steel Beam | 200 | | Cable | 500 | | Concrete | 1,000 |
After a five minute research timer you get two unlocks: the Blueprint Designer Mk.1 building itself, and the Blueprints tab on your Build Gun. The tab shows up empty with an "Undefined Category" in it. That's normal. You'll fill it soon enough.
Putting the Designer down
Build it with the Build Gun. The parts list is small next to the milestone you just paid: 15 Modular Frames, 25 Cable, 100 Concrete, and 100 Steel Beams. What you actually need is room. The Mk.1 is a 40 by 40 meter building standing 34 meters tall, and nothing can be built underneath it, so give it flat ground with space to spare somewhere near your main base. You'll walk back to it every time you make or edit a stamp, and a 40 meter hike each way gets old.
One thing worth knowing: the building is bigger than the build area inside it. The frame marks off a 32 by 32 by 32 meter volume, and that's your canvas. The pad behaves like one big foundation, and everything snaps to the same 1 meter grid as foundations everywhere else.
The bigger designers
Patch 1.0 added two larger marks. Same idea, more room per blueprint:
| Designer | Build volume | Foundation slab | Unlocked at | Milestone cost | |---|---|---|---|---| | Mk.1 | 32 x 32 x 32 m | 4x4 | Tier 4, FICSIT Blueprints | 100 Modular Frame, 200 Steel Beam, 500 Cable, 1,000 Concrete | | Mk.2 | 40 x 40 x 40 m | 5x5 | Tier 6, FICSIT Blueprints Mk.2 | 100 Heavy Modular Frame, 100 Computer, 400 Rubber, 1,500 Concrete | | Mk.3 | 48 x 48 x 48 m | 6x6 | Tier 9, Ficsit Blueprints Mk.3 | 100 Neural-Quantum Processor, 250 Time Crystal, 500 Ficsite Trigon, 500 Fused Modular Frame |
So who needs the bigger ones? Mostly players stamping huge late-game blocks. Train stations, freight platforms, and particle accelerators only fit starting at a Mk.2, and nuclear power plants and quantum encoders need a Mk.3. For plain parts production, the Mk.1 carries you a long way. A 32 meter cube fits three stacked floors of machines once you use the height, which is more factory than it sounds like.
The Mk.2 and Mk.3 milestone costs look scary, but by Tier 6 and Tier 9 you'll have those parts flowing on belts. Don't rush them. Most of a normal playthrough runs happily on Mk.1 stamps.
What won't go in a blueprint
A few buildings flat out refuse, in any designer. The HUB and Space Elevator are one-per-map, and anything that snaps to a resource node is out too: Miners, Oil Extractors, Water Extractors, Resource Well Pressurizers, Geothermal Generators. So there's no "miner to ingot" mega-stamp. You place extractors by hand on the node, then stamp the smelting line next to them.
Everything normal is fair game. Constructors, assemblers, foundries, belts, pipes, splitters, mergers, storage containers, walls, lights, signs, power poles, walkways, all of it goes in. Vehicle paths can even ride along if the blueprint has foundations under them.
Designing a Compact Module
Start with the floor
Lay a 4x4 slab of foundations down first, before any machines. Foundations are 8 meters across, so the slab fills the Mk.1 pad edge to edge and gives your module one shared surface. It also makes the stamp self-contained: drop it on bare grass and it brings its own ground.
Build the habit of keeping things centered while you're at it. A blueprint's snap point is the center of everything inside it (more on why that matters in the mistakes section below). A module that's symmetrical front to back and side to side will tile cleanly forever. Shift everything one meter left and every stamp you place inherits that lean.
Machine sizes that matter
Two footprints cover most early modules:
| Machine | Footprint | Height | Power | |---|---|---|---| | Constructor | 7.9 x 9.9 m | 8 m | 4 MW | | Smelter | 5 x 10 m | 8.5 m | 4 MW |
So on a 32 meter pad you can run a row of four Constructors side by side, manifold down the middle, walkway on the far side, and still have slack. Two rows back to back, eight machines, fits fine with the belt runs between them. And since you get 32 meters of height, a second and third copy of that floor stack straight up inside the same blueprint if you want them.
One warning from experience: tall multi-floor blueprints are great until you need to edit one. Reaching a machine on floor three means building stairs or hovering in a jetpack inside the frame. Two floors is usually the sweet spot. More than that and changes get annoying fast.
A worked example: iron plate, four constructors
Real numbers make the design click. The Iron Plate recipe is 3 Iron Ingot into 2 Iron Plate, one craft every 6 seconds. Each Constructor eats 30 ingots a minute and puts out 20 plates a minute.
Four constructors want 120 ingots per minute. A Mk.2 belt moves exactly 120 items a minute, so the module is: one Mk.2 belt in the back, a splitter manifold feeding the four machines, outputs merged onto one belt out the front carrying 80 plates a minute. Power draw is 16 MW for the constructors plus a rounding error for the belts. One smelter produces 30 ingots a minute (1 ore in, 1 ingot out, every 2 seconds), so four smelters feed this module perfectly, either inside it or in their own stamp next door.
Want something even simpler for your very first save? A concrete tile. Concrete is 3 Limestone into 1 Concrete every 4 seconds, 15 a minute per constructor, and limestone is everywhere. Numbers that divide evenly into your belt marks matter less than you'd think early on, though. Manifolds self-balance once they back up.
Nesting stamps inside stamps
While you're building in the Designer, the build menu grows a Blueprints tab, and you can drop a saved stamp into the new thing you're making. A powered floor tile plus four constructors plus a merger is way faster to assemble from pieces than from scratch.
There's one rule: lower marks nest into higher marks, never the reverse. A Mk.1 stamp loads fine inside a Mk.2 designer. A Mk.2 stamp won't even try to load in a Mk.1. Same goes for editing later: a blueprint only opens in the same mark of designer it was born in. That's intentional, to keep sizes honest.
Connecting Inputs and Outputs
Pick a direction and never change it
Decide your flow before you place a single machine. Ore in the back, product out the front, power along one side. Then keep that layout identical across every blueprint you make. A factory where every module flows the same way reads itself. A factory where half the stamps are mirrored is a maze you built on purpose.
The Designer's control bench sets the front. When you place a stamp later, a white arrow on the hologram points that same direction, so "front" is a real thing you can check at a glance. Build your output belts facing the bench side and the arrow becomes your conveyor direction indicator for free.
Stub your belts to the edge
Run input and output belts all the way to the edge of the build volume and stop them there. Endpoints can't cross the frame, but get them close. Keep each run straight and the stubs evenly spaced, because straight, aligned stubs are what auto-connect looks for when it bridges stamps.
The same goes for pipes. A pipe stub at the edge of one stamp will link to a matching stub on the next one, so refinery modules chain the same way smelter lines do.
Auto-connect does the bridging
Here's the magic part. While placing a blueprint, press R to flip on Auto-Connect mode. Any belts, pipes, rails, or vehicle paths in the stamp will try to connect to matching ends on nearby buildings and stamps within 16 meters, about two foundations of reach. The links light up on the hologram before you commit, so you can see it found the join. Place module one, place module two beside it, and the conveyors bridge themselves. This is what turns a stamp from "saved build" into "actual factory."
Power is on you
Auto-connect covers belts, pipes, rails, and truck paths. It does not run power lines. Every stamp gets wired by hand, so design for it: put a wall outlet or a power pole near the edge of every blueprint. Then wiring a new stamp is one cable from the neighbor instead of a walk through the machine guts hunting for a connection point.
It adds up, too. That four-constructor example draws 16 MW a copy, so a row of five stamps is 80 MW before you've blinked. Keep an eye on your grid as you stamp.
Saving and Placing Blueprints
The save screen
Walk up and interact with the Designer. Any side works, the terminal on the model is just decoration. You get a console UI with fields for the module name, a description, the directory (which category tab it lands in), and an icon with a background color.
Set the directory before hitting Save Blueprint. Skip it and the module dumps into Undefined Category with everything else you were lazy about.
Make your categories first
Categories have to exist before you can save into them, and you can only create them while the pad is empty. Open Set Directory, click Add Category (or Add Subcategory), name it, hit Apply Changes. Do this once with a handful of names like Smelting, Parts, Floors and Power, and every save after that is two clicks.
Categories live inside your save file, not the blueprint files. A blueprint someone sends you, or one you copy between save sessions, always lands in Undefined Category, and you drag it to the right tab from there. Slightly clunky, but fine.
Name like a human, sort like a computer
The blueprint list sorts alphabetically, and not the smart way. Name things Plate-1, Plate-2, Plate-10 and the list orders them Plate-1, Plate-10, Plate-2. Zero-pad your numbers, Plate-01 and Plate-02, and everything lines up.
Also skip apostrophes and characters like / \ : * ? " < > | in names. These are real files on your PC, and Windows rejects half of those outright. Nobody wants a save error over an apostrophe.
Where the files live
On PC a blueprint is two files: a .sbp holding the layout and a .sbpcfg holding your icon and description. They sit in %LOCALAPPDATA%\FactoryGame\Saved\SaveGames\blueprints, in a folder named after your save session.
Two things to actually remember. They're per save session, so a fresh world starts with an empty build menu. And they're not cloud synced with your saves, so if you care about your stamp library, copy that folder somewhere safe now and then. Sharing is just sending the .sbp file. Drop one into your session's folder, reload the save, and it appears. Console players get blueprints baked into each save instead, no file juggling at all.
Stamping, hotbars, and teardown
Placing is normal Build Gun work. Open the Blueprints tab (or bind favorites to your hotbar keys, 0 through 9), aim, and left-click. You get ten hotbars, cycled with Alt plus middle mouse, which is way more stamp storage than it sounds like. If the hologram fights you on exact placement, nudge mode shifts it in 1 meter steps, half meters vertically.
A stamp costs exactly the parts inside it. No markup, no fee. If you're missing materials the hologram tells you, same as any building.
Tearing one back out has its own tool: Blueprint Dismantle Mode, switched on inside regular dismantle mode. It removes a whole placed stamp in one go, or just one machine type from it, and refunds everything. The eyedropper works in that mode too, so you can sample a placed stamp and immediately rebuild it elsewhere. Plus quick switch lets you flip between blueprints in the same subcategory without reopening the menu, which is nicer than it sounds when you're laying out a floor.
Editing something you saved
Load the blueprint back onto its designer, the same mark it was made in. There's a small storage box on the control bench, and it matters more than you'd think: when you load a stamp, the materials come out of that box first, then your pockets. When you dismantle parts while editing, the refunds go back into the box first. Keep it stocked with belts, splitters, and concrete and editing sessions stop involving inventory runs.
Common Alignment Mistakes
Stamping on bare dirt
Blueprints snap happily to foundations and to each other, but they're bad at lining up with the world grid when you stamp them onto raw ground. The classic fix is guide foundations: lay a line of foundations with world-grid snapping where the factory's going, stamp your modules onto those, then delete the guide pieces once the stamps are in place. Ten extra seconds up front and the whole build sits square to the world instead of drifting a hair per stamp.
The center-snap trap
The big tiling headache, and the one nobody sees coming: a blueprint's snap point is the center of everything inside it. Not the corner of the foundation slab. The center of the whole lopsided pile.
Say your floor is a 4x4 slab but the machines all crowd toward one edge. The game still snaps from the middle of that asymmetric mess, and repeated stamps creep off grid a little each time. Then nothing meets flush and you get to play the nudge-mode shuffle. Centered, symmetric modules don't drift. When a stamp refuses to sit against its neighbor, this is the reason nine times out of ten.
Half in, half out
Every piece has to sit fully inside the designer's frame. Not mostly inside, fully. A belt or pipe stub that pokes a meter past the boundary simply won't place, and it's always the last piece you laid, because of course it is. Keep endpoints a hair inside the line and you'll never fight it.
Wrong mark, wrong rotation
Two fast ones. A blueprint made in a bigger designer won't load in a smaller one, so when you eventually rebuild your favorite tile in a Mk.2, the old Mk.1 save still opens only in the Mk.1. Both versions can coexist, just know which one you're placing.
And rotation: it's really easy to stamp a module 90 degrees off and end up with outputs facing a wall. Check the white arrow against your flow direction before you click. It's a one second habit that saves a dismantle.
Foundations stacked on foundations
If a stamp carries its own floor slab and you drop it directly on top of existing foundations at the same height, the two surfaces overlap and the textures flicker and fight. People call it z-fighting. Pick one system: either floorless modules stamped onto one big pre-laid platform, or floored modules that own their ground. Mixing both is where the flicker comes from.
If you're wondering what your first save should be, go boring: a 4x4 powered floor tile, one power pole and a couple of wall outlets on a foundation slab. It's the stamp you'll place a hundred times, and unlike a fancy assembler block, it never goes stale when you unlock better recipes.