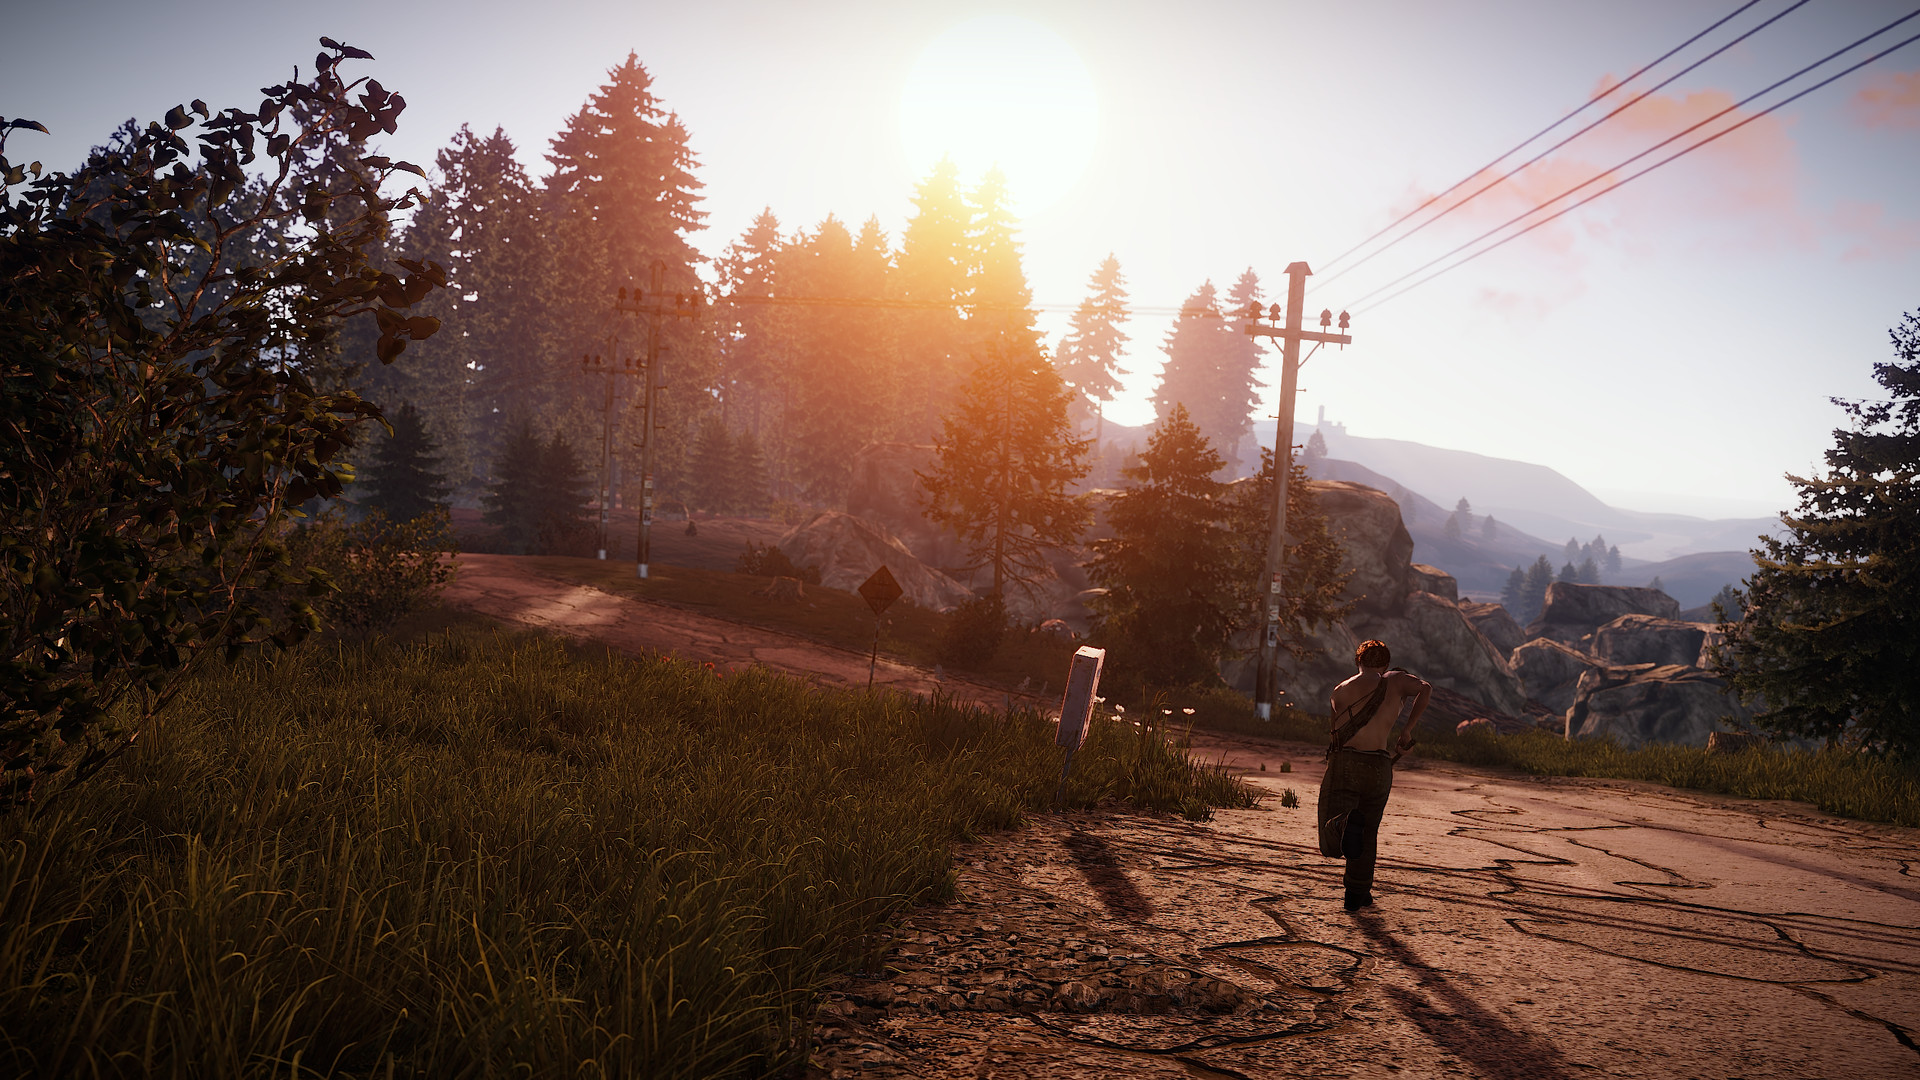
Rust Solo Base Building and Defense Guide
Master solo Rust with savvy base locations, compact designs, resource strategies, gear protection, raid survival tips, and policy navigation!
Going solo in Rust can be both rewarding and brutally challenging. While groups have strength in numbers, playing alone means relying entirely on yourself to gather resources, build a solid base, and fend off raids. Making smart decisions about your build location, base design, and defense strategy becomes even more critical when you're the only one watching your back. Despite the odds stacked against you, it's entirely possible to thrive as a solo player with careful planning and tactical thinking. Whether you're new to Rust or have been surviving alone for a while, there are plenty of practical approaches and tips that can help level the playing field and keep your territory secure.
Choosing Smart Base Locations
Picking the right spot for your solo base can seriously make or break your survival in Rust. As a solo player, location not only determines the resources you can access quickly but also defines the danger level you'll face day-to-day. Let's break down exactly what to look for--or avoid--when scouting an ideal place for your base.
Balance Resources and Risk
Rust has a massive map with varied biomes, each offering different resources. Monument-heavy areas like the Airfield, Dome, or Launch Site attract larger groups due to rich loot spawns, but these zones are also high-risk due to constant player traffic. Building right on their doorstep as a solo player usually spells disaster.
Instead, look for something quieter but still relatively close. You want to position yourself conveniently near accessible resources--nodes for stone and sulfur, forests for wood, as well as rivers or lakes for fresh water and crops. However, avoid settling too near the coastline or large open plains; these spots are very visible and invite unwanted attention.
A good compromise is to find locations with partial cover, such as valleys, rocky hillsides, or dense forests. These areas allow you to sneak around unnoticed while gathering valuable resources and to quickly retreat home without attracting attention.
Utilize Natural Features to Your Advantage
When choosing a location, natural terrain can be your best friend. Cliffs, rock formations, and caves can enhance your defenses dramatically without extra resource investment. For instance, building your base against a solid cliff face significantly reduces the number of vulnerable walls attackers can reach, concentrating your defenses into just a few key points.
Elevated positions can also be excellent choices--hilltops or high ground create visibility advantages, letting you spot approaching enemies easily. Still, take care not to place your base at the absolute highest point; while this gives you a fantastic view and good security, your structures might stand out like a beacon for any roaming raider.
Another viable approach involves cave bases, which offer built-in defenses. Cave systems restrict enemy movements and often let you funnel raiders through narrow paths that greatly boost your defensive capabilities--though caves can come with mobility challenges, cramped building areas, and a higher initial setup cost.
Avoid Building in High-Traffic Zones
It might seem enticing to place your solo base near convenient locations like roads, mining outposts, or supermarkets. Sure, easy access to scrap and loot sounds appealing. But for lone wolves, high-traffic areas always spell increased risk, constant fights, and fast depletion of resources and supplies.
Instead, keep a slight, safe distance--close enough for quick trips, but hidden well enough that passing players rarely notice you. Farmlands, dead-end dirt roads, ridges parallel to well-traveled routes--all offer subtle positioning and quick hit-and-run resource gathering without the added headache and stress of being under constant siege.
Scout the Neighbors and Environment Carefully
It's crucial to carefully scope out the server community around you before committing to any location. Is there a huge stone compound down the beach? Are fresh wooden shacks being thrown up nearby daily? Chances are these neighbors will significantly impact your solo experience--so choose wisely.
Spend some time observing the habits of nearby players. Are they active? Aggressive? Welcoming? Friendly communities around you can help you survive longer through possible trading and cooperation. But settling near hostile neighbors can quickly turn your quiet solo adventure into a disaster. Choose areas that lean toward quiet, safer surroundings, especially if you're newer to Rust or prefer peaceful progression.
Stay Mobile and Recognize When to Move
Remember that base location isn't permanent--you don't need to stick with an initial poor decision. Solo play thrives upon adaptability. If you find your area suddenly overcrowded or filled with aggressive clans, pack up valuable resources and blueprints, set up a temporary fallback stash, and scout alternative living arrangements right away.
Keeping your base design relatively compact and efficient makes relocation easier and quicker; resist overbuilding early--focus instead on keeping things small but secure. A lean solo base saves you valuable resources and energy when it's inevitably time to find quieter pastures elsewhere.
Choosing exactly where you'll build as a solo Rust player means balancing risk and reward, being resource-savvy yet cautious, utilizing terrain cleverly, and adapting rapidly as player dynamics shift. Keep these considerations front of mind, and you'll position yourself in a smart spot with the best odds for solo survival. Gathering resources solo in Rust is a constant balancing act. Each swing of your pickaxe or hatchet must be purposeful--wasting time or making careless decisions can leave you vulnerable. Effective solo resource gathering means planning carefully, knowing exactly what you need, and figuring out how to safely obtain it. Follow these practical tips and tactics to maximize efficiency, minimize risk, and make your next solo Rust session less grindy and much more satisfying.
Prioritize the Essentials
Rust offers tons of materials to collect, but a solo survivor has limited time and storage space. Prioritize instead of hoarding endlessly. Early on, stone, wood, and metal are severely important--focus your first hours on these essentials. Later, once you've set up a modest but secure base, find spots to efficiently gather sulfur and high-quality metal for upgrading, crafting essential guns and tools, and preparing explosive protection later on.
Staying goal-focused makes each resource run count, reducing exposure to threats and increasing productivity. So, don't wander aimlessly--before leaving the safety of home, figure out exactly what you're after, plan your best routing, and grab only as much as you can carry efficiently without sacrificing mobility.
Master Tools and Gathering Techniques
Simply put, using the right tools is a lifesaver and a time-saver. Your standard pickaxe and hatchet should be upgraded as soon as possible to metal tools. These dramatically speed your gathering and yield significantly more resources than their stone counterparts. Farming barrels? A Salvaged Hammer or Sword makes quick work of roadside loot, so don't neglect crafting specialized gathering implements early.
Another crucial thing to master is the "sweet spot" mechanic when hitting resource nodes--those shiny hotspots, appearing after each swing, massively increase efficiency. Strike them consistently and gather nearly twice as fast. Every second counts while harvesting for solo players, so master hitting those glowing spots or risk exposure lingering around nodes too long.
Strategic Timing and Route Planning
Solo resource runs are risky but necessary. A simple way to reduce this risk: timing. Peak hours see way more active players, increasing the danger significantly. Early morning or off-hours (server-dependent) tend to be safer windows to perform extended harvesting. Fewer players means fewer eyes, and fewer threats.
Additionally, pre-plan resource routes. Plotting shorter but productive loops near your base (forest edges, valleys with plentiful stone nodes, safer roadside loot) greatly increases your safety. Know escape routes and hideouts along your route: natural caves, dense woods, or rock formations can provide quick cover if someone spots you. Always vary travel path directions slightly to avoid predictable patterns.
Keep a Low Profile--Get Stealthy
A smart solo gatherer is stealthy and doesn’t attract attention. Be careful with noise and light, especially near populated roads or bases. Clear nodes strategically--gather visible nodes closer to your base first, quickly moving inward and away from visibility as you fill bags. Doing this lowers the risk of accidentally leading players directly to your doorstep.
Avoid chopping down every tree in one area; not only does this loudly announce your pass-through, it visibly marks your presence. Instead, space harvesting around your territory, leave less-obvious signs, and quickly move between areas while gathering. Likewise, don’t leave behind low-grade piles like charcoal or seeds you don’t need, as other players can track these breadcrumbs to locate your base.
Maximize Monument Efficiency--Risk vs Reward
Solo players hesitate heading into crowded, high-value monuments--and for good reason. Still, properly navigating some of Rust's lower-risk loot areas can seriously speed your progression without excessive risks. Supermarkets, Gas Stations, and abandoned mining outposts offer useful materials with usually manageable risk.
Before heading to these locations, place a small stash--or even better, build a hidden secure mini-depot--nearby to deposit gathered resources intermittently. If you get ambushed or killed, losing half your loot stings less if you've regularly secured stashes along the way.
Always quickly loot and cycle through these monuments, grabbing the essentials--scrap, components, and quick resources--then immediately exiting. Extended scavenging or waiting around for respawns is a risky gamble for solos.
Efficient Storage and Inventory Management
Stack management and efficient inventory storage are game-changers. Solos must be mindful of inventory space--carry minimally: tools, meds, food, clothing. Don’t lug unnecessary items on each trip--this allows more space for harvested materials.
At your base, build compact storage areas using small boxes hidden behind walls, under floors, or strategically spread around your structure. Splitting your storage wisely ensures the occasional raid or interruption won't completely bankrupt you, avoiding catastrophic losses from one unlucky raid.
Prepare Smart Defensive Measures on the Move
Even skilled solo gatherers eventually face PvP encounters. Equip yourself with just enough self-defense to avoid helplessness. Consider a simple bow-and-arrow setup or craft an inexpensive revolver or nailgun early. While costly gear like rifles might feel safe, losing them repeatedly as a solo quickly drains precious resources.
You want enough firepower to fend off lower-level threats but always calculate risk-reward before bringing rare guns or precious armor. Lightweight defenses enable swift escapes back to safety without catastrophic losses if things go badly.
Survival as a solo harvester in Rust requires careful planning, practical tool usage, and stealthy maneuvers. Keep your intentions clear, be deliberate and efficient while collecting resources, and minimize risks through good route-planning, timing, and storage management. Focusing steadily on these fundamental rules ensures gathering safely and efficiently--a big win for any solo survivor.
Compact Base Designs
In Rust, your base is home. It's a lifeline for solo survival--your safe storage, crafting spot, and main line of defense against curious wanderers and aggressive raiders. However, building large, sprawling fortresses as a solo player typically ends badly: you'll draw unwanted attention, waste upkeep materials, and ultimately become an attractive raid target. The solution? Simple. Keep it compact.
Being strategic about a small-scale base gives you a huge advantage, protecting your hard-earned loot efficiently without stressing over costly upkeep. Let's talk about some compact base design tips and concepts that'll help protect your investment without painting a glaring target on your back.
The Power of Triangles--Honeycombing Your Base
A straightforward but effective compact base starts with triangles. Triangle foundations sit closer together, using space efficiently to create tightly packed walls and multiple layers in smaller areas. Multiple layers mean more explosive charges raiders need to break through, buying you critical time and deterring casual attackers.
This technique--known affectionately as honeycombing--places extra protective triangle sections around your central loot room and core TC (Tool Cupboard), sealing your hardest-to-reach valuables behind multiple doors and walls. A dark, cramped triangle-based base might not scream luxury, but you'll survive far longer.
A solid tactic: position high-value storage rooms deep within these triangular honeycomb layouts. Raiders chasing quick gains tend to overlook hidden TCs or loot rooms tucked within maze-like honeycombed walls. Every second raiders waste guessing their way around your tiny, confusingly layered base gives you time to respond, defend, or even log your loot out safely.
Vertical Design: Up, Not Out
Another compact build tip: Choose height over width. Vertical bases lower visibility--you won’t spread horizontally across the terrain, making your little home less noticeable. A tall, narrow design creates fewer angles to breach and again saves critical upkeep materials.
Ideally, your core room with important storage sits high off the ground, with lower floors holding utility items like furnaces, sleeping bags, and workbenches. Raiders usually start ground level, assuming loot there. By pushing vital loot upward, you increase both inconvenience for attackers and security for yourself.
But verticality needs balance: avoid extreme height. Tall buildings attract attention--be moderate. Stacking too high may cause instability when raided. Three or four floors usually strike the right balance, providing enough vertical defense advantage without beaconing your location across the map.
Efficient Airlocks and Entrance Protection
An airlock protects your base from door-camping threats by sandwiching your main entry between multiple doors in a closed-off compartment. Even tiny base designs should include airlocks. A simple two-door airlock prevents attackers immediately gaining complete access if the outer door falls.
Combine airlocks with shotgun traps or flame turrets to surprise would-be invaders--these cheap defensive weapons quickly punish careless raiders. Within tiny spaces, traps hold surprising power: attackers stepping into a cramped space have little room to maneuver or retreat. Smart trap placement transforms even small rooms into lethal choke points.
And don't place storage or valuables in airlock areas--use these purely defensively. Any raid attempt costs attackers far more than the prize, discouraging repeated intrusions.
Clever and Concealed Stash Rooms
Tiny bases need cleverly hidden storage. Rather than openly displaying loot boxes, prioritize concealed areas. A great trick for compact bases: integrate small boxes into triangle foundations beneath floors or behind false walls, leaving no visible clue from outside or what raiders initially see when first breaching your base.
False walls using half-wall foundations trick raiders into overlooking hidden loot. Experienced Rust players quickly check obvious loot spots--use unconventional hiding places deep within difficult-to-reach honeycombing or hidden ceiling compartments accessed with removable twig floors. Raiders rarely suspect these cunning hiding spots, leaving them empty-handed even after breaking in.
Optimizing Storage--the Small Box Method
Don’t default to large boxes for storage just because it's convenient. Small boxes stack neatly against walls, hide easily under stairs, inside honeycombing, or even within furnaces and workbenches in ultra-compact rooms. Spread your items between multiple small boxes--this stops raiders from scooping up your entire inventory in one grab if they find a single box.
Organized storage dramatically cuts down required interior space, improving movement and accessibility without sacrificing security. Map out clearly-labeled boxes, clustered carefully around workbenches and furnaces, so crafting and smelting happen rapidly without extra movements or leaving yourself open to raids mid-crafting.
Low Key Base Appearance
Flashy bases attract trouble. Using low-profile building materials like stone or sheet metal defends well without being tempting. Armored metal walls, while robust, shout "I have valuables here--please raid!" Save expensive armored walls only for strategic inner locations. Outside, opt for humble and inconspicuous materials.
Similarly, notice details: simple wooden window shutters, ladders, or unnecessary exterior stairs might seem helpful, but in reality make infiltration easy. Remove these shortcuts--make attackers work harder, silently discouraging casual intrusion.
Compact base design in Rust isn't about sacrificing livability--it's about efficiency and practicality. You're playing solo; you need security, affordability, and stealth rolled into one tidy package. Using vertical layouts, carefully layered honeycomb walls, discreet stashes, and efficient storage techniques will let you defend your possessions smartly and avoid costly raids. Remember, bigger isn't always better--play smart, think small, and outwit raiders with compact, unassuming genius.
Keep Your Gear Safe: Protecting Gear and Resources in Rust Solo Play
Getting solo setup in Rust is tough enough--having all your hard-earned gear and resources stolen can ruin days of gameplay. Playing alone means no one is watching your base while you sleep or keeping raiders at bay when you're farming distant nodes. You have to be extra smart about protecting your belongings, making yourself an unattractive target. Let's talk through several reliable ways solo Rust players keep gear and resources secure, even when raiders come knocking.
Utilize Multiple Tool Cupboards (Fake TC Strategy)
Your TC (tool cupboard) is basically your base's brain: it controls building permissions and upkeep payments. But smart raiders always seek it out, because seizing TC control enables them to demolish walls and loot with ease. The solution: fake TCs.
Set up a secondary room with another TC hidden carefully away but placed more obviously than your primary one. Throw in some decoy boxes and leave scraps of low-value loot to give raiders false confidence. Meanwhile, keep your actual TC subtly hidden behind triangle-honeycomb walls or beneath removable twig flooring--places a raider might overlook after finding the decoy setup.
When raiders waste explosives and time capturing your fake TC, they'll mistakenly believe they've secured your base. All that extra effort often discourages deeper searching, leaving your real valuables untouched and your real TC safe.
Spread Your Loot Around: The Decentralization Method
Don't keep all your eggs in one basket. Rust solo bases suffer hugely when raiders hit that one loaded loot room. Protect your gains by spreading your resources out, leaving no single treasure trove for raiders to feast upon. Rather than storing gear, explosives, and materials together, break them into categories hidden in separate and trickier compartments.
For example, stash building resources under a staircase behind a false wall. Keep weapons and ammo stored above a removable twig ceiling tile. Hide lower-value items visibly so raiders believe they've grabbed something worthwhile, losing interest in hunting harder-to-find stashes deeper inside. When raiders encounter scattered individual boxes instead of a neatly stacked motherlode, they'll waste explosives breaking empty compartments or lower-tier decoys, burning their inventory quicker.
Trap Placement and Strategic Interior Layouts
Solo players can't always be present to defend, so your interior layout needs automation. Strategically placed shotgun, flame, and auto-turret traps stop casual raiders quickly--especially in compact interiors. Position a shotgun trap behind angled doorways, facing directly into small hallways or airlocks where raiders can't dodge its blast. Hide flame turrets around tight corners to roast anyone breaching your base uninvited.
Solo players benefit from designing trap-enabled choke points and narrow corridors inside bases. Because you naturally run these routes daily, you'll avoid getting caught accidentally by your traps. Attackers unfamiliar with your base, however, find themselves cornered and eliminated. Proper trap placement conserves resources and compensates for lack of teammates--letting your base defend itself 24/7.
Build and Stock Hidden External Stashes
Keeping valuables entirely out of your base sounds risky, but tucked-away external stashes can save crucial items after costly raids. Craft several "small stash bags" early and bury them in random locations around your area. Fill them periodically with emergency rebuild kits (spare tools, metal fragments, cloth, simple weapons).
These tiny hidden stashes appear invisible to players passing by, so there's virtually no risk of detection. If your main base falls, these external "survival caches" provide the resources to bounce right back fast. Remember, Rust raids aren't personal--raiders rarely search deeply outside immediate defensive perimeters, so your hidden reserves are usually safe.
Disguise Your Valuables Behind Realistic Decoys
A clever defensive tactic few Rust solos consider involves making raiders think they've already struck gold. Place obviously visible boxes around your base, filled deliberately with cheap loot or junk items--like bone armor, low-tier tools, animal fat, or plant fiber. This pushes careless invaders into believing they've cleaned you out.
Meanwhile, situate your most valuable gear covertly below twig floors or within false walls. Raiders finding cheap loot often lose motivation to persist, assuming nothing further worth stealing. This psychological play saves your truly important gear from even determined thieves.
Repair, Upgrade, and Maintain Vigilantly
Raid protection means frequent base checks and upkeep. Logging off with even slightly damaged walls practically invites unwanted visitors. Solo Rust players succeed by logging repairs each session. Use only stone or metal upkeep materials whenever possible: easily acquired, sturdy, yet low-key.
Observe carefully any attempted breaches. Take note of vulnerable entry points from previous invasions or even casual door-camping, and reinforce accordingly: extra armor plating or honeycomb layers promptly installed can deter repeat attackers.
Keeping gear and resources protected in Rust demands creativity when you're going it alone. Thoughtful layouts, clever decoys, smartly hidden loot, external survival caches, and diligent upkeep all make your base frustrating for raiders and safer for you. Taking precautions to confuse attackers, divide resources, and hide assets ensures you'll quickly rebound even after successful raids. Solos might play at a disadvantage, but playing defensively savvy will help protect everything you've earned.
Mastering Raid Diplomacy: Navigating Server Policies and Player Politics
Keeping raiders at bay is just one part of survival in Rust. To stay thriving as a solo player, you'll also need to handle an entirely different challenge--player diplomacy and server regulations. Knowing how to manage these two aspects helps you maintain a solid reputation, avoid unnecessary conflicts, and dodge penalties that can put all your hard-won progress at risk.
Understanding Server Policies Clearly
Every Rust server sets its own set of rules. While official servers offer more freedom, moderated community and private servers often have extra guidelines regulating raiding, harassment, and even base constructions. Before you settle down, always check the server's policies--usually displayed in-game via commands like /rules or presented upon joining a community discord group.
Common server policies typically cover areas like:
- Griefing: Excessive harassment, intentionally blocking someone's base, or destroying installations just for sabotage. Servers differ greatly on what degree of raiding crosses the line into griefing, so stay informed to avoid unexpected bans.
- Offline Raiding: Certain community servers set offline raid protections during specific hours to keep player frustrations low. Understanding these timeframes maximizes defense--you'll know when your base is safe enough for temporary log-outs without intense fortifications.
- Cheat Prevention: Cheating ruins your gameplay credibility and reputation, so always follow all standard Rust anti-cheat measures and maintain transparency in your actions--this builds trust and prevents false accusations.
If you're unsure about any guideline, ask clearly in global chat or consult moderators directly. Staying informed about policies means less hassle later on and prevents accidental rule-breaking.
Avoiding Toxicity and Limiting Attention
Keeping a low profile significantly reduces raids. Often, rust players raid bases purely out of revenge, pride, or annoyance--it's not always about the loot. While you're playing solo, minimizing unnecessary confrontations can add protection almost as valuable as strong defensive layouts.
Limit engaging with hostile players using global chat arguments, insulting base signs, or openly provocative maneuvers. Even if justified, most server communities frown upon aggressive postures from players, particularly solo players who appear vulnerable targets. A single angry neighbor or annoyed raider can soon become dozen-strong groups determined to make your Rust life miserable.
On the flipside, showing respectful sportsmanship--congratulating successful raiders on smart tactics, chatting respectfully in global, or sharing resources occasionally--creates valuable community goodwill. Usually, players less inclined to raid those they perceive positively (or neutrally) make your quiet solo life smoother.
Developing Effective Alliances and Neutrality Agreements
Adopting a diplomatic approach doesn't mean you must become everyone's friend. Neutrality agreements--clearly stating you won't raid another player if they similarly avoid targeting your base--offer powerful low-cost mutual protections, especially beneficial to solos.
Form peaceful, temporary agreements with nearby neighbors by chatting regularly, offering resource trades, or mutual promises to inform on suspicious activity nearby. These informal, spoken agreements won't always hold forever--people betray promises regularly in Rust--but even temporary truces decrease risk significantly. Plus, leveraging such agreements helps monitor the local territory better through shared security intel.
Allies also act as buffers--neighboring rivals clash against each other rather than targeting your small solo footprint. Play smart, keep track of relationships, and always prepare backup plans if alliances collapse. Just letting nearby players know that you're approachable and cooperative keeps unnecessary troubles at bay.
Defusing Raid Attempts through Communication
Not every raid needs bloodshed. Surprisingly effective, a confident yet diplomatic chat approach discourages otherwise determined raiders--especially smaller groups eyeing your solo operation. Next time you're inside your base facing attackers camped at the front door, clearly and calmly broadcast brief chats about why they'll find minimal loot inside. Relay your solo status to make attackers aware raiding you would largely waste their valuable explosives and time.
Consider negotiating briefly and offering lower-value loot voluntarily. "I’ll leave 2k sulfur and basic explosives at the front--save explosives on your end, save my own rebuild time," surprisingly works in heated situations. While no guaranteed fix, straightforward, respectful words frequently lead attackers to reconsider pushing forward, salvaging your base or drastically limiting damages. Communicating assertively yet politely turns volatile situations into manageable circumstances.
Properly Documenting Troublesome Encounters
If conflict does escalate beyond diplomacy or cooperation, carefully document any serious issues--like persistent griefing, blatant abuse, or suspected cheating. Rust moderated servers require documented evidence to take actions quickly against violating players.
Regularly grabbing screenshots and recording gameplay briefly during troubling interactions provides supportive evidence helping moderators handle violators. Be precise: clearly summarize the behavior, outline when/how it breached server policies, and submit quickly after incidents occur. Promptness and specificity in reporting maximize resolution effectiveness, aiding peace restoration around your solo space once again.
Balancing tactics with diplomacy places Rust solo players several steps ahead. Survival demands more than wooden walls and shotgun traps--it also calls for smart policy awareness, clear communication, thoughtful alliances, and a patient-empathetic approach toward fellow survivors. Mastering diplomacy alongside strong defenses, you'll find Rust's raiding threats manageable, your small solo life far less stressful, and gameplay infinitely more enjoyable.