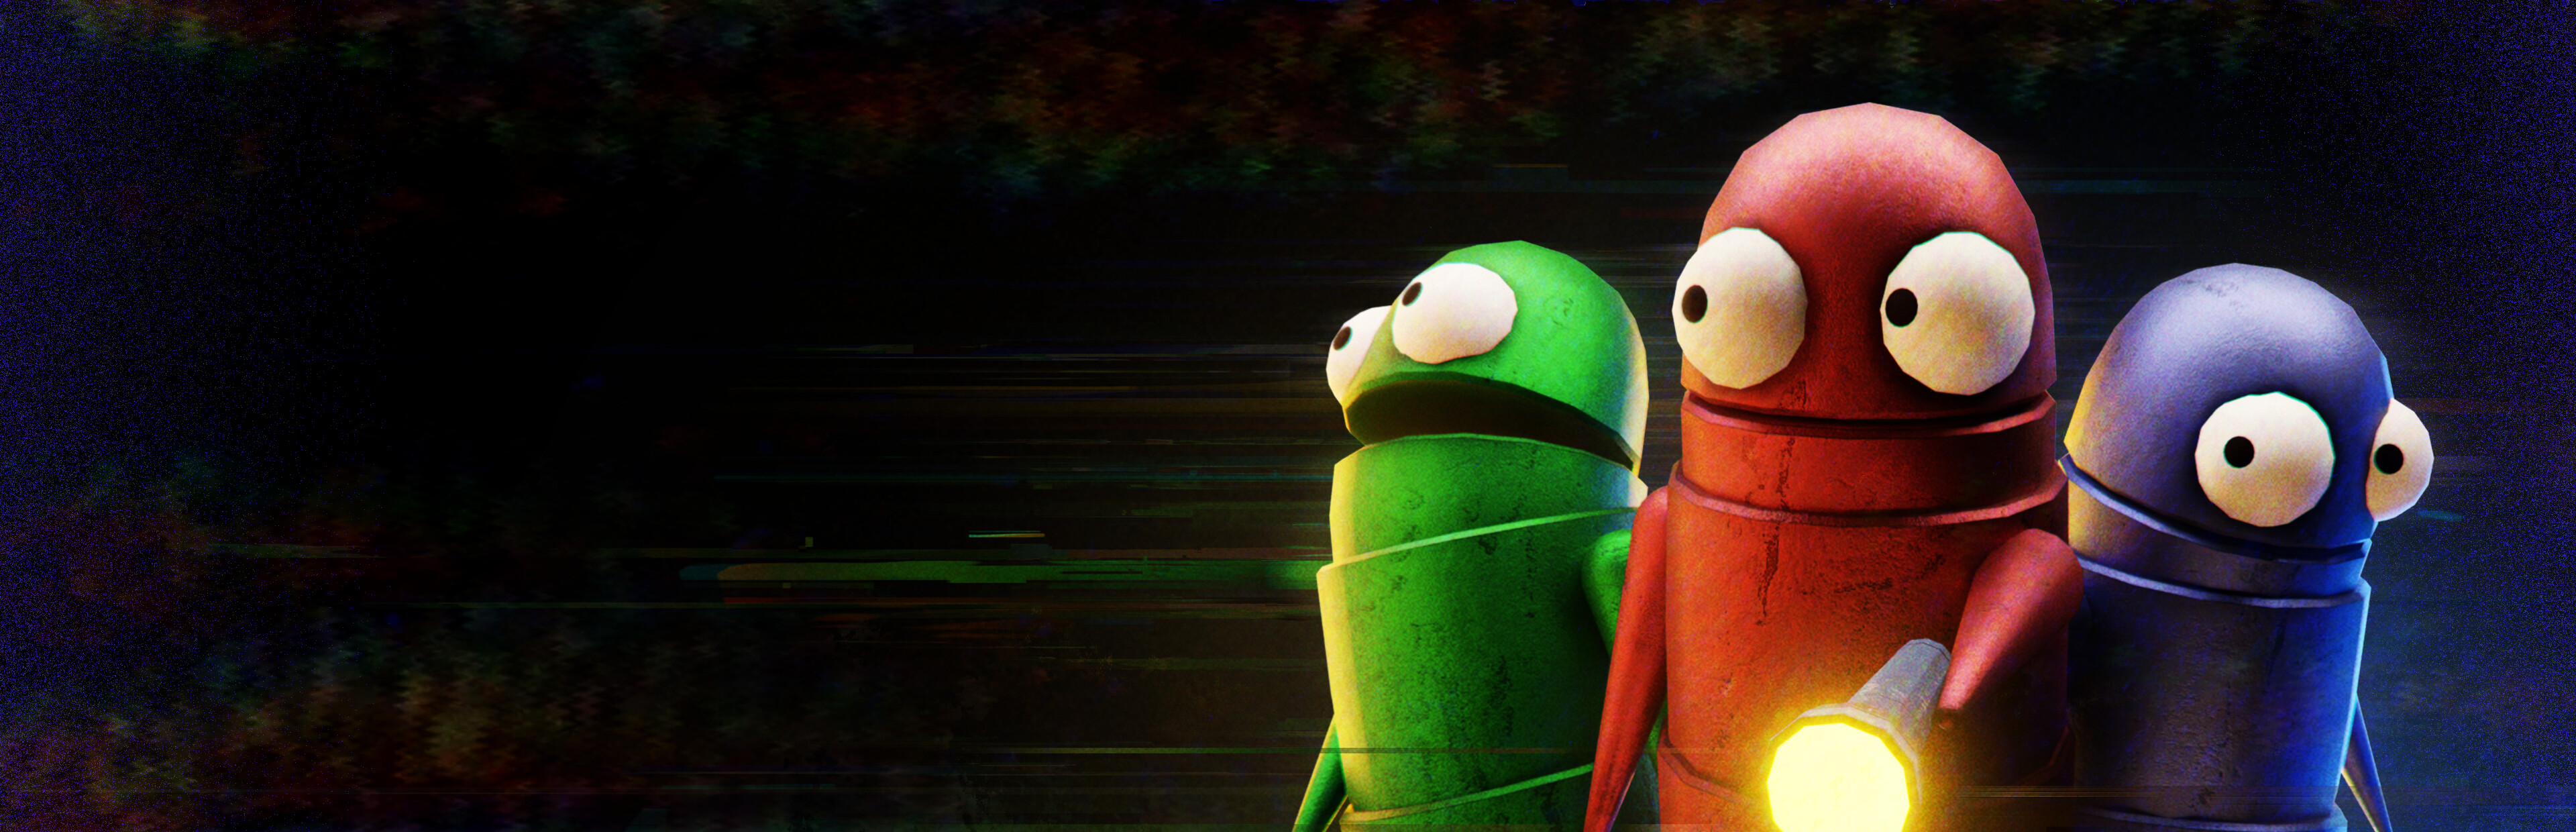
R.E.P.O. Beginner Guide: How to Survive Your First Extraction
How the grab tool, extraction pads, noise, and team play work in R.E.P.O., and what to buy first so your opening levels stop ending in disaster.
R.E.P.O. hands you and up to five friends a tractor beam, an empty cart, and one order: drag enough valuables out of a rotting building to satisfy the Taxman's quota. Everything runs on physics. Vases crack when you clip a doorframe, pianos need two robots and a plan, and the things shambling through the halls hear almost every move you make. Most first shifts end with somebody's head sitting on the floor next to a shattered harp. A little knowledge fixes most of that, so here's what actually matters on your first extraction.
Understanding the Grab Tool and Physics Hauling
How the beam works
Your arm isn't a pickup button, it's a tether. Left click grabs, right click rotates whatever you're holding, and the scroll wheel pushes and pulls. Scroll up shoves the object away from you, scroll down reels it back in. Flick the wheel hard and let go of grab at the same moment and you've thrown the thing, which works on loot, on doors, and eventually on monsters.
The push and pull is the part new players skip. You can hold a fragile lamp at arm's length and lower it down a stairwell instead of carrying it and hoping. You can drag a heavy cabinet toward yourself from behind a corner where you can't be seen. Reach costs you nothing, so use it.
Keeping fragile loot alive
Every knock costs money. Value drops each time an item slams into furniture, walls, or a teammate, and the truly delicate stuff just breaks outright. A cup or a potion bottle can crack from a friend walking into it, which sounds absurd until it happens to your best find of the run.
Keep small delicate items pulled in tight against your body, especially through doorways and around corners. Let big sturdy junk float out at range where bumps don't matter. When you reach the cart or the extraction pad, drop items in from close range instead of tossing them from across the room. Both containers are forgiving on drops. Nothing else in the game is.
The cart is your best friend here. Shove it along with you, load as you go, and check the back panel (there's a little red hand icon on it) to see the running total you've collected. That beats guessing whether you're close to quota, and it beats walking the whole map twice.
Heavy items and the cart
Pianos, statues, and giant cubes don't care about one robot. You need a second player grabbing the other end, or you need Strength upgrades. Community testing puts solo heavy hauling at around three Strength stacks. Until you have that, rotate the object so its narrow side leads and take doorways one at a time. Two people pushing the same direction does less than one pushing and one pulling, so split the jobs.
If something's too heavy and too far, leave it and come back with help. A dropped piano loses a little value. A piano thrown down a staircase to save thirty seconds loses a lot more.
Reading the Truck Timer and Extraction Countdown
Quota and the pads
Two numbers matter at any moment. The quota sits at the top right of your screen. Your current haul shows on the back of the cart. When the haul meets the quota, the extraction pad next to your truck takes everything and closes.
Pushing the whole loaded cart onto the pad is the fastest way to cash out, and it's also where teams lose runs. The cart has to sit completely inside the square. Any wheel or handle hanging over the edge and the pad destroys the cart when it activates, leaving you cartless for the rest of the level. Same deal with loose items: anything overhanging the boundary gets wiped at activation, no money, no second chance.
Also, get off the pad. When extraction triggers, the ceiling comes down after a short countdown, and anything standing inside gets crushed. That includes you, your friends, and the teammate swearing they can grab one more thing in time.
Later levels and more pads
From around level two onward the top of the screen shows a counter like 0/2. That means two separate pads, each wanting the full quota. Fill the one by the truck first since it's the safest, then hunt the rest. Pads sit toward the corners of the map and ping out loud every few seconds, and you can hear that ping through walls. Follow your ears before you start wandering.
Tab opens the map. It marks a route to the active pad, and once the level's done it draws a dotted path back to the truck. You can keep the map open while carrying, so the robot walking backwards under a wardrobe can still find the way. Do that job and you're twice as useful as the average teammate.
The final run
When the last pad fills, the game stops being polite. Lights cut out across the whole map, fires go dark, and the objective flips to a single instruction: get back to the truck. Every monster in the level gets pushed toward you, respawn timers drop to almost nothing, and the dark fills up fast. The moment that final load leaves your hands, run. Don't wait around for the pad to finish cycling.
Everyone piles into the truck and one person holds the button under the big screen (a white envelope icon) to confirm. Anyone still outside gets a short countdown and then gets written off. Getting aboard heals you 25 HP, and any dead teammate's head you carried back revives with 25 HP. Scoop heads when they're on your way out, sprint past them when they're not.
Basic Monster Awareness and Noise Management
How loud is too loud
Monsters hunt by ear more than by eye. The scale runs from silent to map-wide, and your stance sets the floor. Crouching is completely silent. Walking puts out a small blip. Sprinting is roughly five times louder than walking, and talking on proximity voice carries about as far as sprinting does. That last one catches everybody at least once.
Bind push-to-talk (V by default) and actually use it. An open mic breathing into a monster's hunting range is how quiet runs die. When something's nearby, go crouch, shut up, and move slow. That's most of stealth in this game right there.
The loud stuff escalates fast. Smashing an object rings out far wider than footsteps do. A handgun shot carries further than that, a shotgun further again, and the Huntsman hears from about five times farther away than everything else. Musical items are a disaster zone: radios, gramophones, and music boxes re-ping roughly every second they run. A grandfather clock can ping the whole map the first few times it chimes. Great for pranks, terrible for your health.
Sight and hiding
Some threats don't listen at all. The Peeper and the Shadow Child are deaf and hunt purely by sight, so going quiet does nothing for you there. Breaking their view of you does everything.
Detection takes time, and your stance buys it. Standing gets you spotted in about a second. Crouching stretches that to around two and a half seconds and narrows their view of you. Crawling, which you do under furniture or while holding an item over your head, stretches it to about five. Monsters also sense bodies up close even without looking at them, so "behind the same couch" isn't the hiding spot you think it is.
The reliable play is simple. Break line of sight, get under something, and wait. Plenty of monsters lose interest and despawn if nobody's around for a while. They come back eventually, so use the quiet window to move, not to keep looting in place. One more thing: if a monster patrols near your cart, move the cart out of its path before it wrecks your haul.
The early-level grace period
At the start of a level, monsters sit dormant at spawn points far from the truck. On level one that grace period runs somewhere in the four to six minute range before they wake on their own. Get too close though, and one wakes up early. That's why a careful team can strip the rooms near the truck almost risk-free, then has a bad time pushing deeper.
One freebie worth knowing: Gnomes. They look like a problem, and they mostly aren't. Grab one, drop it, repeat. A few slams and it's done, no weapon needed.
Splitting Up vs Sticking Together as a Team
When to spread out
Early in a level, splitting up is usually right. The monsters are still dozing, the map's unread, and information is the valuable thing. Fan out, find the big-ticket rooms, call out what you see, and converge on the good stuff.
Once hauling starts, the math flips. Two robots carrying the same wardrobe through a door will clip each other, and every collision chips the loot. So carriers work in pairs on purpose: one pushes, one pulls, both single file through tight spots. If you're holding the front of a piano, call it before you enter a doorway so your partner doesn't spin into you.
Roles help more than they sound like they would. One scout reading rooms and the radar, a pair of carriers moving loot, and one person babysitting the cart covers a four-player lobby nicely. New players fit the carrier slot best, since it's low on decisions and you learn the map while walking it. A six-player group can add a defender whose whole job is monster trouble and picking up heads.
Calls and revives
Agree on short callouts before the first run, not after the first wipe. "Monster, kitchen" means everyone freezes. A status update every ten or fifteen seconds matters more than people expect, because "monster spotted" gets heard as "monster handled," and then somebody walks back into it half a minute later.
When a teammate dies, their head stays where they fell. Carry that head to the truck and they come back with 25 HP at the end of the level. Grab heads that sit between you and the exit, since it costs you almost nothing. Think twice about backtracking through an active monster for one, because a second death means two heads on the floor and a much worse walk home.
You can also share health on the spot. Hold interact on the green bar on a teammate's back and you hand over 10 HP from your own pool. Handy right before someone's about to do something stupid.
The final stretch
Once the lights cut, stick together and follow the dotted line on the map. Splitting up in the dark with everything respawning is how a won level turns into a lost one. If someone's down and extraction has already triggered, leave the head. No head is worth walking back into a fully awake map for.
Early Upgrades Worth Buying First
The cheap three
The Service Station between levels sells upgrades, and prices climb every time somebody buys the same one again. That pricing quirk matters more than any single pick, because three players all buying Health turns a cheap stat into a luxury.
Stamina is the cheapest at around 2,000 to 5,000, and it does work in every level. Longer sprints mean longer escapes and faster hauls. Health runs roughly 3,000 to 8,000 a stack and adds max HP. Plenty of the bigger monsters hit hard enough to flatten a stock robot in one clean shot, so one Health stack is often the whole difference between limping back to the truck and getting scraped into a head. Strength sits around 4,000 to 10,000 and is the solo player's best friend, since a few stacks let you manhandle the heavy loot tier without waiting on a teammate.
Buy order shifts with lobby size. Solo, take Strength first, because nobody's coming to help you lift. Duos want Stamina and Health before Strength, since your partner covers the heavy stuff. A four-player group should go Health into Stamina and lift the big items together.
What's worth it after that
Range, around 3,000 to 7,000, stretches your grab beam. Sounds boring, is great. Longer reach means grabbing loot over ledges, around corners, and through doorways without stepping into a room you don't want to enter. Tumble Launch, 4,000 to 5,000, turns your dodge roll into a real escape tool.
Extra Jump costs more than everything above and can wait. Sprint Speed is nice late. Map Player Count only spawns until one person buys it, so in a big lobby one team purchase covers everyone and then it's gone from the shop for good.
Team money rules
Pick one person to call purchase order before anyone opens the shop. It sounds bossy and it saves runs. Same-upgrade stacking is the silent campaign killer: one player buys Strength three times, prices spike, nobody else can afford anything, and two levels later the whole team's slow and squishy for reasons nobody remembers.
Health packs are team gear, not personal gear. A small pack runs about 3,000 for 25 HP. Keep a couple in the truck for bad levels instead of everybody hoarding their own.
One-time purchases deserve your money early. A frying pan, a shotgun, drones, all of it respawns in the truck at the start of every level even if you died or left it in a hole somewhere. Shop prices creep up over a run, so permanent gear only gets more expensive the longer you wait.
Last trick, and it's free. The truck heals everyone 25 HP when you wrap a level, but only up to your max. If you finish at 80 or 90 HP, stand at the ramp and hand 10 HP to whoever's hurting before you both step inside. They get topped up by the truck, you lose nothing you were keeping, and nobody starts the next level half dead.