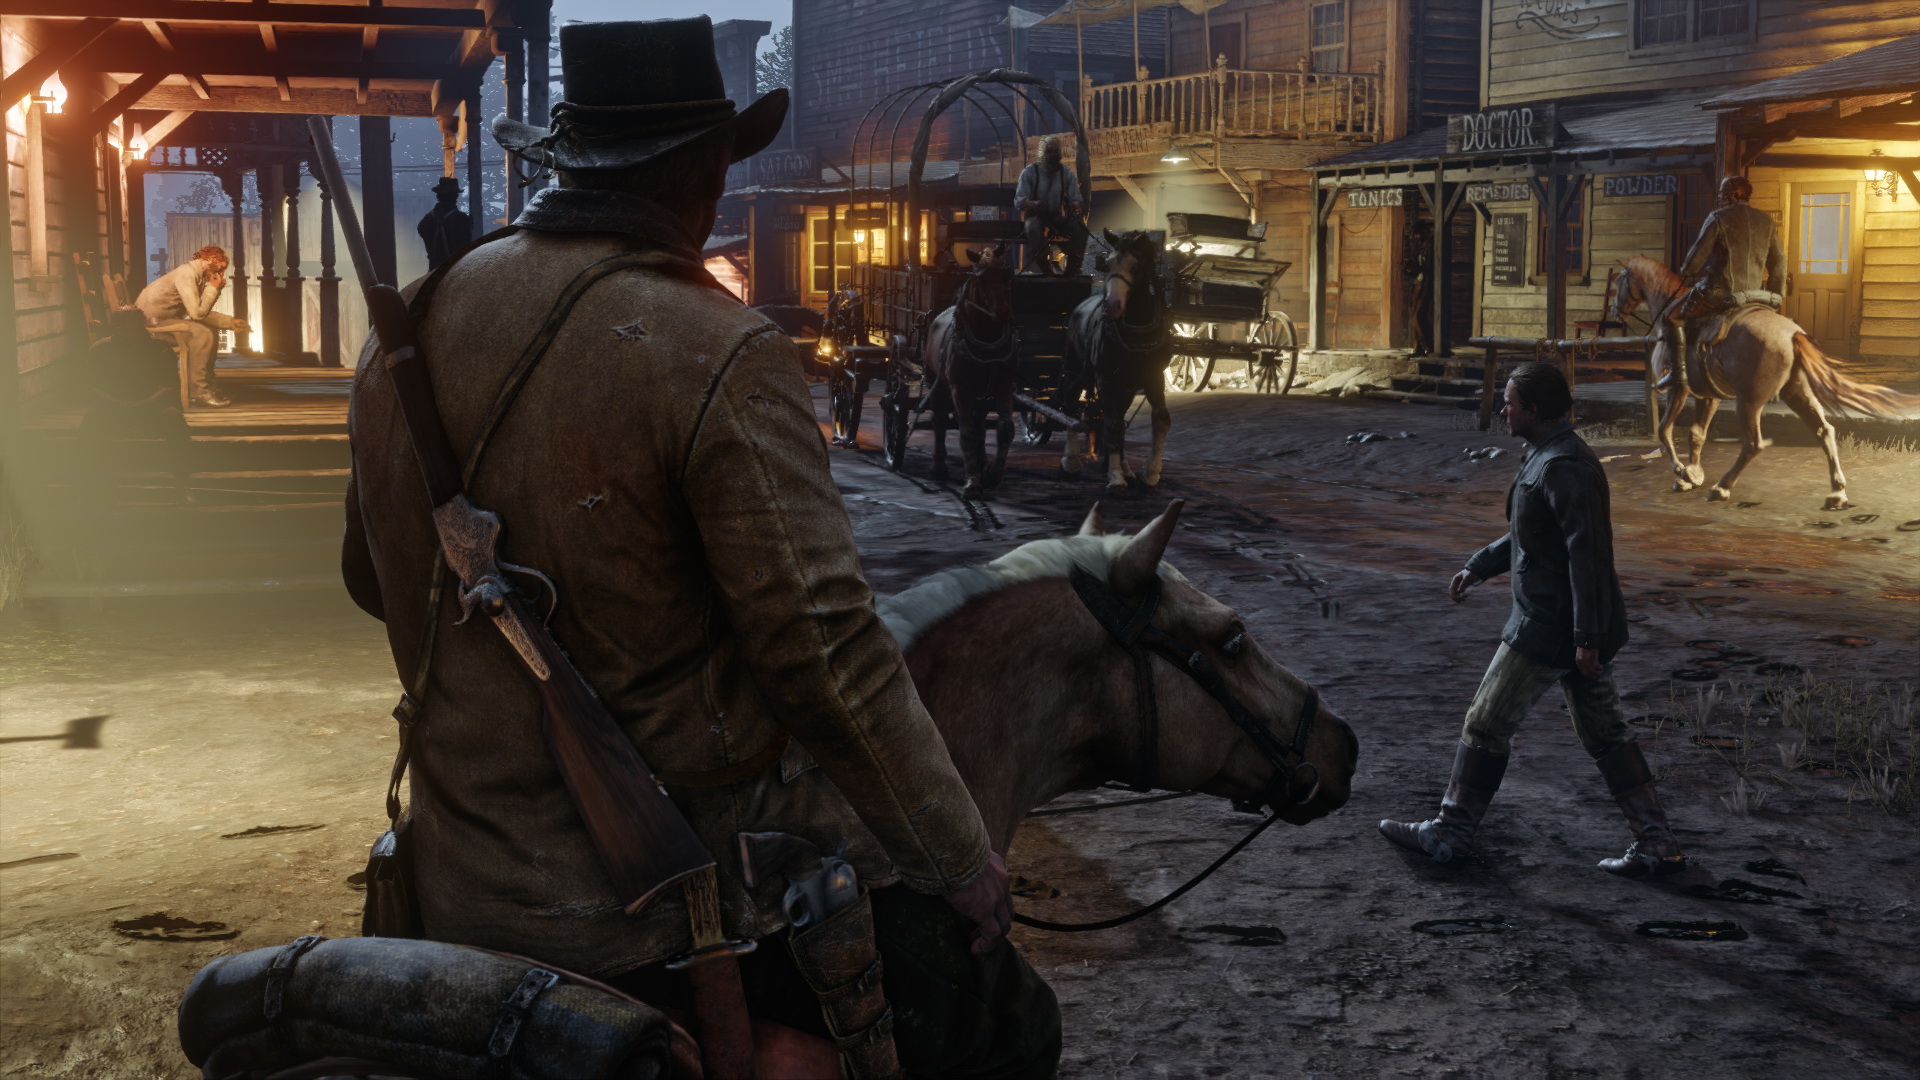
Red Dead Redemption 2 Hunting and Trapper Guide
Master the hunt in Red Dead Redemption 2 with tips on legendary animals, tracking, weapon choice, pelt quality, and the Trapper.
Out in the wilds of Red Dead Redemption 2, hunting isn’t just a side activity—it’s woven into the rhythm of daily life. Whether you’re stalking a white-tailed deer through the underbrush or tracking the legendary beasts that roam the frontier, every hunt offers a different challenge. Bringing down the right animal can get you more than just meat for the camp pot; sharp eyes and a steady hand pay off with prized pelts, rare ingredients, and gear upgrades that set you apart from the average outlaw. Of course, knowing where to find those elusive creatures and what to do with them is half the battle. At the heart of it all is the Trapper, a wandering merchant who turns your hard-earned trophies into some of the slickest clothes and equipment in the game. Hunting and trading go hand-in-hand on the frontier—mastering both can mean the difference between scraping by and thriving in the wild West.
Legendary Animal Guide
Legendary animals in Red Dead Redemption 2 aren’t just rare—they’re one-of-a-kind, found only once in the entire game world. Tracking and hunting these animals unlocks unique crafting options and serious bragging rights. Each legendary creature drops special pelts and parts that the Trapper and Fence use to craft the fanciest gear. This part of hunting leans into methodical tracking, tough fights, and learning a few tricks for success.
What Are Legendary Animals?
Legendary animals are distinct versions of regular wildlife. They’re bigger, tougher, and often come with unique fur colors or patterns. There are 16 land-based legendary animals, ranging from alligators in the swamps to wolves in the mountains. Some are available from early in your adventure, while others, like the Legendary Giaguaro Panther, only unlock after meeting certain requirements.
Legendary animals don’t respond to bait and don’t spawn in the same way normal animals do. You’ll have to track them using clues, and each hunt plays out like a mini-investigation. Keep your eyes open for animal tracks, dung, fur, and broken branches highlighted by your Eagle Eye ability.
Preparing for the Hunt
Legendary animal hunts can get intense. Here’s how to get set up before tracking one down:
- Gear up: Bring a repeater or rifle with good range and stopping power. Shotguns work best for the gator or bear.
- Ammo: Use Express or High Velocity rounds for extra damage.
- Tonics: Carry health and Dead Eye tonics. Some legendary animals, like the bear, hit incredibly hard.
- Clothing: Dress for the region. Some legendaries live in freezing mountains or burning deserts.
You don’t have to worry about pelt quality with legendary animals—their hides will always come out perfect, no matter what weapon you use.
Legendary Animal Locations
Each legendary animal has a fixed region on the map. Here’s a quick breakdown of where to look:
Early Game Legendaries
- Legendary Beaver: West of Van Horn Trading Post, near the Kamassa River.
- Legendary Buck: West of Strawberry, north of the Owanjila lake.
- Legendary Coyote: Scarlett Meadows, east of Rhodes and northwest of the Lemoyne sign.
- Legendary Fox: Mattock Pond, north of Rhodes.
Other Notable Legendaries
- Legendary Bear: Encountered during the story mission with Hosea (“Exit Pursued by a Bruised Ego”), north of O’Creagh’s Run.
- Legendary Alligator: West of Saint Denis, towards Lagras. Available after Chapter 4.
- Legendary Bison (Tatanka and White Bison): The Tatanka Bison is far south at Hennigan’s Stead; the White Bison is in the icy northeast at Lake Isabella.
- Legendary Moose: Northeast corner of the map, Roanoke Ridge.
- Legendary Cougar: Gaptooth Ridge, southwest New Austin (endgame area).
- Legendary Wolf: Cotorra Springs, north of Fort Wallace.
- Legendary Giaguaro Panther: East of Kamassa River, only after completing nine Master Hunter challenges.
When you reach the creature’s territory, an on-screen message confirms you’re in a legendary animal’s zone.
How to Track and Hunt Legendary Animals
As soon as you get the region notification, use Eagle Eye (press both sticks in on a controller) to spot blue or gold animal clues. The game will highlight things like paw prints or fur tufts. Follow the trail through two or three clues—then the animal appears.
Stay crouched, move slow, and keep your gun ready. Dead Eye is key; it lets you slow down time and land critical shots. Legendary animals can take a ton of hits. For predators, such as the wolf or cougar, keep a shotgun ready at close range. For large animals (moose, elk, bison), go for head or heart shots with a rifle.
If the animal kills you or you spook it and leave the area, rest for a day or two and return—the animal will respawn, but you may need to re-track.
Picking Up and Selling Legendary Animal Parts
Once you bring down a legendary animal, skin it right away. Your satchel automatically stores the pelt and any organs or parts required for crafting. You can only carry one legendary pelt at a time, so take it to the Trapper or Fence ASAP—don’t risk losing it.
- The Trapper: Sells unique outfits, hats, and equipment using the legendary pelts.
- The Fence: Crafts trinkets and talismans from claws, teeth, or other special parts, giving you permanent stat bonuses (like more stamina or slower Dead Eye drain).
The Trapper hangs out in several spots, but the main shop in Saint Denis is easy to access. You can also drop legendary pelts off at his wilderness camps around the map.
Legendary Animal Tips
- Legendary animal hunts are always available—even after finishing the story.
- You can use legendary animal maps purchased from the Fence to keep track of which hunts remain.
- If you lose your pelt (like dying on the way to the Trapper), check his inventory—sometimes, pelts “lost” during fast travel or glitches still get sent to him.
- Weather and time of day don’t always matter, but some animals won’t show in bad storms or late at night.
Conclusion
Hunting legendary animals in Red Dead Redemption 2 is a rite of passage for any outlaw wanting the wildest gear and valuable upgrades. With the right prep and patience, each encounter becomes a memorable showdown and a big step forward for your toolkit. Whether you’re hunting for the look or the perks, every legendary animal is worth the challenge.
Tracking Techniques
Finding and following animals in Red Dead Redemption 2 goes way beyond just spotting them with your naked eye. The game rewards patience, attention, and learning a few key tricks that make a world of difference, especially when hunting legendary animals or gathering perfect pelts. Here’s what you need to know if you want to pick up the trail like a pro.
Using Eagle Eye
Eagle Eye is your most important tool for tracking. Tap in both thumbsticks (L3 + R3 on PlayStation, LS + RS on Xbox) to activate it. While it’s on, the environment dims slightly, and clues stand out in glowing blue or yellow hues. Animal tracks, blood, fur, dung, and disturbed branches all show up, helping you piece together where your target’s been and where it’s headed.
- Blue Clues: Indicate regular animal tracks or evidence (such as scat or fur).
- Gold Clues: Used for legendary animals, marking unique clues that start their trail.
When you find a clue, approach and press the prompt (usually R1/RB) to investigate. The game will then show a visible glowing trail moving away from the clue—follow this to the next, and repeat until you find your quarry. Stay in Eagle Eye as much as you can; tracks fade quickly outside this vision mode.
Reading Tracks and Clues
Animal tracks display direction and occasionally actions (running, feeding, resting). Paired with a clue (like blood droplets from an injured animal or disturbed grass), you can judge how fresh the trail is:
- Stronger Glow: The brighter the trail, the fresher it is.
- Multiple Tracks: Sometimes, you’ll spot tracks from several animals overlapping. Eagle Eye only highlights the one you’re actively tracking, but keep an eye out for surprises.
- Behavioral Clues: Dung and fur show that animals are close. Sounds (rustling, animal calls) also help narrow down the search.
Keep movement slow as you get closer, since running or galloping can spook most animals. Legendary animals are bolder, but even they can bolt if you’re making a ruckus.
Stalking Without Spooking
The trick to closing the distance for a clean shot is minimizing noise and scent. Here’s what works:
- Move in Cover: Stay crouched (press the left stick) when you’re near the end of a trail or see the animal ahead.
- Avoid Upwind: The game simulates wind and scent. Approach from downwind (look for particles floating in the air if you stand still in Eagle Eye). If the wind is blowing toward the animal, it might catch your scent and flee.
- Maintain Distance: Use binoculars to spot your target from far away; don’t just rely on Eagle Eye. Getting eyes on it before alerting it saves headaches.
Blood Trails and Wounded Animals
If you injure but don’t kill an animal, Eagle Eye highlights blood spots along the escape path:
- Pink or Red Streaks: Follow these to track a wounded animal. The frequency and size of the drops show how badly it’s hurt.
- Final Resting Place: Badly wounded animals will eventually collapse, usually within a few hundred yards. Stay patient and keep checking for blood.
This mechanic is vital for making sure you recover every pelt, especially if you’re hunting for perfect skins to craft with the Trapper.
Upgrading Tracking with Skills and Tonics
Early in the game, animal trails can be faint, and clue range is limited. Completing certain challenges or consuming Tonics can help:
- Herbalist and Master Hunter Challenges: Completing tiers in these challenge categories boosts your tracking—it takes fewer clues to highlight tracks, and detection range improves.
- Eagle Eye Tonics: Like Chewing Tobacco or Potent Miracle Tonic, these restore Dead Eye and Eagle Eye so you can stay alert longer in the field.
Pair these upgrades with regular practice—tracking gets easier the more familiar you are with animal spawns and movement patterns.
Dealing With Weather and Time
Tracking works at all hours, but some tips help:
- Rain or Snow: Tracks can be harder to see outside Eagle Eye.
- Nighttime: Use your lantern in one hand if it gets too dark, but be extra cautious—light can alert animals.
- Bad Weather: Some animals hide or move differently in storms, so clue up and stay patient.
Pro Tips for Tracking Legendary Animals
- Listen for Unique Sounds: Growls, roars, or splashing are dead giveaways for legendary animals, especially in their final clue area.
- Look for Environmental Changes: Large animals like bears or alligators sometimes leave clearings, flattened grass, or broken branches nearby.
- Cycle Between Eagle Eye and Binoculars: Alternating between close-up clue-hunting and long-range spotting will keep you on track.
Taking these tracking techniques into account can turn a hope-and-pray hunt into a confident search. Slow it down, trust your senses, and piece together the trail—pretty soon, you’ll be picking off legendary creatures and gathering the best pelts in the West.
Weapon Selection Guide
Hunting in Red Dead Redemption 2 isn’t just about sneaking up on wildlife—it’s about having the right gear for clean, efficient kills. The type of weapon you use directly affects the quality of the pelt or carcass, which is vital if you want to sell to the Trapper, craft unique outfits, or complete the game’s many hunting challenges. Let’s break down the best tools for every job and how to make the most out of your hunting trips.
Why Weapon Choice Matters
Every animal in RDR2 has a preferred hunting method. Use the wrong weapon, and you might ruin the pelt, turning that perfect three-star animal into a worthless, damaged skin. On the other hand, using the right weapon (and the right ammo) brings in top-quality materials, which are needed for the Trapper’s custom gear or some of Pearson’s best camp upgrades.
Overview of Hunting Weapons
Different weapons suit different prey. Some shine for birds, others for big game, and there are special options for legendary animals. Here’s a rundown of the main hunting tools at your disposal:
- Bow
- Varmint Rifle
- Repeater and Rifle (Standard and Scoped)
- Shotgun
- Throwing Weapons
- Pistols and Revolvers (Not Recommended)
Below, let’s go through each one and when to use them.
Bow
The bow is one of the quietest and most versatile hunting tools, especially for early-game players. It doesn’t spook animals nearly as much as firearms. Regular arrows are good for rabbits, raccoons, and similarly sized animals. Small game arrows, once crafted, are a must for tiny critters like squirrels and birds—anything bigger, and you’ll damage the pelt.
- Use for: Rabbits, raccoons, opossums, foxes, birds (with small game arrows), and anything you want to take quietly
- Best ammo: Regular arrows for medium-small game; small game arrows for the tiniest prey
Varmint Rifle
This rifle is designed specifically for small animals, from birds and squirrels up to skunks, rats, and muskrats. It has minimal stopping power so it won’t tear up their pelts, and it’s great for quick follow-up shots. The Varmint Rifle is a top pick for anyone chasing perfect small-game pelts.
- Use for: Squirrels, rats, birds, skunks, rabbits, and similar-sized wildlife
- Best ammo: Regular varmint rounds
Repeaters and Rifles
Repeaters are versatile guns for medium-sized animals like coyotes, beavers, or armadillos. Regular rifles pack a bigger punch for deer, pronghorns, and wolves. A scoped rifle can also be useful for long-distance shots, letting you tag game before it gets close enough to notice you.
- Use repeaters for: Foxes, coyotes, beavers, and armadillos
- Use rifles for: Deer, pronghorns, wolves, and other larger mammals
- Best ammo: Regular ammo for uncontaminated pelts; use express or high velocity only if you’re sure of the kill or after legendary animals
Shotguns
These are niche for hunting, mostly better at bringing down birds in midair or for extremely close encounters where you need a quick, sure kill (like with a charging cougar or wolf). They do serious damage to carcasses, often ruining anything but the smallest birds or dispatching predators harassing you.
- Use for: Small to medium birds, or for predators in self-defense if things go wrong
- Best ammo: Regular shotshells for birds; slugs for predators
Throwing Weapons
Throwing knives and tomahawks can be used for silent, instant kills on medium animals. They can land clean kills from up close, but often have a learning curve and aren’t as forgiving as firearms. Tomahawks work in a pinch for hunting challenges or fun.
- Use for: Medium game like foxes, badgers, and raccoons, if you want to hunt silently but don’t have a bow
Pistols & Revolvers
Technically, these will bring down animals, but they frequently ruin pelts and are best reserved for defense or emergencies. Unless you’re going after predators that attack you, leave handguns in the holster when hunting.
- Use for: Last resort, or dangerous animals in close quarters
Ammo Types and Their Impact
For most hunts, stick to standard ammo. Special ammo types, like express or split point, hit harder but risk destroying pelts unless you land perfect headshots. The only time to use the biggest rounds is fighting legendary animals, since their pelts can’t be ruined.
Arrows
- Regular arrows: Clean kills on medium animals with precise placement
- Small game arrows: Required for birds, rats, squirrels, and bats without causing pelt damage
- Poison arrows (later in the game): Good for bigger animals or challenges, but not always best for pelts
Rifle Ammo
- Regular: Your go-to for most hunts
- Express/High velocity: Reserve for big, tough animals or if you feel confident in nailing headshots
What Weapon to Use for Each Animal Size
- Small (birds, rats, squirrels): Varmint Rifle or bow with small game arrows
- Medium (foxes, rabbits, raccoons, beavers, badgers): Bow with regular arrows, varmint rifle, or throwing knife for stealth
- Large (deer, pronghorn, wolves, cougars, goats): Regular rifle or high-powered repeater, headshot preferred
- Massive (bears, bison, elk, moose, legendary animals): Shotgun with slugs for defense or high-power rifles, especially with express ammo
Legendary Animals: Special Considerations
Legendary animals ignore the usual pelt system. Use whatever gives you the safest advantage: express ammo, shotguns, or even dynamite if you want. They drop unique materials no matter the method, so focus on staying alive.
Upgrading and Maintaining Weapons
Keep rifles and bows in top condition for accuracy and damage. Clean them with gun oil regularly. If you have money to spare, add scopes or customizations to make hunting smoother.
Quick Tips for Successful Hunts
- Observe your prey: Use binoculars to check animal quality—the best (three-star) animals reward you with perfect pelts.
- Line up a head or heart shot: These kill instantly and won’t damage the hide.
- Crouch for stealth: Reduces noise, gets you closer for that perfect shot.
- Stay patient: Wait for a clear shot rather than rushing.
Conclusion
Matching the right weapon and ammo to your target is one of the keys to becoming a master hunter in Red Dead Redemption 2. The right setup turns every hunt into a rewarding process—whether you’re after legendary beasts, perfect pelts, or just something to cook on the campfire. Swap your loadout depending on your prey, shoot cleanly, and you’ll always have something worth bringing back to camp.
Pelt Quality Guide
Getting perfect pelts is one of hunting’s main draws in Red Dead Redemption 2, whether you’re after rare outfits or money at the Trapper and Fence. But it isn’t just about pulling the trigger—pelt quality is influenced by several key factors. Let’s break down how it works, so you can consistently land those top-tier hides.
Understanding Pelt Quality: Stars Matter
Animals have three quality levels, shown as stars when you study them with your binoculars or scope:
- 1 Star: Poor quality
- 2 Stars: Good quality
- 3 Stars: Perfect quality
You can only get a perfect pelt from a 3-star animal, and only if you kill it cleanly with the right weapon and ammo. Even the best shot on a 1-star deer will never give you a perfect pelt, so check those stars before you sneak up for the kill.
How to Identify Animal Quality
- Study your target by holding the trigger or using binoculars—this reveals its star rating.
- Spotting 3-star animals is easiest in daylight and while crouched, since you’ll alert fewer animals and see better.
- Legendary animals do not have stars and always drop unique materials, ignoring the usual pelt quality rules.
The Role of Weapons and Perfect Kills
The right tool is just as important as the target itself. Use unsuitable weapons or ammo, and you risk damaging the pelt—knocking that 3-star animal down to a 2-star trophy, or worse.
The Basics
- Clean Kill: Use the recommended weapon and ammo for the animal’s size and aim for vital spots (head or heart).
- Weapon Matters: Guns that are too powerful will destroy, while underpowered ones can cause unnecessary suffering, dropping the pelt grade.
What Counts as a Clean Kill?
- Small game (birds, rats, squirrels): Varmint rifle or small game arrows to the head.
- Medium game (rabbits, raccoons, foxes): Bow with regular arrows, throwing knives, or varmint rifle.
- Large game (deer, wolves, cougars): Rifles or repeaters with regular ammo, always aim for head or heart.
- Massive game (bears, moose, bison): High-powered rifles to the head; for safety, you can use shotguns in self-defense, but these usually damage pelts.
Shot Placement: It’s Everything
Even with the right weapon, shot placement makes or breaks your hunt. The “vital” kill zones are usually head and heart—these drop animals instantly and keep pelts in top shape. Body shots risk excess damage or causing the animal to flee, which can drop the quality after you finally track it down.
Sights and Dead Eye
- Use Dead Eye to slow down time and tag vital areas, especially on twitchy or elusive animals.
- A scoped rifle helps with distance headshots and improves your chances for a perfect kill, particularly on deer and pronghorns.
What Damages Pelt Quality?
A few things will lower the grade of an otherwise good animal:
- Multiple non-vital hits: Each extra bullet reduces quality.
- Blunt force: Running a deer over with your horse or lassoing it until it’s exhausted both ruin pelts.
- Explosives: Dynamite tears up all but legendary hides.
- Predator damage: If another animal attacks and mauls your prey, quality drops or the pelt may be ruined entirely.
Quick-Reference: What You Need for a Perfect Pelt
| Animal Size | Look For | Use This Weapon | Ammo Type | Best Shot Placement | |----------------------|--------------|---------------------------|--------------------|---------------------| | Tiny (birds, bats) | Star | Bow | Small game arrow | Head | | Small (rabbits, rats)| Star | Varmint Rifle | Regular | Head | | Medium (fox, beaver) | Star | Bow or Varmint Rifle | Regular arrow | Head/Heart | | Large (deer, wolf) | Star | Rifle | Regular | Head/Heart | | Massive (bison, bear)| Star | Scoped Rifle | Express | Head |
Tracking Pelt Quality After the Hunt
Once your prey is down, walk up and skin it. If you did everything right, the game will notify you with a Perfect Pelt pop-up, and you’ll see a pristine skin in your inventory. Keep a few things in mind:
- Pelts degrade if left on the ground or on your horse for too long, especially if you die before reaching the Trapper or Butcher.
- Store perfect pelts directly with the Trapper if you’re targeting rare outfits, since he remembers what you’ve turned in permanently.
Tips for Consistent Perfect Pelts
- Scout before you shoot: Never waste time on 1- or 2-star animals when you’re after those rare outfits.
- Use the right tool: Always match the weapon and ammo to the animal size.
- Stay patient: Wait for a still, clean shot, preferably when the animal’s head is broadside.
- Clean your weapons: Dirty guns lose accuracy, making perfect shots tougher.
- Learn animal routes: Spawning and behavior patterns help you find those elusive 3-stars.
What About Legendary Pelts?
Legendary animals always give quality materials, no matter your approach. Regular quality rules don’t apply here, so use whatever weapons and ammo keep you alive.
Perfect pelt hunting takes practice, attention to detail, and a little luck. Stick with it and you’ll have every unique Trapper outfit, satchel upgrade, and a healthy profit at the Butcher before long. Happy hunting!
Trapper Guide
The Trapper is your go-to shopkeeper for everything crafted from rare animal materials in Red Dead Redemption 2. Knowing how the Trapper works can help turn every hard-won pelt and animal part into stylish outfits, powerful gear, or impressive trinkets. Here’s how the Trapper system operates and how you can get the most out of it.
Where to Find the Trapper
You’ll first hear about the Trapper after you snag a perfect or legendary pelt. The main Trapper location is tucked inside the Saint Denis market, but satellite stalls can be found out in the wilderness across the map:
- Saint Denis Market: The bustling city peddler is always available and easiest to reach.
- West Elizabeth: A camp near the western border, just north of Owanjila Lake.
- Big Valley: Southwest of Wallace Station.
- Near Riggs Station: Outside the main rail line.
- Near Annesburg: East on the border of the Roanoke Ridge woods.
All these stalls sell the same goods and accept your pelts, so just find the closest Trapper marker when your inventory is full.
What the Trapper Buys and Sells
The Trapper specializes in:
- Unique Outfits & Garments: Made from legendary and perfect pelts. Some are wild-looking and only available through the Trapper.
- Saddles & Equipment: Top-tier saddles crafted from rare hides, offering horse stat boosts.
- Upgrades and Trinkets: Some minor gear and utility items that use parts from cougar or alligator skins.
- Animal Materials: You can outright sell extra pelts and animal parts here too, though you’ll get a slightly better price at the Butcher.
How to Unlock Trapper Outfits
Every Trapper outfit requires specific animal materials—sometimes a legendary pelt, sometimes several perfect pelts from a particular species. When you talk to the Trapper, check the required ingredients for anything you want to craft. Notable sets include:
- The Bear Hunter: Needs the Legendary Bear Pelt (from the story mission) alongside several perfect pelts from beavers, boars, and others.
- The Huntsman, The Death Roll, The Night Wrangler: All require a mix of materials from legendary animals and common but perfect pelts.
You don’t have to keep everything on you—once you sell a pelt to the Trapper, he keeps it in his ledger, and you can safely craft that item later, even if you don’t have the pelt anymore.
Legendary Animals and the Trapper
When you hunt down legendary animals, you’ll often get a unique pelt plus bonus materials. These only go to the Trapper—Butchers won’t buy them, and you can’t use them for camp upgrades. Always sell legendary pelts and animal parts to the Trapper right away; he’ll add them to your available crafting pool.
If you happen to die while carrying a legendary pelt, check the Trapper inventory later. Rockstar made it so lost legendary pelts are automatically sent to the Trapper if you happen to lose them en route.
Crafting with the Trapper
Once you’ve sold the right hides and pelts, approach the Trapper and choose “Buy.” You’ll see available clothing sets and equipment—anything you’ve unlocked can be crafted for a bit of money and those already sold pelts.
Key points
- You must physically turn in the perfect or legendary pelts.
- Outfits don’t auto-craft; you have to visit and pay for each crafted piece.
- Crafting is permanent—crafted outfits or gear are stored in your wardrobe or on your horse.
Best Trapper Gear to Prioritize
Some outfits are cosmetic, but others give practical boosts. A few standouts worth chasing early on:
- Legendary Bear Coat: From the story’s first legendary bear—great for cold weather.
- Legendary Panther Range Kit Satchel: Extra inventory space is always helpful.
- Upgrade Saddles: These give your horse better stamina and health bonuses.
Tips for Earnest Trapper Success
- Stack pelts in your inventory: The Trapper can take as many as you can carry, so bring a loaded horse.
- Fast travel: Once you have enough perfect pelts, use fast travel (from camp or other stations) to quickly reach the main Saint Denis location without risking pelt degradation or accidental death.
- Check requirements before you hunt: Some animals only appear at certain times of day or weather. Plan a “Trapper run” by reviewing needed materials first.
- Mix and match: You don’t need to complete an entire outfit at once. Collect pieces over time and assemble your look as you gather more resources.
The Trapper vs. Other Vendors
- The Butcher: Better for extra common pelts and meat, but cannot craft special items.
- Pearson (at camp): Accepts common animal resources for camp upgrades and satchels, but all legendary pelts and unique outfits are exclusive to the Trapper.
- Gunsmith/Fence: For weapon and talisman upgrades, but the rarest clothing and gear strictly comes from Trapper-crafted recipes.
Making friends with the Trapper is one of the fastest ways to show off your hunting achievements in camp or on the frontier. With the right approach, you’ll soon be outfitted like a wilderness legend.