No Man's Sky Beginner Guide: What To Do In Your First 10 Hours
What to fix, gather, and build in your first ten hours of No Man's Sky, from the crashed ship to your first warp jump.
So you've crashed. Everybody does. No Man's Sky drops you on a hostile planet with a busted ship, a suit running on fumes, and no memory of how you got there. That first hour is honestly the hardest stretch of the whole game, and it goes way smoother once you know what order to do things in.
Fix the ship first. Then learn what your multi-tool and exosuit are actually doing, get yourself to a space station, keep oxygen and sodium stocked, and ride the story mission until it hands you a warp drive for free. Ten hours covers all of that, plus your first base.
Crashed Ship Repair And Starting Resources
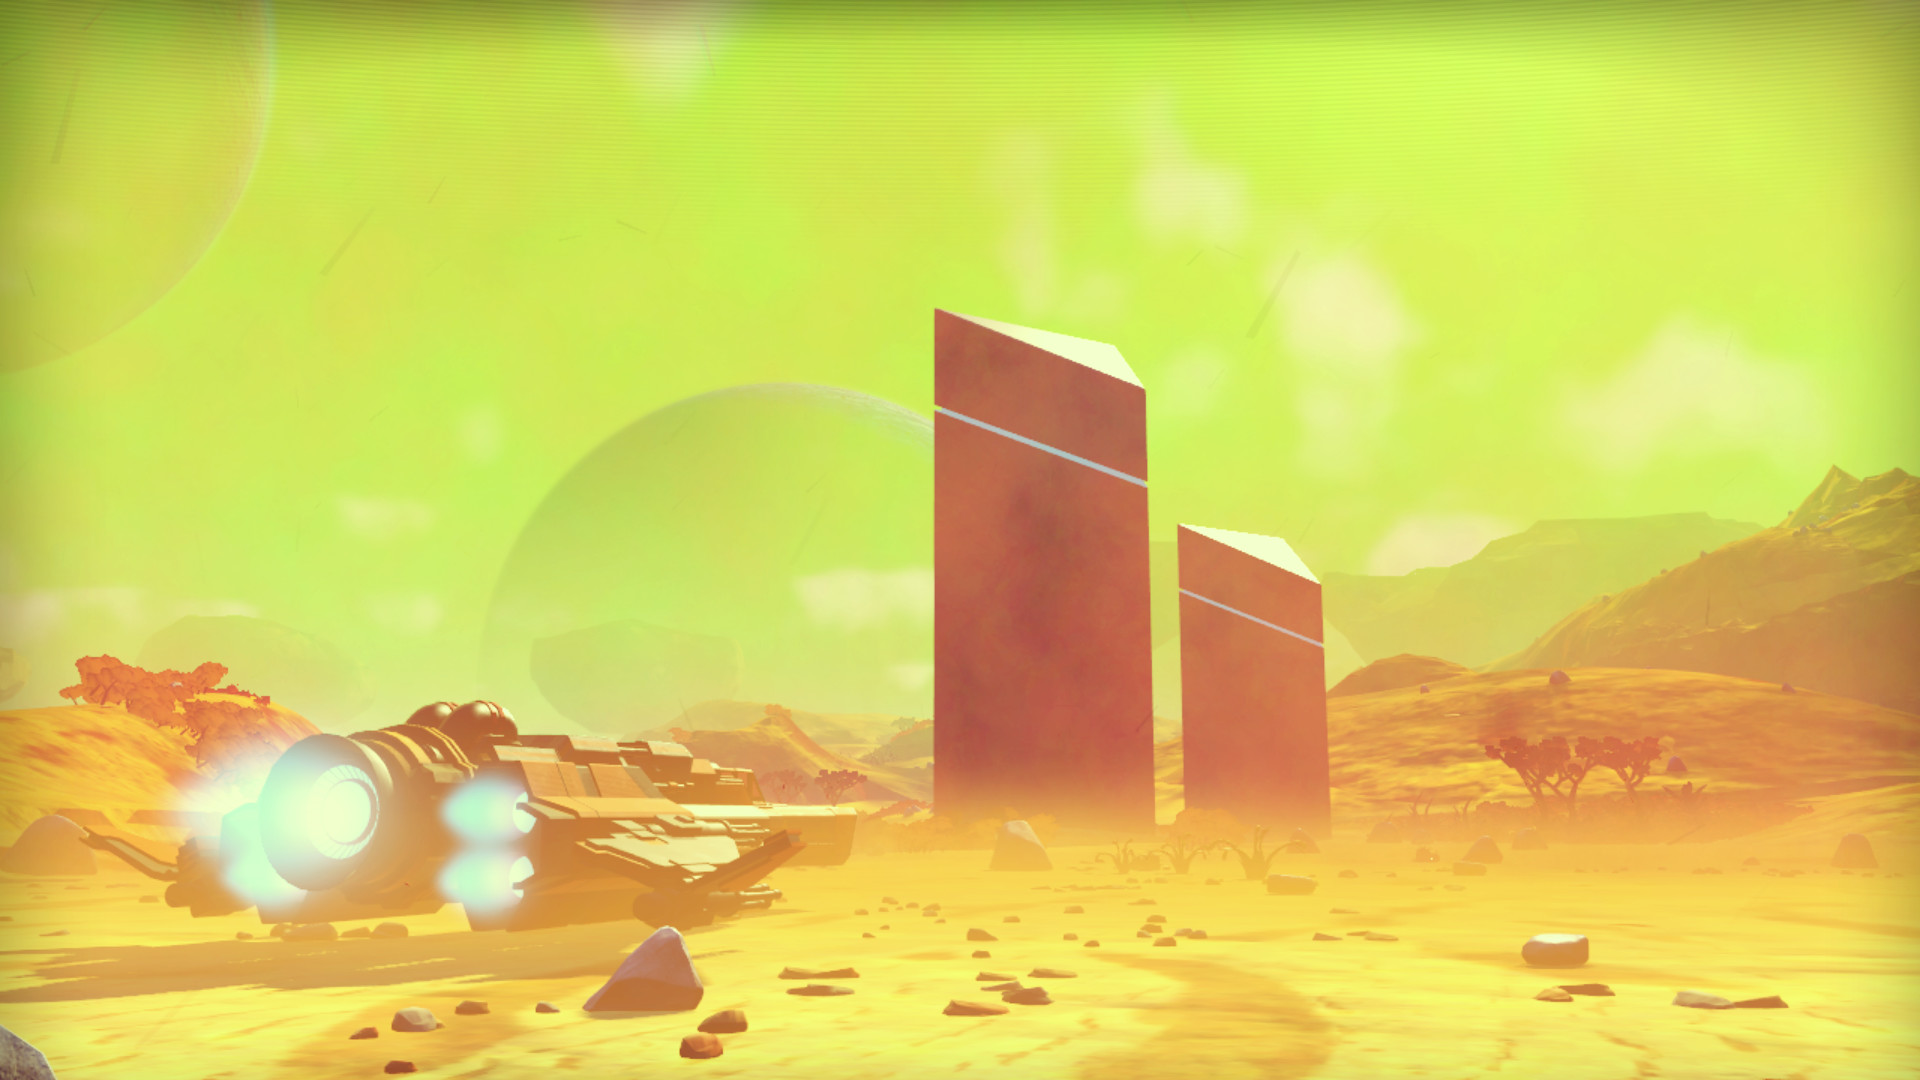
Your starting planet is always mean. It'll be toxic, scorched, frozen, or irradiated, and the game rolls the dice for you. The first repair job isn't the ship at all. It's the Scanner, and that costs 75 Ferrite Dust off the nearest rocks. Point the Mining Beam at a boulder, hold the trigger, and you'll have enough in a few minutes.
Once the Scanner works, the crashed Radiant Pillar BC1 needs four things before it flies:
| What you're fixing | What it costs | Where to get it | |---|---|---| | Pulse Engine, step one | Metal Plating, crafted from 50 Ferrite Dust | Any rocks on the surface | | Pulse Engine, step two | 1 Hermetic Seal | A shelter the story marks on your map | | Launch Thrusters, step one | 50 Pure Ferrite | Refine Ferrite Dust 1:1 in a Portable Refiner | | Launch Thrusters, step two | Di-hydrogen Jelly, crafted from 40 Di-hydrogen | Blue crystals on the surface |
The Hermetic Seal is the annoying one. You can't craft it yet because you don't have the blueprint, so the story sends you to check a distress beacon, a red glowing sphere interrupts with a creepy message, and you get a Planetary Chart pointing at a shelter. The trip over is long, and a storm is guaranteed to hit while you're walking. When it does, duck into a cave or any building and let the storm pass. Standing outside in a storm eats your hazard protection fast.
Grabbing the seal teaches you the blueprint and hands you the Analysis Visor install step, which you'll want anyway since the visor is how you spot resources and points of interest from a distance. That same visor walk gets you back to the ship.
The refiner part is simple. Your Portable Refiner is in your inventory from the start, it burns carbon as fuel, and it turns Ferrite Dust into Pure Ferrite one for one. Di-hydrogen is those blue crystal clusters scattered on the surface, and the Scanner highlights them for you. Forty of them cook down into one jelly.
Once everything's installed, both the Pulse Engine and the Launch Thrusters come back at only 50% fuel. That's enough to reach orbit and then some, so don't panic about it.
One habit worth picking up right now: hoard while you walk. Carbon comes from trees and plants, sodium from the yellow flowers, oxygen from the red plants, cobalt from caves. Every stack you grab during the repair run is a stack you don't have to emergency-hunt later, because sodium refills hazard protection and oxygen keeps life support running. Dying early isn't a huge deal, but you do drop your loose items where you fell, and walking back for them is kind of a pain.
Understanding Your Multi-Tool And Exosuit Slots
The tool you start with
You begin with the Waveform Focuser N56-P, and it's a pistol. Pistols across the board get zero damage bonus but a strong mining speed bonus, so your starter tool is quietly good at the thing you'll do most in hour one: chewing through rocks. Pistols come with somewhere between 9 and 18 slots depending on the roll.
Rifles are the other common type, sitting in station cabinets with 13 to 30 slots and a real damage bonus, but no mining bonus at all. Don't rush to buy one. Early fights are rare, and the starter pistol plus a Boltcaster will carry you through anything the tutorial throws at you.
The tool has two inventories of its own, general and technology, same idea as the suit. Tech slots only hold tech. Modules of the same type placed next to each other get a bonus for touching, so when you start installing upgrades, cluster them instead of scattering them around the grid.
Your actual must-know tools:
- Mining Beam is your bread and butter. It overheats if you hold it too long, and upgrades cut that heat way down.
- Scanner pings everything in the area and puts markers down. It has a cooldown, so use it on high ground.
- Analysis Visor is the zoom view. Scanning new flora and fauna through it pays units, and that income gets silly once you add scanner upgrades.
- Terrain Manipulator comes from the story a bit later. It mines big deposits and digs holes, and you need it for the base building stretch.
- Boltcaster is the gun, for when something's shooting at you.
The single best early purchase for the multi-tool is a scanner upgrade module from a station technology merchant. Scan payouts scale hard off those modules, and boosted scanning is one of the fastest ways for a new player to stack units without fighting anything.
The suit on your back
The exosuit starts with 24 general slots and 10 technology slots, with Life Support, Hazard Protection, and the Jetpack already installed in tech. Caps are 120 general and 60 tech, so you have a long way to grow.
Two ways to add room:
- Buy a slot at a station or the Space Anomaly. Each one sells one slot per system, and the Anomaly counts as its own location, so a new system is worth two purchases. Prices start at 5,000 units for a general slot and 1,000 for a tech slot, climbing to a ceiling of 200,000 and 125,000 by the end. The purchase screen defaults to the general tab, and plenty of players buy ten general slots before noticing the tech option was right there. Tech slots matter more than they look, since suit upgrades eat tech space fast.
- Repair a Drop Pod on a planet. Free slot, but you fix three broken parts on it first. Expect costs along the lines of 10 Sodium Nitrate, 1 Carbon Nanotube, and 1 Antimatter Housing, with the exact parts varying a bit. Buy an Exosuit Upgrade Chart from the station Cartographer and it'll mark pods for you. Pods also count as shelter during storms, which is a nice bonus.
Stacks are generous, at least on Normal difficulty. One slot holds up to 9,999 of a raw resource, so a handful of slots goes a long way if you're stacking pure elements instead of crafted products.
Reaching Your First Space Station
Repairs done, get in the ship and launch. Space gives you a short tutorial on boosting and the Pulse Engine, then the story pings a mysterious signal. Ignore the mystery for a second and find the station. Every inhabited system has one, and it's marked on your HUD.
Docking is painless. Fly into the blue tractor beam shooting out of the station's opening and it pulls you in and parks you on one of the eight landing pads automatically. Landing also wipes your space wanted level to zero, which you'll care about much later when pirates get involved.
Inside, the layout is always the same:
| Floor | What's there | |---|---| | Bottom, left to right | Mission Listings Agent, Galactic Trade Terminal, Teleporter, Cartographer | | Upper floor | Technology Merchants for exosuit, exocraft, starship, and multi-tool, plus a Guild Envoy | | Back end | Starship Outfitting Terminal, Starship Fabricator, Appearance Modifier, Scrap Dealer |
Your first stop is the exosuit upgrade station for that first slot. Second stop is a technology merchant to browse scanner modules. Third is the Galactic Trade Terminal to sell whatever surplus you dragged off the starting planet. Prices move from system to system, so if a resource sells for a sad number here, hang onto it and try the next system over.
The Mission Listings Agent is worth ten minutes. Starter missions are gentle, things like scanning creatures or delivering goods, and they pay units and nanites. Nanites are the other currency, the one that buys upgrades, and missions are the most reliable early faucet for them.
Grab missions, grab a slot, sell your extras. Two things to know before you leave:
- The Teleporter links back to any base you build later, so stations you visit become a fast travel network for free.
- Your Pulse Engine won't fire until you've flown a safe distance from the station, so don't panic when the boost feels dead for a few seconds.
Ships land constantly while you're there. You can't afford one yet, and that's fine, but noticing what docks gets you thinking about what you want later.
Prioritizing Life Support And Hazard Protection
Two bars, two different fuels, and mixing them up is the classic new player mistake.
Life Support is the heartbeat icon. It drains while you move outside, and it drains faster when you sprint or use the jetpack, since both pull power from it. Refill it with oxygen, or with Dioxite and Life Support Gel if you have them. The red plants on almost every planet are your oxygen source, and one good harvesting loop keeps you topped up.
Hazard Protection is the bar above it, and it's the one the planet itself attacks. Extreme heat, cold, radiation, toxicity, and deep water all chew through it at a rate the HUD shows with little arrows, one to three of them. Three arrows means find shelter now. Refill it with sodium from the yellow flowers, with Sodium Nitrate, or with Ion Batteries, which you can craft from cobalt mined in caves.
The trick that saves more suit power than any upgrade: hazard protection recharges on its own whenever you're sheltered. Your ship, any building, any cave, any Drop Pod. Walk into a cave during a storm and the bar fills back up for free. On nasty planets, routing your walk between shelters beats tanking the weather every time.
Water adds a third wrinkle. Underwater you're on the Aeration Membrane, a smaller oxygen bar that runs out quickly, and you refill it by interacting with Candle Kelp down there. Worth knowing before you go for a long swim.
When you start buying suit upgrades at the station, the environment-specific protection modules are the play for the planets you actually visit. A thermal or radiation module stretches your bar far more than generic bits, and specific blueprints like the Thermic Layer and Radiation Deflector do the same job if you find them as rewards. Pretty much every protection upgrade you install eats a tech slot though, which is why those cheap 1,000 unit tech slots back on the station are a better buy than they first appear.
Priority order for your first ten hours, in plain terms:
- Never land anywhere without a full stack of oxygen and a full stack of sodium.
- Grab a bit of cobalt for Ion Batteries once caves show up.
- Worry about protection modules after that, not before.
Extreme planets drain way faster than mild ones, so check the planet's description before you commit to landing. Nine times out of ten a milder world is one warp away.
Joining The Artemis Path Storyline
The mission you've been doing this whole time is called Awakenings, and it's the opening chapter of the main story, the Artemis Path. The full chain runs:
Awakenings, then Alone Amidst the Stars, Ghosts in the Machine, A Leap in the Dark, The First Traveller, Patterns in Time, 16 / 16, The Purge, and New Beginnings at the end.
Follow it, at least through the early missions, because it pays out blueprints you cannot get anywhere else. The Hermetic Seal and the Base Computer are story rewards, and skipping past them locks you out for good. One warning worth repeating from the wiki: don't let another player hand you repair items during Awakenings. Accepting gifted materials skips tutorial steps, which skips blueprint rewards, and there's no way back. Play the opening solo.
After you leave the planet, the story walks you through a base building stretch. You build the Terrain Manipulator, refine some Chromatic Metal from copper, plant a Base Computer, and dig through the Base Computer Archives for blueprints. Then an emergency broadcast sends you to a crashed freighter on your base planet, and its logs hand you the Hyperdrive blueprint.
That kicks off the fuel chain, which is the real gate between you and the wider galaxy:
| Item | Recipe | Notes | |---|---|---| | Hyperdrive | 125 Chromatic Metal + 5 Microprocessors | Blueprint from the crashed freighter | | Antimatter | 25 Chromatic Metal + 20 Condensed Carbon | Blueprint from a terminal at an abandoned building the story leads you to | | Antimatter Housing | 30 Oxygen + 50 Ferrite Dust | Blueprint from the same stretch | | Warp Cell | 1 Antimatter + 1 Antimatter Housing | What actually goes in the tank |
Microprocessors are the fiddly ingredient early on. You can buy them straight off the station's trade terminal, and that's usually cheaper in time than farming the mats. Chromatic Metal refines from copper, and the Analysis Visor marks copper deposits for you, so a quick lap around your base planet covers the hyperdrive and a spare cell or two.
Numbers worth knowing: the base hyperdrive jumps 101 light years, only reaches yellow star systems, and one Warp Cell equals 20% of the tank. The tank holds five cells. So craft two cells before you leave and you're set for the next few jumps, with room to spare.
Your first warp triggers contact with the Space Anomaly, the odd orb station you can summon from then on. Inside are Nada and Polo, plus the Quicksilver shop and the Nexus mission board. Nexus missions are group-friendly, pay well, and can drop exosuit slot rewards, which makes the Anomaly your second free suit slot stop in every new system.
There's a second storyline, the Atlas Path, running parallel to Artemis through the Atlas Interfaces. You don't have to pick one forever. Most players bounce between both, and the game nudges you between them anyway.
Rough shape of the ten hours:
| Time | Where you should be | |---|---| | 0 to 1 | Scanner fixed, ship repaired, leaving the planet | | 1 to 2 | Docked at the first station, first suit slot bought | | 2 to 4 | Missions, scanning income, second and third suit slots | | 4 to 6 | Base building and the Base Computer Archives | | 6 to 8 | Hyperdrive built, first Warp Cells crafted | | 8 to 10 | Warped out, Anomaly unlocked, Artemis Path rolling |
By the end of that stretch you'll have a flying ship, a base, a working warp drive, and two upgrade faucets running. Not bad for ten hours on a game that dumped you in the dirt with nothing.