Monster Hunter Wilds Beginner Guide: Everything New Hunters Need to Know
A plain beginner rundown of weapons, the Seikret mount, combat, your item pouch, and the Windward Plains in Monster Hunter Wilds.
Monster Hunter Wilds dumps a lot on you in the first hour or two. There's a mount to ride, fourteen weapons to sort through, wounds to break, and a big sandy region called the Windward Plains to find your way around. None of it is as rough as it looks at first. The systems click once you see how they connect. Here's the stuff that tends to trip up new hunters, said plainly, so you spend less time fumbling in menus and more time actually hunting.
Choosing Your First Weapon Type
Picking a weapon in Wilds feels like a bigger decision than it is. There are fourteen weapon types, and each one basically plays like its own character class. The good news is you're not locked in. Wilds lets you carry a second weapon on your Seikret (more on that mount in a bit), so you can swap between two on the fly during a hunt. Try things, keep what clicks.
The friendly starters
Sword & Shield is the easy answer if you're unsure. It's fast, it has a shield for blocking when you panic, and you can use items with your weapon still drawn. That last part is huge early on, because you won't get caught mid-swing when you need to heal.
Long Sword is the crowd favorite and for good reason. It's forgiving, it hits hard once you build up your Spirit Gauge, and it has counter moves that let you punish a monster for attacking. Easy to pick up, with a lot of room to get better.
Dual Blades are for hunters who want to go fast. You stick to the monster, mash out quick hits, and melt anything weak to your element. The catch is stamina. Your demon mode chews through it, so you're managing a bar as much as a monster.
Great Sword is the simple "hit it really hard" pick. You charge up one big swing and chunk the monster for a huge number. The downside is you're slow and the swings leave you wide open, so it teaches you positioning whether you want to learn it or not.
Ranged and defensive options
Want to hang back? Light Bowgun lets you shoot from range while you learn a monster's moves. You'll take less punishment early on because you're not standing under its feet. Ammo types matter, so there's a little bookkeeping.
Prefer to just not die? Lance turns you into a walking wall. Big shield, steady pokes, and counters that let you stay glued to the monster. Not flashy, but it forgives a lot of mistakes.
Save these for later
A few weapons are great but have a steeper learning curve: Charge Blade and Switch Axe (both shift between two modes), Gunlance (lance plus explosions), Insect Glaive (the aerial one), Hunting Horn (a support weapon that buffs), Heavy Bowgun, and Bow. All of them are strong in the right hands. They're just more to juggle when you're also learning the rest of the game. Nothing wrong with circling back to one of these once you've got your feet under you.
Try before you commit
Every weapon feels different on paper than it does in your hands. Pop into the Training Area (you can jump there from the menu) and swing each one around for a minute. You'll know pretty fast which one clicks.
Understanding the Seikret Mount
The Seikret is the big bird-lizard you ride around on, and it's one of the best quality-of-life additions in Wilds. It's not just a taxi. It's a mobile storage locker, a weapon rack, and an escape plan all in one.
Auto-move is the magic word
The headline feature is auto-move. Point your Seikret at something, like a tracked monster, a base camp, or your last spot, and it'll run you there on its own, climbing over obstacles and dropping off ledges so you don't have to steer. On a controller, pushing up on the D-pad turns auto-tracking on, and pushing down turns it off. If you're not tracking anything, the mount drops back to manual.
There's a setting worth tweaking. In Options, under Game Settings (not the Controls menu), you can flip whether hopping on the Seikret defaults to auto-move or manual. A lot of players switch it so mounting puts them in manual control, then they tap up when they actually want to be chauffeured. Play with both and see what feels right. There are also different control types, and Type 3 gives you that auto-run feel where the mount keeps moving until you tell it to stop.
Ride, shoot, gather
You're not stuck doing nothing while you ride. You can aim your Slinger, fire ranged weapons, and pick up gatherable items (plants, ore, bugs) as you roll past them. On a long trip across the map, that's free materials you'd otherwise ignore.
The Seikret pouch and weapon swap
Here's the part that throws people. Tap left on the D-pad (or N on keyboard) while you're out on a hunt and you open the Seikret pouch. It works like a portable item box: stash overflow loot here, pull out spare potions or ammo, and swap to your backup weapon. Because the Seikret carries a second weapon for you, mid-hunt weapon swaps are a real thing now. Bring a heavy hitter for the main fight and a ranged option for when the monster takes off, say.
You can also heal, sharpen, and do most upkeep while still mounted. So if you need to back off and top off your health, hop on, ride a loop, and fix yourself up without ever dropping to the ground.
The rescue
One more thing worth knowing. If a monster sends you flying, you can call your Seikret and it'll scoop you up and dash you to a safer spot before you're fully back on your feet. It's a get-out-of-trouble button. You won't always need it, but the first time a Rey Dau pins you in a corner, you'll be glad it's there.
Basic Combat and Monster Behavior
Combat in Wilds looks chaotic until you learn what to watch. Two systems do most of the work: Focus Mode and the wound system. Get those, and monster behavior starts making sense.
Focus Mode and wounds
Hold the Focus Mode trigger and a few things change. You can aim your attacks at a specific body part instead of just swinging wherever. You can aim your Slinger more precisely. And most importantly, you can see wounds.
Wounds are glowing scars that build up on a monster as you keep hitting the same spot. Hit a Focus Strike on one of those scars and you destroy it for big damage, a chunk of monster parts, and usually a flinch or a knockdown. Breaking wounds is how you create your own openings. Knock a monster off its feet with a wound break, then unload on it while it's stuck.
Reading a monster
Big attacks almost always have a windup. A monster rears back, puffs up, or does some tell before the hit lands. Your job early on is less "be aggressive" and more "watch what the thing does." After a fight or two with the same monster, you'll start recognizing the moves.
Monsters also have moods. When one gets enraged (usually signposted with some visual change, like sparking or drooling), it moves faster, hits harder, and sometimes unlocks new attacks. You don't have to win that phase. A lot of hunters just survive it and punish when the monster tires out. Speaking of which: a badly hurt monster will often limp off to another area to sleep or eat. That's your window to trap and capture it, or to catch up and finish the job.
Turf wars are free damage
If two large monsters run into each other, they'll often throw down in a scripted brawl, what the series calls a turf war. One of them takes a pile of damage during the animation. Your move is to stand back and let them scrap. Sometimes you can sneak in hits, but mostly you just watch one of your problems solve the other.
Keep yourself in fighting shape
Two bars you can't ignore. Stamina runs down when you sprint, dodge, or use certain attacks, and your max stamina slowly shrinks over a long hunt. Eat rations or Well-done Steak to push it back up. Sharpness is the other one. Melee weapons lose their edge as you hit things, and a dull weapon bounces off hard parts and hits softer. A Whetstone sharpens fast, so do it whenever the monster leaves the area or gets knocked down.
Don't get cornered
If you're getting wailed on, the worst move is to stand there healing into the next hit. Use your dodge's invincibility frames, block if your weapon allows it, and reposition. Health drops happen. Getting hit three times in a row because you panicked is what actually carts you.
Managing Your Item Pouch and Supplies
Item management moved around in Wilds, and it confuses everyone at first. Here's how it works now and what to actually carry.
The tent is your supply box
Older Monster Hunter games had a supply box sitting right by the quest counter. Wilds doesn't. You handle items and equipment inside the tent at base camp, and at pop-up camps out in the field. It's one extra step, and people grumble about it, but it's not a big deal once you're used to it.
Item loadouts are the shortcut
Don't refill things one at a time. Make item loadouts, which are saved lists of what you want to bring, and then restock from a loadout at the tent. One tap pulls everything on the list out of storage and banks the rest. Set up two or three loadouts (a general hunting one, maybe a capturing one) and you'll never manually hunt through your box again.
One gotcha: if you've completely run out of something in storage, the loadout can't restock it. It's not broken, you just need to craft or buy more of that item first.
What to actually carry
Your item pouch has a limited number of slots, so don't haul junk. A general loadout that covers nine out of ten hunts looks like:
- Potions and Mega Potions for your bread-and-butter healing
- Well-done Steaks or Rations to keep your stamina bar topped up
- Whetstones for sharpening melee weapons
- Dung Pods to make a monster you don't want to fight leave
- Flash Pods to blind and stagger a monster out of an attack or a getaway
- Shock Traps and Pitfall Traps plus Tranq Bombs for capturing instead of killing
- Ammo or coatings, only if you're running a ranged weapon
Trim or add to that based on what you're hunting.
The Seikret pouch as overflow
Your on-body pouch fills up fast with monster parts and gathered junk. That's what the Seikret pouch (left D-pad / N) is for. It's extra storage you carry on the mount. Dump loot there mid-hunt so your main pouch stays clean, and pull out spares if you run dry.
Crafting and the radial menu
You can craft on the fly, combining herbs into potions and that kind of thing, right in the field. Set up your radial menu so the items you actually use sit on the stick directions, and you'll grab them without digging through your pouch mid-fight. And eat a meal before you head out. The camp cook hands out attack, defense, and stamina buffs that make a real difference in the first few minutes of a fight.
Navigating the Windward Plains and Base Camps
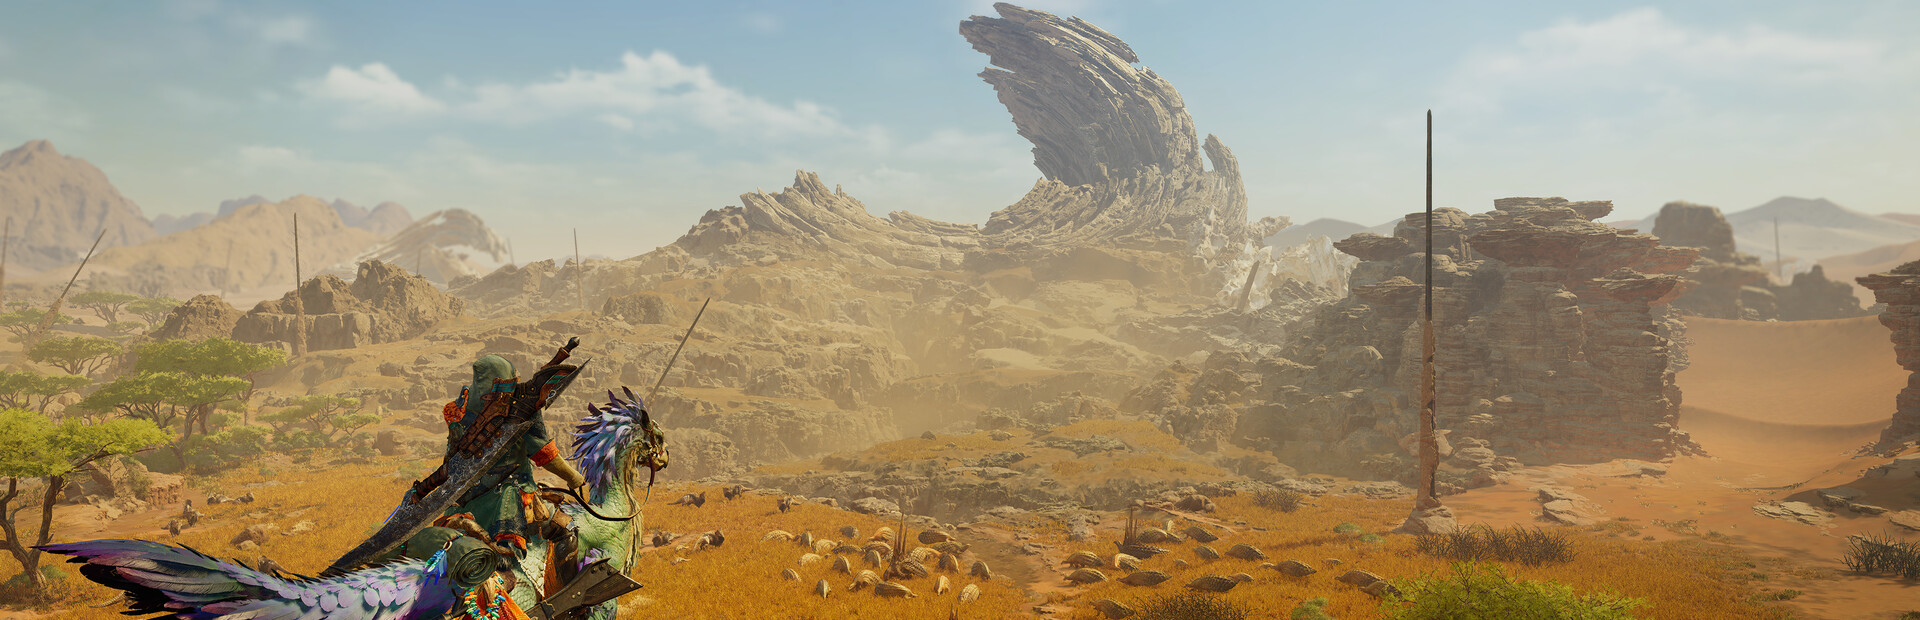
The Windward Plains is the first region you spend real time in, so it's worth knowing your way around. It's a big stretch of sandy desert, golden grass, and canyon rock spires, and it shifts depending on the weather.
The main base camp and the village
Your home base here is the Plains Base Camp. It's got everything: the tent, the smithy for upgrading gear, the quest counter, and a place to eat. From here you can fast travel anywhere you've already been.
The other key spot is Kunafa, Windsong Village, a settlement tucked into the canyons roughly in the middle of the map. The people who live here raise the Seikrets you ride, and you'll pass through during the story. It's a fast-travel point too, so it's handy for cutting across the region.
Weather changes the whole map
The Plains don't sit still. The region cycles through weather states: a calm Fallow period, a harsh Inclemency, and a lush Plenty phase. For the Windward Plains, that harsh phase is the Sandtide, a sandstorm that rolls in and changes which monsters are roaming and what you can gather. Plenty is the opposite. The land greens up, wildlife is everywhere, and gathering gets generous. You don't control the weather, but you can plan around it. Heading out during Plenty means more materials with less hassle.
Pop-up camps and fast travel
Out in the field you can set up pop-up camps at specific marked spots, like a camp in the south (around area 3), a mineral-cave camp (area 4), lookout and hilltop camps farther out (areas 8 and 9), and more scattered across the map. You can have up to five active at once, and fast travel between any camp is free and instant.
Two things make pop-up camps worth building. First, each one has a tent, so you can restock, swap gear, eat, and sharpen without going all the way back to base. Second, you can chase a monster that fled across the map by fast-traveling to the camp nearest to it.
Safe versus risky camp spots
Not all camp spots are equal. Some are marked Safe, meaning monsters will never wreck them. Others are Dangerous, so a big monster can smash a Dangerous camp and then you have to rebuild it. Early on, favor the Safe spots so you always have a fallback. Once you know the map, you can risk a Dangerous camp if it's sitting right where you need it.
The move that pays off: get a pop-up camp up near where the tough monsters hang out. Apex monsters like Rey Dau patrol specific parts of the map, and having a tent a short ride away turns a long, draining hunt into something a lot more manageable. Camp close, resupply fast, and the Plains stop feeling so enormous.