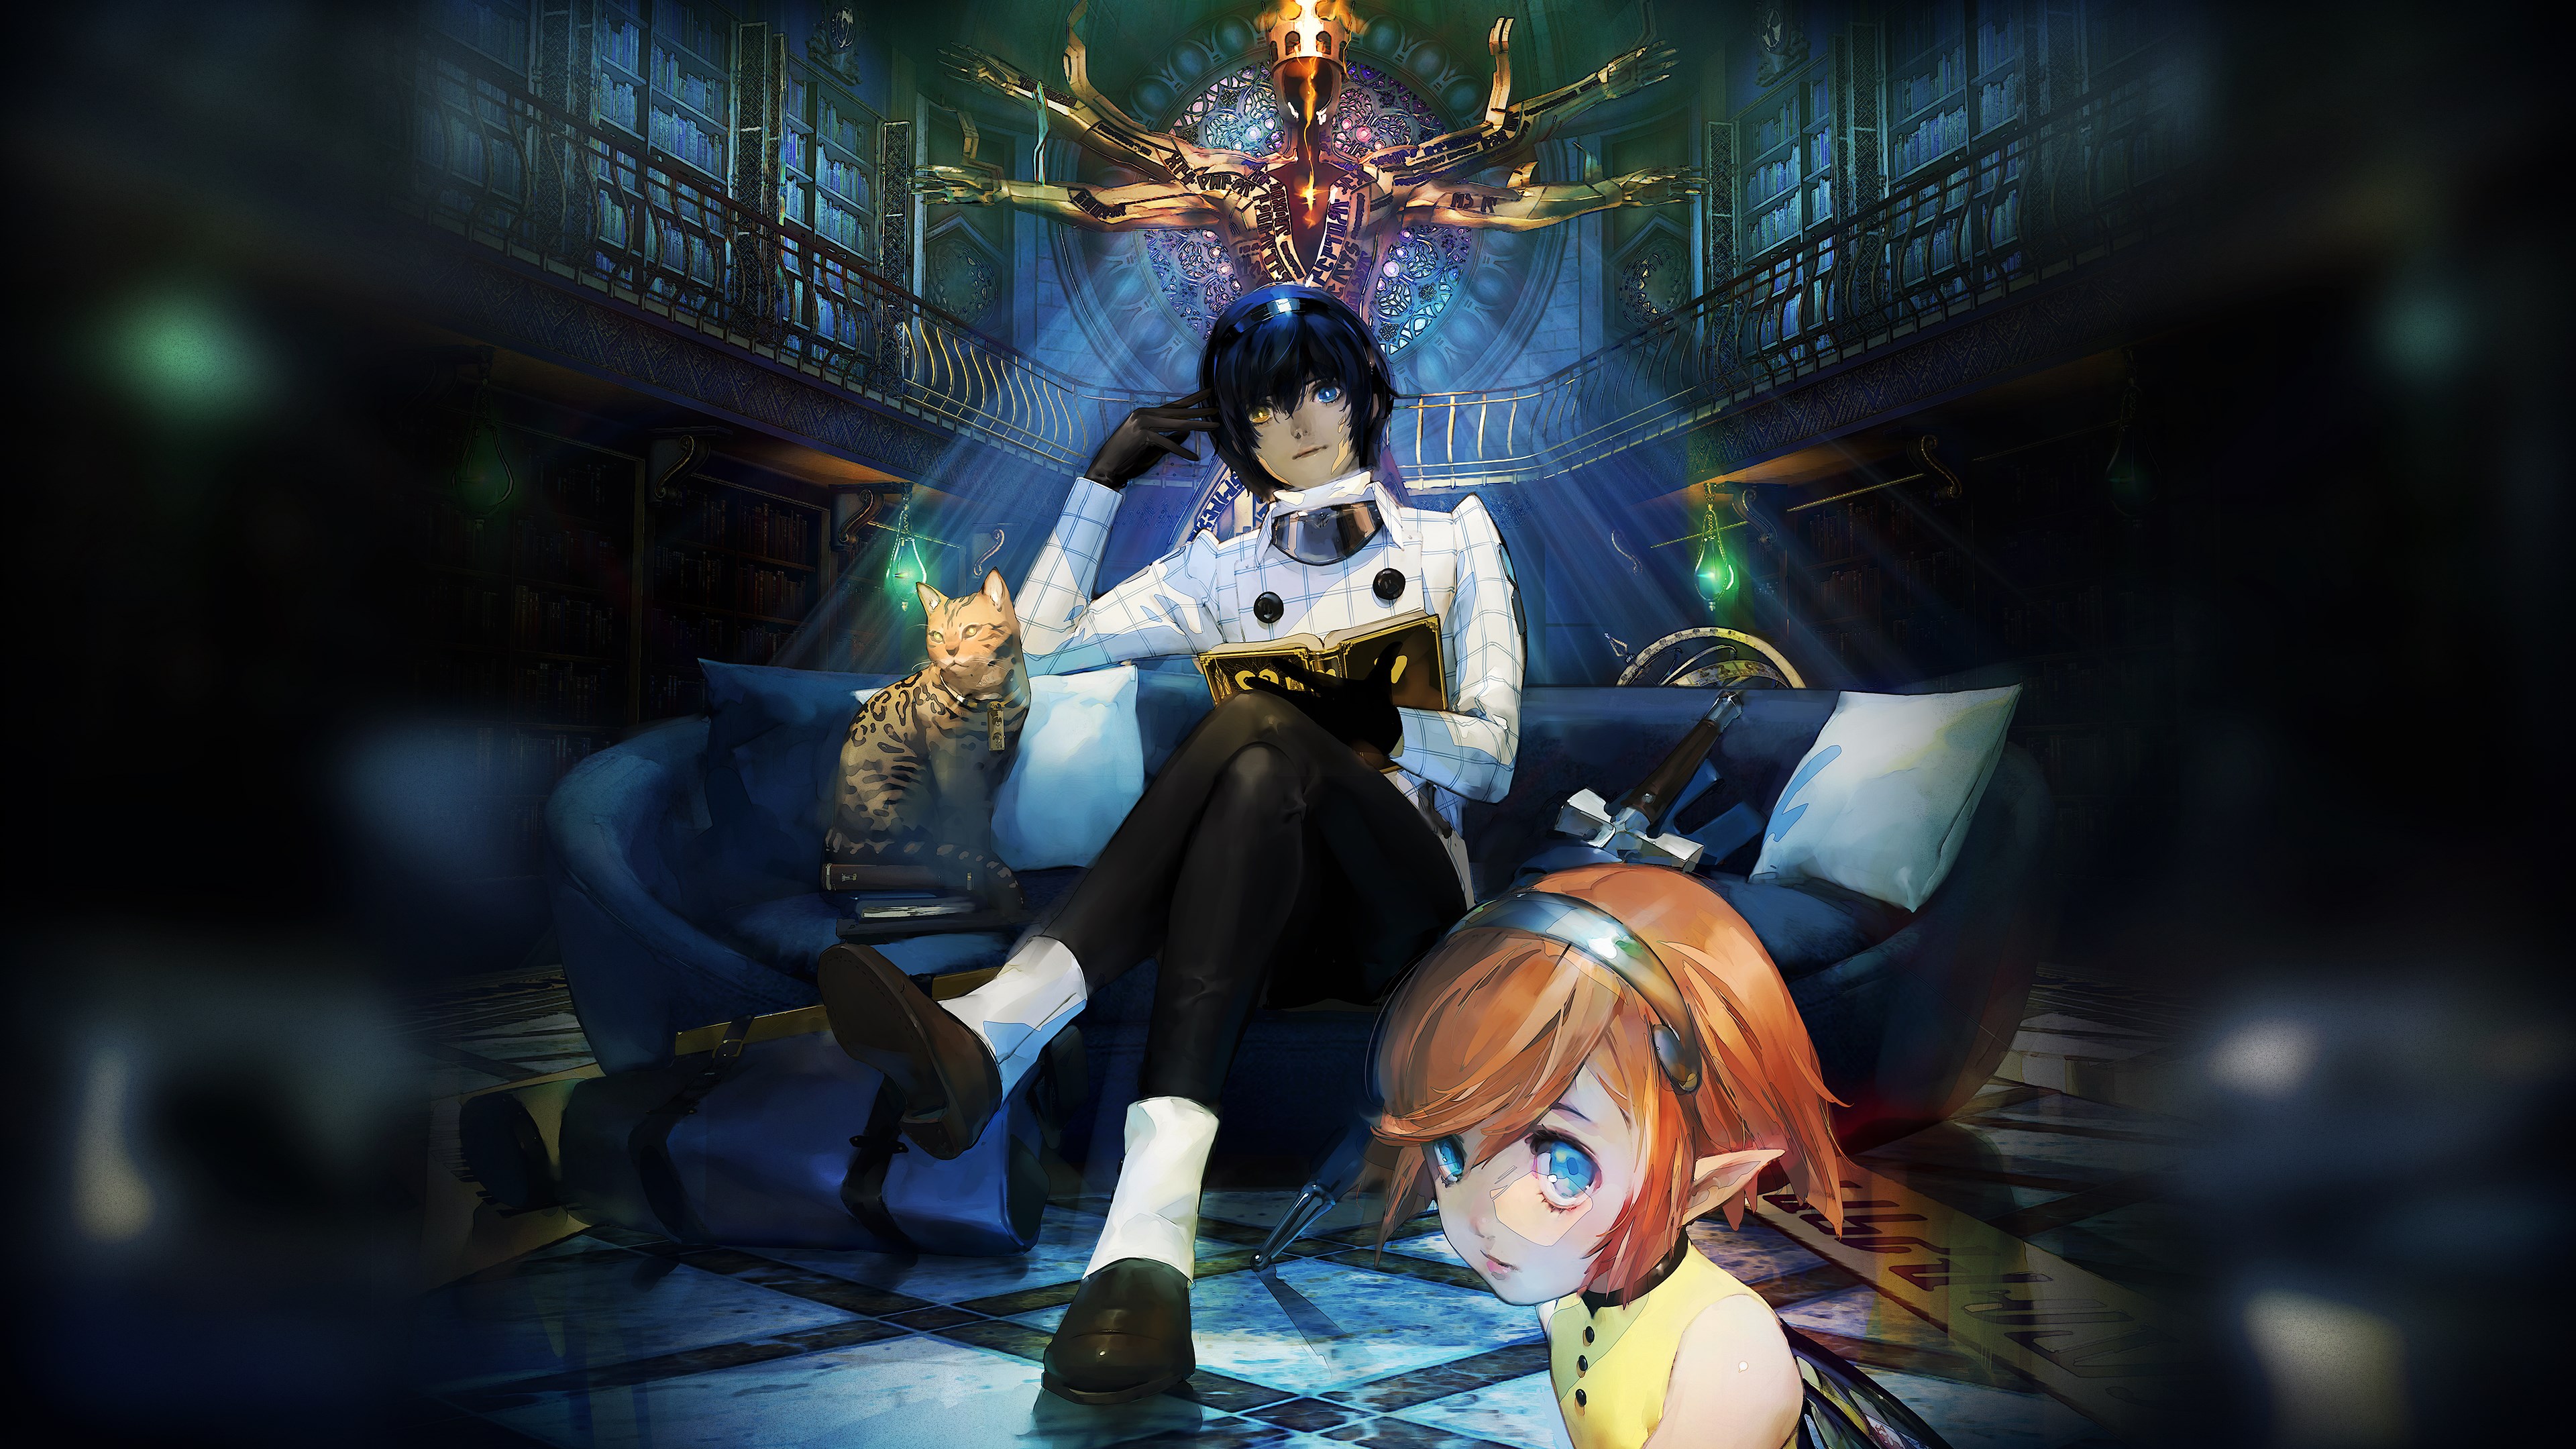
Metaphor: ReFantazio Boss Guide: How to Beat the Toughest Trials
A plain look at Metaphor: ReFantazio's hardest bosses and trials: weakness checks, party rows, Synthesis skills, and recovery for rough fights.
Boss fights in Metaphor: ReFantazio have a way of humbling you right when you think you've got the system figured out. The turn-icon setup means one bad round can snowball on you fast, and a lot of the late fights just shrug off the elemental hits you've been leaning on the whole game. The good news is that nearly every rough battle comes down to the same handful of habits: read the affinities, line your party up right, and walk in with your recovery sorted. What follows breaks down how to handle the meanest trials the game throws at you, from the first cathedral scrum all the way to the no-weakness nightmares at the end.
Reading Boss Weaknesses Before Each Fight
Affinities are the whole ballgame in this combat system, so that's the place to start. There are nine of them, and every enemy in the game leans into some and shrugs off others.
The nine affinities, fast
The list splits clean in two. Magic covers Fire, Ice, Electric, Wind, Light, and Dark. Physical covers Slash, Strike, and Pierce. That's the whole grid. A boss might be soft to one type, neutral to most, and hard or immune to a couple. Before you commit to a strategy, you need to know which is which for the thing you're fighting.
How you actually read a boss's grid
Here's the catch. You don't see a boss's affinities when the fight starts. The grid is blank until you make contact, so the fastest way to fill it in is to poke the boss with one of each damage type early in round one. Land a hit and the menu updates, showing you whether that type is a weakness, neutral, resisted, blocked, or draining you. Once you know, you stop wasting turns on junk.
Why weakness hits are worth chasing
Hitting a weakness hands you a bonus turn icon, and landing a crit does the same. Stack a few of those in one round and you're taking three or four extra swings while the boss just stands there. Flip it around and hit something the boss resists, and you lose an icon for your trouble. Hit a nullify and the turn basically evaporates. So the math stays simple all game: lean into weaknesses, stay away from everything else.
The bosses with no weakness
Now the painful part. A lot of story bosses have no weakness at all, and the list is longer than you'd guess. Homo Gorleo, Captain Klinger, Zorba, Heismay, and Archdemon Louis all sit at "none." For those fights you can't farm bonus icons off weaknesses, so you lean on crits, buffs, debuffs, and Synthesis to keep your icon economy alive. Plan for it before you walk in, because finding out mid-fight that the boss has nothing to exploit is a rough surprise.
A couple of practical habits help here. Keep one party member with a varied move set so you can probe cheaply, and carry Almighty skills in your back pocket. Almighty damage isn't resisted by anything in the game, so when a boss shows "none" across the board, Almighty is your honest, reliable damage. Not flashy, but it always connects.
Positioning Your Party for Synthesis Skills
Your battle party is four people, and where you put them matters more than you'd think. There's a real row system under the hood, and lining up correctly sets up your strongest combos.
Front row versus back row
Metaphor splits the lineup into a front row and a back row, and the game treats them differently. Front-row characters are in the thick of it. They trade and take hits, and that's where your melee jobs want to live. Back-row characters get targeted less often, which makes the back the safer spot for squishy casters and healers.
The rough rule is to park your tanks and physical damage up front and your mages in the back. Knight is the obvious front-liner because it draws aggro and eats hits for the team, and Brawler, Swordmaster, Pugilist, and Destroyer all like being in melee range. In the back you've got Mage, Healer, Magic Seeker, Gunner, Merchant, and Commander, jobs that either hit from range or buff and heal. Put a Mage next to a boss that loves to spam area hits and you'll watch your MP die before the fight's half over. Back row, they survive long enough to actually do their job.
How Synthesis skills work
Rows are only half of it, though. The real reason to think about your lineup is Synthesis. Synthesis is the combo system: two party members act together in one big move. It eats two turn icons instead of one, so it's a bigger commitment than a normal attack. The payoff is a hit that hits a lot harder or does something no single skill can pull off.
A lot of Synthesis skills hit every enemy on the field at once, and here's the kicker. The all-enemy versions often cost less MP than casting a multi-target spell on your own. So when you're staring down a pack of adds or a boss that summons friends, a well-set Synthesis is both cheaper and stronger than going solo. The Mage pairing is the classic example. A Mage on its own can only tag one enemy at a time, but pair that Mage with a Healer, a Magic Seeker, or another Mage, and suddenly you've got an area Synthesis that sweeps the field for less MP than three single casts.
Setting up your Synthesis pairs
So "positioning for Synthesis" really means two things, and both matter. First, keep the jobs that Synth together in the same four-person lineup. If your best combo needs a Knight and a Trickster, both have to be in the battle party, not sitting on the bench. Second, put those two in rows where they'll live long enough to fire it off. A front-row Knight protecting a back-row caster is doing double duty, tanking hits and standing ready to Synth when the opening shows up.
One more thing worth knowing. The Synthesis list you can see grows as you raise your Follower bonds and push Archetypes up their ranks. A pair that has nothing special early can unlock a strong combo once the jobs are ranked up and the bond behind them is leveled. If a lineup feels like it's missing its finisher, go rank up the Archetypes and the relevant Follower, then check the Synthesis menu again.
Key Strategies for Early Main Story Bosses
The early game does you a favor. Most of the first bosses telegraph their weaknesses clearly, and your job is mostly to show up with the right damage types loaded.
The Grand Cathedral and your opening tools
The very first real dungeon is the Grand Cathedral, and the enemies in there are soft to Light magic and Strike damage. That makes Healer, with its Light spells, and Brawler, with its Strike hits, your best friends for that stretch. Bring both and the trash fights basically solve themselves, which leaves you fresh for the boss at the end.
Bosses with clean weaknesses
Story bosses in the opening act follow a pattern. Some have clean weaknesses you can exploit, and some have none at all. Homo Fulquilo is weak to Ice and Strike, so a Mage slinging Ice plus a Brawler chunking it with Strike will rack up bonus icons and melt the fight. Greatworm Homo Butera and its Diabolus version are both weak to Ice too. Treebeast Alento folds to Fire. Undead Grius takes extra from Light, which lines up perfectly with a Healer in the party. For these, the plan writes itself. Match the type, farm the icons, win.
The no-weakness early bosses
The "none" bosses are where new players hit a wall. Homo Gorleo, Captain Klinger, Zorba, and Homo Jaluzo don't carry an elemental or physical weakness, so you can't just spam cheap hits and pile up turns. For these you shift gears. Open with debuffs to knock down their attack or defense, buff your own party, and let a Knight hold the front while your damage dealers chip away. Crits still grant bonus icons even when weaknesses don't, so gear and skills that push your crit rate are quietly doing heavy lifting in these fights.
Habits that pay off all game
Probe the boss's grid in round one before you commit. If something's weak, hammer it. If the grid fills up empty, switch to your no-weakness plan right away instead of wasting three rounds hoping Ice will suddenly start working. Keep a Healer on the team early, partly for Light damage and partly because reviving a fallen ally mid-fight can save the whole attempt. And don't sleep on Synthesis even in chapter one. A two-icon combo that chunks a third of a boss's bar is often worth the cost.
Strohl and Hulkenberg are your early anchors. Hulkenberg makes a fine Mage for poking elemental weaknesses early on, and training her in Mage also opens the path to the better Knight tiers she'll want later, so the effort isn't wasted. Strohl brings the physical damage. Between the two of them you can cover most of the damage grid before the rest of the cast even shows up.
Handling Late-Game Trial and Optional Bosses
This is where the gloves come off. The optional and trial bosses are the real "toughest trials" the title is hinting at, and a lot of them drop the crutch you've been riding all game.
Optional bosses that still carry weaknesses
The optional bosses that do have weaknesses are at least manageable if you prep. Fire Dragon Mauna, Grotesque Guptauros, Maneater Manjula, and Alpha Rockworm Valmo are all weak to Ice, so a Mage or a Magic Seeker with Ice loaded up will carry those fights. Catherina the Bounty Queen and Milo the Adonis fold to Fire. Kadablich and Fatolich take extra from Light. Roger the Libertarian and Orgas hate Dark. Demo Man Goddard and Rudolf the Roussainte Lion are soft to Electric. Same plan as always. Scout the grid, slot the right type, and farm the icons. Bring the matching element and these fights shorten up fast.
The no-weakness nightmares
The ones with no weakness are a different animal. The Devourer trio, made up of Devourer of Nations, Devourer of Stars, and Devourer of Flames, plus the Redscale Apocalypse Dragon, Elegy of the Souls, Mad Sanctor Hyperic, and the late Louis fights (Archdemon Louis Charadrius, Louis Guiabern, and Destroyer Charadrius) all sit at "none." You're not getting bonus icons from affinities here, so the fight becomes about everything else in your toolkit.
For these, debuffs are your best friend. Knock the boss's attack down so its big turns don't wipe a row, and strip its defense so your damage actually lands. Stack your own party's buffs on top. Lean on Almighty damage since nothing resists it, and spend your icons on your strongest Synthesis combos because that's what's going to hurt. A Knight holding the front while three back-row dealers pour damage into the boss is a solid default shape for a no-weakness fight.
Trial and Dragon Temple runs
The trial content is its own thing. The Dragon Temple runs are the game's gauntlet-style challenge, and the three Polar Stones you hunt down in there open up the tougher encounters. Treat trial runs like a marathon, not a sprint. Your MP has to last the whole stretch, so blowing your best spells on the first screen is how you limp into the boss with nothing left. Pace yourself, use cheap pokes on the trash, and save the Synthesis bursts and big spells for the actual threats.
The final month of the game is the hardest stretch by a mile, and the game knows it. This is when you mop up side content, finish your Followers, and stock up before the last day. Walk into the endgame with your Archetypes ranked up, your best Synthesis pairs set, and a bag full of recovery items. The closing bosses hit hard and don't hand you weaknesses to lean on, so you want every other advantage stacked in your favor before you commit.
Recovery Items and Retry Tactics for Hard Fights
MP is the real boss of most dungeon runs. Your HP bounces back fine, but MP drains over a long gauntlet, and once it's gone your casters are just expensive paperweights.
MP and cooking
Managing MP is the difference between rolling a boss and limping out to retry. The main rule is to not burn your pool on fights you can win with cheap physical pokes. Save the spells for the affinity hits that actually earn you bonus icons.
Cooking is the single best recovery tool in the game, and it's easy to sleep on. Cook with More before a tough stretch and you'll have dishes that restore HP and MP, plus food buffs that stick around for several battles. A good dish before a boss can refund a chunk of MP mid-fight or hand you a stat bump that genuinely matters. Make a habit of cooking whenever you're heading into a long dungeon or a known boss. It's cheaper than you'd think and the buffs add up over a run.
Items, incense, and rest
Beyond cooking, pack the basics. Healing items keep a squishy dealer alive when the Healer's busy doing something else. Revive items rescue a KO'd ally so you don't burn a precious turn on a skill. Stat-boosting incenses give you an edge on the fights where every point of attack counts. And when you're back in town, rest at an inn to fully refill HP and MP before the next run. None of this is glamorous, but a prepared bag wins the fights your lineup alone can't.
Then there's MAG, the currency you spend to unlock and inherit Archetypes. Late-game fights assume you've got a deep bench of jobs ranked up and cross-pollinated with inherited skills, and all of that costs MAG. If you're hitting a wall, the issue often isn't tactics, it's that your Archetypes are under-leveled. Four Merchants with the Debt Collection skill at rank 20 can farm MAG off enemies, which is a grindy but reliable way to top up before a wall. Spend it on the Archetypes your Synthesis pairs actually need.
Difficulty and retries
Now the part nobody likes to talk about. It's fine to drop the difficulty. Metaphor lets you change difficulty freely, including mid-playthrough, with no penalty of any kind. If a boss has you stuck after a few honest tries, knock it down to Easy or even Story, get past it, and bump it back up later. There's no prize tied to suffering through on Hard, and the game is long. Don't let one fight kill your momentum.
When you do wipe, and you will, the game lets you retry the fight instead of kicking you all the way back to your last save. Use that retry as information. What actually killed you? Was it an area hit you could've tanked with a Knight up front, an MP drought you could've fixed with a cooked dish, or a weakness you missed because you didn't probe the grid in round one? Fix the one thing, then go again. Small adjustments beat brute force every single time.
Save often, and save before anything that feels like a boss door. The calendar system means some fights are tied to deadlines, and walking into a timed encounter under-prepared is a rough spot to be in. Quick-save before the fight, take your shot, and if it goes sideways you've lost nothing but a minute. The toughest trials in this game aren't really about reflexes. They're about going in prepared, reading what the boss does, and adjusting between attempts. Do that and even the no-weakness nightmares at the end start to fold.