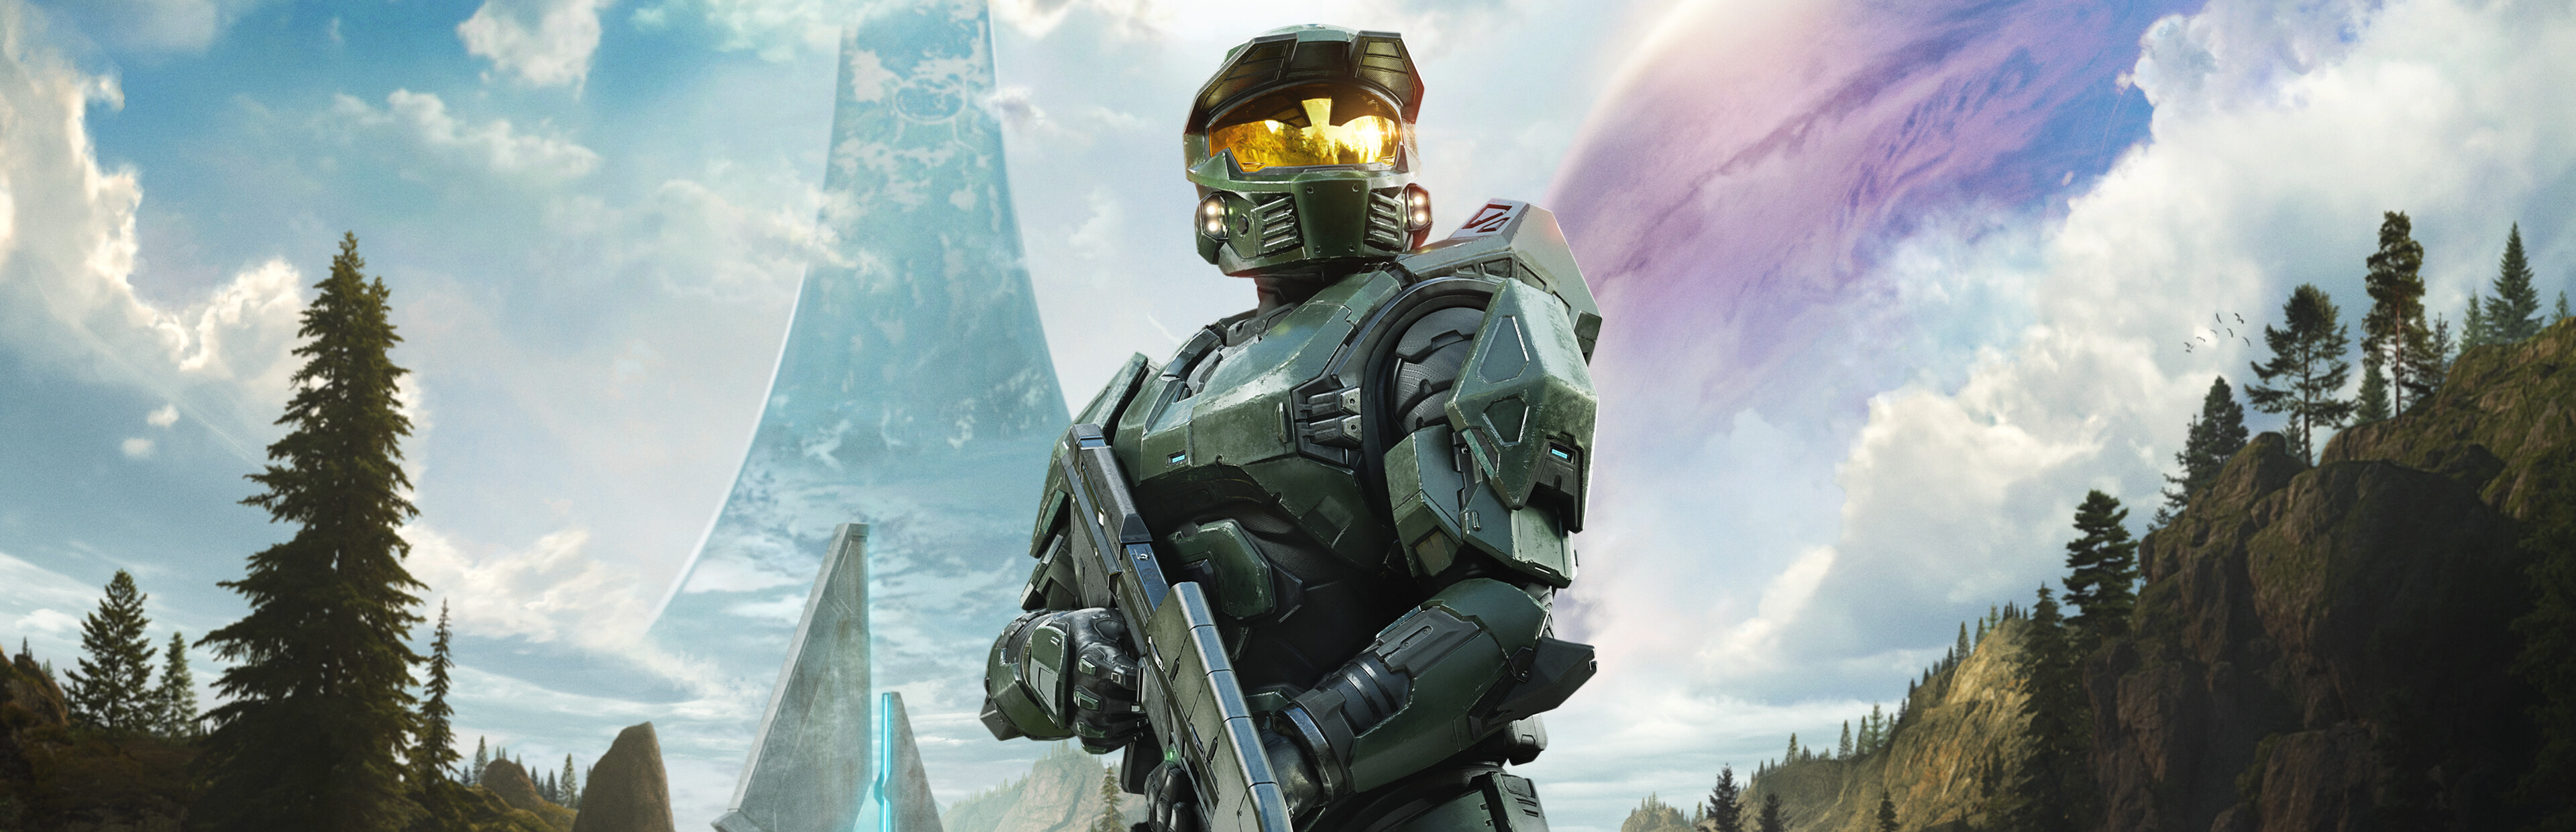
Halo: Campaign Evolved Walkthrough: Every Mission From Pillar of Autumn to The Maw
A beginner mission-by-mission walkthrough for Halo: Campaign Evolved, from the opening ship escape to the final Warthog run to the Longsword.
Halo: Campaign Evolved is the 2026 Unreal Engine 5 remake of the original Combat Evolved campaign, and all ten classic missions made the trip in one piece. You start asleep in a cryo tube and you end flat-out in a Warthog, racing a reactor blast through a crashing starship. Same ring, same fights, with fresh paint and some new toys layered on top.
Setup notes before the drop. The game runs solo, in two-player splitscreen on console, or with up to four online, and a Normal-difficulty first run treats you gently. Three prequel missions under Operation: Meteorite (Boarding Action, The Most Dangerous Game, and Heavy Burden) star Chief and Johnson a year before the ring, but Halo Studios suggests playing the classic campaign first. Every mission also hides three skulls and one terminal, and collecting all four pays a trophy (Clean Sweep for mission one). Skulls are just cheats you toggle before a mission starts.
Here's the classic run at a glance:
| # | Mission | The short version | | --- | --- | --- | | 1 | The Pillar of Autumn | Escape the boarding action, grab Cortana, bail out in a lifeboat | | 2 | Halo | Crash-land, save survivors at three lifeboat sites | | 3 | The Truth and Reconciliation | Night raid on a Covenant ship to rescue Captain Keyes | | 4 | The Silent Cartographer | Beach assault, then unlock the map room's security | | 5 | Assault on the Control Room | Tank run up the mountain to Halo's control room | | 6 | 343 Guilty Spark | A swamp patrol that goes very wrong | | 7 | The Library | Fight up floor by floor for the Index | | 8 | Two Betrayals | Same mountain backwards, at night, with everyone fighting | | 9 | Keyes | Back into the crashed Truth and Reconciliation for the Captain | | 10 | The Maw | Blow the Autumn's engines and outrun the blast |
Pillar of Autumn and Halo Escape Sequences
From the cryo tube to the bridge
The Autumn opens with Covenant boarding parties tearing the ship apart, and you wake up with empty hands. One Elite gets pulled away by marines early on, so just slip past him. Cut through the armory, follow the corridors, and you'll hit the bridge, where Captain Keyes hands you Cortana. From that point the ship does your wayfinding for you: red, blue, and yellow lines painted on the floor run the whole route.
Once Cortana's in your helmet, Chief picks a Magnum up off the ground automatically. Take the Grunts in the mess hall apart with headshots, then swap a Plasma Pistol off one of the bodies. That's the bread and butter for the entire campaign, and it's worth practicing right here where the level is friendly. Fully charge the plasma shot, tag an Elite to melt its shields, swap, and headshot. There's a small gap between the swap and the first Magnum shot in this remake, so get the rhythm down here, where it's safe.
Two things worth knowing on this ship. Drop pods hold a pair of Overshields each, and overshields work like equipment now - pocket them, pop one when you need it. And when a pod door bursts open, a grenade in the doorway deletes most of what comes out.
The lifeboat dash
The back half of the level is one long fight toward the lifeboat bay. The access hatch crawls are a mild maze; the working path is forward, left, left, right, left, right, forward, with Elites lurking in the side halls. You'll pass a room overlooking the cryo pod you woke up in, with white Elites stomping around below - they can't reach you up there, so enjoy the show. The last stretch throws an orange Elite and friends at you near the waypoint. Clear them, hop the barricade, and step into the life pod. Collectibles: the Speed Limit skull (disables sprint) on a first-room walkway, Magnified (60-round AR magazines) on the lockers, Perspective (third-person camera) in a bridge alcove, and the Approach terminal in a corner room after the cryo overlook.
Halo: the crash site and the valley
Your lifeboat slams into the ring and the second mission starts with hide-and-seek: a Covenant dropship swings by to check your pod, and you want to be gone when it arrives. Two Banshees patrol overhead after that. Ignore them or burn Magnum rounds until they drop.
The valley is the first big arena. Marines hole up in a structure ahead while dropship waves keep coming - watch the flanks, since red Elites push hard. The shielded Jackals are genuinely nasty in this version: the shield notch that used to make them flinch barely works now, so wait for them to swing it open or strip them with a charged plasma shot. Once the valley clears, Foehammer drops a Warthog (four seats now, thanks to a bumper seat in back) and Cortana sends you after three lifeboat crash sites. Counter-clockwise from the Cliffs is the smoothest loop. The Rocks brings your first Jackal snipers with Beam Rifles - watch for the pink glint of their scopes, ambush one, steal the rifle. Saving marines is optional, but every friendly gun counts.
Truth and Reconciliation Infiltration Strategy
The night approach
Mission three starts quiet: you drop in with a sniper rifle and 64 rounds, facing a camp of sleeping and patrolling Covenant. Snipe the Elite first - killing the leader sends the Grunts into a panic - and take your time, since the marines hold fire until you do. Resist the turrets scattered through the approach. Climbing into one turns you into a target, and it's far safer to bait the crews out and pick them off. Grab the Beam Rifle on the ramp overlooking the big arena (one of the remake's new guns), save the UNSC sniper for Elites, and pocket the Active Camo near the tunnel - it's equipment now, so save it for a bad moment.
Boarding through the gravity lift
The lift area is a war of attrition. Clear the pad, then watch the beam itself - fresh Covenant ride it down, so drop a grenade on the platform and let it greet them. Dropships stack on top of that. Eventually two Hunters come down the lift, and they're the first real wall of the campaign. A stuck plasma grenade solves a lot of it. Sniper rounds to the neck work from far enough away that they'll show you their backs. Out of options? Grab an assault rifle and dance around the little spikes on the lift platform until one Hunter gets confused and turns around. The Iron skull sits on a ledge below the cliff edge by the lift, and its effect is rough: solo deaths restart the entire level.
Inside the ship
The Truth and Reconciliation's real enemy is ammo. The good guns run dry fast, so scavenge everything. The first cargo bay has a Wraith parked in a corner - the turret on it is bait, since the Covenant will happily blow the whole tank up with you in it. Stealth Elites with glowing energy swords come next, and the glow gives them away. The sword is usable in this remake, though it takes several swings on a white Elite, so pair it with the camo. Another Hunter pair marches through a garage door; grenades and back-shots carry you through. Johnson waits at a locked door, which sends you looping through the hangar and up a ramp to hit the release. The Endurance Spec skull (UNSC vehicles can't take damage) sits on the curved support struts on the upper walkway.
Springing the Captain
The last stretch is a long raised walkway with enemies on your level, below you, and staring in from the right. Move cover to cover and don't rush the edge. Push through to the hangar, link up with Captain Keyes, and clear a path off the ship. The Captain walks at a walk, so stay ahead of him and keep the route swept.
Silent Cartographer Vault Puzzle Walkthrough
The beach landing
Mission four opens with the series' famous beach assault. You start with an assault rifle and a Magnum; trade the rifle for a dead Grunt's Plasma Pistol almost immediately and go back to the old combo. After the beach clears, Foehammer drops a Warthog. You can actually skip the next fight entirely: drive through the water on the right, hook left, and take the ramp up past most of the guards. The main map facility sits at the top, and the Warthog's turret makes short work of whoever's home.
The locked door
Here's the level's "vault puzzle," and it's less a puzzle than a key errand. You push inside, head down the ramp, and Cortana starts reading the Cartographer - until the Covenant slam a security lock on the door deeper in. The fix lives somewhere else entirely: a security substation up the coast. So it's back outside, into the Warthog, and off to flip the switch. Before you go: the Bandana skull (infinite ammo and grenades) waits in a cave up and to the left as you exit the locked-down lower level. It's maybe the most fun skull in the game for a second playthrough.
The Hunter arena
The path to the substation runs through a circular arena with an arch in the middle, guarded by two Hunters. The trick is rotation: circle the arch pillar the opposite way they circle it, and they'll overshoot and flash their orange backs at you. Pour assault rifle fire into the worms back there and they drop surprisingly fast. There's an overshield in a cliff cave on the way (plus more in the arena), and the Acrophobia skull - hold jump to fly - sits on top of the central structure if you can walk the beams. Past the arena, park on the hill above the sand and burn the Covenant below from the Warthog's turret. Ammo you don't spend here is ammo for later.
The override and the ride back
Inside the station waits another Hunter pair in tight quarters, and honestly? The clean play is to pop an overshield and run right past them to the holopanel. Flip it, security drops across the whole island, and you get the cutscene with the sword Elite waiting behind the door back at the main base. On the return trip, swing by the downed Pelican - there's a Rocket Launcher in the wreckage - and answer the two Hunters out front of the base with rockets instead of heroics. Back inside, grab the Hip Fire skull on the lower level, watch the map room cutscene, and take the shaft down to end it.
Assault on the Control Room and 343 Guilty Spark
Interiors, bridges, and floor arrows
Mission five drops you alone on a snowy balcony and immediately rushes you. Priority one is keeping Covenant out of the turret seats; if one climbs in, a frag grenade settles it. Indoors, the rule that carries the whole level: when in doubt, follow the arrows on the floor. The first bridge out has a pair of turrets plus a Banshee looping in from the left - the charged plasma shot disables Banshees, which turns them into free kills. A little later, two Hunters share a room with you. Magnum rounds into an orange back plus every grenade you own handles one; play hide-and-seek through the maze-like room with the other. Most rooms along the way have a dead marine somewhere with Magnum ammo, so keep the pistol.
The snowfield and the Scorpion
The outdoor field is the hardest checkpoint in the level: a turret on your left, a Ghost hunting you, a turret across the plain, a Wraith past the rocks to the right, and a small army of Jackals and Grunts in between. Run for the flipped Warthog, grab the Rocket Launcher beside it, and fall back. Three rockets kill the Wraith; two plus a grenade works if you're scraping by.
Past that misery waits the fun part: a Scorpion tank nobody's driving, and it is a monster in this remake. Most targets die in one shot and the rounds don't drop, so snipe with it. Load the seats - gunner and both treads - with marines and keep them alive, because they matter for fights later. Creep forward, pop the turrets off bridges before the Wraiths can answer, and duck into the monolith at the forked path for the Tangent I terminal. The climb continues over bridges and past a Wraith parked on the high ground until you reach the ziggurat and the control room itself, where the game finally tells you what the ring actually is. It's not a shelter.
343 Guilty Spark: the swamp goes wrong
Mission six is a horror story in disguise. Grab the SMG at the burning Pelican - it's shorter-ranged than the rifle but strong, and it'll matter soon. From there the mission whispers at you: an empty turret nobody's guarding, Covenant running from something that isn't you, and eventually a marine on the ground who shoots at you. Then the Flood show up, and the game turns into a zombie shooter.
Infection Forms swarm in little waves; Combat Forms are the reanimated marines and Elites. Shoot the infection pod riding a Combat Form's torso - look for the antenna - to drop them for good. And this remake means it when the objective says "Escape": once your original door blows open, throw a grenade at the pack and run, don't full-clear. Red Elite Combat Forms carry big shields; skip them entirely. Before you climb out, trade the Magnum away for two automatic weapons (assault rifle and SMG is the classic pairing). The pistol's job is done - plasma and bullets to the body is the language the Flood understand.
The Library Flood Gauntlet and The Maw Escape
Two missions sit between the Library and the finale, and they're both remixes. Two Betrayals runs the Assault on the Control Room map backwards at night, with Covenant, Flood, and Sentinels all shooting each other; your job is wrecking the conduits at three pulse generators. Keyes sends you back into the crashed Truth and Reconciliation to recover the Captain and what Cortana needs to blow the Autumn's engines. Both are shorter than they sound.
Library survival rules
The Library is the infamous one, though this remake's version is the friendliest yet - same layout, better signposting, and arrows on the floor pointing the way whenever you lose your floating tour guide. The rules that get you through:
- Follow 343 Guilty Spark and let him open doors. When he stops to hack one, the Flood catch up, so remember what you ran past.
- Pop Infection Forms fast. Left alone, they re-raise the Combat Forms you just spent ammo dropping.
- Kill Carrier Forms at range. They're the bulbous ones, they explode, and at close range that explosion ends you.
- Take the Sentinel Beam whenever a Sentinel "donates" one. It cooks Flood like nothing else. Just know that burnt-looking bodies can still get re-raised, so keep moving.
- Grab the shotgun on the elevator ride down. Combat Forms jump aboard carrying shotguns, and a dead Elite form by the exit has one too.
The Flood in here aren't infinite, but there are a ton of them, so running past stretches is a legitimate plan rather than a failure state. The Tilt and Pop skulls both sit up on the structure's ledges and beams, the Tangent III terminal hides past a flood-pustule doorway after the first lift, and all four collectibles pay the Timeless Tomes trophy. Fight up floor by floor, take the Index at the top, and let Guilty Spark teleport you out.
The Maw: back where you started
The finale opens inside the crashed Autumn with genuinely bad guns, so improvise. Toss frags down the access hatch from above before dropping in after them, melt the Sentinels with your plasma rifle, then take a dead Sentinel's Beam for yourself and the shotgun by the escape hatch. From there, follow the floor lines - the same painted lines from mission one - toward the bridge. The mess hall Grunts carry Fuel Rod Cannons; kill them and take one, because free explosives are free explosives. Stealth Elites wait on the bridge itself. Along the way: the Arrival terminal in a mess hall alcove, and the Stowed Reload skull (stowed weapons keep reloading) in the burning back corner of the cryo pod room where the whole game began. Stock up on rockets and grenades in the armory before engineering. You'll want them.
Four cores
The reactor room is the closest thing to a boss fight in the game. Take the ramps on the left up to the top, jump from the boxes onto the reactor coil, and follow it to the platform with the marked computer. Hold reload at the console, back off while the coil retracts, then put a rocket or grenade into the glowing fusion core it exposes. Do that four times. The enemies never stop spawning in here, so play it as a loop: hit the console, hide, find your angle, fire, repeat. The Boom skull (explosion radius doubled) sits on a narrow ledge in this same room, for the rocket-happy.
The last Warthog run
An elevator ride up drops you in a garage with Warthogs, and then it's one of the great final drives in games. Hang left out of the garage, punch through the Covenant ahead, take the massive door, U-turn at the bottom of the ramp, run the middle ramps, hit the big jump onto the sand, and squeeze back inside the Autumn through the debris. Stop at the rendezvous and wait for Foehammer, who can't make it. Punch it. The rest is columns, dips, sick jumps, and everything on fire. The Thunderstorm skull (enemy ranks upgraded) sits halfway along the second shortcut tunnel, if you want the drive spicier.
The final hangar is the only real trap left. Boxes block the vehicle route, so ditch the Hog and go on foot - and don't fight anybody. Jump on top of the barrier blocks, sprint the ramp to the Longsword, and ignore the Hunters and Combat Forms completely, because a timer is running and your kill count isn't on it. The moment you're up that ramp, you've finished Halo: Campaign Evolved. The barrier-hop is the whole trick: the boxes look like a dead end, but the game never says you can't just go over them.