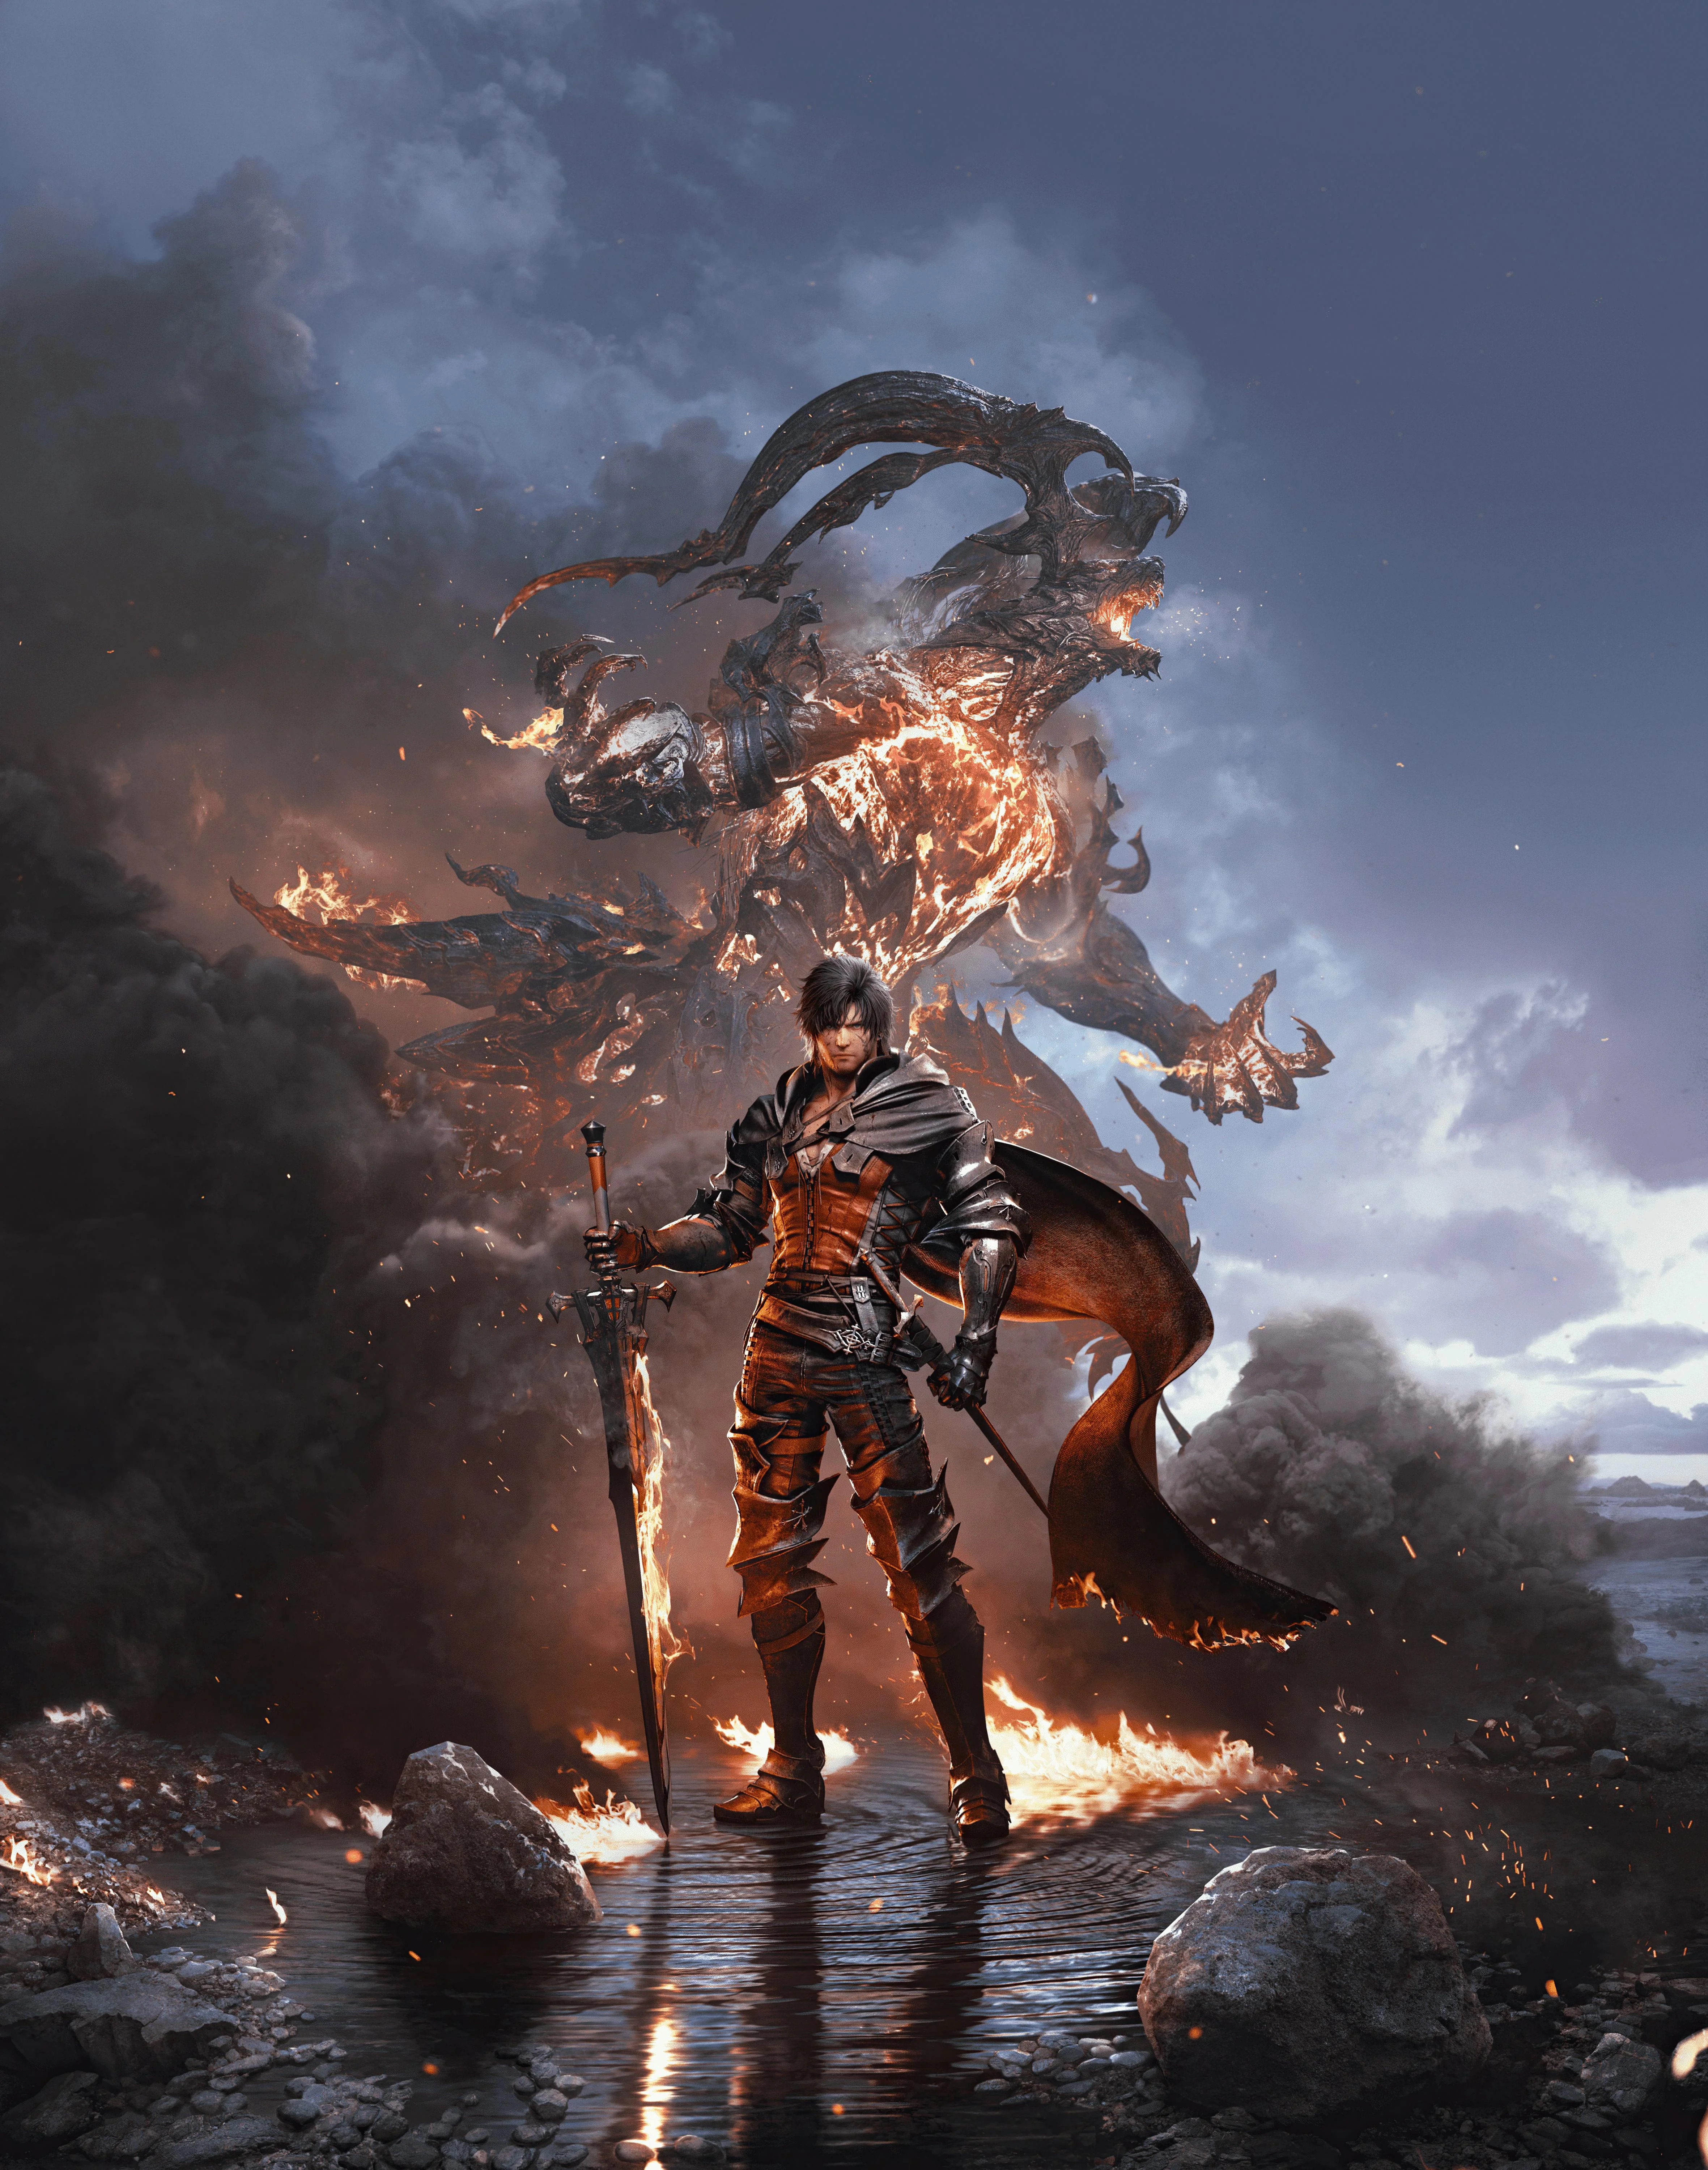
Final Fantasy XVI Best Eikon Ability Builds for Every Playstyle
How to mix and match Eikon abilities in Final Fantasy XVI for launches, crowd control, tanky counters, and ranged boss damage.
Final Fantasy XVI throws a big pile of Eikon abilities at you, then says pick six. Three Eikons equipped, two ability slots on each, plus every Eikon's core feat that always stays on. That little kit is the whole game. Most of your power comes down to which six you choose and how well they feed into each other.
The nice part is that a handful of combos do most of the heavy lifting, and they cover just about any fight you bump into. What follows is five loadout ideas split by playstyle, from close-range Phoenix chains to ranged Bahamut setups. Every name and mechanic here is straight out of the base game, so nothing needs the DLC.
Phoenix Shift and Rising Flames Combo Setups
Phoenix is the first Eikon you get, and its kit is the friendliest in the game. The core feat, Phoenix Shift, is a gap closer. You phase straight to a target with almost no windup, and it's the move you'll press more than anything else, since Final Fantasy XVI rewards staying glued to the enemy. Rising Flames is the ability you pair it with for a clean launch combo.
What Phoenix Shift actually does
Phoenix Shift closes the distance to a locked-on target in a blink, and it lets you follow up with a free sword slash or a burst of magic. A few things make it better than it sounds:
- It works on flying enemies, which solves one of the early-game headaches
- It has no cooldown, because it's a feat rather than a slotted ability
- It doubles as a soft escape, since shifting to a different target pulls you out of the spot you were standing in
The shift itself does no damage. The value is in the follow-up. You arrive at the enemy and immediately get a slash or a magic shot for free, so the trip is never wasted.
The Shift into Rising Flames launch
Rising Flames summons a fire wing that hits hard for how fast it comes out, and it pops smaller enemies straight up into the air. The bread-and-butter chain is simple: Phoenix Shift in, Rising Flames to launch them, then keep the combo floating in the air. Tapping the magic button during your sword swings (a Magic Burst) keeps them suspended while you wail on them. The cooldown on Rising Flames is short, so you can run this loop a lot.
For bigger enemies that won't launch, Rising Flames still does solid damage, so it's never dead weight against a boss.
The second Phoenix slot
Your second Phoenix ability has a few good options depending on the fight:
- Heatwave throws up a wall of fire that spits projectiles back out. Time it to swallow an enemy projectile or spell and the cooldown drops way down and the damage jumps. Great against casters, kind of a pain to time at first.
- Scarlet Cyclone is a spinning area attack that hits everything around you. Decent for crowds early on, but you'll outgrow it.
- Flames of Rebirth is the Phoenix super. It heals you and hits a wide area. Handy, but the heal is small and the damage isn't special compared to other supers.
For a Phoenix-focused loadout, Rising Flames plus Heatwave covers single targets and projectile countering in one Eikon. Nine times out of ten people lean Rising Flames because it pulls its weight in every fight, where Heatwave only shines against ranged enemies.
Garuda Abilities for Crowd Control and Launches
Garuda is the second Eikon and the undisputed king of stagger. Where Phoenix is about flow and rhythm, Garuda is about wrecking the Will Gauge so fast the enemy never gets to act. Her feat, Deadly Embrace, is a grab that yanks small enemies toward you, or, against bigger foes, flings you up into the air next to them. Once you see all the uses, it's one of the best feats in the game.
Putting Deadly Embrace to work
Against trash mobs, Deadly Embrace is crowd control. You pull a stray enemy out of a pack and drag it into your sword range. Against flyers, it plucks them out of the sky and drops them right in front of you. Against elites and bosses there's a second function: when an enemy is partially staggered and their Will Gauge is flashing, Deadly Embrace slams them to the ground and holds them helpless a beat longer. That extra window is a big deal for dumping damage.
Gouge and Wicked Wheel for launching
- Gouge summons two claws that shred a target, and you can mash the button for extra hits. The raw damage is low, but the stagger is enormous, and it locks small enemies in place. This is your go-to for chewing through a boss's Will Gauge.
- Wicked Wheel spins you into the air and launches small foes with you. Great for starting aerial combos, and you can use it while airborne too. The startup is a touch slow, so don't lean on it when something is already mid-swing.
A classic Garuda loop looks like this: Deadly Embrace to drag a boss down during partial stagger, Gouge to shred the rest of the gauge, then unload your heavy hitters while they're staggered and can't fight back.
Rook's Gambit and Aerial Blast
Rook's Gambit is a counter. Clive dashes back, then strikes out with a claw. If you slip an attack in that back-dash window, the follow-up hits way harder and the stagger goes through the roof. Miss the timing and you eat the hit, so it's high risk for high reward.
Aerial Blast is Garuda's super, and it's arguably the strongest stagger tool in the whole game. A huge tornado spawns, tracks enemies, and sweeps small ones up off the ground. It hangs around dealing continuous damage, which means you cast it and then go nuts with everything else while it works. Against a single boss, the tornado sticks to them and melts the Will Gauge on its own.
Garuda pairs with Phoenix naturally, since Phoenix Shift repositions you and Deadly Embrace controls the field. That combo covers most of the early and mid game all by itself.
Titan Abilities for Tanky Counter Builds
Titan is where the game hands you a shield and says go ahead, hit me. The feat, Titanic Block, puts a block on a button, and it genuinely changes how you play. Instead of dodging everything, you can stand in front of big swings and punish them. For anyone who doesn't love the precision-dodge timing, Titan is a relief.
Titanic Block and the perfect block
Hold the button and a Titan arm absorbs normal hits and spells. The catch is that really heavy blows can break the guard and chip you. The payoff is the perfect block. Press block right as an attack lands and you negate it completely, even the big ones, and you get a unique counterattack for free.
Perfect blocks take practice, but once they click, Titan feels almost unfair. You stop running from telegraphs and start fishing for them, because every blocked swing is a free hit back.
Windup and Upheaval for damage
- Windup is a charged Titan punch. Hold the button and release on the red part of the timing circle for huge damage, one of the hardest-hitting standard abilities in the game. Great as a finisher on a staggered boss.
- Upheaval slams the ground for area damage. It hits harder if you use it in the air, and it's chargeable like Windup. Good for crowds, though squeezing max damage out of the aerial version is fiddly.
Raging Fists for the counter playstyle
Raging Fists is Titan's counter ability and the heart of a tanky build. Clive steps forward with his guard up, and if an attack lands during that window, the follow-up punch flurry gets way stronger, time freezes for a second, and the cooldown drops. Spam the button during the flurry for extra hits.
Used raw, Raging Fists is weak. Used as a counter, it's one of the best damage and stagger tools you have. Stack it with Titanic Block's perfect-block counters and you're punishing the enemy for every single swing they throw.
Earthen Fury
Titan's super rips up a chunk of the battlefield and tosses small enemies. Big single-hit damage, long range, and time stops on activation. Against trash it clears the screen. Against a big boss the damage can feel flat, since they don't get launched, so save it for crowds.
A Titan build leans on taking hits and hitting back harder. Pair it with Phoenix for some mobility, because Titan is slow, and you've got a loadout that walks through most story fights without much dodging at all.
Ramuh and Bahamut Ranged Damage Combos
If you'd rather not stand right next to the thing trying to kill you, Ramuh and Bahamut are your two ranged Eikons. They play differently. Ramuh is about setup and burst, while Bahamut is about charging up and then dumping it all at once. Both let you pile on damage from across the arena.
Ramuh's setup game
Ramuh's feat, Blind Justice, fires lightning orbs that stick to enemies. Once a target is tagged, your normal attacks and abilities pop extra lightning on them. The setup takes a second, so it isn't as plug-and-play as some other feats, but the payoff builds up over the course of a fight.
The standout abilities here:
- Lightning Rod drops a lightning ball that discharges when struck. Hit it yourself for solid damage, but the real numbers come if an enemy hits it, since that blast is way bigger. Drop it between you and a boss and bait their attack into it.
- Pile Drive slams the staff for a wide shockwave. Fast, high damage, high stagger, and great crowd control. Probably the most reliable Ramuh pick.
- Thunderstorm calls down bolts on a target. High damage and it pins small enemies, but the startup is slow and leaves you open.
- Judgement Bolt is the Ramuh super, dropping massive lightning on one target. Strong, though other supers hit harder overall.
A Ramuh ranged combo goes like this: tag with Blind Justice, drop Lightning Rod near the enemy, then trigger the discharge with Pile Drive or by baiting an attack into it. Stack the lightning procs on top and the numbers add up fast.
Bahamut's charge-and-dump
Bahamut's feat, Wings of Light, is the meme ability of the game. You start gliding and build Megaflare in levels, from one up to four. The longer you stay airborne, the higher the level climbs, and dodging with the dodge button builds it faster. Press the feat button again to fire Megaflare at whatever level you reached. Level four Megaflare shreds everything on the screen.
The risk is that you can't attack while charging, only dodge, and getting hit drops your level. So it's a little minigame of floating and dodging until you hit level four, then releasing. Some players love it and some find it clunky. Either way the payoff is real.
Bahamut's other picks round it out:
- Impulse fires projectiles that orbit enemies and deal damage over time while locking small ones down. A nice set-and-forget that frees you up to charge Wings of Light.
- Satellite summons orbs that fire whenever you use magic. It pairs with a Magic-Burst-heavy playstyle, but you have to be casting constantly for it to pay off.
- Flare Breath is a fire cone you can aim while walking. Good damage if you can hold it on a target, but big enemies swing right through it.
- Gigaflare is the Bahamut super, firing a giant beam you can steer. One of the hardest-hitting moves in the game, and it cranks the stagger multiplier on a target that's already staggered.
A pure ranged loadout might run Bahamut for Wings of Light and Gigaflare, Ramuh for Pile Drive and Lightning Rod, and a third Eikon for defense or mobility. You spend most of the fight at range, only dipping in to reposition.
Best Ability Loadouts for Bosses vs Trash Mobs
Most of Final Fantasy XVI splits into two kinds of fights: big single bosses and hunts, and packs of trash mobs. The loadouts that feel great in one can flop in the other, so it helps to think about which one you're walking into.
The boss-killer setup
Bosses have huge Will Gauges and big health pools, so you want stagger and burst damage more than anything. One common setup runs Garuda plus Titan plus a ranged option:
- Garuda: Deadly Embrace as the feat, plus Gouge to shred the Will Gauge. Aerial Blast as the super if you've spent the points on it.
- Titan: Titanic Block as the feat, plus Windup to survive telegraphs and drop a huge charged hit during the stagger window. Raging Fists instead of Windup if you're confident on counters.
- Ramuh or Bahamut: one ranged ability (Lightning Rod or Impulse) to keep damage ticking while you reposition.
The flow is to build stagger with Gouge and Deadly Embrace, survive the dangerous phase with Titanic Block, and then, when the boss finally staggers, dump Windup, your super, and anything else sitting on a long cooldown. That burst window is where most of your damage lands, so the whole build is about opening it up as wide as possible.
The trash-mob setup
Packs want area damage and crowd control, not single-target burst. You lean on moves that hit a lot of enemies at once:
- Ifrit: Ignition to charge through a group and sweep small enemies along for the ride. It's one of the best room-clearers in the game. Will-o'-the-Wykes is a nice defensive pair, since the circling fireballs shield you while you wade in.
- Garuda: Deadly Embrace as the feat to pluck threats out of the pack, plus Wicked Wheel to launch groups into the air where they can't hit back.
- Bahamut or Titan: Impulse to lock a cluster down with damage over time, or Upheaval for a quick ground-pound area attack.
The flow here is faster and looser. Lead with Ignition or an area attack to thin the herd, then use Deadly Embrace and launches to control whatever's left. You're not trying to break a gauge, you're trying to not get surrounded, and the AoE tools do that job cheap as dirt.
A general-purpose middle ground
If you don't want to keep swapping loadouts, there's a flexible setup that handles both. Garuda (Deadly Embrace plus Gouge) for stagger and control, Phoenix (Phoenix Shift plus Rising Flames) for mobility and reliable damage, and Titan (Titanic Block plus Windup) for survivability and burst. That trio has an answer for crowds and for bosses, which is why so many guides land on some version of it.
Swap one piece depending on the fight. Drop Titan for Bahamut when you need range, or drop Phoenix for Ramuh when you want more burst. The slot system is generous enough that you can tune the kit without rebuilding the whole thing.
One last tip before you run off: shops sell accessories that buff a single named ability, either cutting its cooldown or tacking on an extra effect. If you've got a move you spam in every fight (Lightning Rod and Windup are classic picks for this), one of those targeted accessories usually beats a generic all-purpose boost. In Final Fantasy XVI, a focused upgrade tends to outperform a broad one.