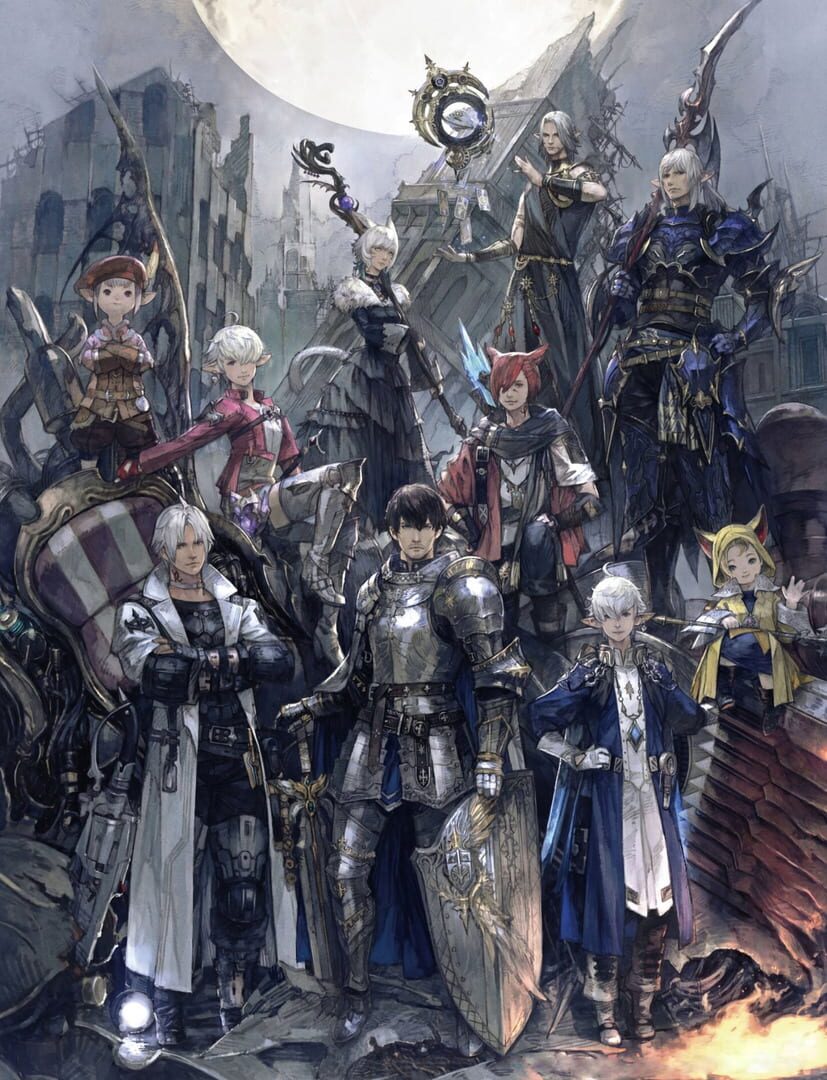
FFXIV Eureka Guide: Anemos Through Hydatos Explained
How Eureka works zone by zone, from elemental levels and the Magia Board to NM trains and the Stormblood relic weapons and armor.
Eureka is the big side activity from Stormblood, and it's the kind of thing people either bounce off hard or sink 40 hours into. It's a level 70 open zone where your normal gear barely matters and a whole separate leveling system takes over. Four zones stack on top of each other, each colder or hotter or weirder than the last, and the whole thing feeds into the Stormblood relic weapons plus some of the best glamour in the game.
Years after it shipped, the zone still pops with players. Folks run it for the relic grind, the dyeable artifact armor, the mounts and minions, and the Baldesion Arsenal raid tucked at the very end. Finished Stormblood and want the shiny? This is where it lives.
What Eureka Is and Why People Still Run It
Eureka is what Square calls a "field operation." Picture a big open map, not a dungeon, stuffed with up to 144 players all running around in the same instance. You wander around, fight mobs, spawn bosses, and grind a separate track of progression that only exists inside these zones. Go in solo or in a party of up to eight, and parties can be shuffled around freely once you're inside.
The catch is that nothing from outside carries over the way you'd expect. Your job level gets knocked down to 70 and your gear syncs to item level 300. That pokey weapon you spent weeks farming? Capped at 300 in here. What actually makes you strong is your elemental level, a stat that sits on top of everything else and only goes up by fighting stuff inside Eureka.
Getting In
You need to be a level 70 Disciple of War or Magic and have finished the Stormblood main scenario. The starter quest is "And We Shall Call It Eureka," picked up from Galiena over in Rhalgr's Reach. Once that's done, every later zone opens through a guy named Rodney standing on Pier #1 in Kugane at about X:8.5, Y:14.2.
The Echo Crutch
Walk in and you'll notice a 150% Echo buff stuck to you. The game slaps it on automatically the second you zone in. It's there to make the whole place doable with far fewer bodies than it was built for, since the crowds aren't what they were back in 2018. That buff is a big part of why solo leveling actually works now.
Why Bother Today
A few reasons keep the zone alive. The Eurekan Weapons are the Stormblood relic set, and Eureka is the only place that upgrades them. There are three armor sets locked in here too, including dyeable level 70 artifact gear you can't get anywhere else. The Baldesion Arsenal at the end is still one of the weirdest pieces of group content in the whole game. And a bunch of the loot sells well on the Market Board, so some folks run it just for gil.
Elemental Levels and the Magia Board
Inside Eureka you've got two progression systems stacked together. Your elemental level is the big number, and the Magia Board is the dial you twist to match whatever you're fighting.
Elemental Level, the Real Power
Elemental level runs from 1 up to 60, and it's shared across every job you own. Switch from Paladin to Black Mage inside the zone and your elemental level stays put. It also doesn't vanish when you leave, so you build it up over many sessions. Each zone caps it at a different point: Anemos at 20, Pagos at 35, Pyros at 50, and Hydatos at 60.
Raising it pumps up your elemental bonus, which makes you hit harder and take less damage. It does nothing for your HP though, so a high level won't save you from a one-shot mechanic. The bonus is pretty much the most important stat in the whole zone.
How EXP Flows
You get more elemental EXP from enemies that outlevel you, and the payout peaks when the mob is about six levels above yours. Past eight levels up, you stop earning anything at all, so you can't just bully a level 30 mob at level 5. Party members also can't be more than eight levels apart, or the lowbie gets nothing from the kill.
Dying costs you elemental EXP, which stings. The fix is simple: get raised by another player within ten minutes of dying and the penalty wipes out entirely. Always shout for a raise instead of releasing, especially in the early zones where every bit of EXP counts.
The Weekly Cheat Code
The Challenge Log is your best friend. It's a set of weekly objectives like "defeat 30 ice- or lightning-aspected enemies," and finishing them dumps a huge chunk of elemental EXP on you. It resets every Tuesday. Knock out your Challenge Log each week and your leveling speed more or less doubles.
Two small boosts stack on top. Drink a Potion of Harmony for an EXP bump, and keep an eye out for the Eureka Elemental, a wandering fairy that throws a 59-minute EXP and blessing buff on anyone standing in its circle. Shout for its location the second you zone in, because someone always knows where it spawned.
The Magia Board
This is the part that confuses newcomers. Every enemy in Eureka is tagged with one of six elements: Fire, Water, Ice, Earth, Wind, or Lightning. The Magia Board is a wheel with the same six, and matching the wheel to the enemy's weakness is how you stop tickling them.
The wheel runs in a circle. Fire beats Ice, Ice beats Wind, Wind beats Earth, Earth beats Lightning, Lightning beats Water, and Water beats Fire. So if you're smacking an Ice mob, point the board at Fire. If it's a Water mob, go Lightning. Get it backwards and you'll do half damage and eat more in return.
You power the board with magicite, which Krile hands out as you clear her quests in each zone. You can slot up to seven magicite total, but no more than five in any single element. The scaling is generous, and these are confirmed numbers:
| Magicite | Bonus | | --- | --- | | 1 | +28% | | 2 | +52% | | 3 | +72% | | 4 | +88% | | 5 | +100% |
Five in one element doubles your damage against the thing it beats and halves what you take back. Early on, a lot of players just dump everything into one element and lean on the wheel's auto mode.
Auto and Stance Tips
Two commands save a ton of fiddling. Type /magiaautoattack and the wheel snaps to your target's weakness every time you select a new enemy. /magiaautodefense does the opposite, locking you to resist the target's element instead. DPS and healers usually want the attack stance, while tanks lean defensive so a big hit doesn't fold them. Pop the lock off when you're bouncing between mob types, and you'll rarely touch the wheel by hand.
Notorious Monsters and Trains
Killing random mobs is fine for steady EXP, but the real activity in Eureka is the Notorious Monsters, almost always shortened to NMs. These are boss-class FATEs scattered across every zone, and chasing them as a group is what the place is built around.
How NMs Spawn
An NM doesn't just appear on its own. Each one is tied to a specific regular mob, and you spawn it by killing enough of them, usually a few full chain cycles worth. Some need extra conditions like night time or a certain weather rolling in. The community mapped every trigger years ago, so nobody's guessing anymore.
When the boss pops it shows up as a FATE on the map. Your elemental level syncs down to within range of the fight, so a level 12 player can tag along on a level 20 NM, still contribute, and get full rewards. That sync is the whole reason the train works at all.
The Train
"The train" is the nickname for the roaming blob of players that hops from NM to NM as they spawn. One person usually calls out coordinates in shout chat, the instance piles into parties, and everybody rolls to the next boss together. It's chaotic, it's loud, and it's by far the fastest way to farm both EXP and crystals.
The whole thing leans on a community tracker site, ffxiv-eureka.com, that shows respawn timers for every NM across the instance. People read it like a bus schedule. If two NMs are about to come up back to back, the train positions itself so it can hit both. You don't have to run with it, but if you skip the train you're choosing the slow path on purpose.
Participation and Crystals
Rewards scale with how much you contributed to the FATE, so aim for gold. A hit or two plus sticking around usually secures a gold rating as long as you're in the level band. Gold drops the most zone crystals, which are the currency that pushes your relic weapon and armor forward. NMs also hand out a fat chunk of elemental EXP, which is why the train levels you faster than grinding mobs alone.
Some NMs matter more than the rest. In Anemos, Pazuzu only pops under certain conditions and drops Pazuzu's Feathers, the rare mat needed for the first relic step. When Pazuzu is up, the whole instance drops everything to go kill it. Each later zone has its own final NM that drops the last weapon material, and those tend to be the ones the train waits around for.
Zone by Zone Progression
Eureka is four zones in a line, and you have to clear one before the next unlocks. Each one is themed around an element and adds a new mechanic on top of the last.
Anemos, the Land of Wind
This is the gentle on-ramp, elemental levels 1 through 20 with enemies up to about 25. The currency here is Protean Crystals, dropped by NMs and chain kills. It's wide open and forgiving, so it's where you learn the basics of the Magia Board, the party finder, and the train. Your first relic step lives here. Mounts work from the start these days (they didn't always), so getting around is painless.
Pagos, the Land of Ice
Pagos covers levels 20 to 35 and is where a lot of people stall out. It's slower, the map is more annoying to get around, and parts of the ground are slippery ice that messes with your movement. The big new toy is the kettle, unlocked around elemental level 25. The kettle quietly banks Frosted Protean Crystals in the background while you fight, so grab it early and keep it topped off. The relic step here (the Elemental weapon) needs Frosted Protean Crystals, Pagos Crystals, and Louhi's Ice off the zone's boss, Louhi. Patience is the whole Pagos experience.
Pyros, the Land of Fire
Levels 35 to 50, and the zone where Eureka starts having fun again. The headline feature is Logos Actions, a set of 56 special abilities you craft from little items called mnemes. You pull mnemes out of Logograms (enemy drops and appraisals), mash them together at a Logos Manipulator, and out pops an extra action you can slot. You can equip up to two, and a quest around level 38 lets you craft two at once. Some of these, the "Wisdoms," are long buffs that can completely change how a job plays. The relic step here wants Pyros Crystals and Penthesilea's Flame.
Hydatos, the Land of Water
The final zone, levels 50 to 60. It's smaller and tighter than the others, and it's home to the Baldesion Arsenal, an optional 56-player raid bolted onto the back of the zone with its own brutal rules. Inside the Arsenal, death is serious: if you go down and nobody raises you, you're kicked out of the raid. The relic finishes here with Hydatos Crystals and Crystalline Scales, and the Physeos weapons (the final glowy versions) come out of this stretch along with the upgraded armor. A lot of players treat hitting level 60 and clearing the Arsenal as the real ending of Eureka.
Eureka Weapons and Armor
All that grinding feeds into two reward tracks: the Eurekan Weapons (the Stormblood relic set) and three armor sets. Neither can be done anywhere else.
The Weapon Path
The relic weapon moves through four stages, one per zone, and each stage eats a pile of zone crystals plus a rare drop from that zone's signature NM.
| Stage | Zone | What You Need | | --- | --- | --- | | Anemos | Anemos | 1,300 Protean Crystals, 3 Pazuzu's Feathers | | Elemental | Pagos | Frosted Protean Crystals, Pagos Crystals, Louhi's Ice | | Pyros | Pyros | Pyros Crystals, Penthesilea's Flame | | Eureka / Physeos | Hydatos | Hydatos Crystals, Crystalline Scales |
A useful detail on those Pazuzu Feathers: you get three for a gold medal on the "Wail in the Willows" FATE once you're at least elemental level 19, or you can trade 300 Protean Crystals apiece for them at the Expedition Birdwatcher in Port Surgate if Pazuzu is being stubborn. By the time you reach the Physeos form, the weapon carries a chunk of elemental bonus on its own, which makes it the best-in-slot pick for anything you do inside Eureka even when the zone syncs you down.
How long does the full thing take? Roughly 20 to 40 hours if you're riding the train and not messing around, broken down about three to six hours in Anemos, six to twelve in Pagos (the slow one), six to ten in Pyros, and four to eight in Hydatos. Pagos is where the average gets dragged out, since the kettle and the crystal drops there are stingier.
The Three Armor Sets
There are three armor rewards to chase, and they're aimed at different goals.
First is Anemos Armor, which is just your level 70 artifact job gear, but dyeable. That sounds small until you remember the artifact sets were never dyeable before this. For pure glamour hunters, that alone is the draw.
Second is Elemental Armor, the set with the glowing models. You build and upgrade it across Pyros and Hydatos, and the final version, Elemental Armor +2 (also called Physeos armor), carries elemental bonus on every piece. Chest and legs give about +131 each, and head, hands, and feet give around +87.
Third is the best-in-slot chest piece, Kirin's Osode for physical jobs and the Vermilion Cloak for casters. These come out of the Baldesion Arsenal and they're stacked: the Osode is +131 elemental bonus with +3 Haste, and the caster cloak is +218 with the same Haste. Haste is rare and very strong in Eureka, so these chests beat the crafted +2 versions even though the raw elemental numbers look close.
Why the Numbers Matter
Elemental bonus is the stat that runs the whole zone. A fresh level 60 with no magicite sits around 1,779 elemental bonus. A full best-in-slot kit tacks on another +871 for a total near 2,650, and stacking five magicite into one element can push a single element past 4,400. In practical terms, the full gear set is worth roughly five extra elemental levels of power, and that holds even when the zone syncs you down.
So if you're trying to decide what to farm first, get the weapon moving since every zone hands you crystals anyway, then chase the Elemental +2 pieces for the elemental bonus, and save the Kirin's Osode push for when you're ready to take the Baldesion Arsenal seriously. The crystals you bank from running the train to level up are the same ones the weapon and armor want, so it's one grind feeding all three reward tracks at once.