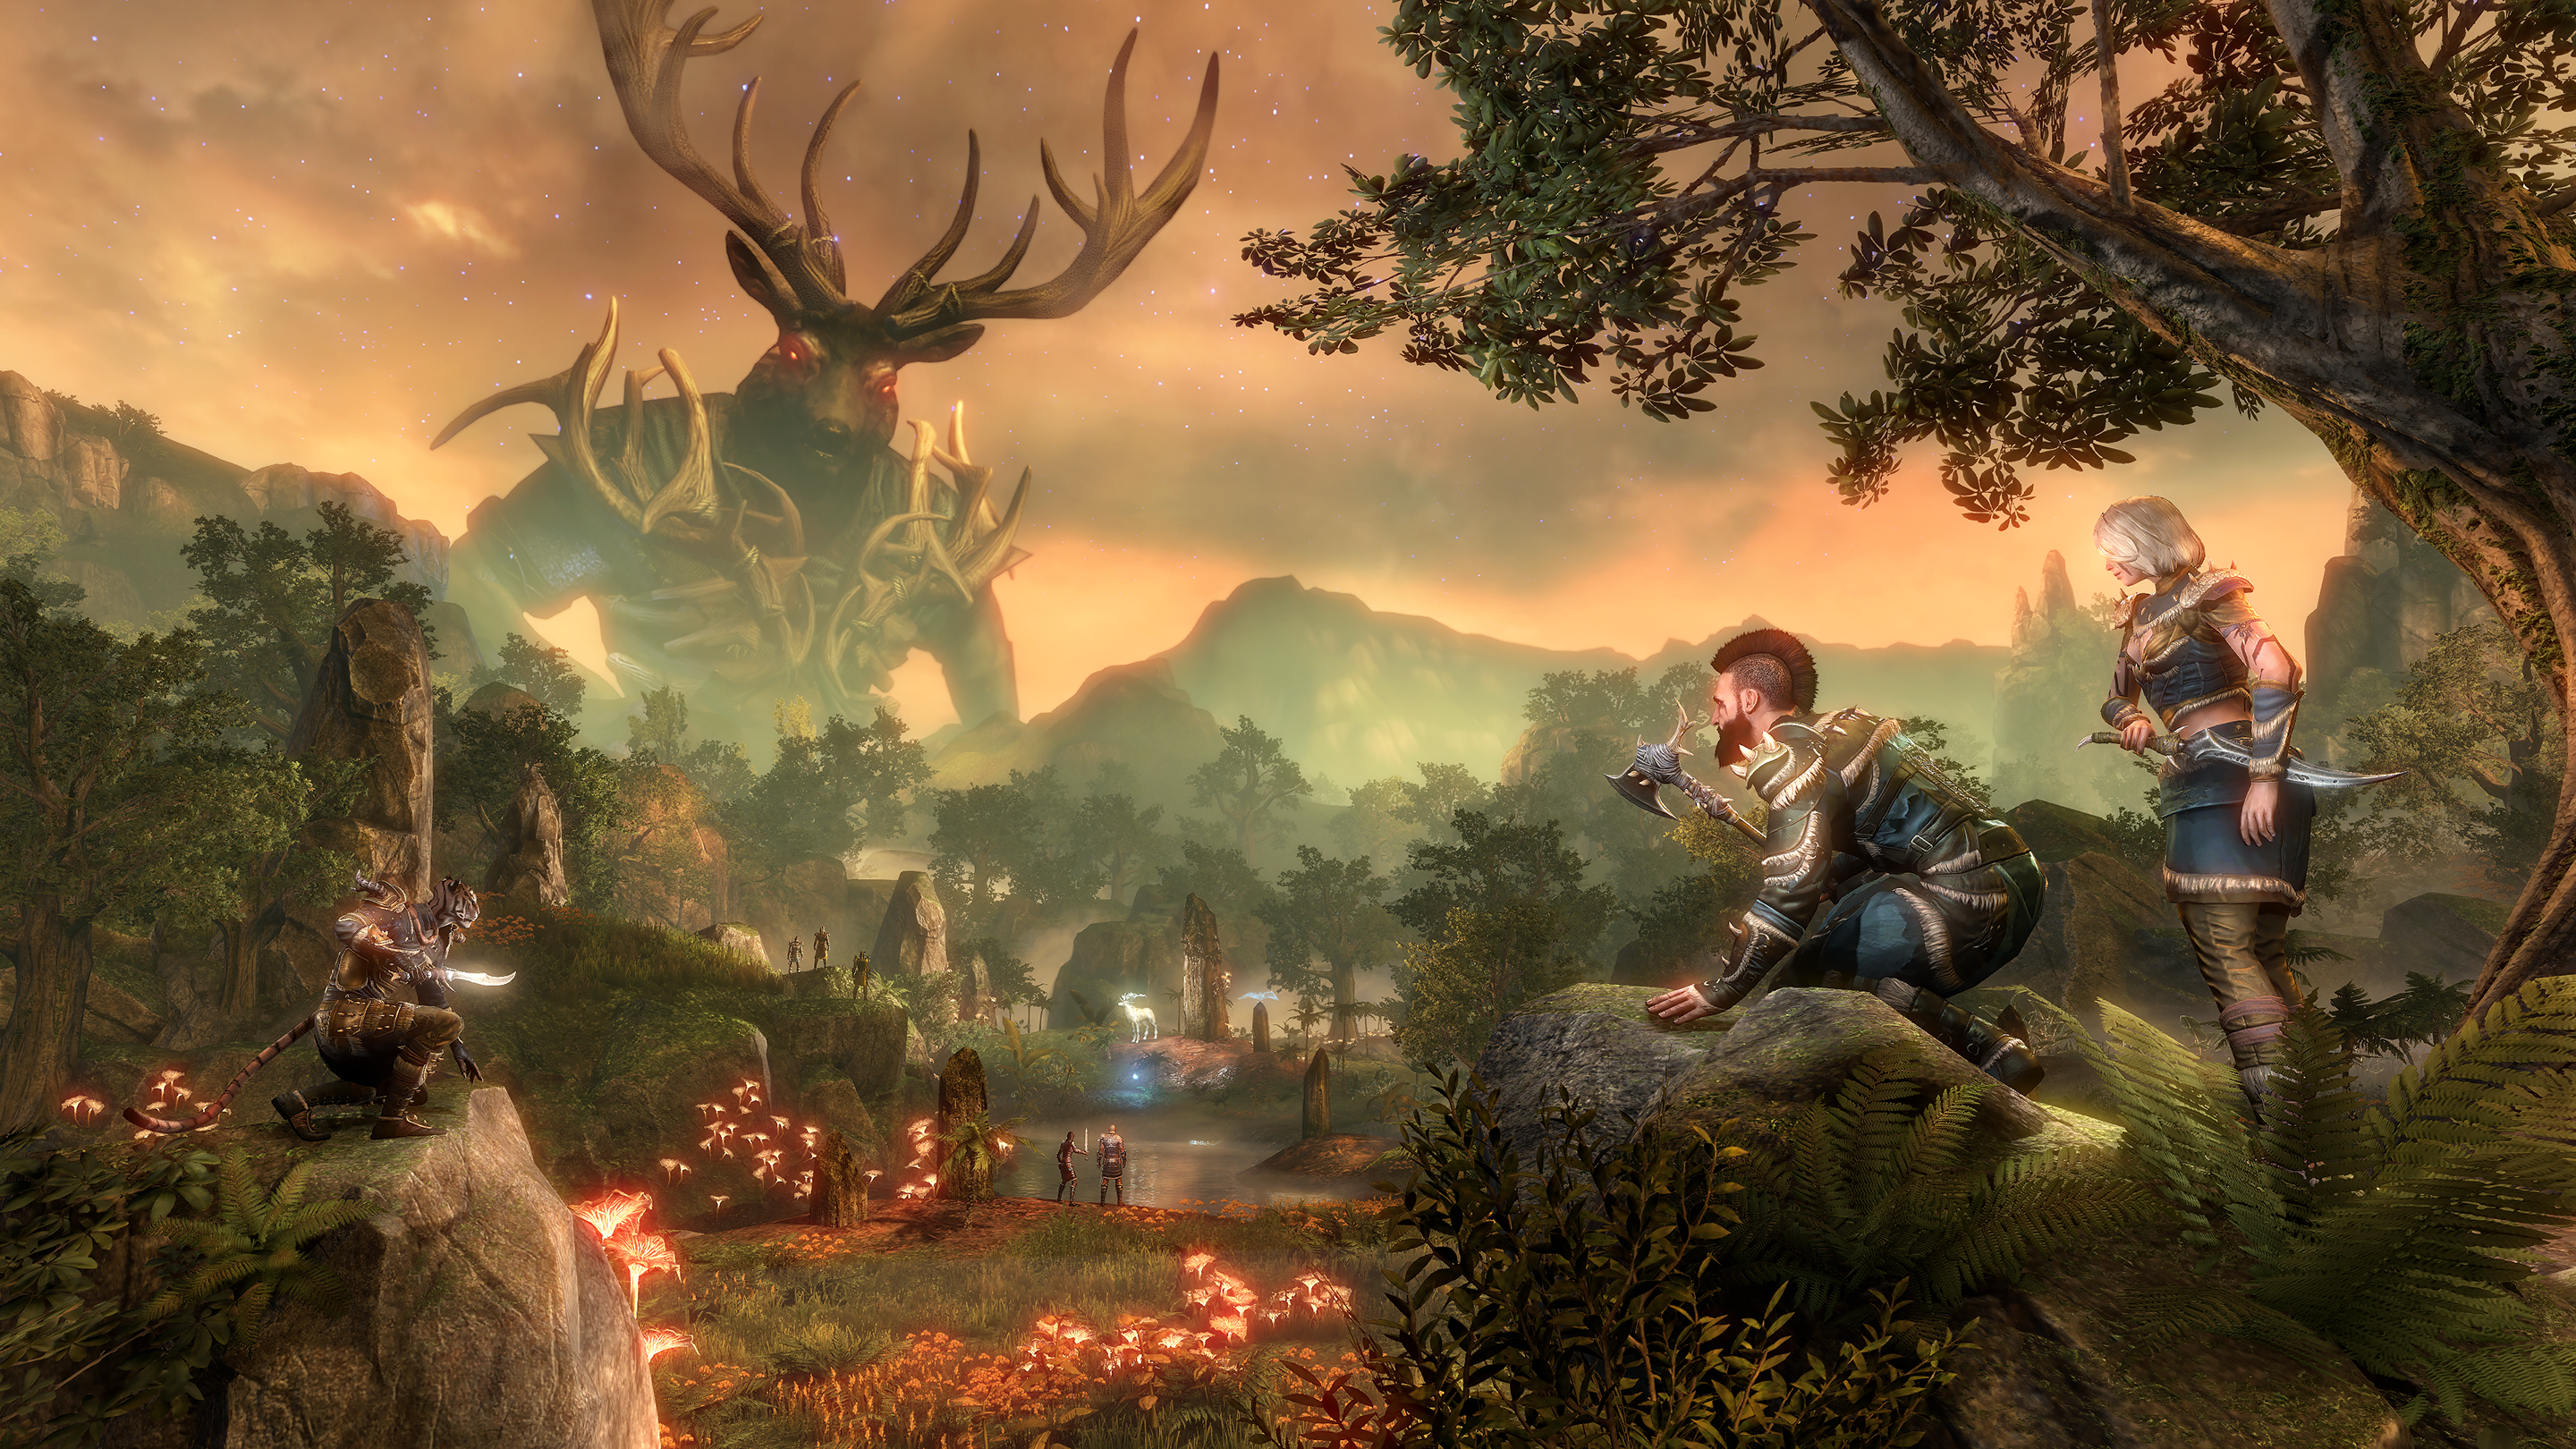
ESO: Elden Hollow I Dungeon Guide
Master Elden Hollow I with this ESO dungeon guide, featuring strategies for tackling Akash gra-Mal, Chokethorn, Leafseether, and Canonreeve Oraneth.
Embark on an epic adventure with our comprehensive "ESO: Elden Hollow I Dungeon Guide," designed to equip you with the strategies and insights needed to conquer one of Elder Scrolls Online's most thrilling dungeons. Dive deep into the heart of Grahtwood's dark crevices as we unravel the mysteries and challenges lurking within Elden Hollow I. Prepare to face formidable foes like the ruthless Akash gra-Mal, the fearsome plant creature Chokethorn, the elusive Leafseether, and the cunning boss Canonreeve Oraneth. Whether you're a newbie adventurer or a seasoned veteran, our guide offers essential tips to master each encounter and seize victory. Get ready to delve into the depths and emerge victorious--an exhilarating journey awaits!
Akash gra-Mal - Who's She Anyway?
So, you’ve made it to the Elden Hollow I dungeon in The Elder Scrolls Online, and now you’re face to face with Akash gra-Mal. This orc lady isn’t just hanging out for fun; she's got some pretty serious intentions. She’s part of a crew called the Dark Witnesses and wields a mean sword. If you’re not ready, she can make your dungeon crawl way spicier than you might like.
Locating Akash gra-Mal
Akash gra-Mal makes her grand appearance roughly midway through the dungeon. By this point, you and your party would’ve already tussled with a number of foes and be itching for a larger challenge--and she certainly delivers! Watch for the signs: she strides in with an intimidating presence and her armor clanks as if to warn you she's not to be messed with lightly.
The Fight Strategy
Get ready to move: Akash is no slouch when it comes to movement and attacks. She loves to dive right into melee range. Her charges can catch players off guard, and you definitely don’t want to be caught napping when she’s on the move.
Watch her friends: Alongside Akash, you'll have to deal with a couple of henchmen--the other Dark Witnesses. They may seem minor, but they’re pesky, and taking them out should be a priority to avoid distractions. Clearing them first also frees you up to focus solely on Akash without any annoying adds trying to mess up your rhythm.
Avoid the specials: Akash has some powerful special attacks. One of her most lethal moves is a spinning attack that deals considerable AoE (Area of Effect) damage. Look out for her signs and prepare to dodge or block. This can be particularly devastating if you're caught bunched up. Communication and awareness in your group here is key.
Stack the deeps: Once you've got the adds down and are dodging her specials, it's time to deal some damage of your own. Whether your team is loaded with spell casters or is more melee-focused, stacking heavy damage on her when she's vulnerable will be your easiest bet to bring her down quickly.
What Next?
Once Akash gra-Mal is down for the count, give yourself a pat on the back--but don’t get too comfortable. The path forward still holds many mysteries and more bosses await. Make sure your group sticks together and communicates effectively. Check your gear and make necessary repairs before moving on.
Loot and Rewards
Depending on your level and luck, defeating Akash may drop a variety of gear and crafting materials, which are always a welcome bonus. Keep an eye out for any set pieces that might drop, as they can help gear up your character effectively in preparation for tougher challenges ahead. It’s also a great opportunity to snag items you can trade with group members or sell for a tidy profit at the market.
In the end, dealing with Akash gra-Mal is all about strategy, teamwork, and knowing when to strike. Master these things, and next time, she might just feel like a warm-up. Good luck, adventurer, and enjoy the rest of Elden Hollow I!
Chokethorn: The Thorny Problem in Elden Hollow I
So, you're gearing up to tackle Elden Hollow I in The Elder Scrolls Online, and you've heard whispers (or maybe screams) about a big baddie named Chokethorn. If you’re wondering what all the hype is about and how to come out victorious, you've come to the right place. This guide breaks down Chokethorn’s fight mechanics and gives you some handy tips so you can strut out of this battle victorious.
Where to Find Chokethorn
Before we dive into strategies, here’s a little context. Chokethorn is the second boss you’ll face in the Elden Hollow I dungeon, nestled within the beautiful yet dangerous Grahtwood zone. He's got a bit of a plant problem--being a giant strangler and all--so be prepared to handle some floral fury.
The Fight Mechanics
The Chokethorn encounter is fairly straightforward, but don't let your guard down--this plant packs a punch. Here's a breakdown of what to expect:
-
Vine Whip: Chokethorn will lash out with vines to damage players. This is a direct attack and can be blocked to mitigate damage. It's a frequent attack, so tanks need to stay on their toes.
-
Root Snare: This attack will pin players to the ground with large roots, immobilizing them. This can be particularly nasty if the group gets stuck at the wrong time. Breaking free quickly is crucial for movement.
-
Summon Stranglers: Throughout the fight, Chokethorn will summon smaller strangler minions to assist him. These need to be dealt with quickly, or they can overwhelm the group. AOE (Area of Effect) attacks can dispatch them efficiently.
-
Crushing Vines: This ability targets a random player with crushing damage over time. Healers should be ready to cleanse and heal affected players swiftly.
Strategy Tips
-
The Power of Teamwork: Like any good boss fight in ESO, teamwork makes the dream work. Make sure everyone knows their role. The tank should always keep Chokethorn's attention while DPS (damage dealers) focus on taking down the stranglers as they appear.
-
Stay Mobile: When Chokethorn starts his Root Snare, be ready to break free. Getting rooted at the wrong moment can result in major health loses, especially if the healer is also trapped.
-
Mind Your Positioning: Stay spread out to minimize the impact of attacks like Vine Whip. If everyone is clustered together, things can go sideways fast.
-
Prioritize the Adds: The stranglers he summons might not seem like a priority, but ignore them at your own peril. They can quickly turn the tide against you, so clear them out swiftly and efficiently.
After the Battle
Once you’ve cut down Chokethorn and his little green minions, don’t forget to collect your loot. You'll be rewarded with a range of goodies from armor pieces to valuable materials. The specific rewards can vary, so open those chests and see what you've earned.
Final Thoughts
Chokethorn may initially look like a garden-variety boss, but his bite is definitely stronger than his bark. With the right teamwork, positioning, and a bit of strategy, you’ll have him crying chlorophyll in no time.
Roll up your sleeves, get your magicka ready, and teach this pernicious plant who’s boss! Good luck, adventurer--you're one step closer to conquering Elden Hollow I!
Leafseether: A Creepy Encounter in Elden Hollow I
Venturing into the depths of Elden Hollow I in Elder Scrolls Online, you're bound to come across weird, wild, and wacky enemies. One such encounter is with Leafseether, a large and menacing Treekin enemy that can really put your team to the test. Here’s everything you need to know to take down this leafy foe, without becoming mulch.
Meet Leafseether
Leafseether is a chunky, tree-like creature with roots for feet and branches for arms (literally). Its bark is definitely worse than its bite, but don't let your guard down. As a mini-boss in Elden Hollow I, Leafseether is not only tough but also has a few nasty tricks up its wooden sleeves.
Location
You'll find Leafseether about halfway through Elden Hollow I. As you journey through the creepy cavern, keep an eye out for a sprawling open area filled with grass and a smattering of glowing mushrooms. Leafseether often lurks near these mushroom patches, so be ready when you see them!
Attacks and Abilities
-
Crushing Roots: This attack is Leafseether’s bread and butter. It throws roots from the ground to snare players, dealing lots of damage if you’re caught. Make sure to dodge roll out of these roots to avoid unnecessary damage.
-
Nature’s Fury: Leafseether calls upon the power of nature to deal massive AoE (Area of Effect) damage. Stay alert for when Leafseether charges up this attack, as it can decimate a poorly positioned group. He channels a booming storm that rains down destruction, so spread out and move quickly to avoid the blast zone.
-
Healing Spores: When Leafseether raises its arms, it releases healing spores into the air, mending its wounds over time. Although annoying, these spores can be interrupted to prevent Leafseether from regaining too much health.
Tips to Take it Down
-
Stay Mobile: Leafseether's abilities often require a bit of movement to avoid. Make sure you’re on your toes, dodging the roots and avoiding big flashy circles on the ground.
-
Focus Fire: Assign one or two players to specifically interrupt the Healing Spores when Leafseether casts it. The rest should continue their assault to keep the damage consistent.
-
Use Damage Over Time (DoT) Abilities: Loading up on DoT abilities can keep the health bar ticking downward, even when you're busy dodging or dealing with spores.
-
Coordinate Your Team: Good communication and teamwork are crucial. Keep the healer updated on any major health dipping moments, and be ready to protect them from stray attacks.
After the Battle
Once you’ve chopped down Leafseether, take a moment to gather your rewards--it's loot time! Make sure to check out any special items or weapons that Leafseether drops, which might be a perfect fit for your character’s build or a nice addition to your collection.
Remember, every challenge in Elder Scrolls Online is unique, and Leafseether is no exception. With the right strategy, a little bit of teamwork, and a sprinkle of determination, this leafy giant will fall at your feet in no time. Now onto the next boss--you’re ready to face whatever Elden Hollow I throws your way!
Canonreeve Oraneth: The Daedric Manipulator of Elden Hollow I
Canonreeve Oraneth isn’t your typical Bosmer in the Elder Scrolls Online. You meet her as the final boss in Elden Hollow I, one of the game’s dungeons that’s rooted deep in the shadows of Grahtwood. This ambitious, Daedra-twisted elf has gone rogue, harnessing malevolent powers to cause trouble, and she's not going down without a fight.
Who is Canonreeve Oraneth?
Canonreeve Oraneth is a once-respected leader among the Wood Elves, but somewhere along the line, she got a little too friendly with the Daedra. Her fall from grace involves nasty business with powerful artifacts and a desire to bend others to her will. In the Elden Hollow I dungeon, her story is the dramatic culmination that players must resolve by taking her down.
Encountering Oraneth: The Basics
When you face Canonreeve Oraneth, she’s not just going to stroll in for a chat. This boss fight requires focus and teamwork. Here’s what you need to know:
- Location: Elden Hollow, the final boss room.
- Health and Type: She’s got a decent chunk of health, typical for a dungeon end-boss, and is classified as a humanoid enemy.
- Abilities: She doesn’t shy away from using devastating AoE (Area of Effect) attacks.
Preparing Your Group
Taking on Oraneth isn't a solo job. You’ll need a solid group of four players comprising a balanced team of a tank, healer, and two DPS (damage dealers).
- Tank: Your tank should be ready to hold aggro and mitigate her attacks. Being quick on their feet to reposition and take hits will prevent squishier party members from going down.
- Healer: Keep the group’s health topped off, especially during the boss’s heavy hits and AoE phases.
- DPS: Maximize damage while avoiding getting hit by her spells. Ranged DPS can be beneficial to stay out of the melee chaos.
Battle Tactics
Canonreeve Oraneth is all about chaos, so going in blind isn’t wise. Here’s how to navigate her onslaught:
-
Avoid AoE Zones: Oraneth delights in summoning roots that trap you when you least expect it. These are often highlighted by circle markers on the ground, giving you fair warning to dodge. Staying mobile is crucial.
-
Interrupt Her Spells: Oraneth’s major threat comes from her ability to summon nature-based spells. Interrupt her casting whenever possible to prevent devastating area effects from decimating your group.
-
Managing Adds: During the fight, she calls in Daedric allies to give you trouble. Assign team members to quickly dispatch these adds to ensure they don't overwhelm you.
-
Beware of Fear: She sometimes casts fear, causing players to panic and wander into danger. Knowing when these moments occur can help you react swiftly, restoring order before it costs you.
Rewards and Loot
Defeating Canonreeve Oraneth rewards not just a sense of heroic gratification but also loot worth bragging about:
- Gear Drops: She can drop parts of the Barkbite set which is particularly useful for some builds focusing on defense and Stamina.
- Achievements: Complete the dungeon, and you’ll earn achievements and titles that flaunt your victory over her machinations.
Final Words on the Canonreeve
Facing Canonreeve Oraneth in Elden Hollow I is as much about quick reflexes and positioning as it is about dealing heavy damage. Her fight is the pinnacle of the dungeon experience, testing not only your strategic prowess but also your team’s synergy. Plus, who doesn’t enjoy sending a Daedra-influenced baddie back to the shadows?
With this guide in hand, you'll be geared up and ready to take Oraneth on, ensuring that Grahtwood remains a little bit safer from Daedric threats. So gather your crew, dive into Elden Hollow, and show Canonreeve Oraneth that she picked the wrong adventurers to mess with.