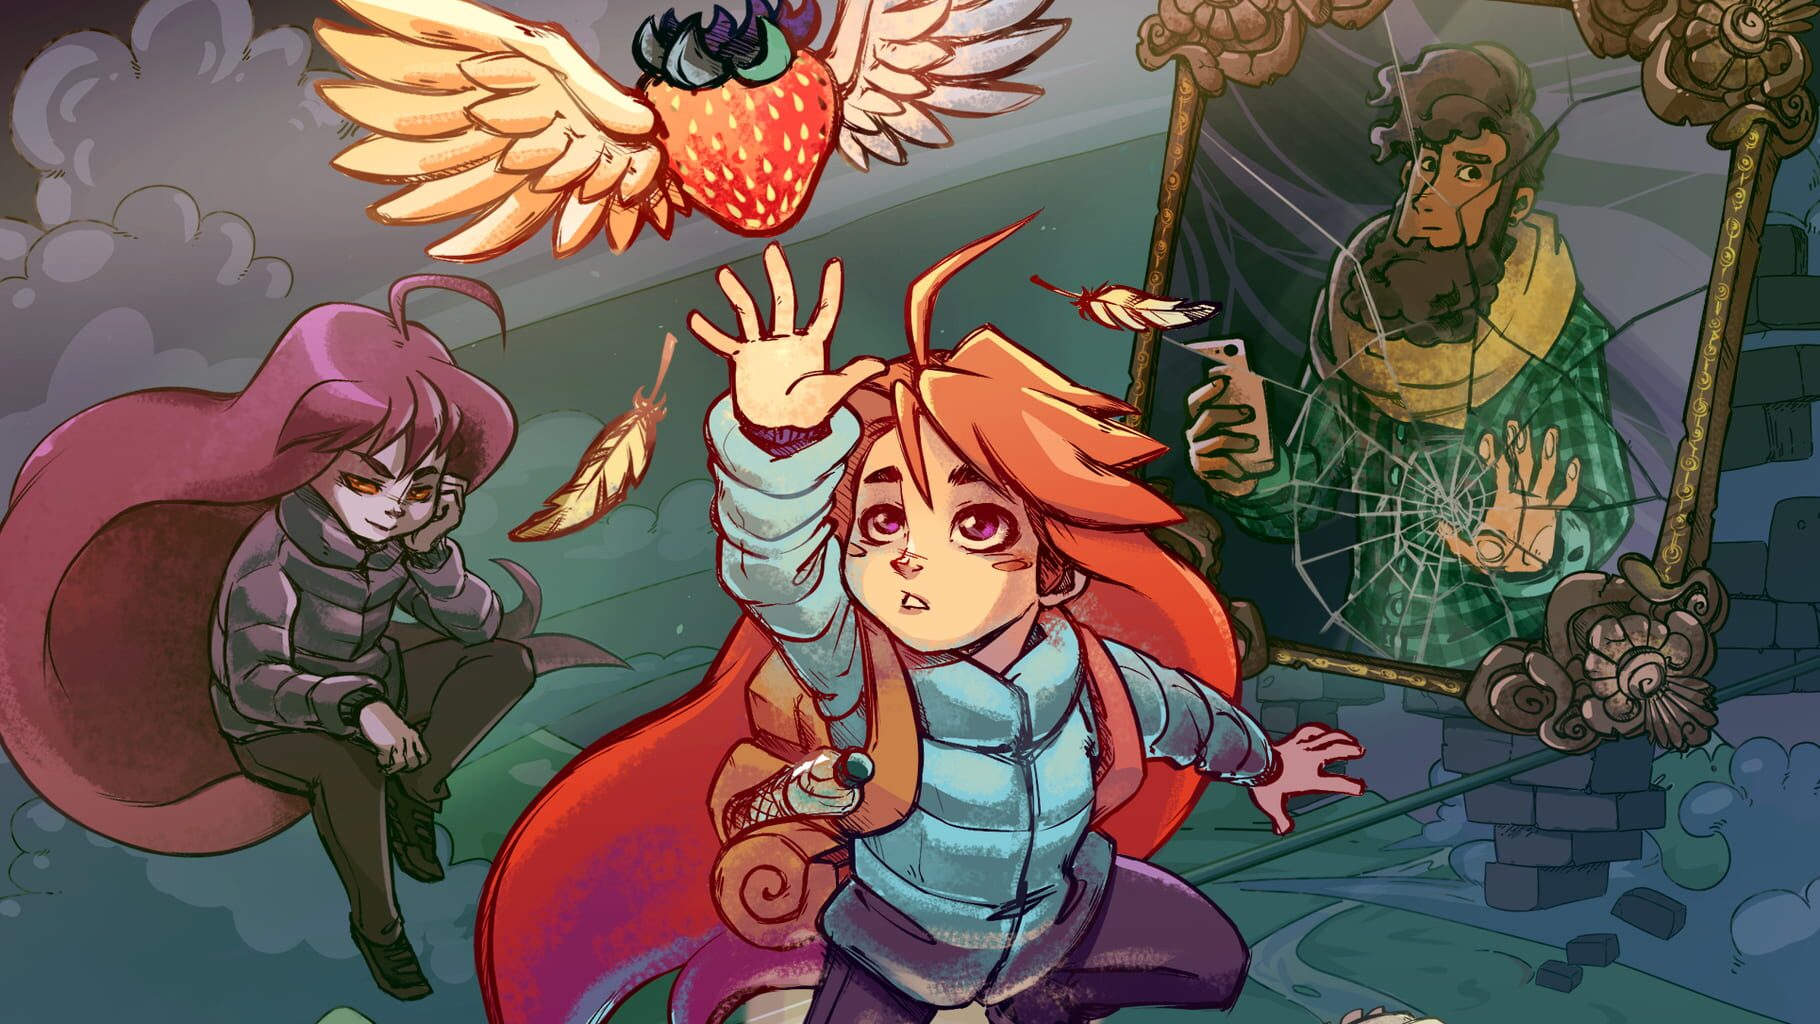
Celeste Advanced Movement and Collectibles Guide
Master Celeste’s advanced moves and discover hidden paths with our guide to dashing, wall jumps, feather flight, and collecting strawberries.
Climbing the mountain in Celeste is anything but straightforward. While the early levels teach you the ropes—how to dash, wall jump, and keep your footing—anyone who's taken on the tougher chapters knows that mastering Madeline's full range of movement is the real challenge. From surprising dash techniques to ways of squeezing a bit more height or distance out of a jump, Celeste rewards players who experiment and push the controls to their limits. Then there are the game's famous collectibles, like strawberries and crystal hearts, tucked away in some of the trickiest spots. Making sense of all the secrets and refining your movement can completely change the way you experience the mountain.
Dash Techniques
Celeste’s signature move is the air dash. It sounds simple—press a direction and the dash button, and Madeline rockets through the air. But as the chapters ramp up, so do the demands on your dash execution. Understanding the nuance behind each variation is a big part of unlocking Madeline’s full potential and getting past some of the trickiest rooms on the mountain.
The Basics: How Dashing Works
Madeline can dash once in midair before touching the ground or a new, dash-restoring object like a refilling crystal. When you dash, she moves rapidly in one of eight directions (up, down, left, right, and the diagonals), and her hair color changes to signal that the dash is “used up.” Grabbing certain collectibles or landing on safe platforms refreshes her dash.
Diagonal Dashing
Diagonal dashing is the bread and butter of advanced Celeste movement. While horizontal and vertical dashes have their uses, dashing at a diagonal (usually up-right or up-left) covers more ground and adds height, making it perfect for clearing wide gaps or chaining moves together. Practice aiming your stick or D-pad carefully: even a slight angle can determine whether you grab a distant ledge or fall short.
Quick tip: On controllers, pressing two directions at once (like up and right simultaneously) produces a clean diagonal.
Hyper Dash
The hyper dash, sometimes just called “hyper,” is one of Celeste’s famous advanced techniques:
- Crouch by holding down on the ground.
- While still crouching, tap dash then immediately jump.
If done right, Madeline zips forward at ground level, gaining a huge horizontal boost plus a lower, flatter jump arc. This move is essential for speedrunning but also helps reach far off-ledges and dodge hazards more reliably than a standard dash.
Super Dash
The super dash is similar to the hyper, but you skip the crouch and just dash horizontally on the ground, then jump immediately after:
- Start a horizontal dash on the ground.
- Instantaneously press the jump button.
The resulting leap puts Madeline in the air with both speed and height. Supers are a go-to for scaling large gaps or chaining through multiple obstacles quickly.
Extended Hyper and Super Dashes
This variation takes hyper and super dashes even further. By holding the jump button after the initial input, you stretch Madeline’s leap for max distance. These moves can slip into small crevices or snag collectibles placed just out of ordinary reach.
Reverse Dash
The reverse dash is great for quick course corrections. Dash in one direction, then immediately input the opposite direction with a jump. Madeline almost snaps backward, which is handy for dodging projectiles or quickly repositioning on tight platforms.
Upward and Downward Dash
Upward dashes give crucial extra height, especially when wall climbing or vaulting over high barriers. Downward dashes, though used less frequently, let Madeline drop through hazards or reset her dash on refilling blocks quickly—especially in late-game levels.
Wall and Corner Dashing
Sliding down a wall, Madeline can fling herself away by initiating a dash in the diagonal-out direction. For the “corner boost” or “corner kick,” press jump and dash at the precise edge of a wall. This gives a surprise pop of upward and horizontal momentum, just enough to snag a far platform or fly over a hazard.
Wavedash
The wavedash is an expert-level maneuver:
- While airborne, dash diagonally into the ground (like down-right).
- The moment you land, press jump again.
Done smoothly, Madeline will carry dash speed and keep moving quickly along the ground, letting you chain movement across flat areas. Speedrunners rely on this for fast traversal, but it’s handy for reaching collectibles or moving platforms.
Chain Dashing
Refill crystals, touching the ground, or grabbing certain mid-air objects let Madeline recover her dash. Advanced players chain dashes using crystal placements or hazards to skip across long, vertical stretches or near-impossible-seeming puzzle rooms.
Practical Applications
- Long jumps: Use hyper or super dashes off a platform, stretch it with the extended version, and tack on a diagonal dash midair.
- Difficult rooms: Wall dash then wavedash, combining the two to keep your dash available while threading through spikes.
- Secret collectibles: Reverse dash to grab a strawberry hiding behind a hazard, then quickly dash back.
Tips for Practicing Dash Techniques
- Mess around in cleared levels, especially Forsaken City and Old Site, to test combos without pressure.
- Slow down in tough rooms—timing matters as much as speed.
- Watch replays from speedrunners or top players to pick up new ways of stringing techniques together.
Conclusion
Celeste’s dash system rewards you for experimentation. From mastering simple diagonals to pulling off speedy wavedashes, learning each technique makes your mountain climb feel smoother…and a lot more impressive. For tough rooms and trickier collectibles, practicing these dashes will help you feel more in control and open up creative solutions along the way.
Wall Jumping Mastery
Wall jumping is one of the most fundamental and versatile movement skills in Celeste. While dashing grabs a lot of attention, learning how to wall jump smoothly lets you access tight spaces, reset your dash, or chain together advanced techniques for some of the game's toughest challenges. Here’s a breakdown of how to get comfortable with wall jumping—and push it to the limit for hidden strawberries or speedrun skips.
Wall Climbing vs. Wall Jumping: Know the Difference
First off, let's clear up the difference. Holding the grab button lets Madeline cling to a wall, giving you time to plan your next move. Wall jumping, on the other hand, pops her off the wall and into the air. Since you have a limited stamina bar while grabbing, knowing when to jump and when to climb is a big deal, especially if you’re eyeing a long sequence of wall jumps.
Every wall jump is performed by pressing jump while holding towards the wall. Madeline will spring away at an upward angle. Release the grab button right before you jump for a snappier launch, since clinging slows her momentum.
Technique: Snappy Wall Jumps
For consistent, high wall jumps:
- Push Madeline directly against the wall.
- Hold the direction into the wall (don't let go until you press jump).
- Quickly tap jump—and optionally, let off the wall direction right after pressing jump for more distance.
- Rinse and repeat for chained hops.
You’ll notice that holding the wall direction a bit too long causes her to slide as she jumps, making for a sluggish leap. Letting go right after you tap jump makes Madeline leap out farther and higher, which is exactly what you need for certain tight gap sections.
Wall Jump Height and Angle
Madeline’s wall jump height and launch angle are set—always a bit away and up from the wall. If you need to tweak the distance, change when you start holding the opposite direction. For the shortest jumps, start holding away from the wall before hitting jump; for the longest, tap jump and then quickly push away.
Try practicing in a vertical shaft with two parallel walls—like early Forsaken City or Old Site. Doing left-right wall jumps one after another helps you find the rhythm between pressing towards the wall and releasing at just the right time.
The Wall Jump Reset: Keeping Your Dash Safe
Many rooms require you to keep your dash unused until the last possible moment. Wall jumps are your friend here. Jumping off a wall without dashing still gives plenty of height and lets you save your dash for a tough crossing or last-second adjustment.
Remember: after dashing into a wall, if you cling for a beat and then jump, Madeline’s dash won’t refill (unless the wall is a “dash refresh” type). To get your dash back, touch the ground or find a crystal. Plan wall jumps accordingly in rooms where air-dash management is key.
Chaining Wall Jumps: Climbing Fast with Rhythm
Several rooms line up walls close enough for a repeated “ping-pong” effect. Here’s the rhythm for climbing fast:
- Jump off the wall.
- Immediately hold towards the opposite wall.
- As soon as you hit, tap jump again.
As you get faster, you’ll instinctively move the stick back and forth, like dribbling a basketball down narrow corridors. Practice in spots with no hazards to get the muscle memory down.
Wall Kicks and Spikes: Precision
In more advanced levels, you’ll spot setups where you need to wall jump in a sliver of space between spikes or hazards. The trick? Time your jump so Madeline leaves the wall as high as possible—right as you graze the top edge, but before touching anything dangerous. A quick tap and immediate direction switch do the trick.
Wall Jump + Dash Combos
Wall jumps and dashes work even better together:
- Dash diagonally into a wall, cling for a split second, then jump—now you’re set up for a second dash if you’ve refilled it.
- For “corner boosting,” dash into the corner of a wall and immediately jump and dash away to squeeze through gaps or hit a farther platform.
Mastering the timing on these combos lets you breeze through rooms that look impossible at first glance.
Practicing Wall Jumps
Training wall jumps is best done in levels with safe, vertical spaces and no hazards—try replaying the intro stages or using the assist room in Chapter 3. Focus on rhythm, timing, and releasing the wall direction for better launches. If you struggle with spike setups, intentionally practice in danger zones to build up your nerves and muscle memory.
Common Wall Jump Mistakes
- Clinging too long: Eats up stamina and slows your upward progress.
- Not releasing the grab soon enough: Makes wall jumps less effective.
- Missing the wall: Jumping too far away means Madeline won’t reconnect. Stay tight to the wall.
If you fall into these traps, slow down and try again with deliberate timing.
Conclusion: From Beginner to Pro
Wall jumps feel basic at first glance, but they’re a huge part of what makes Celeste’s movement so silky. Use them to preserve dashes, thread through hazards, and speed up your climbs. Master the timing, incorporate dash combos, and wall jumping will turn into one of your strongest survival tricks—especially in challenge stages, B-Sides, and ultra-hard C-Sides. If you want to snag every strawberry or ace speedrun segments, wall jumping mastery is a must-have in your arsenal.
Feather Control
One of the most unique movement tools in Celeste is the golden feather. These floating, spinning icons allow Madeline to fly through the air in any direction for a brief time—a vital mechanic in later chapters, especially when precise movement is the difference between a clean run and a restart. Feather sections can feel awkward at first, but with a bit of practice and the tips below, you’ll be weaving through obstacles in no time.
How Feathers Work
When Madeline touches a feather, she’s wrapped in a golden bubble. While inside, the left stick (or D-pad) lets you steer her in any direction. Your only job is to keep her on the right path until the feather’s timer wears off, or you hit solid ground. You’ll know time’s almost up when the feather flashes red, so act fast.
- Duration: The bubble lasts for about 2.5 seconds.
- All Directions: Up, down, sideways, diagonals—every direction is fair game.
- Canceling: Touching the ground or pressing dash ends the feather early.
Feather Handle Sensitivity
Feathers follow Madeline’s movement closely, but have a slight lag. If you swing the stick around wildly, you’ll notice the path curves and loops. The feather system is analog—you get smooth, fine control if you move gently, but quick flicks cause sharp turns. There’s a real skill in threading the needle between obstacles without over-correcting.
Best Practices
- Small movements: Keep thumbstick motions subtle to create gentle arcs.
- Anticipate Turns: Start changing direction a hair before you reach a corner.
- No Zig-Zagging: Avoid rapid stick waggles—Madeline swings wide, which sabotages tight spots.
Staying in Control
The hardest part is resisting the panic response when things get tight. Many players jerk the stick or mash directions, but the key is to trust small, steady inputs. Try to imagine drawing Madeline’s path across the screen. Instead of over-correcting, nudge your direction and let the feather respond. With enough practice, you’ll build a mental “feel” for the feather’s inertia.
Practice Scenario
In Mirror Temple, you’ll find lengthy feather sections full of spikes and corners. Find a safe spot and practice these:
- Horizontal Slides: Hold left or right with a steady hand.
- Smooth Corners: Start turning early and curve through corners gently.
- Diagonal Drifts: Aim between up/down and left/right for 45° movement.
Dealing with Tight Spaces
Sometimes you’ll need to squeeze through a precise path. Here’s how to keep it tight:
- Feather Tap: Gently flick toward your target and then return the stick to neutral to steady your flight.
- Lift & Drop: For vertical corridors, nudge up or down but don’t hold the direction—let the feather coast.
- Quick Corrections: Small taps work better than big swings.
Feather + Dash: Advanced Tactics
Normally, you’ll use the feather’s movement alone, but you can dash to exit the bubble early. In some levels, this is not just helpful—it’s required.
- Dash Cancel: Press dash to burst out of the feather if you need Madeline’s normal movement quickly.
- Dash Trajectories: Feather out at an angle, then dash in a new direction for sharp turns or strawberry routes.
Combining the feather’s pathing with a quick dash can create shortcuts or help you recover from near-misses.
Tips for Mastering Feather Control
- Keep hands relaxed. Tension makes you jerk the stick.
- Replay feather rooms in earlier chapters for deliberate practice.
- Watch replays/ghosts of speedrunners to see subtle stick movement.
- If you struggle, enable Assist Mode to slow down the game—this makes practicing feather sections way easier.
Common Mistakes to Avoid
- Oversteering: Most deaths in feather sections come from trying to move too quickly or swing too hard.
- Ignoring Inertia: Madeline keeps drifting for a split second after you let go. Prepare for this drift when aiming for tight gaps.
- Panic Dashing: Accidentally dashing can end a feather run abruptly or fling you into danger. Save dash for intentional cancels.
Practice Makes Consistent
Feather control won’t click instantly, but it’s all about repetition. The more you play, the better your instincts become, especially in late-game B-Side sections where every inch matters. Don’t be afraid to fail; every reset is just another chance to master those subtle curves.
Solid feather control isn’t just for beating levels—it’s also crucial for grabbing harder strawberries, getting speedrun secrets, and strutting your stuff on C-Sides. With a calm mind and steady hands, you’ll find yourself zipping through once-intimidating sections smoothly and reliably.
Secret Path Guide
Celeste rewards curiosity. Throughout every chapter, hidden shortcuts and secret routes are tucked away behind fake walls, tricky platforming, or out-of-sight passageways. Not only do these secret paths lead to collectibles—like strawberries, crystal hearts, or cassette tapes—but some also offer rare tapestries, story tidbits, and true ending content. Gaining an eye for secret paths is a key step in mastering Celeste’s world.
What Counts as a Secret Path?
A “secret path” in Celeste is any route that isn’t plainly visible or is blocked off by a subtle trick. These can look like:
- Breakable walls that blend with normal tiles.
- Corridors hidden behind foreground elements.
- Platforms high above or below the intended route.
- Offscreen gaps or ledges reached by creative use of Madeline’s moves.
- Sections that appear to be dead-ends—unless you test them.
If a screen ends and you see an unreachable ledge, out-of-place gap, or an area that seems suspiciously empty, there might just be more than meets the eye.
Common Signs of a Secret Path
After some time with Celeste, you’ll pick up patterns that developers use to flag hidden routes. Here’s what to watch for:
- Fake Walls: Some walls are lightly cracked or shaded slightly differently. Touch every suspicious wall—you might slip right through.
- Strawberry Placement: If a strawberry is floating where you can't jump to directly, check surrounding screens for a hidden tunnel.
- Unused Ledge Space: A ledge that seems too high or too low? There might be a hidden passage on the next screen.
- Camera Shifts: On some screens, the camera pans unusually, hinting there’s more offscreen.
- Subtle Audio Cues: Rare, but sometimes you’ll hear a chime or faint audio difference near a secret.
Don’t forget: paths hidden in plain sight are common, so try dashing against every odd spot.
Famous Secret Paths in Early Chapters
Chapter 1: Forsaken City
- First Strawberry: Early on, you’ll spot a strawberry above a pit. Jump up and check the left wall—there’s a fake passage that leads to it.
- Cassette Tape Room: Near the midpoint, after some crumbling platforms, hug the right wall at the room’s top. You'll pass through to the tape.
Chapter 2: Old Site
- Dream Block Maze: This area contains lots of open vertical space. In the room with moving blocks, dash into the top left corner—there’s a tunnel to a secret strawberry.
- Mirror Room: At the dark mirror section, look for odd black spots in the wall—some hide passages.
Chapter 3: Celestial Resort
- Dust Bunny Chase: While being chased by dust bunnies, find a nook on the left. Breaking through grants a shortcut to a hidden room.
- Out-of-Place Doorways: Celestial Resort’s doors aren’t always just decoration. Some lead to hidden rooms or bypass tough segments.
Advanced Secret Path Tactics
Testing for Fake Walls
Run up to any wall that looks a little off and press against it. Sometimes Madeline slips straight through. If not, try dashing or jumping while hugging the surface.
Vertical and Horizontal Scrolling
Many secret corridors are positioned just offscreen above or below the main platforming section. Use wall jumps, boost dashes, and climbing to reach seemingly unreachable corners. Some rooms feature walls just out of frame—if you’re not sure, use the camera look (press up or down) to peek.
Dream Blocks and Feathers
Special mechanics like dream blocks (purple, dash-through blocks) and feathers play into secret pathing. Try dashing through these blocks into every corner, and use feathers to float above or below platforms. Occasionally, these hide an entire new screen.
Red Herrings and Dead Ends
Celeste loves to tease players. Some fake “secret paths” lead to dead ends or purposely troll you. If a tunnel’s too small, or you’re clearly boxed in, head back—but always test anything that could possibly open.
Using Secret Paths to Your Advantage
- Collectibles: Many strawberries are only accessible via sneaky routes. Learning common hiding spots makes future collectibles easier to spot.
- Speedrunning: Secret paths often cut routes or skip difficult rooms—useful for lower completion times.
- Story Beats: A few secret areas contain optional notes or extra dialogue.
- Unlocking Cassettes/Hearts: These collectibles nearly always require a trick path, sometimes one only visible after solving a puzzle.
Master List: Hidden Path Hot-Spots By Chapter
Chapter 1
- After the breakable floor, check the top right.
- Underneath the first main elevator, dash left.
Chapter 2
- Above the mirror room, hold up to climb into a secret shaft.
- Bottom area of the floating blocks, dash downward.
Chapter 3
- Behind the second dust bunny hallway, the left wall.
- In Mr. Oshiro’s messy room, try the upper-right bookshelf.
Continue this method in later chapters—look for patterns unique to each area, such as wind-blown spikes or mirror floors in later sections.
Tips for Finding Every Secret Path
- Press against every surface, especially in rooms with extra space.
- Always check what's just offscreen using camera controls (look up/down).
- If something feels too difficult or too easy, check for alternate exits.
- When replaying for 100%, make notes of strawberries you couldn’t collect—the route is almost always nearby.
- Don’t forget to revisit earlier chapters with new skills. Some paths make sense only after learning advanced movement.
Conclusion
Secret paths give Celeste its clever edge, rewarding you for thinking outside the linear route and experimenting with Madeline’s moveset. Learning to spot these will not only lead you to 100% completion but also sharpen your eye for platformer design. Stay curious, poke at every suspicious wall, and the mountain will hold no secrets from you.
Strawberry Collection
Strawberries are Celeste’s most iconic collectible, floating temptingly throughout each level. Grabbing them isn't just for show—while they don’t impact progression, nabbing strawberries is a key part of mastering the game and showboating your platforming skills. Here’s how they work, where to find them, and what you get for all that extra effort.
What Do Strawberries Do?
At their core, strawberries are bragging rights. Collecting them increases your count at the chapter summary but they don’t unlock story or gameplay content. However, a higher strawberry count is shown off at the end of each chapter, and there is a small nod at the end of the game for super-completionists. For many players, though, strawberries transform each level from a simple left-to-right affair into a challenge playground. Each one acts as a mini-puzzle, pushing you to try new movement tricks and refine timing.
How Strawberry Collection Works
- Visible Challenge: Most strawberries are placed in tricky or hard-to-reach spots off the main path.
- Staying Grounded: When you grab a strawberry, Madeline must safely land to “secure” it. If you die before touching the ground, the strawberry stays uncollected.
- Death and Reattempt: Missing a jump or dying resets the strawberry; no need to reload a save. Just try the room again.
- Progress Tracking: Each chapter shows how many strawberries you’ve grabbed, making it easy to see which rooms you’ve missed one in.
Types of Strawberries
There are several categories to watch for:
Standard Floating Strawberries
These hover in mid-air, sometimes above pits or surrounded by spikes. Getting them usually asks for careful use of dashes and wall climbs.
Flying/Moving Strawberries
Some strawberries flutter away when you approach, usually flying in a tight pattern or bolting to another spot. The trick is to find an intercept angle or predict their movement.
Winged Strawberries
These act as living challenges. If you dash while close, they get spooked and fly away permanently until you leave and re-enter the room. The strategy is to snag them with jumps and clever climbing rather than dashing directly at them.
Hidden Strawberries
Nestled behind secret paths or out-of-the-way areas, these require a keen eye for clues described earlier, like suspicious walls or unusual camera movement.
Strawberry Room Design
Each strawberry room is crafted as a mini-puzzle. Sometimes they’re a test of movement precision—other times, they challenge you to figure out a path through hazards without dying. Usually, there’s a “safe landing” zone nearby, but sometimes you’ll have to string together long chains of jumps before you get solid ground.
- Trick Jumps: Many ask for a wall jump into a fast dash.
- Momentum: Use environmental objects, like spring blocks or dream blocks, to launch yourself further than normal.
- Dash Conservation: Some strawberries are only possible if you don’t spend your dash until the very last second.
Where to Look
Strawberries tend to:
- Sit atop out-of-reach platforms, daring you to work out the sequence.
- Float mid-path but require you to take the harder route around hazards to grab them.
- Hide in short detours, accessible via fake walls or through “holes” you might otherwise ignore.
Rooms with a strawberry are almost always a little trickier or more ornate than normal platforming rooms. If you see a cluster of spikes and a floating berry, you’ll know you’re in business.
Chapter-by-Chapter Strawberry Highlights
Chapter 1: Forsaken City
- Several easy strawberries are placed right in the open, ideal for learning the ropes of securing your collection before hitting the ground.
- A few are tied to light wall-jump puzzles, rewarding players for checking alternate routes.
Chapter 2: Old Site
- Expect dream block puzzles requiring precise dashes.
- Some strawberries need you to master launching through multiple blocks without overshooting.
Chapter 3: Celestial Resort
- The infamous dust bunny sections hide berries in safe zones between enemies.
- Vertical rooms usually tuck strawberries in corners only reachable with smart use of cleaning blocks.
Later chapters blend everything, throwing in wind, moving platforms, and vanishing blocks to keep you thinking.
Tips for Collecting Every Strawberry
- Patience Over Rushing: Take your time mapping out each room. Planning beats brute-forcing exits.
- Practice Movement: If a berry seems impossible, practice dashes and climbs nearby until you get the rhythm down.
- Revisit With New Skills: After finishing a chapter, trying again with more experience can reveal shortcuts you missed.
- Remember Landing Rules: Making contact with the ground is mandatory, so sometimes air-dashing isn’t the best move.
- Don’t Worry About Misses: You can always replay chapters. Missing a tough strawberry doesn't lock you out.
What Happens When You Collect Them All?
Snagging every strawberry in Celeste unlocks a small bonus scene at the end—a sweet meta-nod to your persistence. There’s no gameplay advantage, but it feels great to see that “all strawberries” achievement flash and know you’ve squeezed everything out of these beautifully crafted levels.
Final Thoughts on Strawberries
Strawberries are more than collectibles; they’re an invitation to master the mountain and test your platforming limits. Grabbing them all isn’t necessary for victory, but for most players, it’s the most fun way to turn Celeste’s levels into a playground of skill challenges. Whether you aim for every last berry or just the ones you spot along the way, chasing strawberries is the heart of the Celeste experience.