Battlefield 6 Beginner's Guide: Classes, Squads, and Core Combat Basics
The basics new players need first: how the four classes work, squad spawning, reading the map, movement and cover, plus revives and Field Specs.
Battlefield 6 throws a lot at you in your first few matches. Big maps, tanks rolling past, sixty-plus players doing their own thing, and a HUD that looks like a control panel. The good news is that the core loop is pretty simple once it clicks: pick a class, stick with your squad, and play the objective instead of chasing kills. Do those three things and you'll contribute more than half the lobby within an evening.
This walkthrough covers the stuff that trips up new players the most. Class picks, how spawning on squads works, what the minimap is actually telling you, staying alive while moving, and the revive system that keeps your team in the fight. None of it requires fast reflexes. It's all just knowledge, and knowledge is free kills in a game like this.
Choosing Your First Class
Battlefield 6 brought back the classic four-class setup after 2042's specialist experiment: Assault, Engineer, Support, and Recon. Each one gets a signature gadget, a signature weapon with bonus perks, and a passive trait that's always on while you play that class. Here's the short version:
| Class | Signature Gadget | Signature Weapon | Signature Trait | |-------|-----------------|------------------|------------------| | Assault | Adrenaline Injector | Assault Rifle | Mission Focused: faster captures and interactions for nearby squadmates | | Engineer | Repair Tool | SMG | Mechanized Infantry: less explosive damage near friendly vehicles | | Support | Supply Bag | LMG | Field Sustainment: teammates can grab health packs from you directly | | Recon | Motion Sensor | Sniper | Auto-Spot: enemies you look at while aiming get marked for the whole team |
So which one do you start with? For most new players, Assault is the easiest on-ramp. The assault rifle is forgiving at mid-range, the Adrenaline Injector gives you faster sprint and reduced explosive damage when you pop it, and the class trait rewards exactly what you should be doing anyway, which is standing on objectives. One thing worth knowing about the injector: it doesn't heal you. It gets you ready for a fight, so hit it right before you push a flag, not after you've already taken damage.
Support is the other great beginner pick, and honestly it might teach you more. The LMG holds a ton of ammo, you don't get a sprint penalty for carrying it, and the Supply Bag makes you instantly useful to everyone around you. Drop the bag near a group of teammates fighting over an objective and watch the score roll in. Support also revives faster than the other classes thanks to its trait, so it's the closest thing BF6 has to the old medic role from earlier games.
Engineer and Recon are more situational. Engineer is the only class that can repair friendly vehicles, which makes it huge on tank-heavy maps, but if there's no armor around you're mostly just a guy with an SMG. Recon is the sniper class, and sniping in BF6 is genuinely hard. Bullet drop is real, scope glint gives away your position, and a new player sitting on a hill far from the flags is usually helping the enemy team. If you love the fantasy, go for it, just try to pick spots that overlook objectives so your spotting and long shots actually matter.
One wrinkle that confuses people coming from older Battlefields: weapons aren't strictly locked to classes anymore. Most playlists run "open weapons," meaning any class can equip any weapon type. Your Support can run a sniper rifle, your Engineer can carry an assault rifle. Some playlists use "closed weapons" instead, where you're limited to class-specific guns, and a few weapon types (shotguns, carbines, DMRs) work for every class in every mode. Check the playlist tag before you queue if you care. For your first hours, just run the signature weapon of whatever class you picked. The bonus perks that come with it are real, and the guns are all decent.
You can also swap classes mid-match. If you die and the respawn screen shows your team getting shredded by a tank, that's your cue to come back as an Engineer with a rocket launcher. Dying is a loadout change opportunity, not just a punishment.
Understanding Squad Roles and Spawning
Every team in BF6 is split into four-person squads, and the squad is where most of the game's actual mechanics live. Your squadmates can heal you, resupply you, and most importantly revive you when you go down. You also earn bonus points for squad actions, so reviving a squadmate pays better than reviving a random, and avenging a fallen squadmate comes with its own reward. The game is quietly bribing you to stick together the whole time.
Spawning works differently than in most shooters, and it's worth understanding properly. When you die, you don't respawn anywhere you like. Your options are basically: on a squadmate, on a squad vehicle, at a captured objective your team holds, or on a Deploy Beacon if your squad placed one. That's the whole list. So if your squad gets wiped, you're all respawning back at whatever flag your team owns, which might be a 300-meter walk from where you died. Keeping one squadmate alive so the rest can spawn on them is a big deal, and it's why squads that travel in a loose group stay in the fight way longer than squads that spread out.
A couple of practical spawn habits to build early. First, check the deploy screen for a second before mashing respawn. If a squadmate is alive and crouched near an objective, spawning on them puts you right back in the action instead of at the far end of the map. Second, don't spawn on a squadmate who's actively getting shot at. You'll drop in at half capacity into a fight that's already going badly, and now there are two bodies for the enemy to loot instead of one. Look at where they are and what's around them first.
The Deploy Beacon deserves a special mention because it changes how squads attack. It's a placeable gadget that creates a forward spawn point anywhere on the map, which means your squad can respawn behind enemy lines or right on top of a contested flag instead of trudging in from across the map. It's not a permanent tool though. The current version breaks after you spawn on it and has limited uses before it self-destructs, so it's more of a one-shot trick for a big push than a farm you set up and forget. Placement matters a lot. Tuck it behind cover near an objective, not in the open where a passing enemy will shoot it.
Squad roles tie back to the class section. A squad with Assault pushing, Support healing and reviving, Engineer handling armor, and Recon feeding spotting info covers basically every problem a match can throw at you. You don't need voice chat to make that work either. The ping system and the squad spawn logic do a lot of the communicating for you. If nobody in your squad picked Support, consider being the one who switches. A revive is worth more than most kills, and you'll feel it in the score screen.
Reading the Minimap and Objective Markers
The minimap is the single most underused tool by new players, and reading it well is probably the fastest way to stop dying constantly. It sits in the corner of your screen and shows objectives, friendlies, and, crucially, enemies under certain conditions. Getting value out of it is mostly about knowing when enemies show up on it.
Here's the key thing: enemies don't appear on the minimap just because they're nearby. They appear when something marks them. The main ways that happens:
- Someone on your team spots them manually. Aim down sights at an enemy and press the spot button (Q on PC, L1 on PlayStation, LB on Xbox). A red diamond appears over their head in the world and on the minimap for a few seconds, visible to your whole team.
- They fire an unsuppressed weapon. Shooting without a suppressor or flash hider briefly marks you on the enemy minimap and in-world. This cuts both ways, obviously.
- Recon tools mark them. The Motion Sensor gadget, Recon's auto-spot trait, drones, and similar gadgets all feed the map.
- Teammates die near them, or a firefight reveals them through other spotting effects.
That second bullet is the one that changes how you play. If you're sneaking toward a flank with a loud gun, one trigger pull paints you on the map for everyone nearby. Either run a suppressor when you want to be quiet, or accept that once you start shooting, everyone knows where you are and you should keep moving.
Get in the habit of glancing at the minimap every few seconds, the same way you'd check a mirror while driving. See a cluster of red diamonds forming on one side of an objective? That's where the push is coming from. See your team's icons all bunched at one flag while two others sit empty? That's your opening to grab a free capture. The map tells you where to go and where not to go, and it's usually more current than what you can see with your eyes, since your eyes only cover about a tenth of the map.
Objective markers themselves are pretty readable once you know the color code. Friendly-held objectives show in your team's color, enemy-held in theirs, and contested ones flash or change appearance while both teams fight over them. The top-left of the HUD shows overall control and which objectives are being contested, so you can glance at that to figure out where the match is currently being decided without opening the big map.
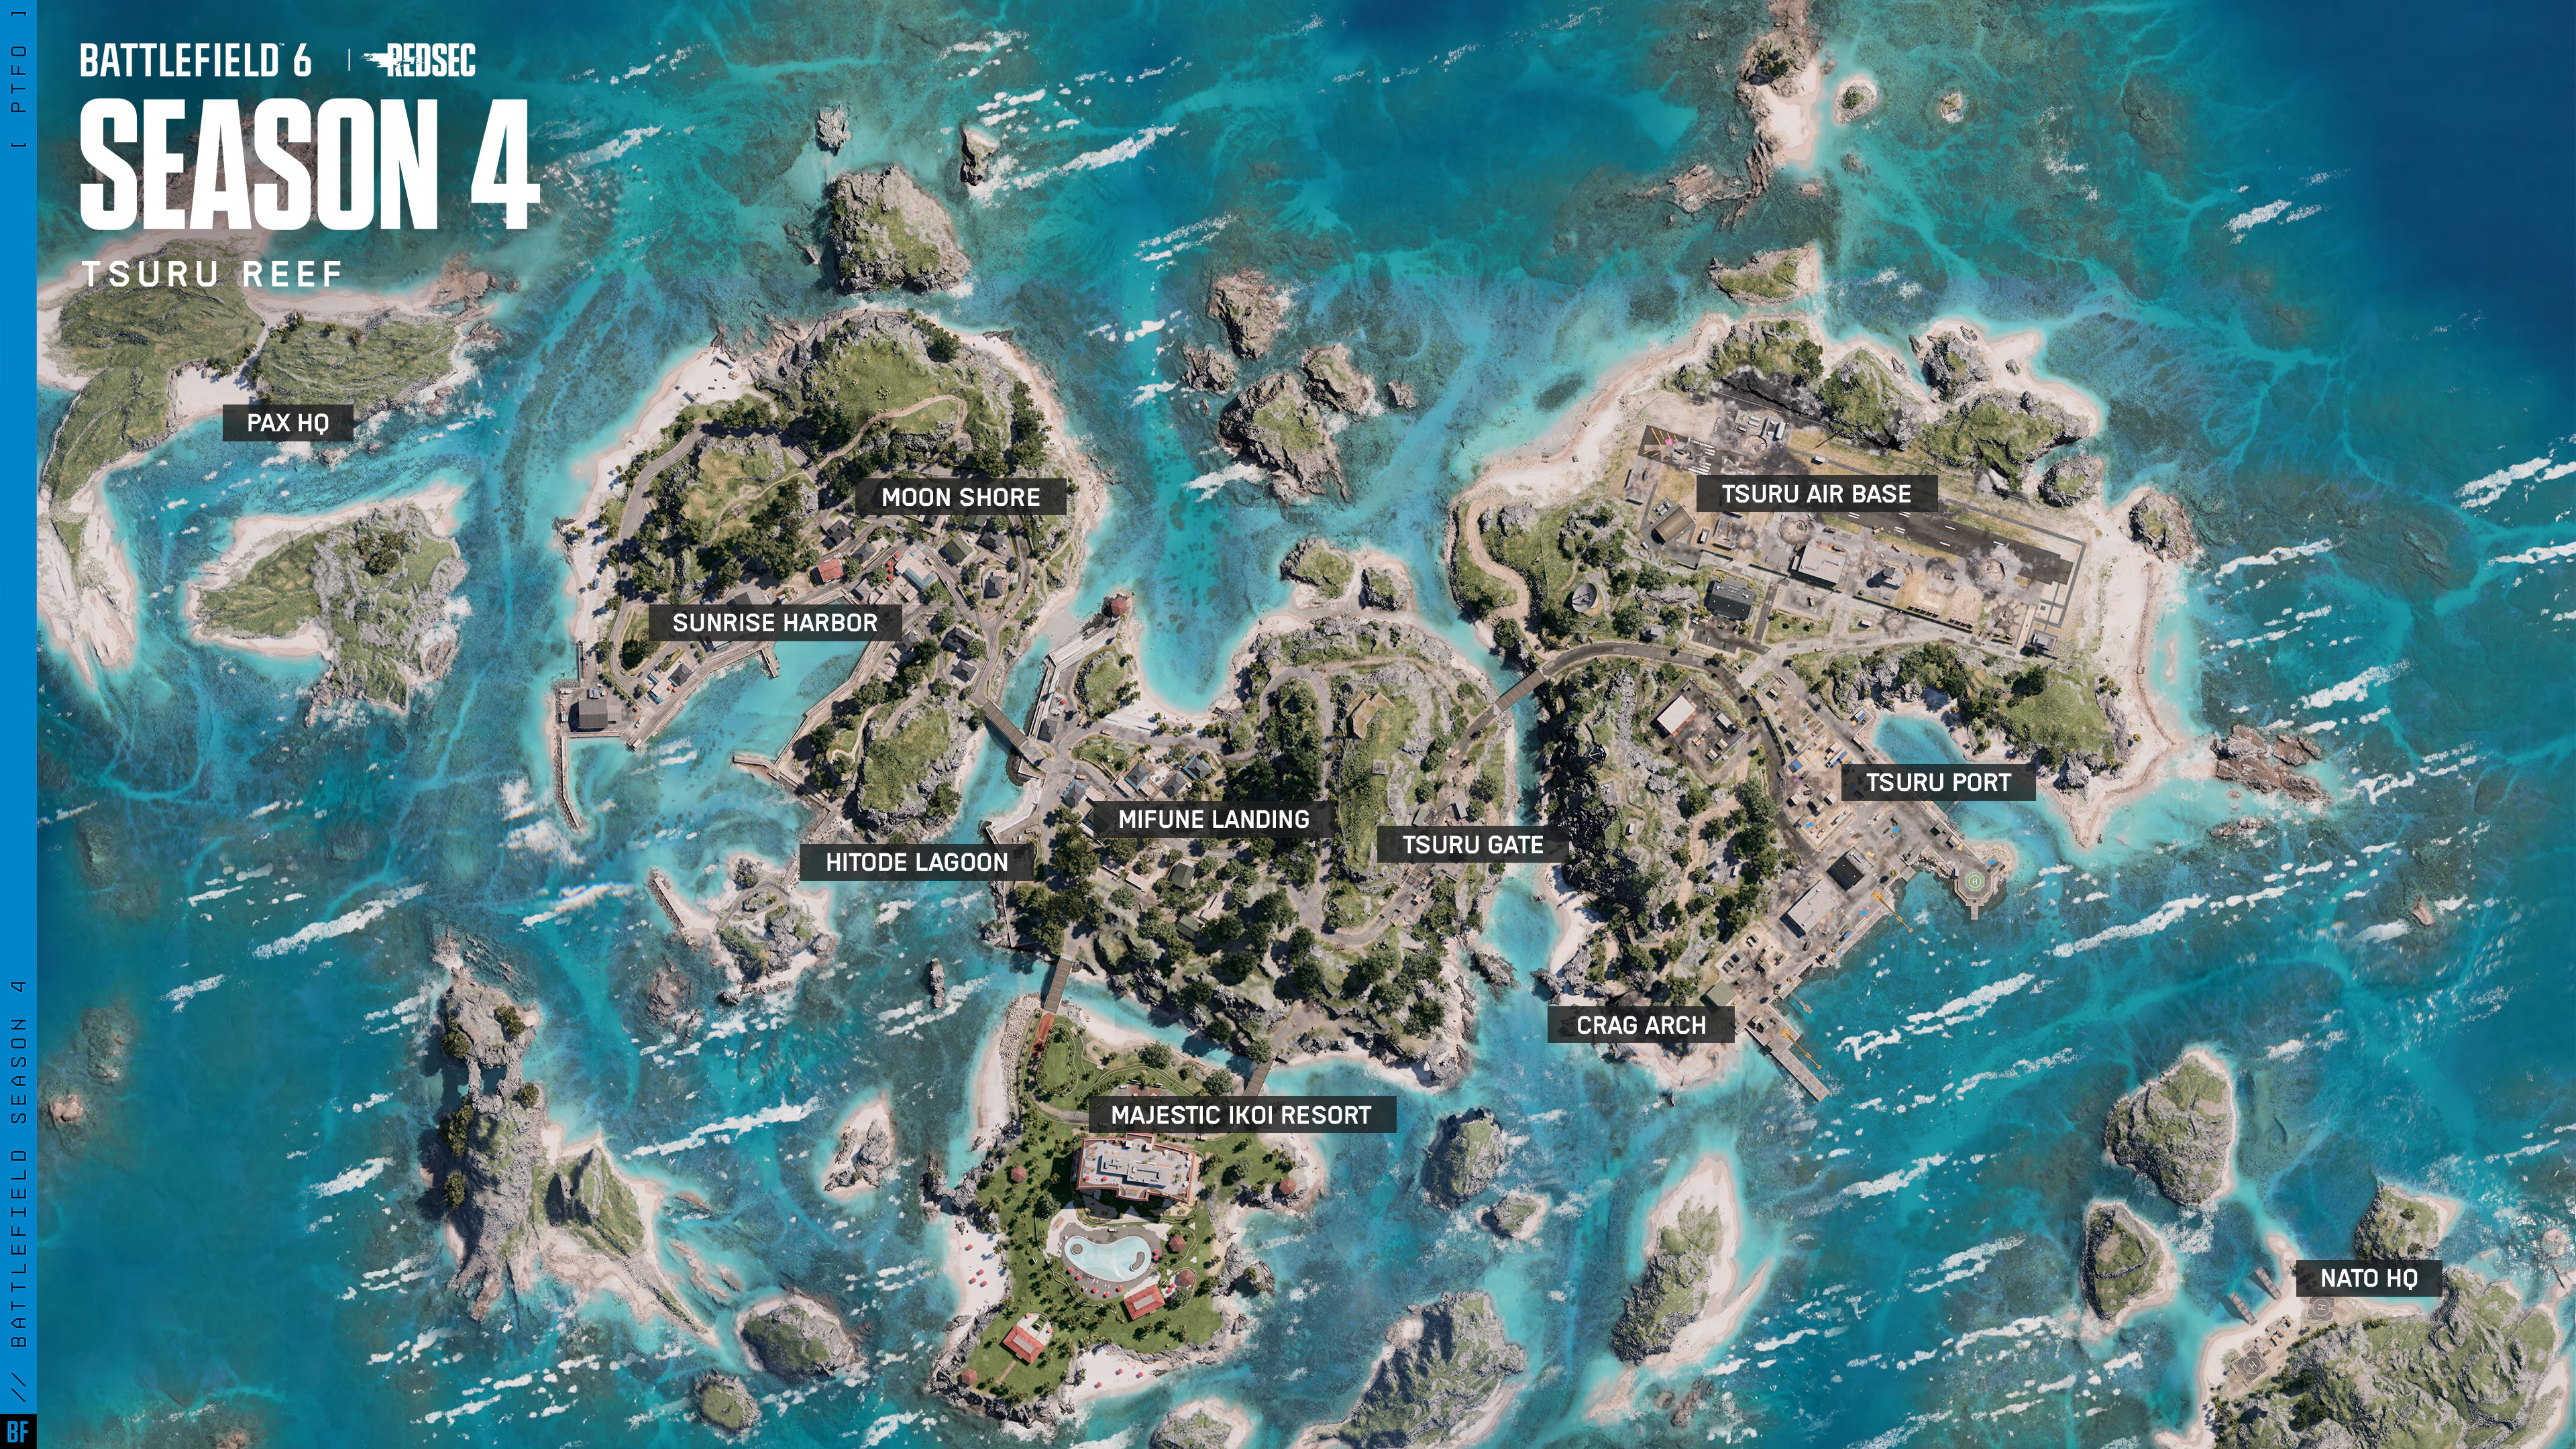
The big map, by the way, is worth opening on purpose now and then, especially when you're dead and picking a spawn. It shows the whole battlefield and where both teams are massed. New players tend to spawn based on whatever's closest; better players spawn based on where the fight is going next. If your team holds three flags and the enemy is stacked on a fourth, spawning at the flag behind that fight lets you cut off their reinforcements. That kind of thinking wins Conquest matches far more reliably than a good aim does.
Last thing on this: use the ping button constantly, and not just on enemies. You can ping objectives to suggest attacks, ping vehicles that need an Engineer's attention, and ping enemies while you're downed so your squad knows what killed you. Speaking of which.
Basic Movement, Sprinting, and Cover Use
BF6 movement has a few tricks the game doesn't explain well, and knowing them keeps you alive in the open. The basics first: you sprint by default in most situations, and the game is generous with speed. That speed gets people killed though, because a player sprinting across an open field is the easiest target in the world. Positioning beats pace in this game almost every time.
The slide is the one movement trick to learn on day one. If you double-press crouch while sprinting, you'll do a crouch slide, which is a fast, low-profile way to get into cover or break line of sight. It's not a combat move particularly, since your hip-fire accuracy drops while sliding. Think of it as an escape hatch and a gap-closer, not a way to win gunfights. You can also crouch while running to sprint-crouch, which is quieter and makes you a smaller target, and there are settings in the gameplay menu to change how these inputs trigger if the default feels awkward.
Falls are another thing new players eat damage from constantly. If you're dropping from a rooftop or a window, press jump or crouch right before you land and you'll do a roll that reduces or outright prevents fall damage. It's a small timing thing that pays off constantly on maps with lots of verticality, and you'll see experienced players hop off second-story windows without a second thought because the roll makes it free.
Cover in BF6 has a catch that's core to the whole series: most of it is destructible. Walls, buildings, fences, and barricades can be chewed up by explosives, vehicle shells, or enough bullets. That stack of crates you're hiding behind is temporary, not permanent. If a tank decides it wants you dead, it will eventually remove the building you're in. So cover discipline here means a few things: don't camp one piece of cover forever, don't assume a wall blocks line of sight after it's been shot up, and pay attention when the geometry around you starts disappearing.
The flip side is that destruction is a tool for you too. If enemies are dug into a building, you don't have to push the stairs. An Engineer with a rocket, a grenade launcher, or a tank shell can just delete their cover. This is honestly one of the most satisfying parts of the game once it clicks.
Two more mechanics that dramatically improve your shooting from cover. Weapons can be mounted on edges and surfaces: aim down sights near a wall or ledge and the gun auto-mounts, or press the manual mount button (right stick on console, F on PC) to lock it in place. A mounted gun has way less recoil, which turns a sloppy mid-range fight into an easy one. LMGs and snipers with bipods work the same way, deployed automatically when you go prone. If you're defending an objective and holding an angle, mounting is almost always correct. Your accuracy goes up and you present a smaller target, since only your head and gun need to be over the edge.
A quick word on how to actually move between cover. Move in short bursts from one piece of cover to the next, and check the minimap before you cross open ground. Keep your weapon's effective range in mind too. Shotgun players belong inside buildings, sniper players belong on long sightlines, and everyone else wants the mid-range lanes where assault rifles and carbines live. If you find yourself in a spot where your gun can't reach anyone but theirs can reach you, that's a positioning problem, not an aim problem.
Reviving Teammates and Using Field Upgrades
Going down in BF6 usually doesn't mean you're dead. It means you're downed and bleeding out, and a teammate can bring you back. The revive system is one of the biggest differences between a decent squad and a great one, and understanding both sides of it, getting revived and doing the reviving, will win you matches.
When a teammate goes down, you'll see them on the ground with an indicator. Any class can attempt a standard revive by holding the interact button on them. Support does it noticeably faster thanks to the Field Sustainment trait, which is why Support is the closest thing to a dedicated medic. Support players can also equip the defibrillator gadget, which revives much faster than the standard interact. A fully charged defib brings a player back at full health, and a partial charge still works but they come back with less health. One charge can even revive multiple players if they're clustered, and in tight chokepoint fights that can flip a whole engagement. There's also a fun edge case where a charged defib kills an enemy who's standing right next to you, though don't plan your gameplay around it.
The drag mechanic is new and genuinely great. If a teammate goes down in the open, you can grab them and drag them behind cover before or even during the revive. Dragging while reviving makes the whole thing slower, and canceling and restarting a revive keeps its progress, so you don't lose time by moving mid-revive. The classic new-player mistake is reviving someone exactly where they fell, which is usually still in the enemy's sights, so the enemy just kills them again and now you're both on the ground. Drag first, revive second. It's the single biggest improvement you can make to your revive game.
Not every down is revivable. If someone took a fatal headshot, they're gone for good and you can't bring them back. That's the game rewarding precise shooting, and it's part of why Recon's headshots feel so final.
Now the other side: what to do when it's you on the ground. Hold the request revive button. Your character calls out for help, which nudges nearby teammates, and it slows your bleedout timer to buy them time. There's a setting to choose between holding the button or toggling it once, if holding feels awkward. While you wait, spot enemies. You're a free camera, so ping whoever killed you and anyone else nearby. That info lets your squad clear the area before they pick you up instead of running blindly into the same ambush, and it turns your death into something your team profits from.
Field Specs are the other system in this section, and they're BF6's version of field upgrades. Each class has specializations that level up during a match as you earn score doing class-appropriate things: capturing objectives, reviving, repairing, resupplying, getting kills. The progression runs from Level 0 up to Level 3. Level 0 is on automatically, Levels 1 and 2 are passive bonuses that kick in as you play, and Level 3 is an active ability with a real power spike, things like the Recon's UAV that spots enemies around you or the Engineer's Power Repair that supercharges the repair tool. Level 3 is one use only; once you pop it, you drop back to Level 2 and can re-earn it. Everything resets at the start of each round, so this is a within-match system, not a permanent progression.
Each class has two Field Specs to pick between in the Loadouts menu, oriented at different playstyles. Assault gets offensive breaching on one side and sustain on the other, Engineer splits between anti-armor and repair focus, Support between medic play and resupply, Recon between sniping perks and stealth. For a beginner, just pick whichever one matches what you're actually doing in matches and don't stress about optimizing. The part that matters is noticing when your Level 3 active comes up, because the HUD tells you it's ready, and actually using it. A UAV or a repair burst spent at the right moment is worth several kills.
The through-line with all of this: BF6 keeps rewarding the same behavior from every angle. Squads that revive each other hold objectives longer. Players who spot feed the whole team's minimap. Field Specs level faster when you do your class's job. None of it requires you to be a great shot. A new player who revives, spots, and stands on flags is more valuable than a veteran off farming kills in a corner of the map, and the score screen will prove it to you by the end of your first night.