7 Days to Die Beginner Guide: Surviving Your First Week
How to get through your first seven days in 7 Days to Die: where to settle, what to loot, food and water, starter gear, and the day 7 Blood Moon.
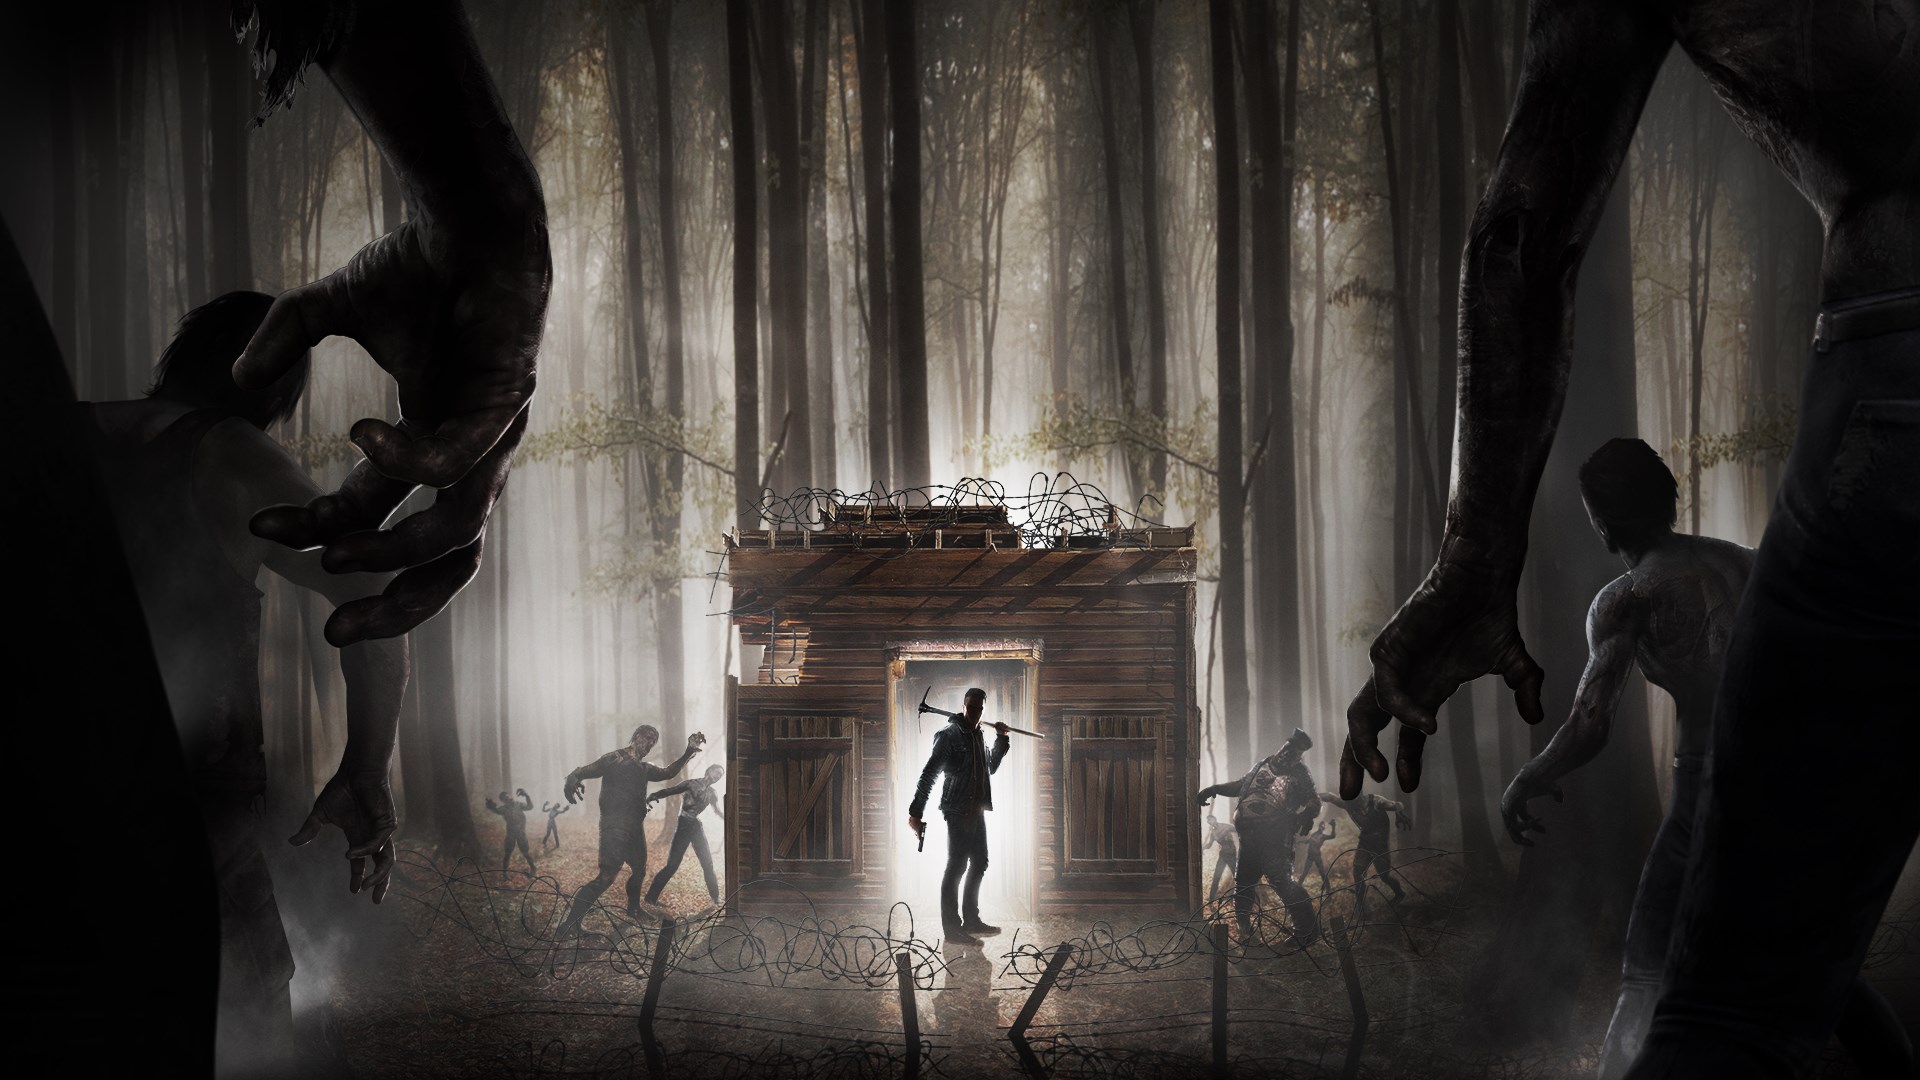
Your first week in 7 Days to Die is one long prep session. Everything you do, from where you sleep to what you cook, feeds a single deadline. On the night of day 7, a Blood Moon horde comes straight for you, and the game is named after that for a reason.
The good news is that day 7 is very beatable, even with junk gear. Days 1 through 3 are about shelter, water, and a weapon. Days 4 through 6 are about stacking food, arrows, and walls.
Choosing a Starting Location and First Shelter
Start in the forest
The pine forest is the friendliest biome for a fresh spawn. Wood everywhere, animals to hunt, water to scoop, and mild weather. The desert cooks you and makes you drink constantly, the snow eats your food just keeping you warm, and the burnt forest and wasteland are flat-out nasty. If the map drops you somewhere rough, walk toward the green.
You also spawn with a short tutorial chain that hands out free skill points and points you at the nearest trader. Do it. The trader marker pulls double duty, because a trader usually sits next to a town, and a town means buildings, kitchens, and loot within running distance.
Don't build a house on day 1
New players burn their whole first day chopping trees for a base they'll abandon anyway. Don't. Find a small tier-one building on the edge of town, clear it room by room, and claim it. A gas station back office, a tiny house, a shed, whatever. You want four walls and a working door before dark, not a dream home.
Zombies shamble around during the day and switch to a full run at night on default settings. Once the sun drops, being outside is how you die. Nights are for cooking, sorting loot, and reading magazines by firelight.
Claim it properly
Three cheap things turn a random building into a base:
- Bedroll (10 Plant Fibers). Sets your respawn point if you die. It also stops zombies spawning anywhere in a 31 by 31 meter box around it, from bedrock to the sky. That's a big deal, and the game never tells you about it.
- Campfire (5 Small Stones). Cooks food and boils water. You'll live next to this thing all week.
- A storage crate or two. Dump your heavy junk so you're not waddling back to town at half speed.
Board the windows with frames if you want. Two Wood makes one Building Block frame, and frames stack, hold your weight, and can be picked back up with E. When you want them sturdier, right-click a frame with your stone axe to upgrade it to a Wood Block for 8 Wood. After that comes cobblestone at 10 Cobblestone Rocks per block, which is what you'll want anywhere a zombie can reach.
Priority Loot to Grab Early
So what's worth stuffing in your bag early? It's less about treasure and more about not dying of thirst on day 3.
The cooking pot comes first
A Cooking Pot is the best early find in the game, period. With one, a campfire turns Murky Water into safe Water in about 40 seconds. Without one, every drink from a river or a toilet tank is a 12% dysentery gamble. Check kitchen counters, ovens, and campsite coolers. The trader usually sells one for dukes too.
Keep every jar of Murky Water you find. It looks like trash. It isn't.
Food that carries the week
Canned food is everywhere and never spoils, so grab all of it, even the stuff you'd never touch in real life. Kitchens, diners, and Shamway grocery crates are the jackpot containers. Animal nests on the ground hold eggs, which are free calories as you run past. Corn fields at farms can be stripped in about a minute.
Raw meat is fine to carry but rough to eat. Save it for the fire.
Magazines are the real treasure
Since the 1.0 update, your crafting skill comes from magazines instead of skill points. Forge Ahead pushes you toward a forge and a workbench. Big Hitters levels your clubs, Bow Hunters your bows, Tools Digest your axes and picks. Mailboxes, newspaper boxes, bookshelves, and bookstores are the best sources, and mailboxes are the ones everybody walks right past.
Grab every magazine you see, even for gear you don't use yet. They weigh almost nothing.
Tools, parts, and the good junk
- Any weapon. A pipe gun with one box of ammo beats a sharp stick. Bows, clubs, machetes, take what's on the floor.
- A wrench. Lets you strip cars, sinks, and vending machines for parts and forged iron.
- Duct tape, glue, mechanical parts, springs, pipes, and feathers. Crafting fuel for later, and feathers make your arrows.
- Honey. Smash tree stumps for it. Honey clears an early infection, and an untreated infection gets ugly fast.
- Armor and clothing. Even ugly patched armor beats bare skin.
Don't hoard junk just to sell it. Traders restock and dukes are nice, but a bag full of garbage means twice as many trips home.
Managing Hunger, Thirst, and Stamina
These three are quietly tied together. Food fills your Fullness bar, drinks fill Hydration, and those two numbers set your maximum Stamina. Run around hungry and dehydrated and you're a squishy slowpoke who can't swing a club twice in a row.
Water without the dysentery
Murky Water gives +10 Hydration and 15% faster stamina regen, but it costs 5 health and carries that 12% dysentery chance. Dysentery drains you for hours and can kill you if you ignore it. So the loop is simple: scoop Murky Water from rivers, ponds, and toilets, then boil it with a Cooking Pot on your campfire. Boiled Water is completely safe.
Each batch boils in roughly 40 seconds with a little wood for fuel. Boil in bulk while you sort loot at night.
Down the road, a Dew Collector ends your water chores for good. It costs 200 Scrap Polymers, 30 Short Iron Pipes, and 8 Duct Tape, plus Forge Ahead magazine rank 16 and a workbench to build it. One collector quietly fills 2 to 4 jars of Murky Water per in-game day. That's a mid-week goal, not a day 1 project. Small warning: dew collectors generate heat, heat can pull in a Screamer, and a Screamer brings friends. Keep them away from where you sleep.
Food that actually helps
Raw meat is a bad meal, about +2 food with a stomach bug attached. Grilled Meat gives +10 Fullness, +5 Health, and +10 Stamina with zero dysentery risk. All you need is a Cooking Grill sitting in your campfire, which is one more early thing to loot or buy.
Hunt deer, pigs, and rabbits with the bow, then chop the corpse with your stone axe. The axe doubles as a butchering tool, so one tool covers the whole job.
One catch: hot food smells. Grilled Meat has a smell range of 25 meters, and zombies notice smells. Eat your fill at home, not in the middle of a building you're still clearing.
Keep stamina for emergencies
Stamina is life. Sprinting burns it, jumping burns it, and every club swing costs about 17 of it, or 26 for a power attack. A survivor with an empty bar can't sprint away and can't swing back, and that's exactly how people die.
Eat and drink before a fight, not after. Walk when you don't need to run. If a room full of sleepers wakes up around you, the worst move is swinging tired.
Basic Tools and Weapons to Craft First
Everything in this table is hand-craftable from day-one materials, no workbench needed.
| Item | Cost | Why you want it | | --- | --- | --- | | Stone Axe | 2 Small Stone, 2 Plant Fibers, 2 Wood | Chops, mines, butchers, repairs blocks | | Wooden Club | 5 Wood | Cheap damage with knockdowns | | Primitive Bow | 3 Plant Fibers, 8 Wood | Silent ranged damage | | Stone Arrow | 1 Small Stone, 1 Wood, 1 Feather | Ammo, 35 damage a shot | | Bedroll | 10 Plant Fibers | Spawn point, blocks nearby spawns | | Campfire | 5 Small Stones | Cooks food, boils water | | Building Block | 2 Wood | Walls, ramps, panic stairs |
The stone axe is your workhorse
Two stones, two fibers, two wood, and you're in business. The stone axe chops trees, mines boulders, and butchers animal corpses. Right-click repairs damaged blocks and upgrades frames. When it wears down, a single Small Stone restores it to full durability. You'll carry it all week.
As a weapon it's sad, 6 to 9 damage depending on quality. Its block damage is a different story at 22 and up, which is why it also opens doors and walls fast when you'd rather not find the key.
The club does the fighting
Five Wood makes a Wooden Club. It swings for 12 to 18 depending on quality, and the power attack hits for double that with a knockdown chance. The knockdown is the whole point. A zombie flat on its back can't touch you, so the rhythm is simple: power attack, step back, regular swings while it stands up, repeat. Reading more Big Hitters magazines raises the quality you can craft, and quality is a real jump in damage.
The bow does the killing
Three Plant Fibers and eight Wood make a Primitive Bow, and every Stone Arrow is one stone, one wood, and one feather. Arrows hit for 35 plus a bleed that drains 1 health per second for 50 seconds.
The bow is quiet. Firing one doesn't wake the whole block, so it's perfect for thinning out sleepers before they stand up. Sneak shots deal 100% extra damage, so crouch before that first arrow. They drop over distance, so aim a touch above a far-off zombie's head.
Thirty to forty arrows before day 7 is a solid stockpile. Smash bird corpses for feathers and check every nest you pass.
Preparing for the First Blood Moon
The schedule
The Blood Moon runs on a clock you can plan around.
| Time | What happens | | --- | --- | | 08:00 on day 7 | The day number on your HUD turns red. That's your warning. | | 18:00 | A crack of thunder, and the sky starts going red. | | 21:00 | Deep red sky, storm in full swing. Last call for prep. | | 22:00 | A scream, then the first wave spawns and runs at you. | | 04:00 next day | The horde ends and leftover zombies go back to normal. |
That's six hours of fighting in waves. Each wave keeps sending fresh zombies until you kill them all or the wave timer expires, then the next one starts. Kill the last zombie of the final wave and the night goes quiet early.
Why the horde isn't as scary as it looks
Horde size scales with your Game Stage, calculated as (player level + days survived, minus 2 days per death) times 1.2. A fresh player on day 7 usually lands somewhere between gamestage 8 and 15. That's a handful of regular zombies and a runner or two, not the glowing-eyed feral crowd that hunts people later on.
The wiki's own worked example: a level 10 character who survived 7 days with no deaths sits at gamestage 20. Still a small crowd.
Dying actually shrinks your next horde, since each death knocks 2 days off the calculation. Not that you should plan around it, but a rough first week makes for a gentler day 7.
What the horde knows
Here's the part that ruins every hiding strategy: blood moon zombies always know exactly where you are. Walls don't help, staying quiet doesn't help, and burrowing underground just means they dig down after you. They climb, they smash blocks, and they path straight to your body until 04:00. So you fight from a good spot, or you spend the whole night running across open country.
Build a fighting spot, not a fortress
Two rules save runs:
- Don't fight on top of your main base. The horde is coming for you and it will chew whatever you're standing in. Keep your storage and workstations somewhere else entirely, then pick a separate spot to fight from.
- Give the zombies one obvious way in. If they can't find a path to you, they start smashing walls at random. A wide ramp or staircase up to your position, narrowed to a choke point at the top, keeps them coming in a single line you can swing at.
The classic beginner setup is the second story of a sturdy stone or brick building. Block off the stairs and ladders you don't want used, leave exactly one route, and stand at the top of it. Fighting through window bars or a hatch is even better, since you can reach them and they mostly can't reach you. Line the path with wooden spikes for cheap chip damage, and keep a stack of spare blocks on your toolbar to patch holes mid-fight.
What to carry at 21:00
- Your best weapon, plus a backup, and more arrows or ammo than feels reasonable.
- Food and boiled water, because stamina is everything after midnight.
- Bandages or first aid bandages for the bleeding debuff.
- Repair materials: wood and cobblestone rocks for the walls, one Small Stone for the axe.
- A stack of frames for panic walls or a quick escape tower.
Repair during the gaps between waves, not during them. Aim for heads, since a headshot puts a zombie down several swings sooner. Keep an escape route that doesn't overlap the zombie path, usually a window jump or a frame tower off the other side. If the whole thing falls apart, run a big loop through open ground and keep moving until the sky clears.
One last number to keep you calm. A level 5 character with one death behind them sits at roughly gamestage 10 when the day 7 horde spawns. That's a couple of small waves of ordinary zombies, and a club, a bow, and forty arrows clears it with room to spare. Survive that, and you've got six whole days to get ready for the next one.